Good Sunday morning all! Happy New Year's Eve! I made today's card to show another way of using the Stained Glass Tulips. I cut the die three times in white card and backed them in white. I cut the tulips out of the circle and recut the die in yellow, red and purple for the flowers and gree for the leaves. I paper pieced the tulips with the fall away pieces from each of the cuts. I selected a piece of Arctic Blue card to use as the background. I inked the centre of the card with Tumbled Glass distress ink, then glued the tulips to the bottom of the card. I cut the Noble Thinking Of You in black and added it to a white backing die then attached the sentoment above the tulips with mounting foam. I added the butterfly cut in white from the set and paper pieced in purple and yellow. I added some clear water crystals as accents randomly to the card. The card was completed with white mats and layers. The finished dimensions are 7 1/4" x 8 1/4" in size. All for now, Sue x
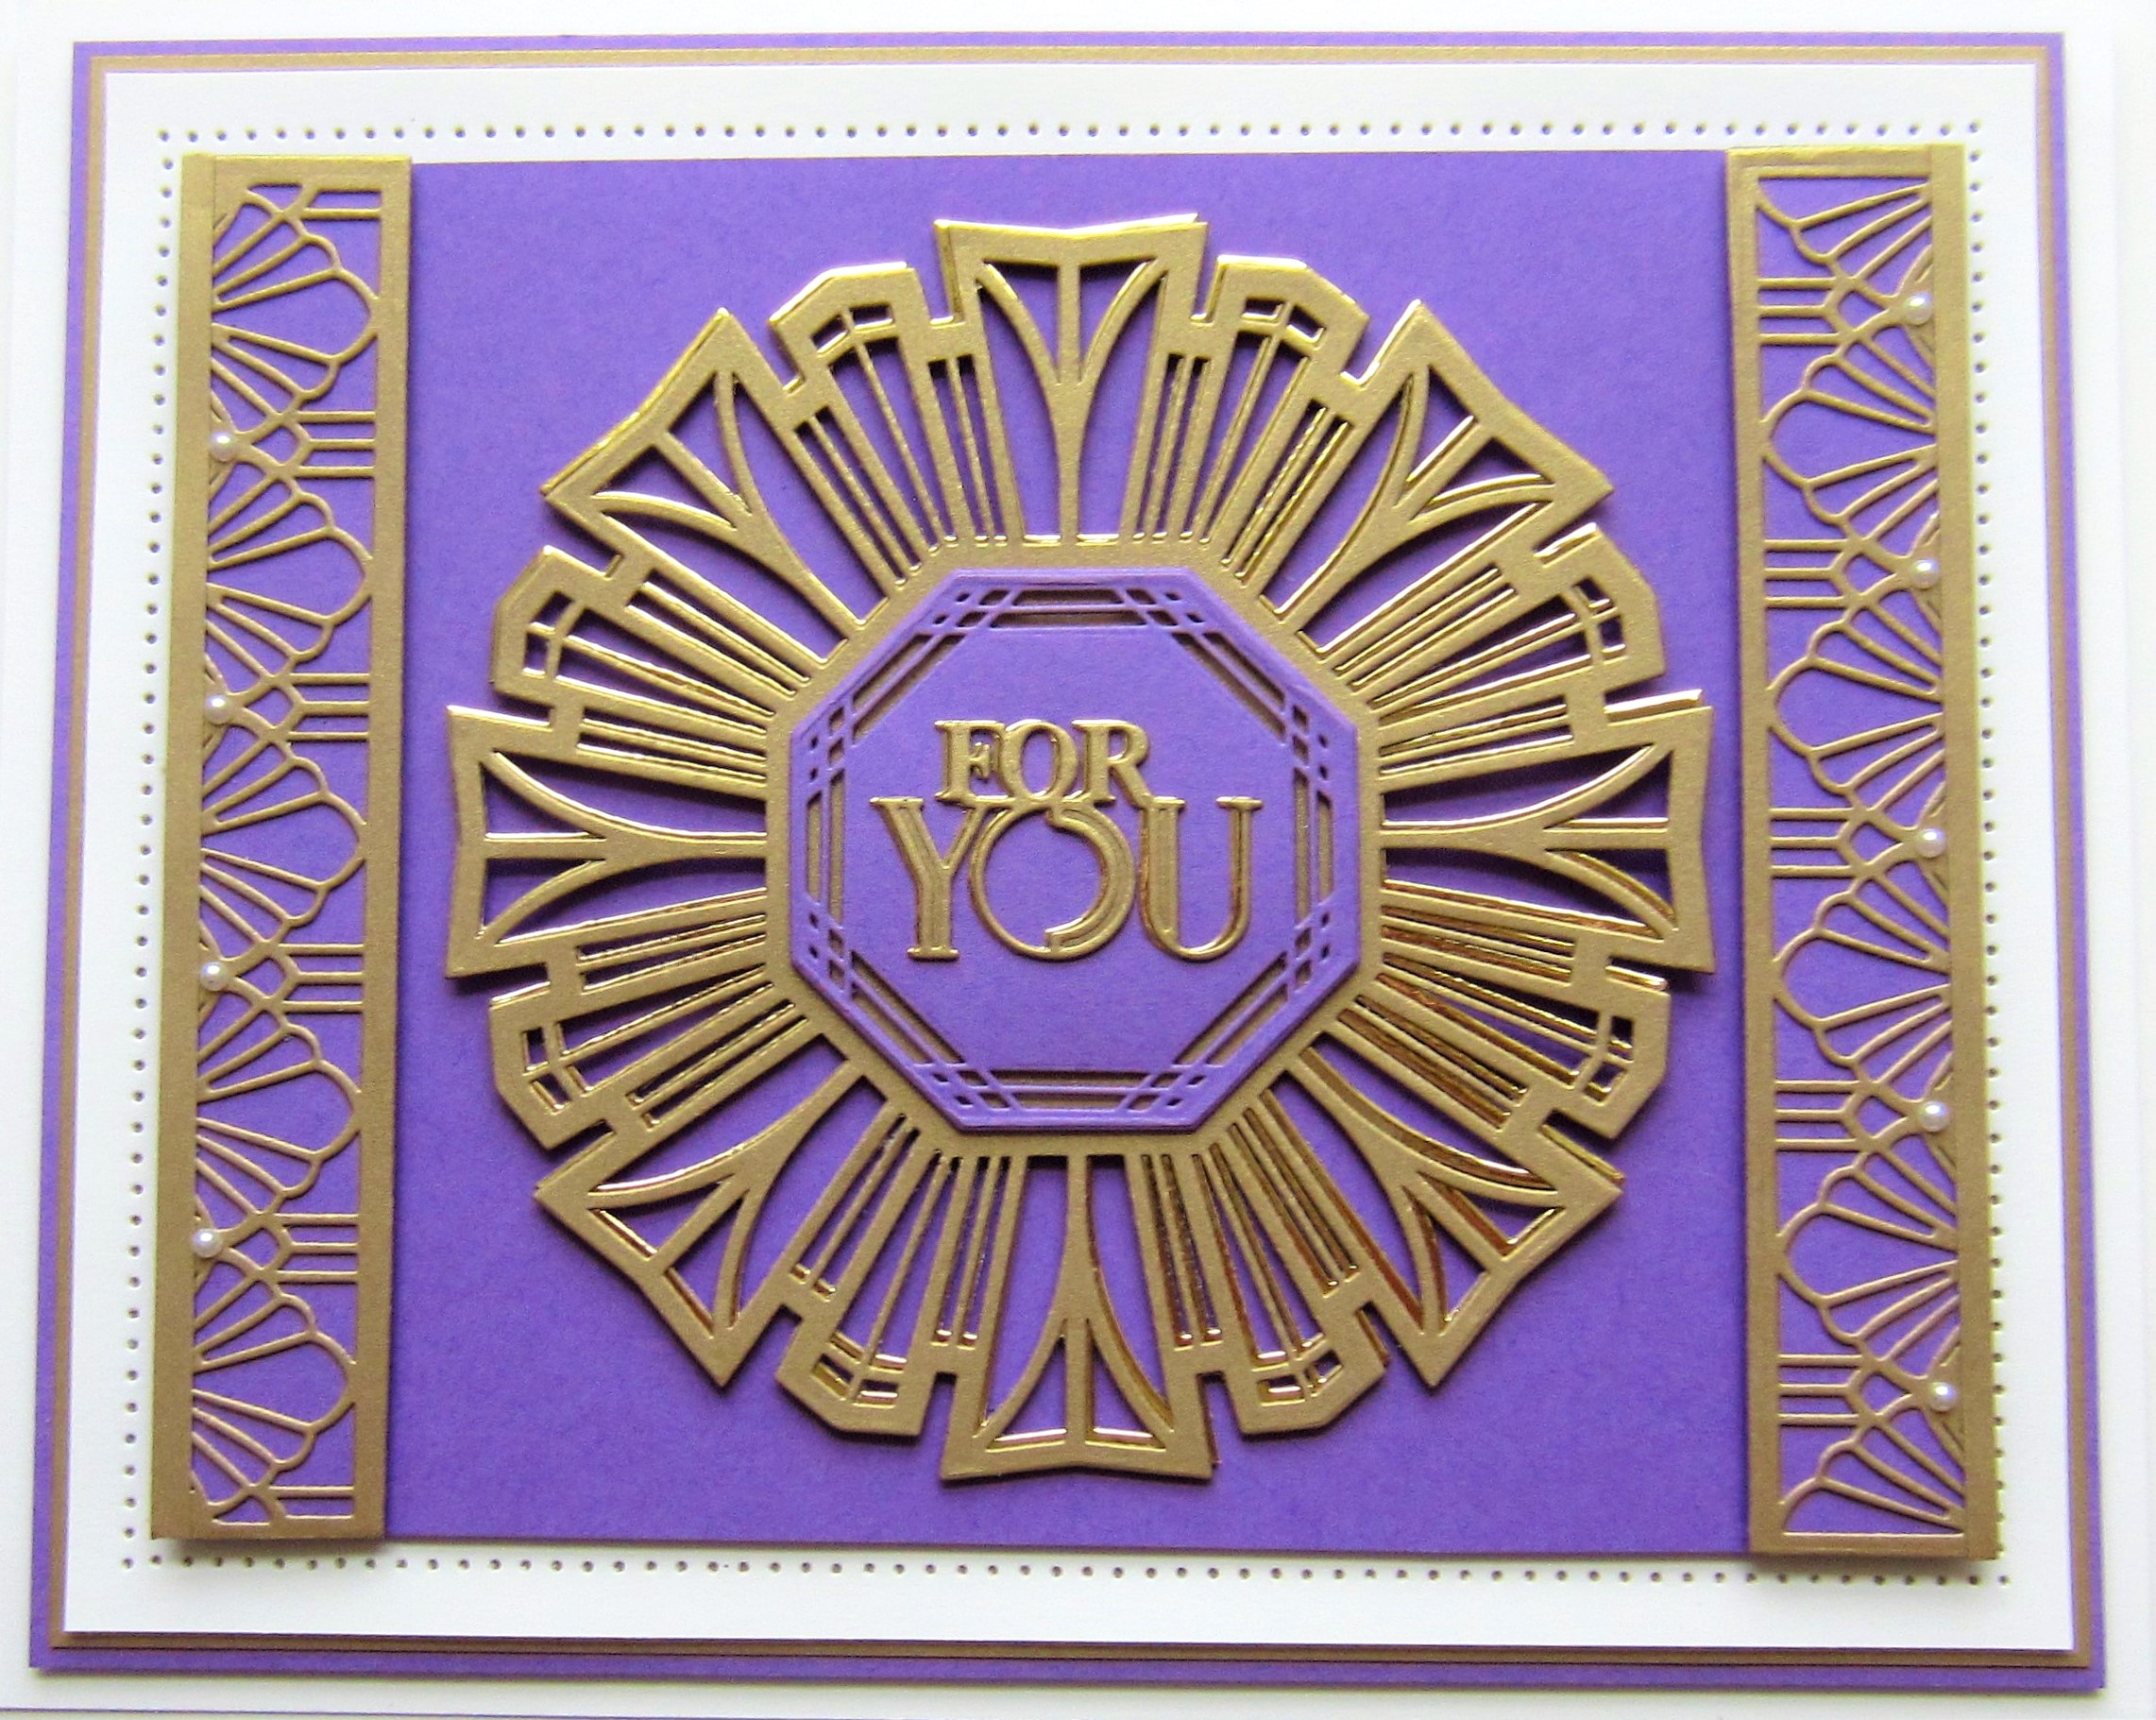
Hello bloggers! I selected amethyst card to use as the background. Using the Art Deco Rosette, I cut it twice, once out of antique gold card and once out of gold mirror card. I used the gold mirror die cut to shadow the antique gold die cut. I added it to the middle of the background with mounting foam. I cut the Art Deco Fan Border out of antique gold card. I cut it down the middle of the die to create two borders. I cut a thin strip of antique gold card and glued it to both pf the borders on the cut side. I attached the borders to the sides of the card. I cut the middle die from the Rosette out of amethyst card and glued it to the middle of the Rosette. I cut the Art Deco For You sentiment out of both antique gold and gold mirror card, then shadowed it and glued it to the centre of the card. The card was complete with white, antique gold and amethyst card mats and layers. The finished dimensions are 7" x 8 3/4" in size. All for now, Sue x
Hello there my crafty friends! I selected teal, antique gold and ocean cardstock for today's card. I cut a backround out of Ocean card and added a strip of teal with a smaller strip of antique gold on it to both sides of the card. I cut the Art Deco Ornate Tile out of antique gold card. I cut the middle die out of teal card and layered it on top. I cut the Art Deco Birthday Wishes sentiment out of antique gold and glued it to the centre of the diecut. The card was completed with white, teal and antique gold mats and layers. The finished dimensions are 7 1/2" x 8" in size. All for now, Sue x
Hi bloggers! I started today's card by selecting a piece of aqua card to use for the background. Using The Pet Pals Stamp set, I inked the paw print in black and stamped two pieces of white card. I lightly inked the edges of both of them with Tumbled Glass Distress Ink then matted both of them with a black mat. I added mounting foam to the back of them and attached them to the sides of the card. I cut Buddy out of a piece of dark brown card, added the extra ears and sunglasses cut in black. I cut an envelope in white and added a pink heart as well as a pink flower and leaves, which I added to his tail. I stamped the sentiment You Are My Favourite Hooooman from the stamp set and cut it out with a small rectangular die. I inked it lightly with Tumbled Glass Distress ink while still in the die. I added mounting foam to the back and seated it above Buddy. The card was completed with white mats and layers. The finished dimensions are 7 1/4" x 8 1/4" in size. All for now, Sue x
Hi bloggers! I selected the Stained Glass Maple Leaves for today's card. I cut the outer frame and the middle frame into a piece of white card. I selected the Lace Filigree Border and cut it into the bottom of the white card. I cut the Maple Leaves die in black with a white piece of card underneath, The black die cut was cut completely while the white card was just embossed with the design. I used alcohol ink markers to colour the leaves, then added the black die cut on top. I added it to the top of the card with mounting foam. I cut the Lace Filigree Border in white and added a piece of black card glittered with Black Onyx Glitterbitz behind the entire piece. I cut the You Are So Special sentiment in black and added it to a white shadow backing piece then attached it below the focal element with mounting foam. The card was completed with white and black mats and layers. The finished dimensioms are 7" x 8 3/4" in size. All for now, Sue x

Merry Christmas everyone! This is a first for me in a lot of years! I usually have three, four, even five days of leftover Christmas cards, but this year, these are the only leftover cards that I have! Not sure if that was great planning or just luckythat I had enough to get me through to Christmas! LOL I hope everyone is enjoying a lovely day with family and/or friends and you are all looking forward to a Happy New Year! All for now, Sue x

Good Sunday morning all! I selected a piece of pixied card from my background stash to use for today's card. I used Aqua Lagoon Pixie Powders to make the piece.Using the Art Deco Oval Frame, I cut the entire die out of silver sparkle card. I backed it with the pixied card, then cut the smaller rectangle out of it. I added mounting foam to the back of the outer frame, then added it to another piece of card. I recessed the smaller rectangle into the die cut. I cut the Art Deco Birthday Wishes sentiment out of leftover pixied card, then shadowed it in black and glued it to the card. The card was completed with white mats and layers. The finished dimensions are 6 1/4" x 7 1/2" in size. All for now, Sue x