Sunday 31 October 2021

Beautiful Inside And Out

Good Sunday morning all!  I embossed a piece of white card with the Fanciful Flowers embossing folder.  I used the debossed side of it and ran a Shaded Lilac Distress Oxide pad lightly over the top of it, leaving the embossed pattern uninked.  Next I used the Double Stitched Rectangles and made a wide white frame to go over it.  I cut the Beautiful Bold word out of white and black and shadowed it then added it to the centre of the card.  I stamped the rest of the sentiment and added it below.  Using the Pinwheel Flowers, I added a single flower, using shaded lilac as the bae and then adding the outline over it.  I added some of the Pinwheel flower leaves in white as accents.  The card was completed with white mats and layers  The finished dimensions are ???? in size.  All for now, Sue x 


                                                        Follow my blog with Bloglovin

Saturday 30 October 2021

Wild About You

Hi bloggers!  This is the very last of the rhino cards I made, but I just love this strange looking guy!  I started by stamping the sentiment *(from the Wild About You Clear stamp set) in the corner of a piece of white card, then I embossed it with the Animal Print Embossing folder.  I inked the Rhino stamp in black and used the matching Rhino die to cut it out.  I coloured him with Distress Markers (antique linen and weathered wood).  I used the same embossing folder to emboss a small piece of milk coloured card to go behind the rhino, but I used Taupe Matt Chalk Polish over the top of it before adding it to the rhino and trimming around the excess.  I added it to the centre of the card with mounting foam.  The card was completed with white and black mats and layers.  The finished dimensions are 6 1/2"  x  7 3/4"  in size.  All for now, Sue x


                                                      Follow my blog with Bloglovin

Friday 29 October 2021

Winter Wishes

Hello all!  I started todays card by cutting the Cut Corner Squares into a multi layered white frame.  I then cut the Swirling Rays Frame out of white card.  I had some leftover Pixied Card from the Layered Snowflake and I used that as the backing for the Swirling Rays.  I added the frame over it with mounting foam.  Next I cut the oval die from the Ornate Oval Frame die set.  I added a white backing to it, then added mounting foam to raise it in the centre of the frame.  I cut the Bold Word Wishes out of the blue pixied card, shadowed it in black then added it to a strip of white vellum across the oval frame.  I stamped the word "winter" and cut it out with the tag, then added it above the "W" in wishes.  I cut two of the Bauble Branches in silver card and added them in opposite corners as accents.  The card was completed with white mats and layers.  The finished dimensions are 8"  x  8"  in size.  

There are still a couple of dies from the blog launch that have not been claimed.  Please scroll down to see if your name is on the list and email me to claim your winning die!  All for now, Sue x


                                                         Follow my blog with Bloglovin

Thursday 28 October 2021

I'm Thinking Of You

Hello bloggers!  I started by embossing a piece of white card with the Twill Weave embossing folder.  I added a piece of wisteria card to it with a sticky adhesive sheet added to it and cut the French Marigold dies and arranged them on it.  I filled in the leftover sticky areas with Frosted Sparkle Glitterbitz.  I cut a strip of black card and added a white piece with stitching from the Stitched Rectangle Frames die.  I cut more of the French Marigolds and inked them with Shaded Lilac, spritzed them with water and scrunched them.  I assembled them once dry and added them in a cluster to the bottom of the card.  I added some leaves cut out of green card.  I added a Bauble branch cut in whit as an accent.  I cut the I'm Thinking Of You die in both Wisteria and black and shadowed it then glued it in the upper part of the card.  The card was completed with white, wisteria and black mats and layers.  The finished dimensions are 7 1/4"  x  8 1/4"   in size.  All for now, Sue x


                                                           Follow my blog with Bloglovin

Wednesday 27 October 2021

Layered Snowflake

Hello bloggers!  Here is a super simple card where the dies do all the work!  I selected a piece of Pixie powdered card from my stash where I had used Midnight Blue all over it.  I cut the snowflake from the Layered Snowflake die set out of it.  I backed it with a piece of white card and added mounting foam to the back of it.  Next I cut the background from the same die set in white.  I added the snowflake to the centre.   I added the background to a larger piece of white card and ran double sided tape all the way around the edges.  I used Iced Snow on the tape to add a bit of bling.  The card was completed with white mats and layers.  The finished dimensions are 7 1/4"  x   7 1/4" in size.  

Just a quick note to remind you to scroll down and check the list of winners from the October Blog Launch!  If your name is among them, then please email me your details.  All for now, Sue x


                                                        Follow my blog with Bloglovin

Tuesday 26 October 2021

October Blog Launch Die Winners!

 Hello bloggers!  I have done the drawings and have the names of the winners (and a bit quicker than I usually am too!)  Here are the winners:


Dandelion Stained Glass Circle:  DeCor!!!

Gerbera Stained Glass Circle: Nanna Shaz 54 in MK!!!

Sunflower Stained Glass Circle:  Bucks Girl Colleen!!!

Chrysanthemum Stained Glass Circle:  Marie P in Longridge!!!

House Front Shaped Card:  Alice ScrAPamondo!!!

Cottage Shaped Card:  Tres!!!

House Front Accessories:  Owlish!!!

Watering Can Shaped Card:  Stella Munn!!!

Floral Bouquet:  Eunice in Edmonton!!!

Dots 'n' Stripes Paper Pad:  June Smith!!!

All Things Grow With Love:  Christine Bentley!!!

Butterfly Shaped Card:  Crafty Jo!!!

Happy Retirement:  Steph Cotterill!!!

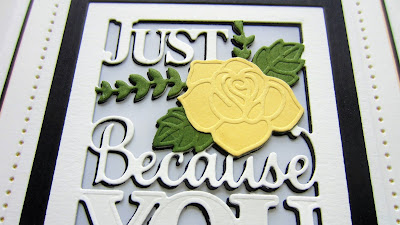
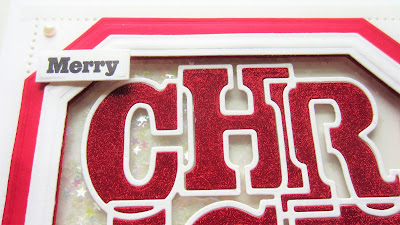
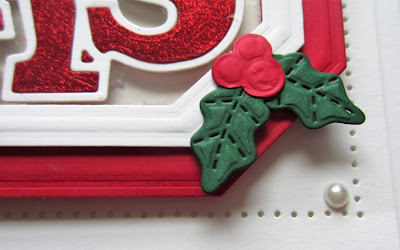
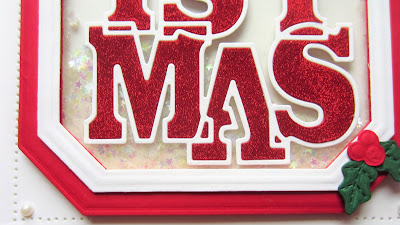
Decorative Squared Octagons:  Marion Scott!!!


Congratulations all!  Please email me at americansue1@gmail.com to confirm your postal address and claim your winning die.  I ask that you put the name of the die you won in the subject line of the email please.  All for now. Sue x

You Are So Special

Hello bloggers!  I cut the You Are So Special All In One out of white and black card.  I used the black die cut as a shadow behind the white one.  Next I cut the die again out of straw yellow and green card.  I nipped away the flowers out of the yellow die cut and I nipped away the leaves out of the green die cut.  I glued them into place on to the white die cut.  I added a white vellum backing to the die.  Using the Slimline Essential Frames, I cut a thin black frame that I added to the white die cut.  I left a wide margin around the die when I first cut it.  The card was completed with white, straw and lack mats and layers.  The finished dimensions are 5"  x  9"  in size.  All for now, Sue x


                                                        Follow my blog with Bloglovin

Monday 25 October 2021

Merry Christmas

Hello crafters!  I have a shaker card to share with you today.  I started by cutting a multi-layered frame using the Clipped Corner Rectangles.  I cut a wider red frame and added a thinner white frame on top.  I glued a piece of acetate to the back of the frame then added mounting foam all the way around it.  While the frame was sitting upside down, I added some Crystal Stars to it, then sealed it with another piece of acetate.  I cut the Christmas Big Bold Word out of white card and glued it to the front of the acetate in the frame.  I covered a piece of red card with a sticky adhesive sheet, then coated it with Fire Red Polished Silk Glitter.  I cut the Christmas word die out of it, then used the fall away pieces and paper pieced it back into the die cut I glued to the acetate.  I stamped the word merry and cut it out and added it to the top of the frame with mounting foam.    I cut a small holly and added some red berries to it then added it to the lower corner of the frame.  The card was completed with white mats and layers.  The finished dimensions are 7"  x  8 1/4" in size.  All for now, Sue x


                                                        Follow my blog with Bloglovin

Sunday 24 October 2021

To A Dear Friend

Good Sunday morning all!  I made this sweet little card with a piece of caught in crystal background I had in my stash.  I started with a piece of acetate and added Blue Aquamarine crystal Tint to it.  I sprinkled some Blush Haze holographic glitter on to it, then scrunched a piece of tissue paper and laid it on top.  I set it aside to dry overnight.  I used the Stitched Rectangle Frames and made a white frame to go around it.  I cut the vase from the Beautiful Blossoms out of black gloss card.  I added three white pussy willow branches from the Elegant Arrangements  to it.  I cut the To A Dear Friend twice out of white card and glued them together then glued them to the left side of the frame.  The card was completed with white and black mats and layers.  The finished dimensions are 4 3/4"  x  9 1/4" in size.  All for now, Sue x


                                                           Follow my blog with Bloglovin