Tuesday 31 May 2016

"Seams" Like Fun


Hi bloggers!  Yes, it's a bit of a corny title, but today's video is all about cutting your dies, rearranging them to do what you want them to do and then hiding the seams!  It isn't hard at all to do.


 The finished dimensions are 7 1/4" x  7 1/2" in size.  All for now, Sue x
                                                        Follow my blog with Bloglovin

Monday 30 May 2016

Hello Friend

Hello crafters!  I started by cutting both ends of a piece of coconut white card with the Aquila Gemini die.  Next I used the Magnolia Adornment outer cutting edge to cut an aperture.  This had to be cut in two sections since the die is a sort of half circle shape.  I just lined up the straight side from the first cut with the second cut to do this.  Next I used the cut out pieces from the aperture to cut the decorative portion of the die.  I added mounting foam to the back of the aperture piece to raise it for dimension.  I cut a piece of Vintage Silver card just slightly longer than my aperture and embossed it with the Bed of Roses embossing folder for texture.  I mounted the aperture over it then added white pearl strips to both of the ends as accents.  I recessed the Magnolia Adornment cut outs into the aperture and glued them into place.  I cut two each of the Pierced Flag die in both white and silver and matted them, then put them end to end in the centre of the card.  I stamped my sentiment from the Lavish Petite Sentiment set and cut it out with the circle die from the New Zealand Tag, then added it to an Australian Tag which I cut in silver.  The card was matted and layered in white and silver to complete it.  The finished dimensions are 6 3/4" x  9 1/4" in size.  All for now, Sue x


                                                        Follow my blog with Bloglovin

Sunday 29 May 2016

Fluttering By

Good Sunday morning all!  I started by embossing a piece of coconut white card with the Provencale Lace embossing folder for texture.  Once embossed, I very lightly added some Victorian Velvet Distress ink across the top with a smoothie to add just a hint of colour to the background.  Next I cut the Auckland die out of white card and backed it with some card from my stash (called Strawberry and Cream).  I cut two of the Magnolia Adornments in white and turned the Auckland to a diamond orientation, adding the adornments to the sides.  I stamped the sentiment and cut a frame for it using the cutting edge from the Auckland and the the Maggie die set.  I added some foam to it and centred it over the sentiment then trimmed away thee excess around the edge.  I seated it in the middle of the card and cut three butterflies from the Thank You Circle set to add as accents.  I finished the card in my usual manner with piercing and matting.  The finished dimensions are 7" x  8" in size.

The winner of this week's Comment Game are:

TDQ Karen!!!
June Smith!!!
Janice Robinson!!!

Congratulations all!  Please email me at americansue1@gmail.com to confirm your address and claim your card!  All for now, Sue x


                                                         Follow my blog with Bloglovin


Saturday 28 May 2016

Striplet Frame Card


Hi bloggers!  Striplets are such a useful die, there are just so many things that you can do with them.  Don't they make a fabulous frame!  The sweetheart flower makes a great accent too and I show you a different way to use it in today's video.

The winner of this week#s Wednesday Card Giveaway is:

Crafti Moggie (Pearl)!!!

Congratulations!  Please email me at americansue1@gmail.com to confirm your address and claim your card.


 The finished dimensions are 7 1/4" x  7 1/4" in size.  All for now, Sue x
                                                        Follow my blog with Bloglovin


Friday 27 May 2016

Many Thanks

Hi bloggers!  Today's card has a bit of a stained glass look to it.  I started with a piece of black card and simply used gilding wax to create this look.  I started by adding Enchanted Gold wax with my finger and just adding it all over the card.  Next I added Golden Light, then Deep Red, then Summer Blue.  I rubbed the piece with some kitchen roll to polish it and help the colours meld into each other a bit.  I cut the Scattered Leaves Background out of black card, then nipped it in half and removed a bit of the centre to create a square rather than a rectangular background.  I glued it over the gilding wax background.  I added mounting foam to the back and attached it over a piece of coconut white card that I embossed with the Jacobean Floral embossing folder.  I stamped a sentiment and cut it out with the smaller oval from the Lauren die set.  I used the larger oval to cut a black oval to mat it.  I cut the tag from the Lauren die in white then nipped it in half and attached the ends to the oval and mounted it across the centre of the card.  The tag ends helped hide the seam from the background where I cut it in two.  I completed the card with a white pierced mat, a thin black mat and a final white mat layer.  The finished dimensions are 8" x  8" in size.  All for now, Sue x


                                                          Follow my blog with Bloglovin


Thursday 26 May 2016

Configurations Card


Hello there my crafty friends!  Configuration cards are always so easy to do and the results are just so spectacular.  I just love the way the black pops against the aqua card, don't you?  I hope you can take a few minutes to watch the video.


The finished dimensions are 8" x  8" in size.  All for now, Sue x


                                                           Follow my blog with Bloglovin


Wednesday 25 May 2016

Wednesday Weekly Card Giveaway


Hi bloggers!  Today's card giveaway is a sweet birthday card!  I started with a piece of coconut white card and used the Dorado Gemini die on either end of it to cut a pretty edge.  I used the outer cutting edge from the Melbourne die to cut an aperture in the centre.  Next I cut the 
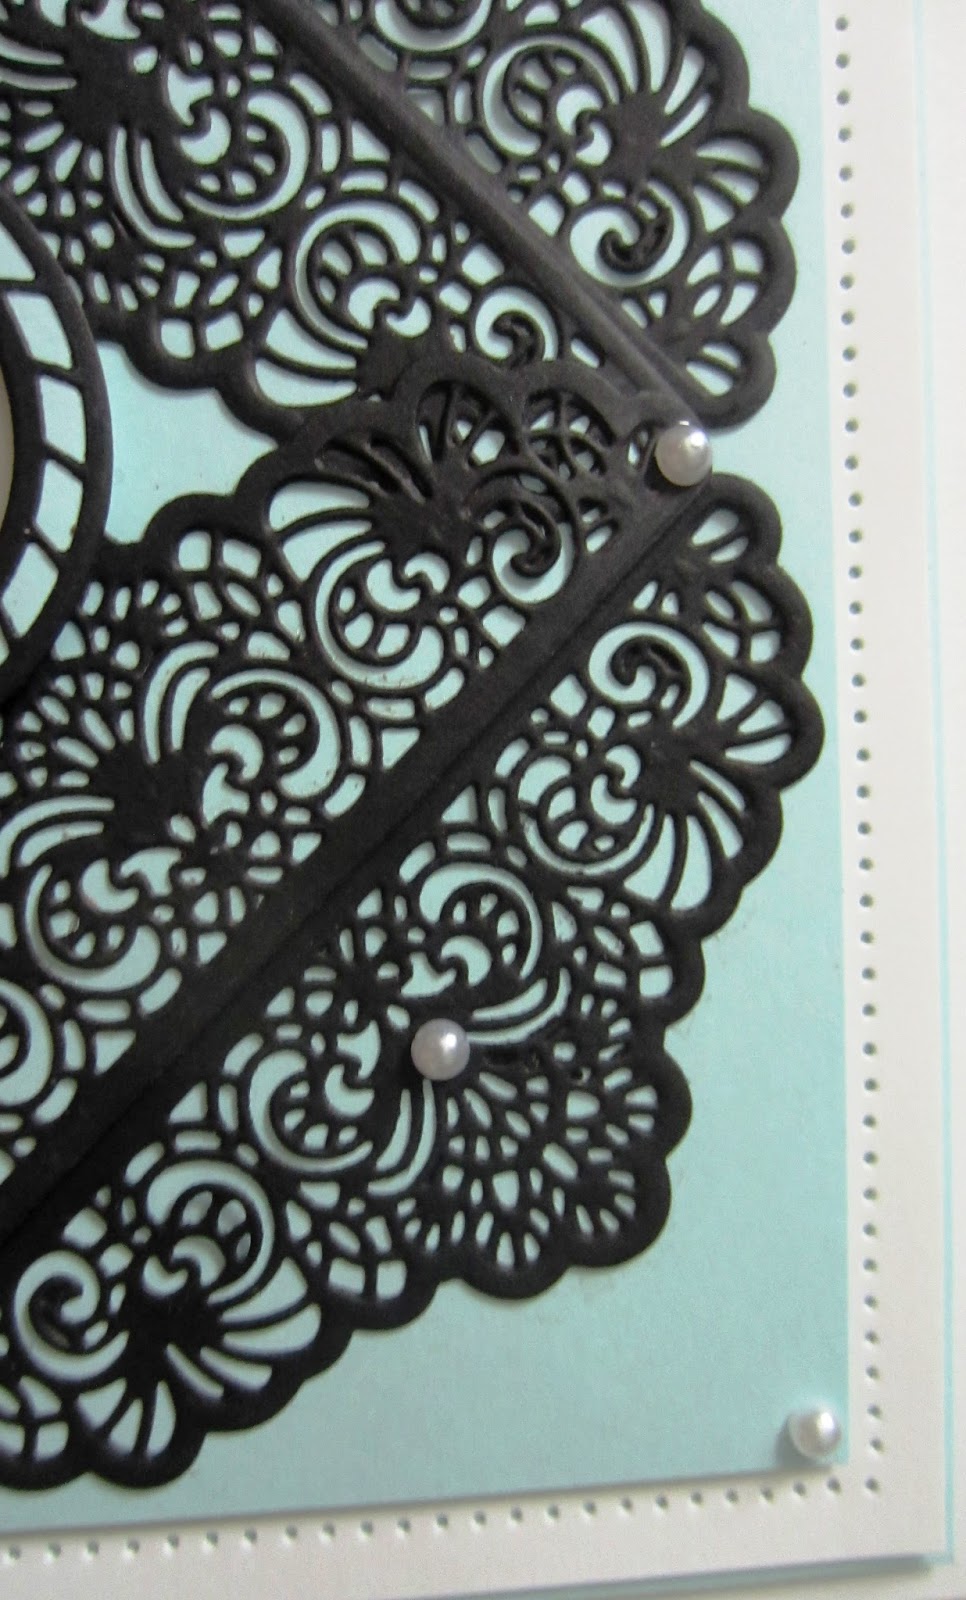
Australian Background die in white and cut away the two longer sides to use as borders.  I added a thin aqua card backing to them and glued them to the inside of the Dorado edges, wrapping the ends around the back of the card.  I added mounting foam to raise the entire piece for dimension and then added it over a piece of aqua card.  I cut the 
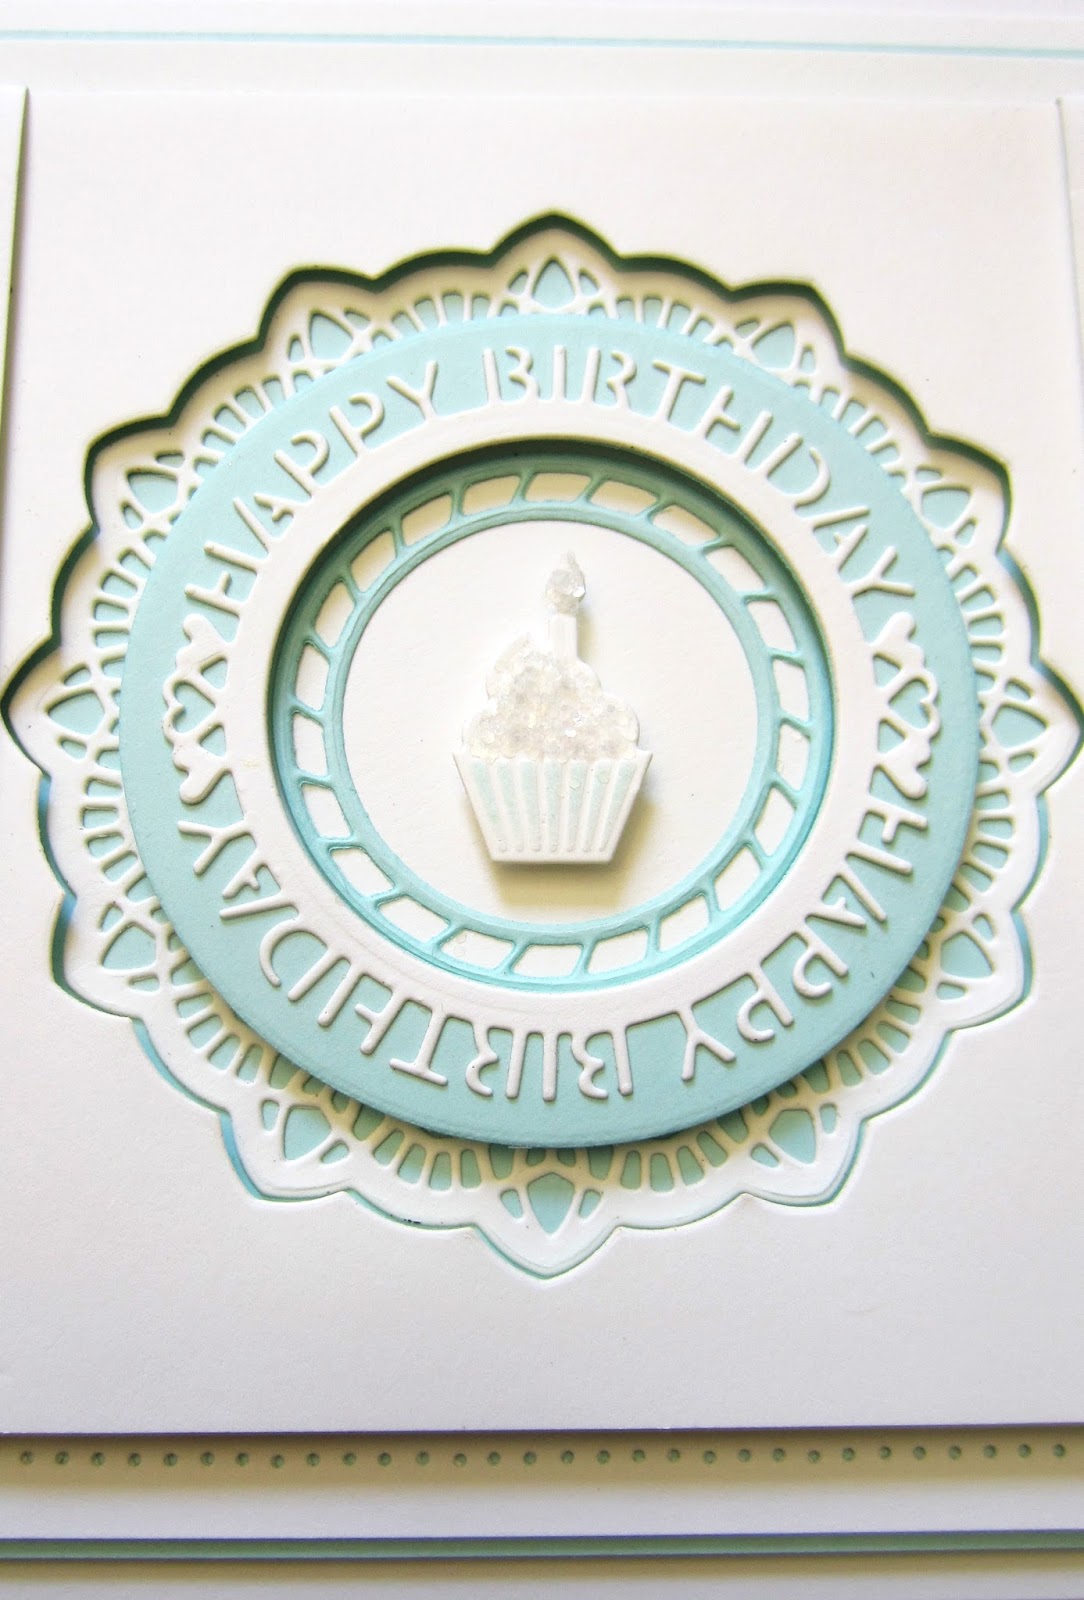
Melbourne die using the decorative die  and then recessed it into the aperture opening.  Using the Birthday Circle die from the Perspective range, I cut the lettering in white, then added it to an aqua ring backing.  I mounted it on foam and placed it on to the Melbourne die.  For the very centre, I cut the small ring in aqua and glued it into the opening, then cut the cupcake in white.  I added a bit of aqua ink while still in the die ten glittered the flame on the cupcake and mounted it on foam in the centre.  The card was completed with a paper pierced edge using my piercing ruler, a thin aqua mat and a final white mat.  The finished dimensions are 6 1/4" x  9 1/4" in size.  Leave a comment if you would like to be entered into the drawing to win this card.  All for now, Sue x


                                                         Follow my blog with Bloglovin