Wednesday 31 March 2021

You're Never More Than A Thought Away

 Hi crafters!  I have a few more All In One samples to share and I just loved the bright colours from this one!  I used a piece of acetate to start and added a sticky adhesive sheet to it.  I peeled the other side of the backing paper off and coated it randomly with  all colours of the Holographic Glitter.  I cut the You're Never More Than A Thought Away die in white and glued it to the top of the acetate (glitter was on the other side of the acetate).  I cut the scalloped backing piece in white and glued the die cut to it.  I used  the Flourish Border Frame embossing folder in white.  Using mounting foam to raise it slightly, I attached the die cut to the centre of the embossed background.  The card was completed with white mats and layers. The finished dimensions are 7"  x  8 1/2" in size.  All for now, Sue x


                                                        Follow my blog with Bloglovin

Tuesday 30 March 2021

Happy Birthday

Hello crafters!  Here's a card that you can use in a pinch for a quick birthday card!  I used one of the pixie powder backgrounds from my stash (I highly recommend having a stash of backgrounds you can grab when needed).  I used Sun Yellow and Lave Red Pixie powders on it.  I cut the Birthday Big Bold Word die in black and glued it on to the shadow die which I cut in white.  Next I covered some white card with a sticky adhesive sheet and then coated it with Frosted Sparkle Glitterbitz.  I cut the Birthday die out of it and saved all of the fall away pieces.  I paper pieced them back into the birthday outline (takes about 10 minutes).  I added foam mounting to the back and attached it to the background.  Using a small piece of leftover pixied card, I stamped the Happy stamp in black and cut it out, then mounted it in the centre of the card.  The card was completed with white and black mats and layers.  The finished dimensions are  in 6 1/4"  x  7 1/2" size.  All for now, Sue x


                                                         Follow my blog with Bloglovin

Monday 29 March 2021

You Are The Best

Hi bloggers!  How about a simple but pretty pastel card.  I started with the Slimline Large Circles Background and cut it in white as my base.  Next I cut it again in custard, soft salmon and powder pink card and kept the fall away circles from each of them.  I paper pieced the circles back into the white base card, alternating colours.  I used the Slimline Essential Frames to add a multi-layered frame over it, using powder pink on the bottom and a thinner frame of custard on top.  I cut the You Are The Best sentiment several times in white and stacked them, then glued it to the top of the vertical card.  I used two simple Dandelion Clocks cut in white on the bottom of the card.  I added some white glitter to the tips of each of them.  The card was completed with white mats and layers.  The finished dimensions are 4 3/4"  x  9 1/4"  in size.  All for now, Sue x


                                                        Follow my blog with Bloglovin

Sunday 28 March 2021

Thanks

Good Sunday morning all!  I missed this Endless Options creation so I thought I would share it now.  I started with a piece of black card and coated it with the Blue Wisteria Opal Polish and let it dry.   I used the Whitney Background and cut into the card with it.  Next I used the Whitney Edgers to cut it to three pieces.  I used the edgers with some of the leftover polished card and cut the two inner edges that are scalloped and dotty, then backed them with black card and glued them along the original edges.  I glued the two outer edges to a larger piece of white card, then glued the centre piece into the middle.  I cut one more centre section of the background and used it as a bridge across the centre and left a slight bow in it.  I added the Thanks Noble sentiment cut in black with a white shadow to it.  The card was completed with white and black mats and layers.  The finished dimensions are 6 1/2"  x  8 1/4" in size.  All for now. Sue x


                                                        Follow my blog with Bloglovin

Saturday 27 March 2021

You're The Best

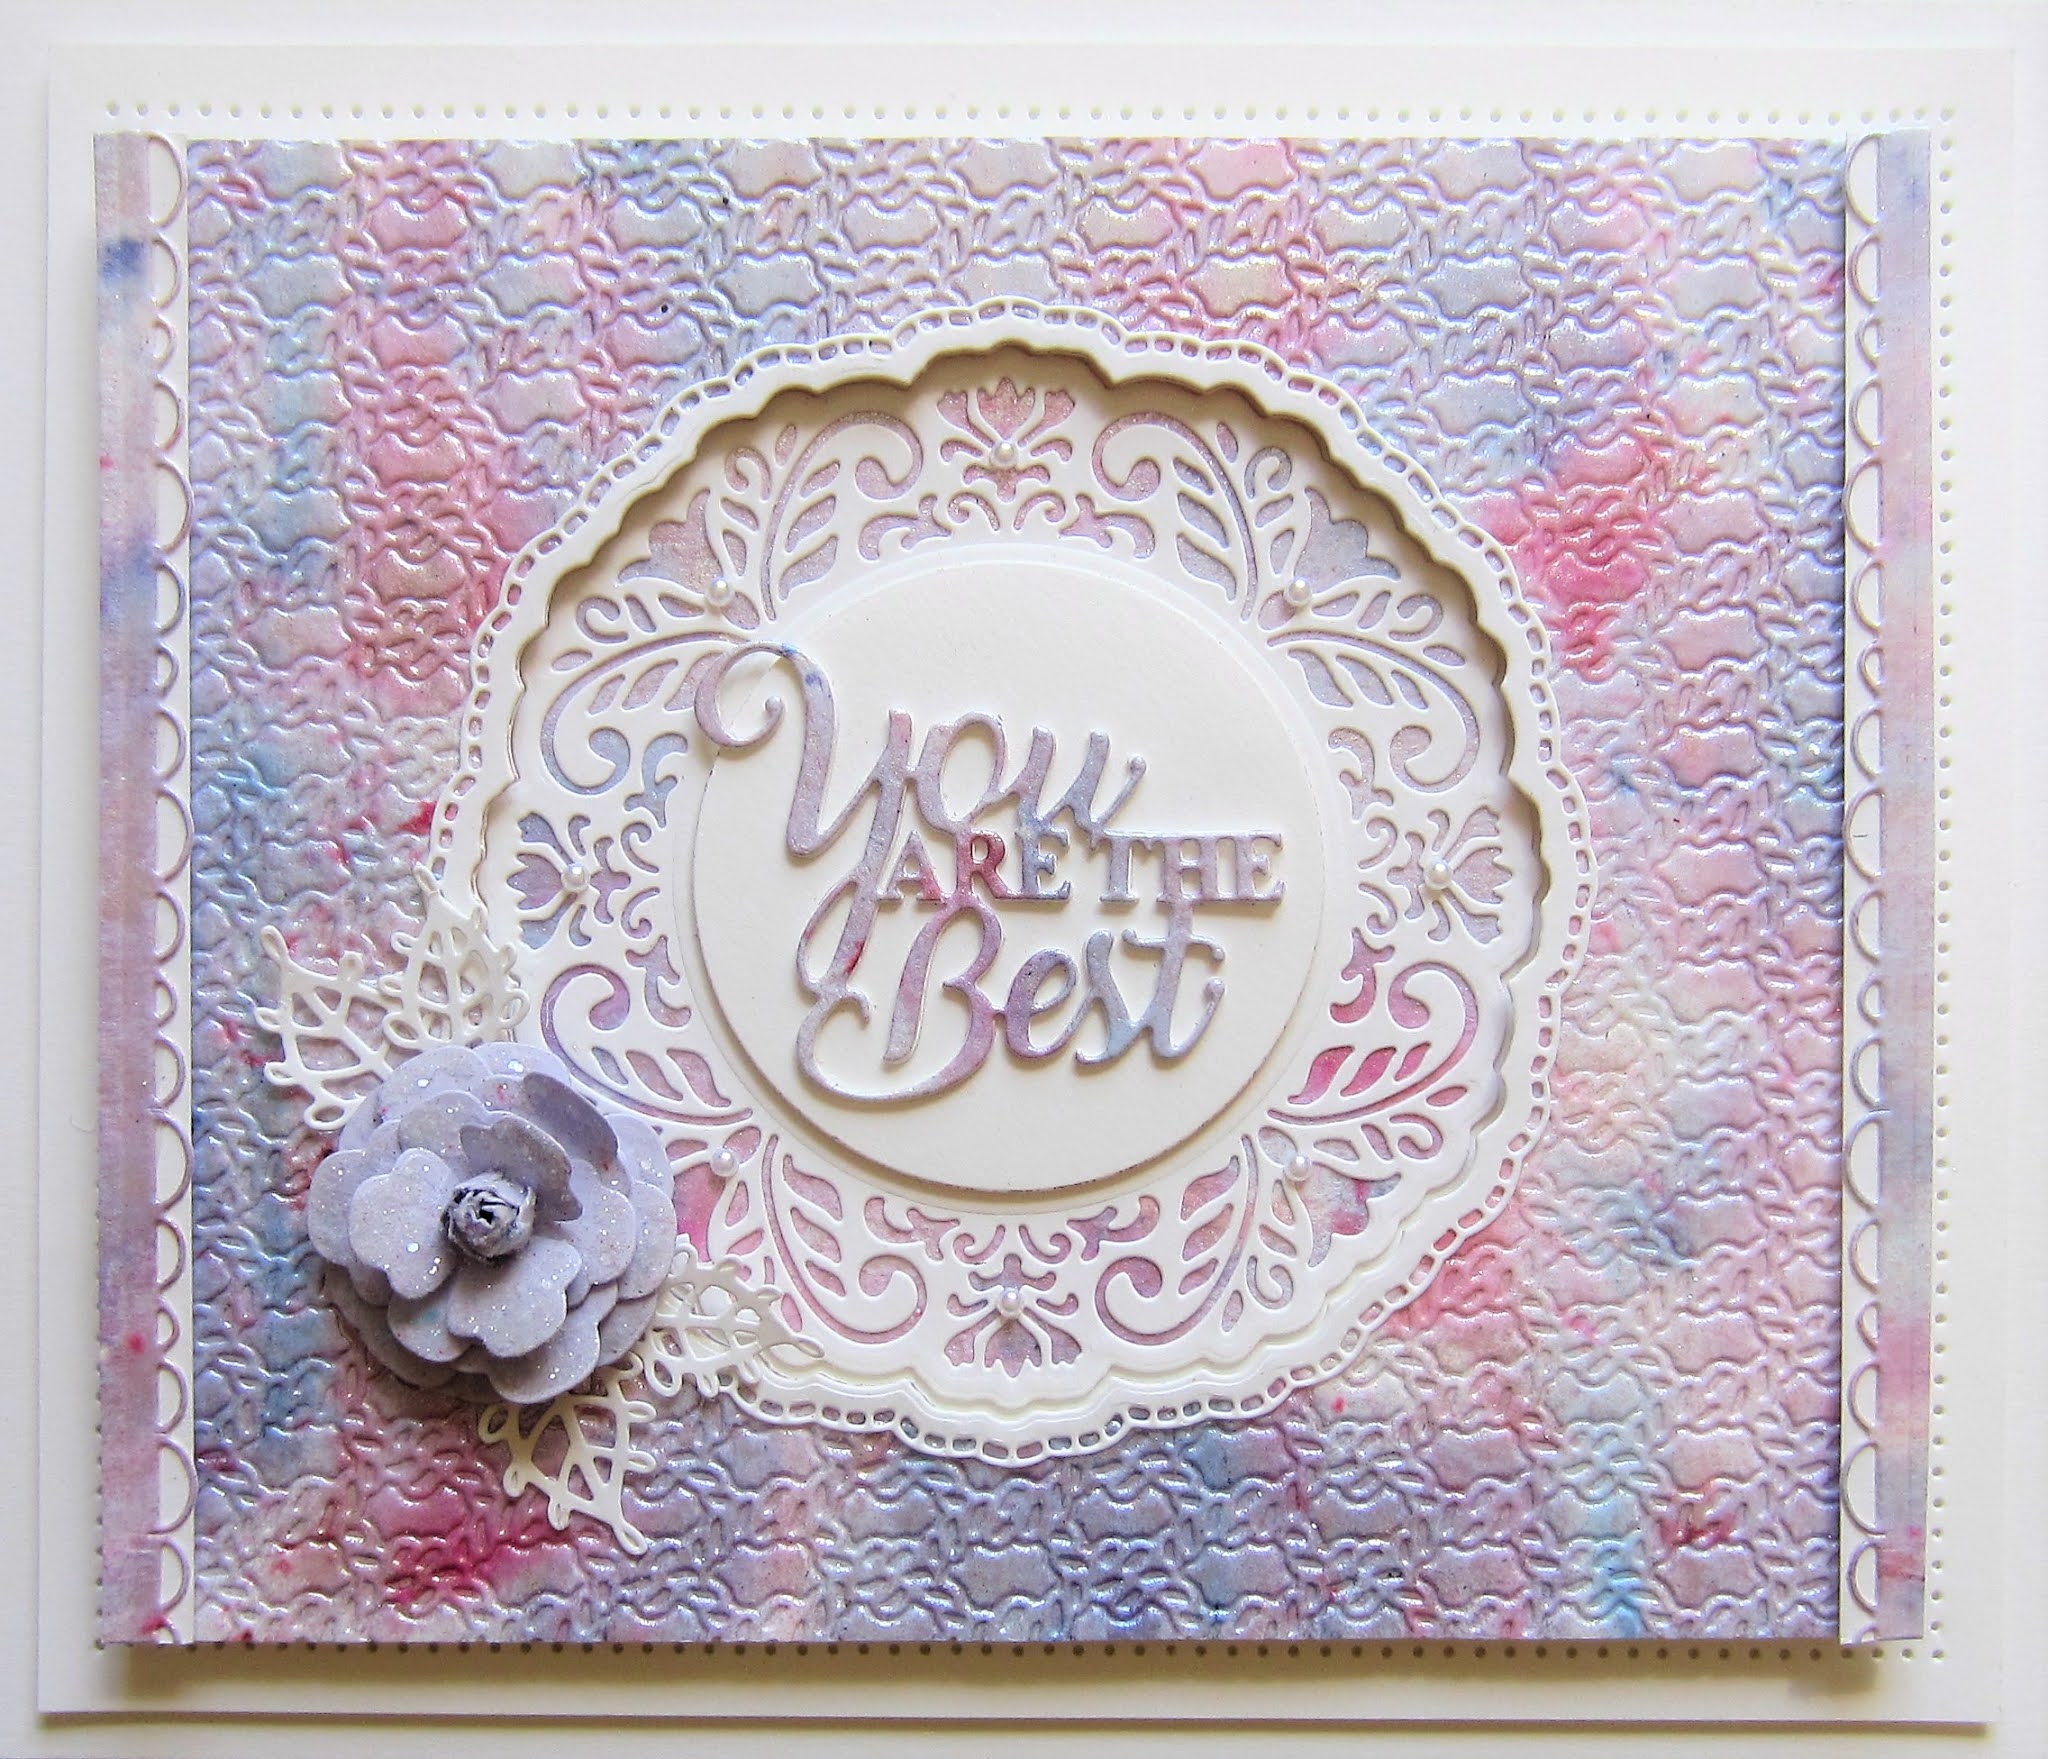
Hello there my crafty friends!  I started today's card by making the background using Pixie Sparkles.  I tapped Groovy Grape and Coral Crush Pixie Sparkles all over the card, then spritzed it with water to activate the powder.  I allowed it to dry well then cut an aperture in the centre using the Millie die cutting edge.  I embossed the background with the Rope Chain embossing folder, then added mounting foam to the back of the card.  I added the background to another piece of white card then recessed the piece that was cut out of the aperture down into the centre.  I cut the Millie die in white and glued it into the aperture centre too.  I used the two outer cutting edges from the Millie die to make a thin decorative frame that I glued to the outside edge of the aperture opening.  I had some leftover bits from the pixied background so I cut the You Are The Best sentiment out of it as well as the two thin side borders.  I glued the sentiment into the centre of the card.  I added a white strip of card to the side borders (which were cut from the Linear Elegance Edger set) so they stood out a bit more then glued them to the edges of the card.  I cut a flower from the Striped Nasturtium die and made it 3 dimensional, glittered it then added it to the corner of the Millie die with a couple of Lace Edged Leaves as accents.  The card was completed with white mats and layers.  The finished dimensions are  in 7 1/2"  x  8 1/2" size.  All for now. Sue x


                                                      Follow my blog with Bloglovin

Friday 26 March 2021

Dare To Be Different

Hello crafters!   I had a bit of fun using our new Deckle edged ruler to create the background for this one!  I used a piece of black card and torn it along the edge of the Deckle edged ruler to create a zebra striped look background.  I glued them to a piece of white card, then stamped my sentiment from the Wild About You stamp set in the lower corner.  I stamped it using a Clear Perfect Medium pad and heat embossed it with True White detail embossing powder.  I wrapped some natural jute twine around opposite corners and taped the ends to the back of the card.  I stamped the Zebra twice and cut them out with the matching Zebra die.  I coloured the zebra on one of them (actually just shadowed it with Tumbled Glass and Antique Linen Distress Markers.  I coloured the frame on the other one using an Antique Linen Distress Marker.  I cut the zebre away from the frame then added mounting foam to raise the frame and added it to the other zebra die cut.  I sponged some Tumbled Glass ink on to a piece of white card and mounted the zebra over it, trimmed the edges, then added it to the centre of the card.  The card was completed with white, arctic blue and black mats and layers.  The finished dimensions are 6 3/4"  x  8 1/2"  in size.  All for now. Sue x


                                                      Follow my blog with Bloglovin