Just a quick note to let you know that Jamie Rodgers will be on Hobby Maker with his brand new collection called Wings Of Wonder today at 4pm and Wednesday at 3pm. I hope you can set aside some time to watch Jamie's shows and his amazing demonstration! All for now, Sue x
Hello bloggers! I raided my offcut stash and found some custard, straw, raspberry, deep pink and powder pink card scraps and cut them into 1/2" strips. I covered a piece of card with a sticky adhesive sheet and laid the strips down alternating the colours to create the background. Next I cut a multi-layered white frame using the Double Stitched Rectangles. I cut a wide base and added a thin frame on top of it. I added mounting foam to the frame back and attached it to a piece of white card. I used the Layered Posy die set and cut the flowers out of two shades of yellow and two shades of pink. I cut the foliage out of two shades of green. I assembled all the flowers and the leaves and added them across the bottom of the frame and two in the upper corner. I cut the Noble Always & Forever sentiment out of raspberry card and glued it inside the frame in the top corner. The card was completed with white mats and layers. The finished dimensions are 7 1/2" x 9" in size. All for now, Sue x
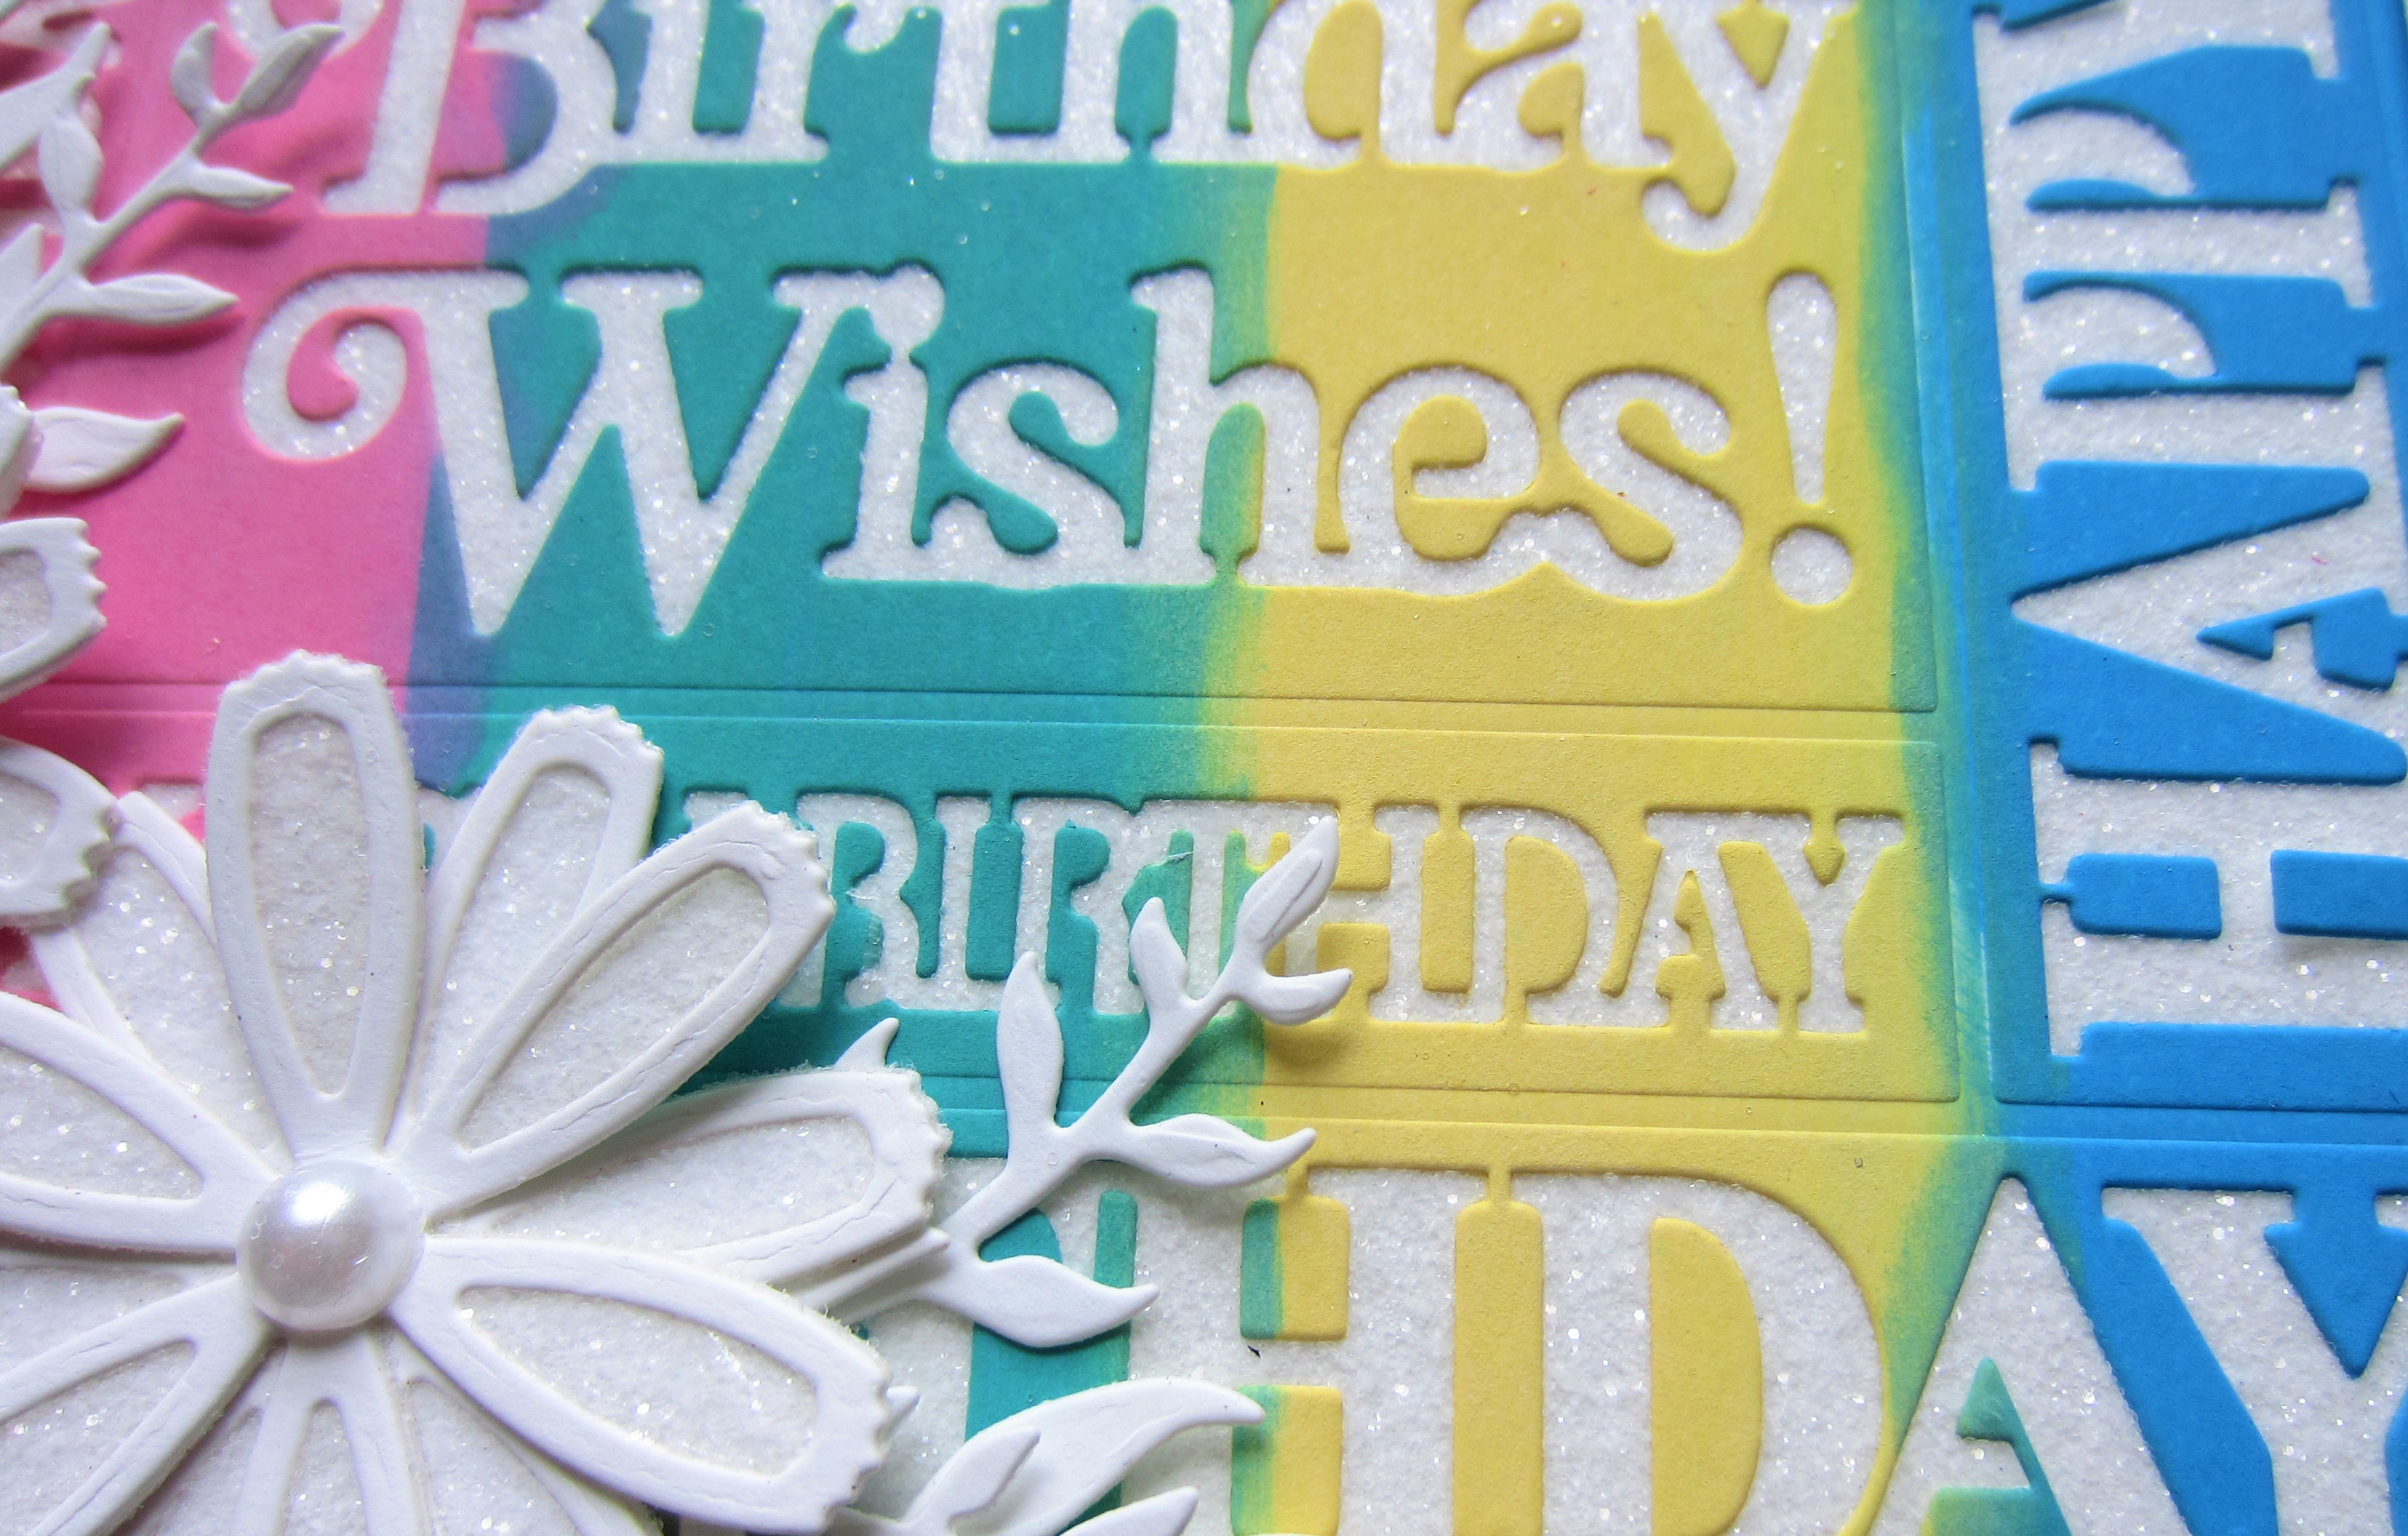
Good Sunday morning all! I cut the Birthday Wishes Background out of white card. I used Mermaid Lagoon, Squeezed Lemonade, Evergreen Bough and Worn Lipstick Distress Oxide Inks and sponged the colours in blocks. I added a white backing with a sticky adhesive sheet added to the background after sponging colour on it. I used Frosted Sparkle Glitterbitz on the exposed adhesive areas. Next, I added a white frame using the Double Stitched Squares. I cut the Cosmos Flowers in white card covered with a sticky adhesive sheet. I peeled the backing paper off the flowers, then added the outline die in white and sprinkled Frosted Sparkle Glitterbitz on the remaining adhesive areas. I assembled the flowers and arranged them in the lower corner, adding white leaves as accents. he card was completed with white mats and layers. The finished dimension are 7" x 7" in size. All for now, Sue x
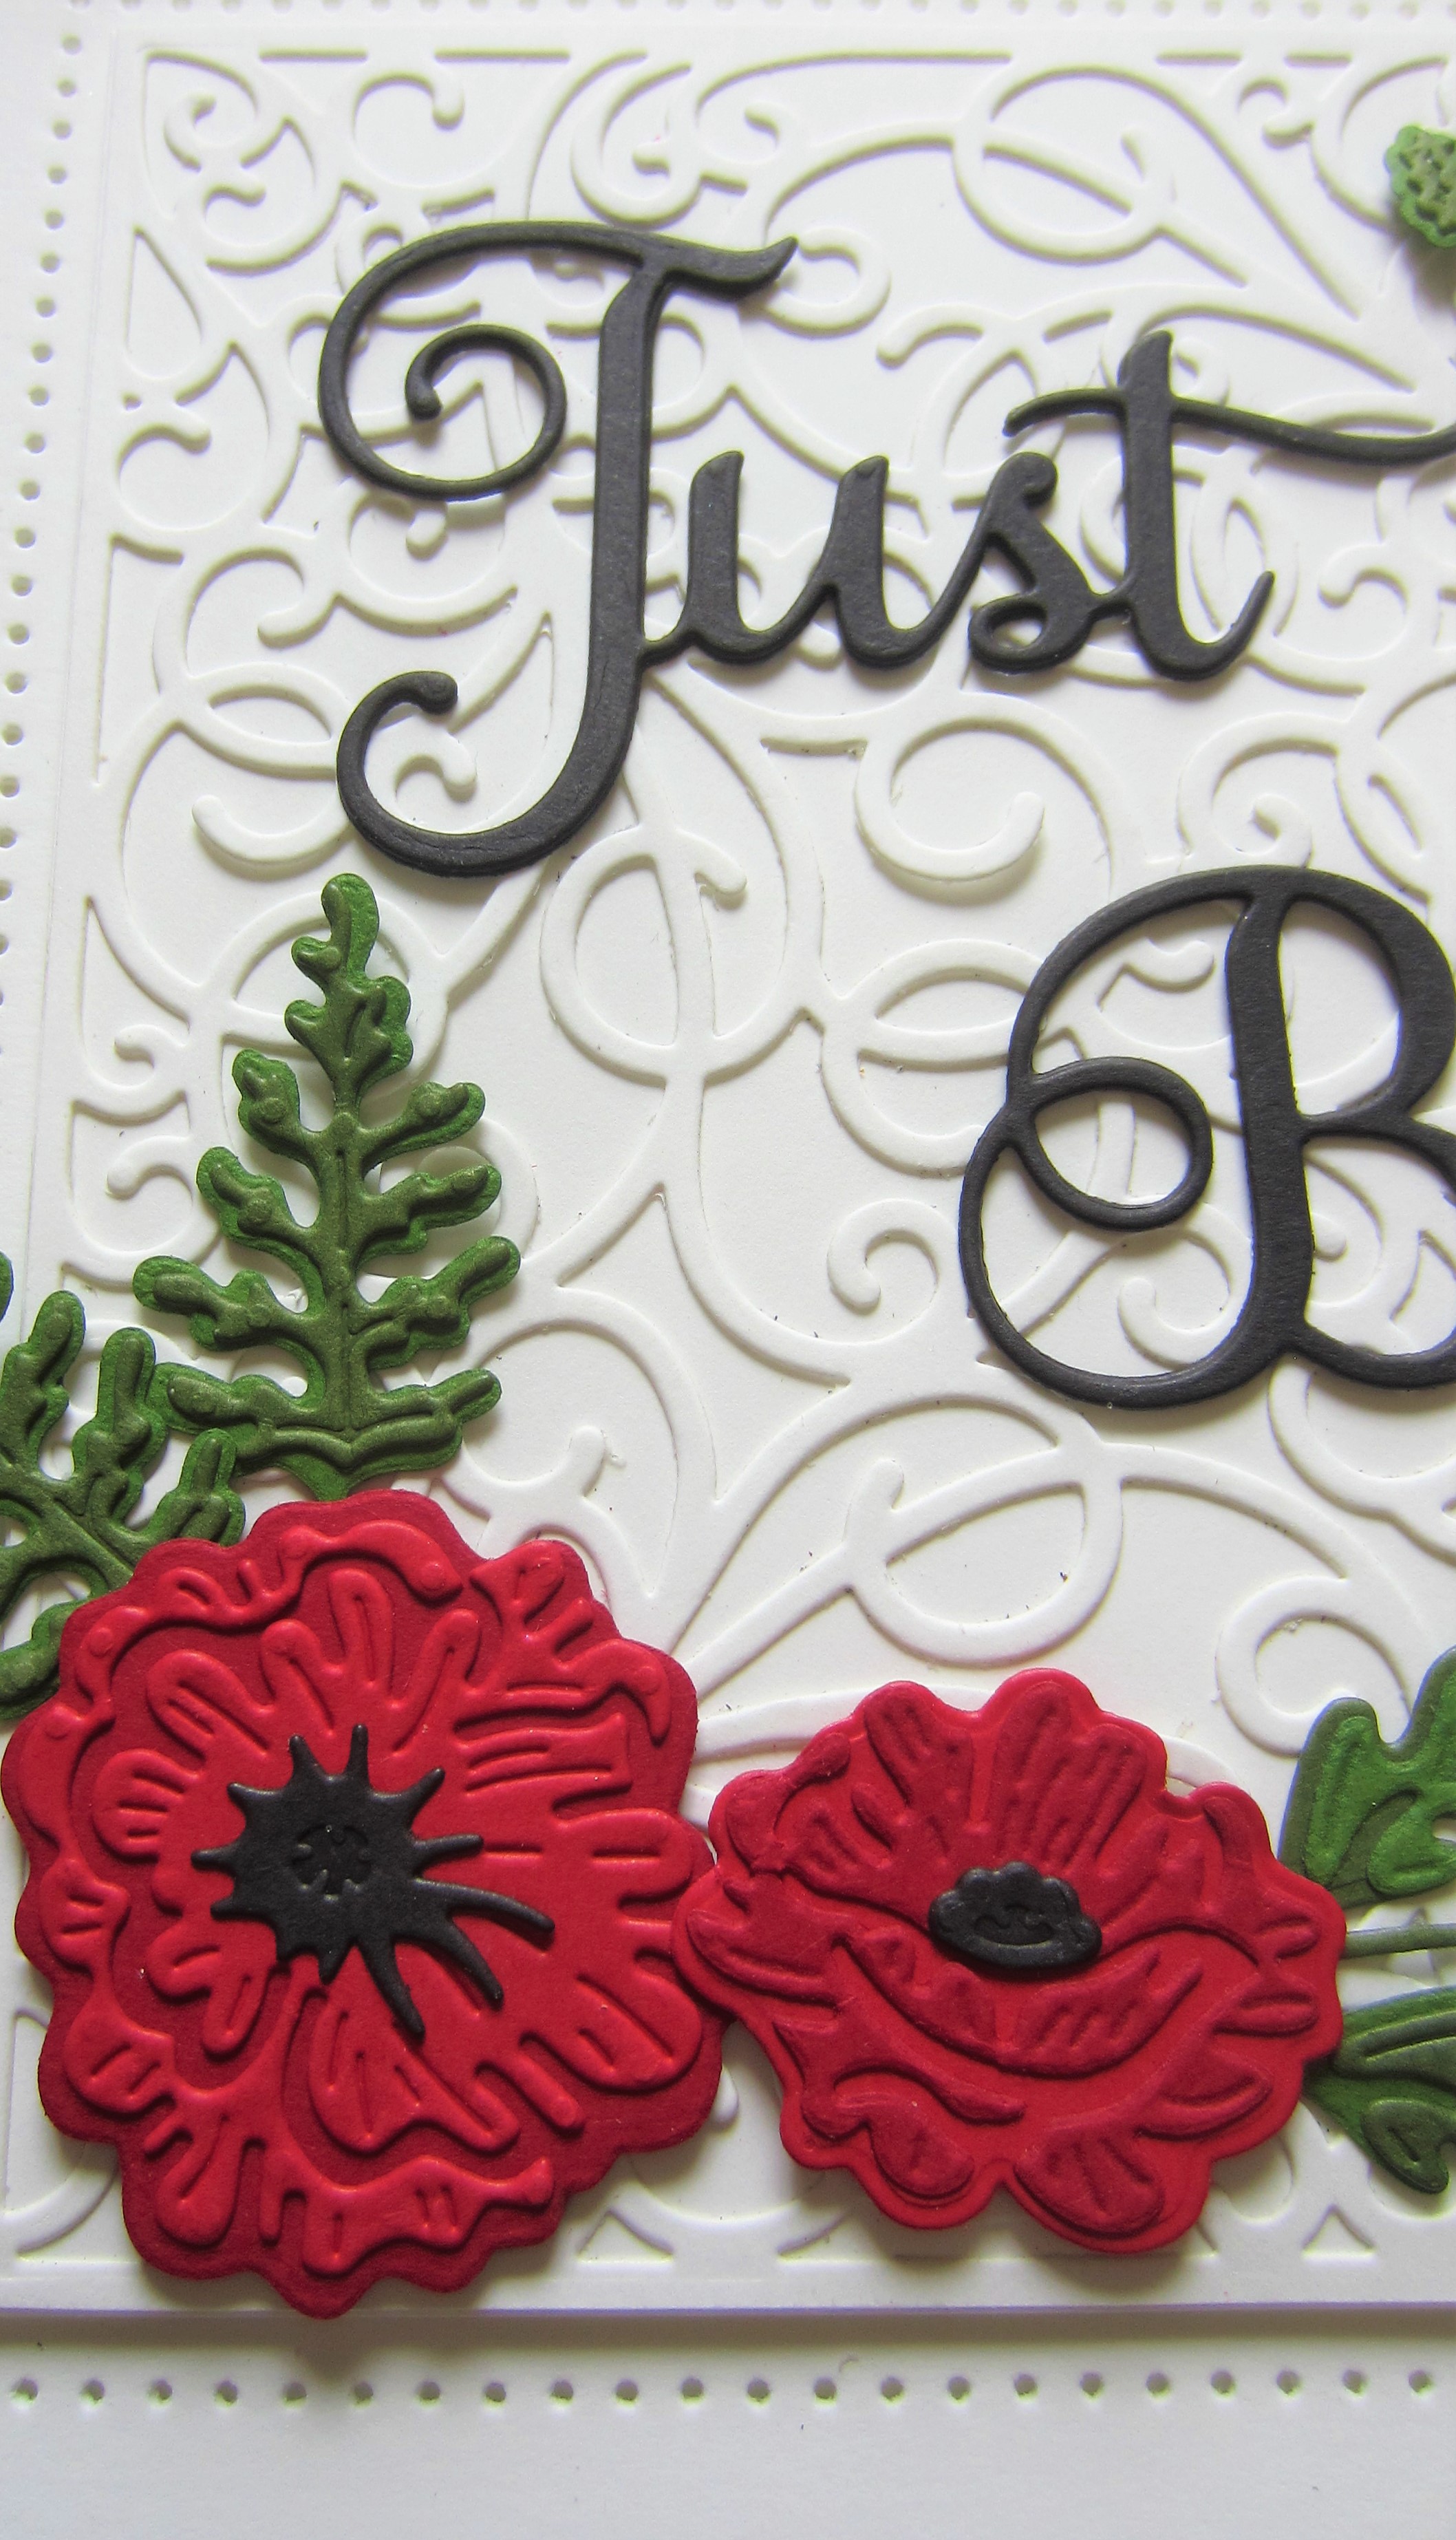
Hello there my crafty friends! I cut the Swirly Scrolls background in white and added a white backing to it. I cut the Layered Poppies in two shades of red and assembled them and added black centres to each of them. I cut the buds and leaves in two shades of green and assembled them. I added two poppies in each corner with leaves and a bud. I cut the Just Because sentiment in black and glued it to the background. I cut the large butterfly from the Dainty Butterfly set and added it to the card. The card was completed with white mats and layers. The finished dimensions are 6 1/2" x 8 1/2" in size. All for now, Sue x
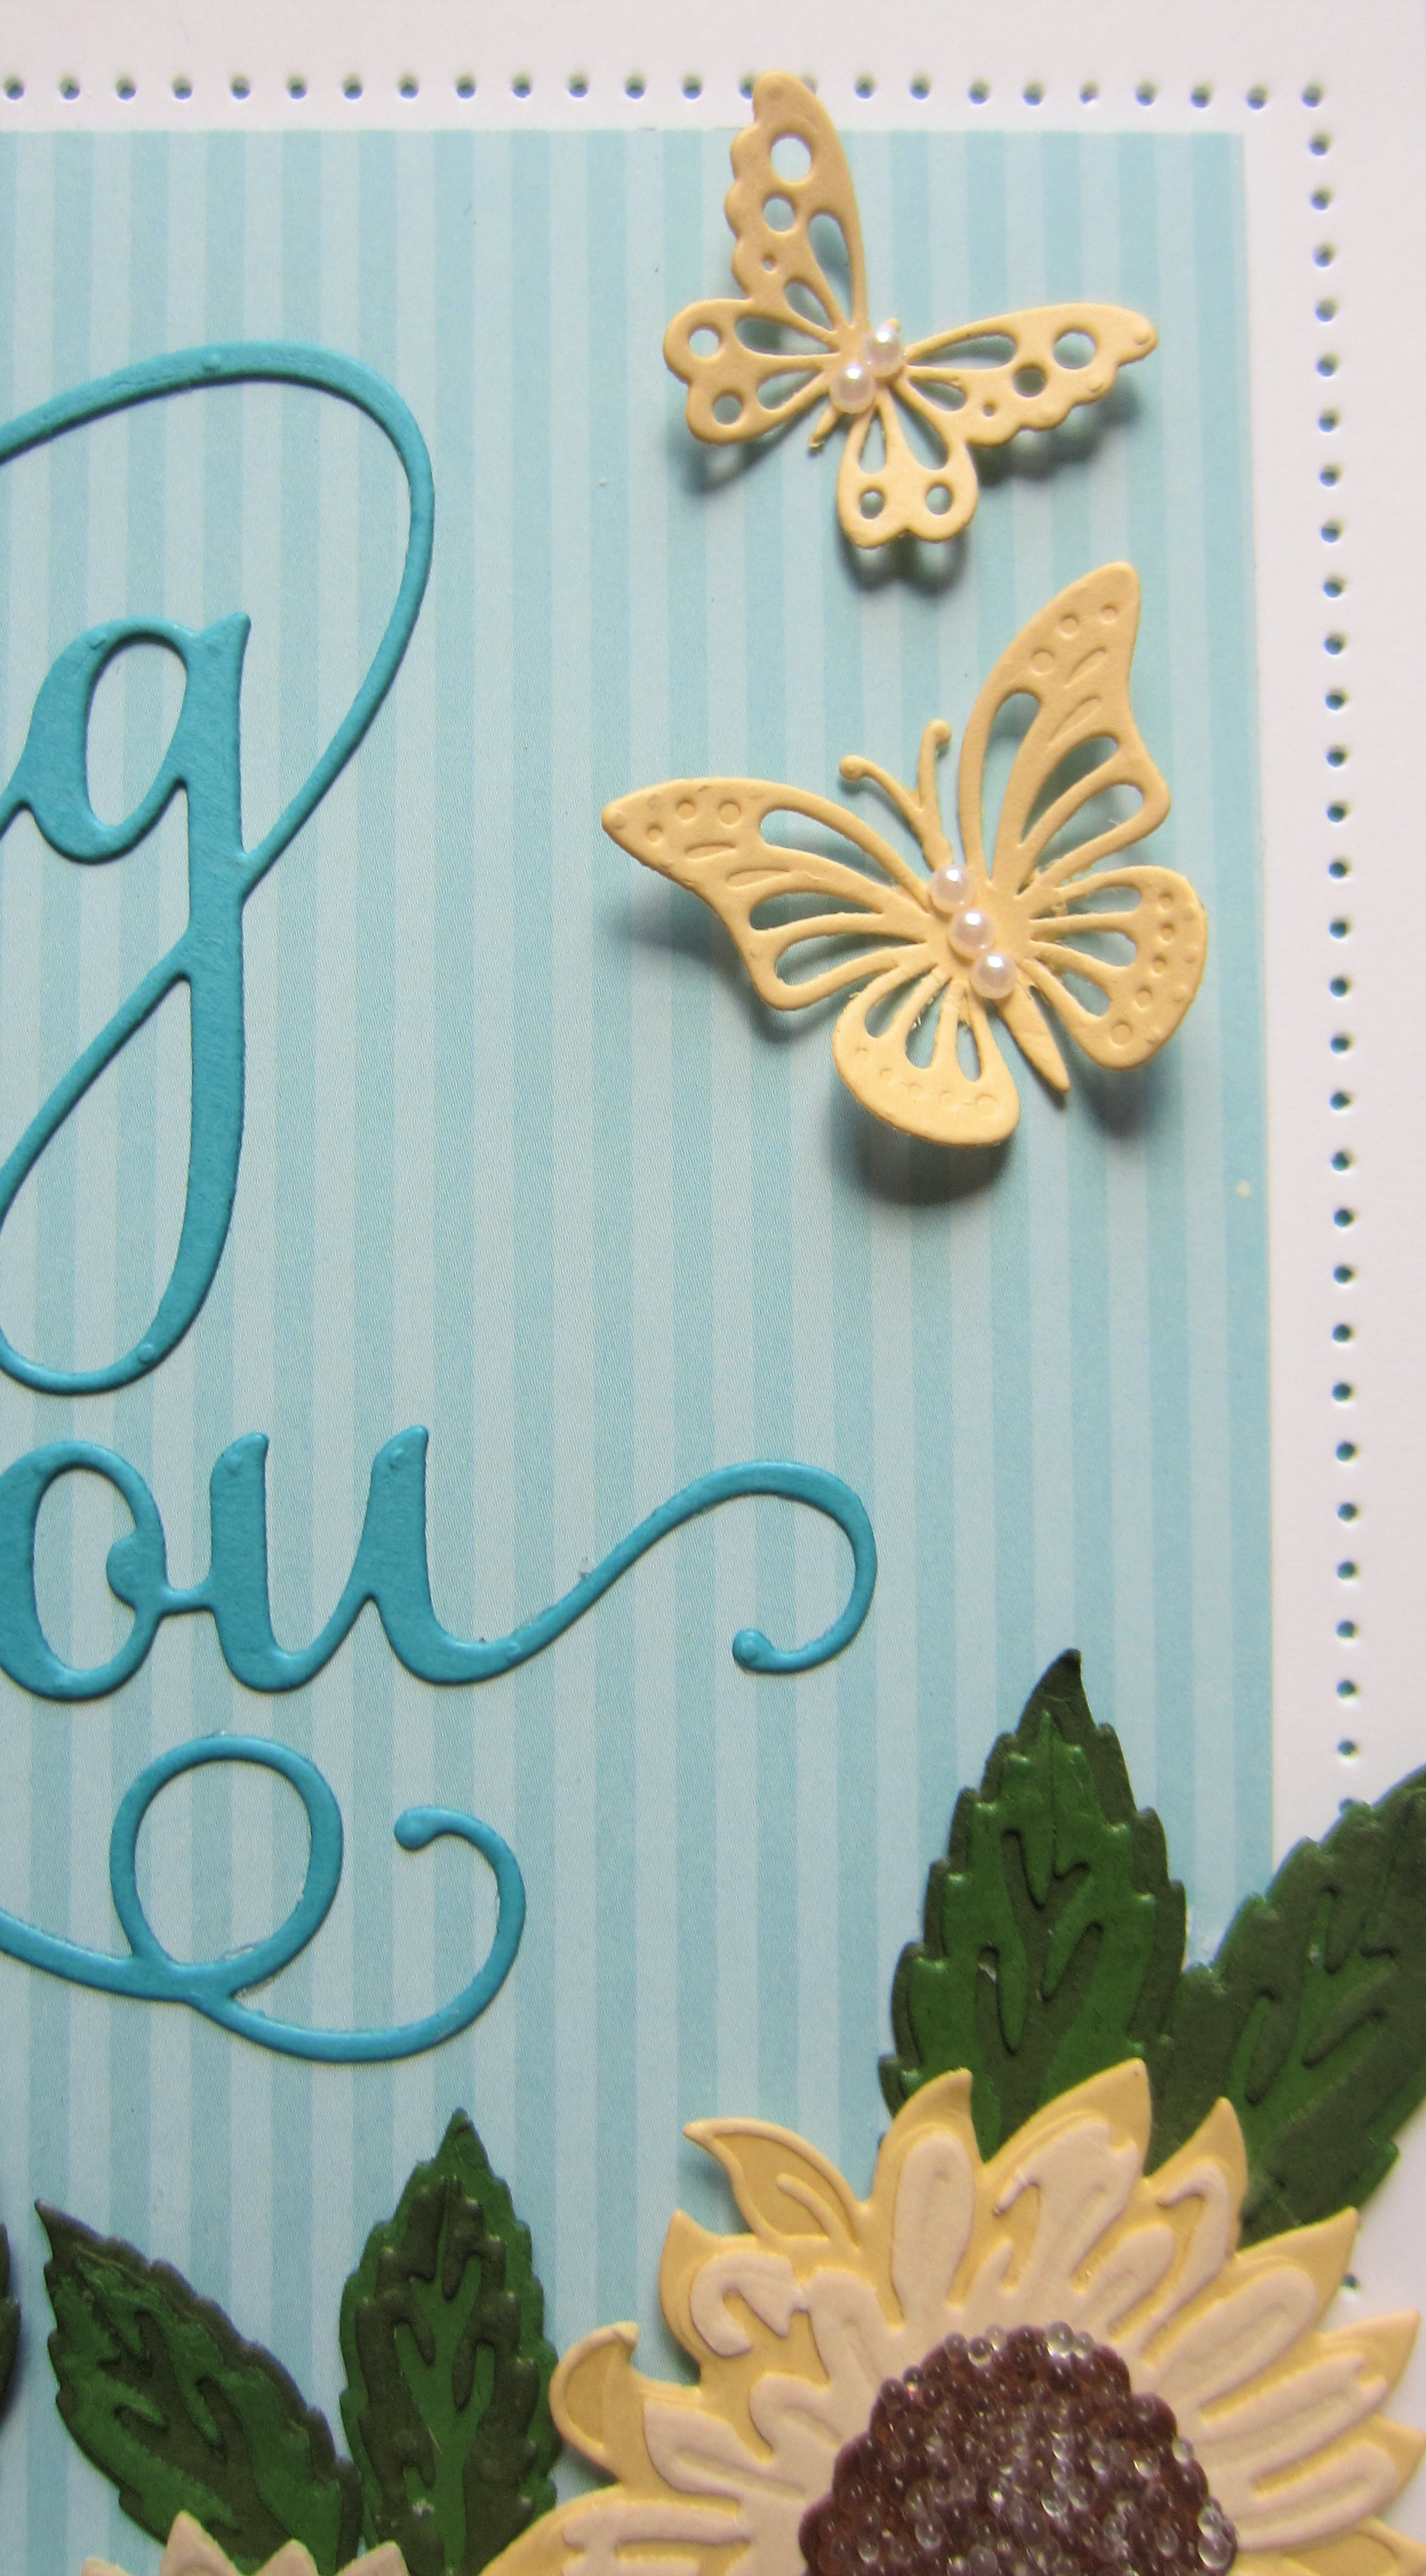
Hello bloggers! I selected a piece of aqua striped card from the Dots 'N Stripes Paper Pad to use as the background. I added a piece of white card to the bottom of the card. Using the Layered Sunflowers, I cut the flowers in two shades of yellow card. I cut brown centres and assembled all the pieces. I attached the flowers in a curved line between the two card types. I added glued to all the centres then added clear Micro beads to them and let them dry. I cut the leaves out of two shades of green card and assembled them, then added them as accents to the flowers. I cut the Missing You sentiment out of Ocean card and glued it to the top of the card. I added two yellow Butterflies from the Dainty Butterfly set to the top of the card. The card was completed with white and Ocean card mats and layers. The finished dimensions are 8" x 8" in size. All for now, Sue x
Hello bloggers! I used Midnight Blue Pixie Powder on a piece of Gloss White card, then covered it with scrunched up cling film and set it aside to dry overnight. I peeled off the cling film, leaving all the interesting mica lines on the background. I cut the Hello Friend sentiment out of both white and black card. I shadowed the white sentiment then glued it onto the background. Using the Pierced Summer Blossoms, I cut the flowers out of both white, Arctic Blue and Sky Blue and assembled the flowers. I attached them in a diagonal across the card. I cut the leaves in white and added them around the flowers. I added the background onto another piece of white card and used Double sided tape around the edges. I added Iced Snow to the tape for a pretty bling around the card. The card was completed with white and black mats and layers. The finished dimensions are 7 1/4" x 9 1/2" in size. All for now, Sue x