Sunday 30 April 2023

Twinkle Twinkle Little Star

 Good Sunday morning all!  I started this cute shaker card by cutting the Slimline Stars Rectangle Aperture Trio die in white. I added clear acetate behind just the centre aperture.  I added Crystal Stars to it then sealed it with another piece of acetate.   I added a blue backing behind the two outer apertures.  .  Using the Slimline Stitched Rectangle Frame die, I cut a white frame and added it over the background.  I cut the Deer and Racoon from the Baby Woodland Animals and added them into the left aperture with a small star cut out of pink and white striped paper from the Dots 'N Stripes Paper Pad.  I cut the bunny and the fox and a blue striped star and put them in the last aperture.  I cut the Twinkle Twinkle Little Star sentiment on blue and glued it over the shaker section.  The card was completed with white mats and layers.  The finished dimensions are 4 3/4"  x  9 1/4"  in size.  All for now. Sue x


                                                        Follow my blog with Bloglovin

Saturday 29 April 2023

Thinking Of You

Hello bloggers!  I selected a piece of Blue Dusk card for my background (and I apologize that the rest of the pics look like a different colour, not sure why, but the top pic is actually the colour of this card).  I used the Decorative Squared Rectangles and cut it into the background.  I backed it with white card.  I inked the Petunia Stampcut die in black ink and ran it through the die cutting machine.  I used alcohol ink markers to colour the image.  I added it inside the centre of the card with mounting foam.  I cut the Noble Thinking Of You in black and arranged it around the focal element.  The card was completed with white and black mats and layers.  The finished dimensions are 7 1/4"  x  8 3/4"  in size.  All for now, Sue x


                                                       Follow my blog with Bloglovin

Friday 28 April 2023

Cute As A Button

 Hello there my crafty friends!  I began today's shaker card by cutting the Plaid Background out of custard, powder pink and wisteria card.  I offset them and layered them up so all the colours were showing then added a white backing to them.  Using the Round Corner Squares, I made a white frame and added it over the background with mounting foam.  I cut the Large Pierced Star in white and glued acetate to the back of it.  I added mounting foam to it then filled it with Crystal Stars.  I sealed it with another piece of acetate then added t to the card at a jaunty angle.  I cut the racoon and bunny from the Baby Woodland Animals set and coloured them and added them to the side of the star.  I cut the Cute As A Button die in white and nipped the words apart and glued them in the corner.  The card was completed with white mats and layers.  The finished dimensions are 7 3/4"  x  7 3/4"  in size.  All for now, Sue x


                                                       Follow my blog with Bloglovin

Thursday 27 April 2023

To A Dear Friend

Hello crafters!  I selected a caught in crystal piece from my background stash to use as the background for today's card.  I used Crystal Tints to create the background.  It used Lime Peridot, Pure Amethyst and Blue Aquamarine Crystal Tints.  I applied them randomly to a piece of acetate, then used my finger to move them around and fill up the sheet, then I covered them with a piece of scrunched up tissue paper and set it aside to dry overnight.  I cut the Poinsettia Scalloped Border in white and added it to the bottom of the card.  I added a thin strip of the background to the top of it.  I cut the Jocelyn die in white and cut it in half and added it as the back piece to the focal element.  I added the Priscella die cut in white on top of it.  I cut a centre rectangle and glued the To A Dear Friend sentiment to it which I cut in black.  I made a single flower using the Pinwheel Florals and added some Frosted Sparkle Glitterbitz to the base of the flowers before adding the top decorative piece to it.  I cut the Magnolia Corner in white and used it as a leafy accent for the flower.  The card was completed with white mats and layers.  The finished dimensions are 7 3/4"  x  8 3/4"  in size.  All for now, Sue x 


                                                      Follow my blog with Bloglovin

Wednesday 26 April 2023

Happy Birthday To You

 Hello crafters!  I selected a piece of custard card for the background.  I used the Looped Ovals and cut a double white mat and added it to the centre of the card.  Using the Double Stitched Ovals, I cut a thin yellow frame and added mounting foam to the back of it.  I embossed a piece of white card with the Rose Bed embossing folder and attached the frame over it.  I nipped away the excess card then attached it to the Lopped Oval mats.  I inked the Periwinkle Stampcuts die with a black water based ink pad and ran it through the die cutting machine.  I used alcohol based markers to colour it.  I added it to the inside of the frame.  I cut the sentiment from the Birthday Wordie sheets and added it below the focal element with mounting foam. The card was completed with white and black mats and layers.  The finished dimensions are 7 1/4"  x  8 1/2"  in size.  All for now. Sue x


                                                      Follow my blog with Bloglovin

Tuesday 25 April 2023

Baby Bundle Of Joy

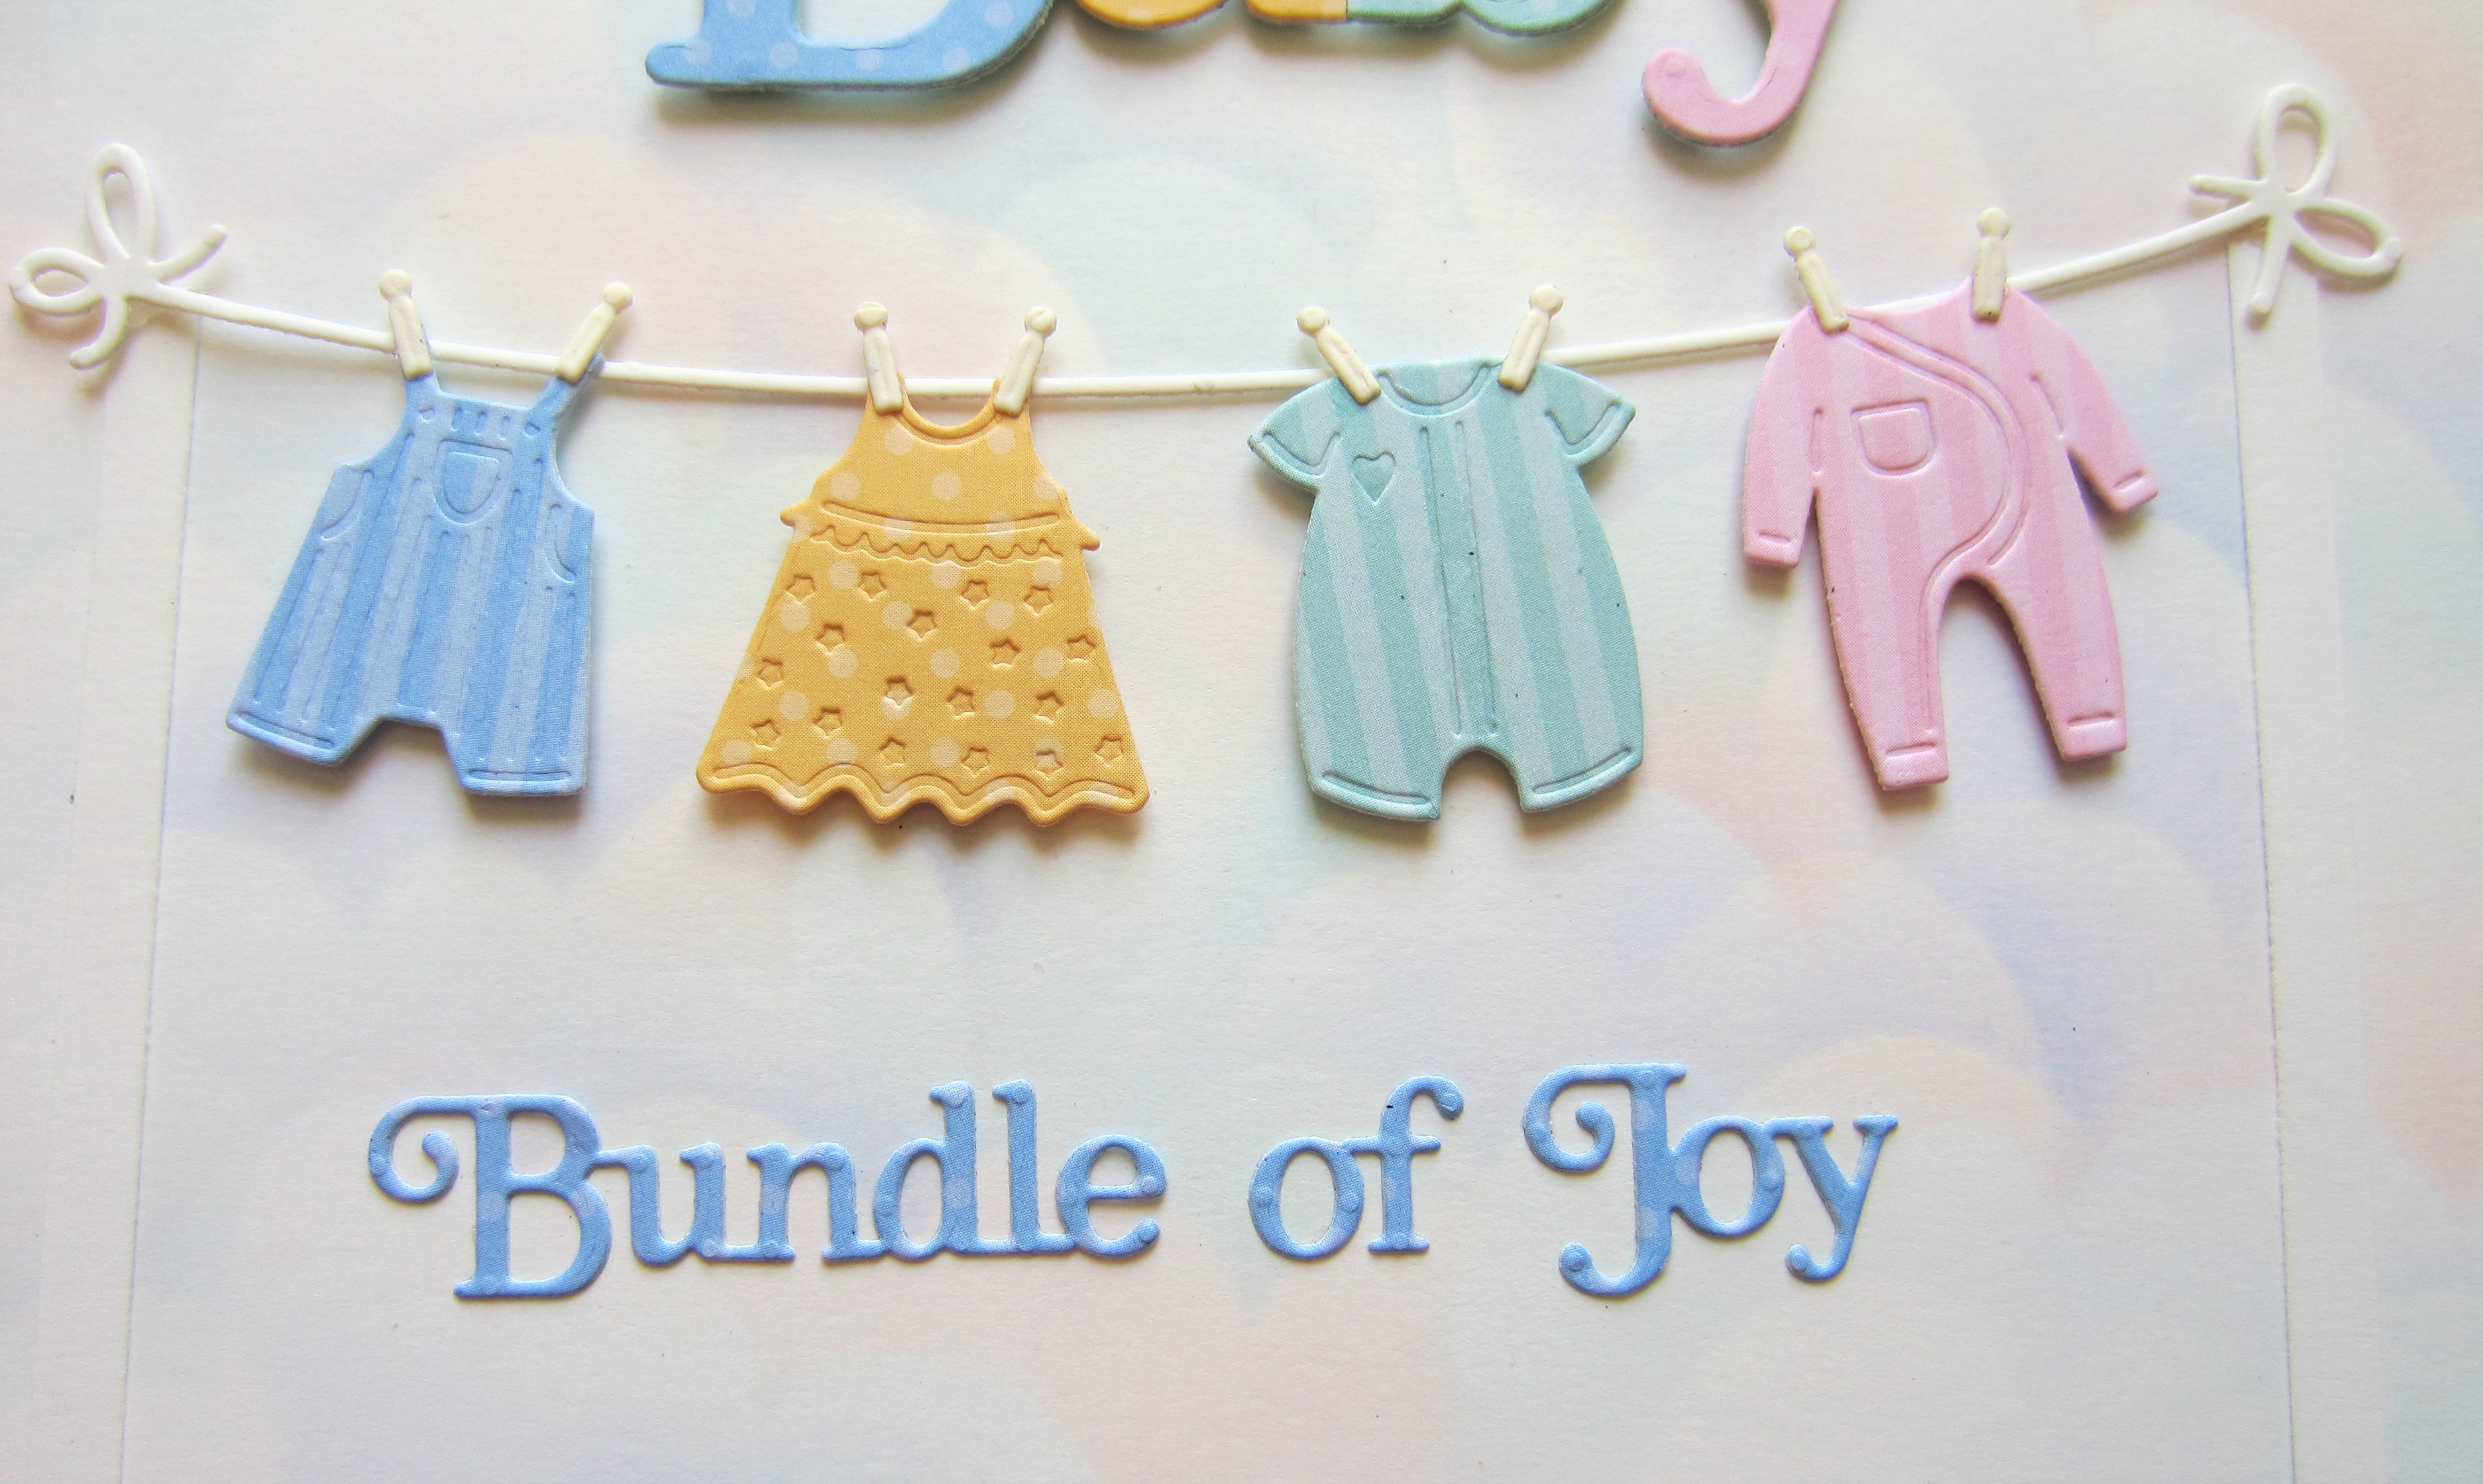
Hi Bloggers!  I started with a piece of white card. I hand cut a cloud stencil and inked around it with Tumbled Glass, Spun Sugar and Shaded Lilac Distress inks to create a soft sky background.   I cut the Cutest Clothes Line die in white and added several pieces of baby clothes that I cut from the Dots 'N Stripes Paper Pad.  I attached them with mounting foam but used the little clothespin die to look like they are hanging.  I added the Bundle Of Joy sentiment below the clothes line cut in dotty blue paper.  I cut the Noble Baby sentiment in the matching papers from the Paper pad and glued them over a white die cut of the Baby die.  I attached it above the clothesline.  I cut grass on the bottom of the card using an icicle die called the Snowflake Edger from Christmas past and added the stuffed bunny toy there.  The card was completed with white mats and layers.  The finished dimensions are 8"  x  8"  in size.  

The winner of the April Die Release Blog Launch is ................................................................................................................................................., ...................................................................................................................................................

                                                            Kitty Davies!!!

Congratulations!  Please email me at americansue1@gmail.com to confirm your postal address and claim your prize!  All for now, Sue x


                                                      Follow my blog with Bloglovin

Monday 24 April 2023

Thinking Of You

Hello there my crafty friends!  I cut a piece of white car to use as the background for today's card.  Next I used the Layered Apple Blossoms and cut them out of vellum.  I cut both the parts of the flowers and the leaves.  I used Distress ink and coloured the back of the vellum.  I used Spun Sugar and Worn Lipstick inks for the flowers and Fossilized Amber for the centres of the flowers. and Crushed Olive ink for the leaves.  I assembled the flowers and attached them in a diagonal across the card.  I cut the Noble Thinking Of You out of Silver Shine card and added it above and below the flowers.  The card was completed with white mats and layers.  The finished dimensions are 6 3/4"  x  8 1/4"  in size.   Don't forget to check back tomorrow morning for the winner of the April release die collection!   All for now, Sue x 


                                                       Follow my blog with Bloglovin

Sunday 23 April 2023

Thank You

Good Sunday morning all! I selected some papers from the Dot's 'N Stripes Paper Pad to use for the background.  I used the teal striped paper and cut a wide strip of the matching solid colour on the back of the striped page.  I matted it in white and added it with mounting foam to the top of the card.  I cut the Draped Jewelled Border in white and glued it to the paper.  I cut the Layered Zinnias in two shades of peach and the stems in two shades of green.  I added clear micro beads to the centres of the flowers.  I assembled the flowers and added them in the lower corner with a white satin bow.  I cut the Thank You sentiment in white and glued it to the card.  The card was completed with white mats and layers.  The finished dimensions are 7 1/4"  x  8 1/2"  in size.   All for now, Sue x


                                                               Follow my blog with Bloglovin