Friday 30 September 2022

Spooky Greetings

 Hello bloggers!  I used an older Christmas die for this Halloween card.  I cut the Christmas Scene Mini Background cut in black using just the outer die.  I added mounting foam to the back of it.  I cut just the bottom village scene again and added it on top of the original.   I backed it with a piece of deep orange card.  I used some Fossilized Amber distress ink on a smoothie to the centre of the orange card.    I cut a large yellow circle and glued it inside the frame.  I cut the small flying witch from the Haunted House die set.  Before gluing the witch, I used a smoothie with Black Soot Distress ink on it and swiped it sort of diagonally across the circle to look like the trail made by the witch.  I glued the witch in place and added the Spooky Greetings sentiment, cut in black, below.  The card was completed with white and black mats and layers.  The finished dimensions are 6"  x  7 1/4"  in size.  All for now, Sue x


                                                        Follow my blog with Bloglovin

Thursday 29 September 2022

Happy Birthday To An Amazing Friend

Hello crafters!  I started with a piece of Arctic Blue card. I inked around the edges with Gentle Lavender Colour Cloud Ink using a small smoothie.  I cut a frame in white using the Scalloped Circles die set and added mounting foam to the back of it to raise it.  I cut a backing piece for it out of Arctic Blue card and used Blue Lagoon Colour Cloud ink with a smoothie in the centre of it.  I used a green marker and coloured the bottom area of the backing piece and added some little tufts of grass by flicking the marker up across the top of it.  I attached the backing piece then glued the frame to the centre of the card. I cut the Bird Bath out of Slate Grey card then went around the edges and inked it with Weathered Wood distress ink.  I used a white pencil to add highlights to it, then attached the bird bath to the inside of the frame with mounting foam.  I cut several of the greenery sprigs from the Toucan die set and attached them going up the side of the frame.  I cut five of the flower sprigs from the Hummingbird set out of both green card and periwinkle and aqua card.  I nipped away the flowers and glued them on to the green die cuts.  I attached a few of the flowers with the greenery from the side of the frame and the last two flowers, I attached in the lower left corner.  I cut two hummingbirds in white and inked them with Gentle Lavender and Blue Lagoon Colour Cloud ink.  I attached them to the frame with mounting foam.  I cut the Happy Birthday To An Amazing Friend sentiment out of Periwinkle card and shadowed it in black.  I glued it to the lower right corner of the card.  The card was completed with white and periwinkle mats and layers.  The finished dimensions are 7 ¼”  x  8 ½” in size.  All for now, Sue x


                                                      Follow my blog with Bloglovin

Wednesday 28 September 2022

Merry Christmas

Hello there my crafty friends!  I started by cutting the Wreath Frame twice out of white card.  I stacked the two Wreath Frames on top of each other and cut off about a quarter inch of the sides.  I reassembled the two pieces then taped them together on the back.  Using Crushed Olive, Evergreen Bough and Forest Moss Distress inks, I inked all the foliage around the now expanded Wreath frame.  I cut a piece of antique gold card large enough to cover the edges of the taped together centre rectangle (that hides the ink that got in the centre while colouring the foliage too.)  I added a slightly smaller piece of white card on top.  I cut the Noble Merry Christmas out of antique gold card and glued it to the centre.  Using the Poinsettia Scalloped Border die set, I cut the lattice and edge parts into two ends of the card, leaving enough room in the centre for the Wreath Frame.  I attached the frame with mounting foam. Using Berry Sparkle PVA Glue, I added small dots to all the round ends on the foliage and set it aside to dry.  The card was completed with white mats and layers.  The finished dimensions are 8 1/4"  x  9"  in size.  All for now, Sue x


                                                      Follow my blog with Bloglovin

Tuesday 27 September 2022

Wonder

 Hello bloggers!  I selected a piece of Cobalt Blue card for my background.  Next I cut the Snowflake Scalloped Border four times out of white card.  I glued one to the top of the card and one to the bottom of the card.  I cut a wide strip of white card, added a sticky adhesive sheet and added mounting foam to raise it.  I cut off the snowflakes from the remaining two borders and attached them onto the white card with the straight edges touching each other.  I used Frosted Sparkle Glitterbitz to fill in the remaining exposed adhesive areas.   I cut the word Wonder out of Cobalt Blue card and glued it across the centre of the card.  The card was completed with white mats and layers.  The finished dimensions are 8"  x  9 1/4"  in size.  All for now, Sue x


                                                       Follow my blog with Bloglovin

Monday 26 September 2022

Tis' The Season To Be Spooky

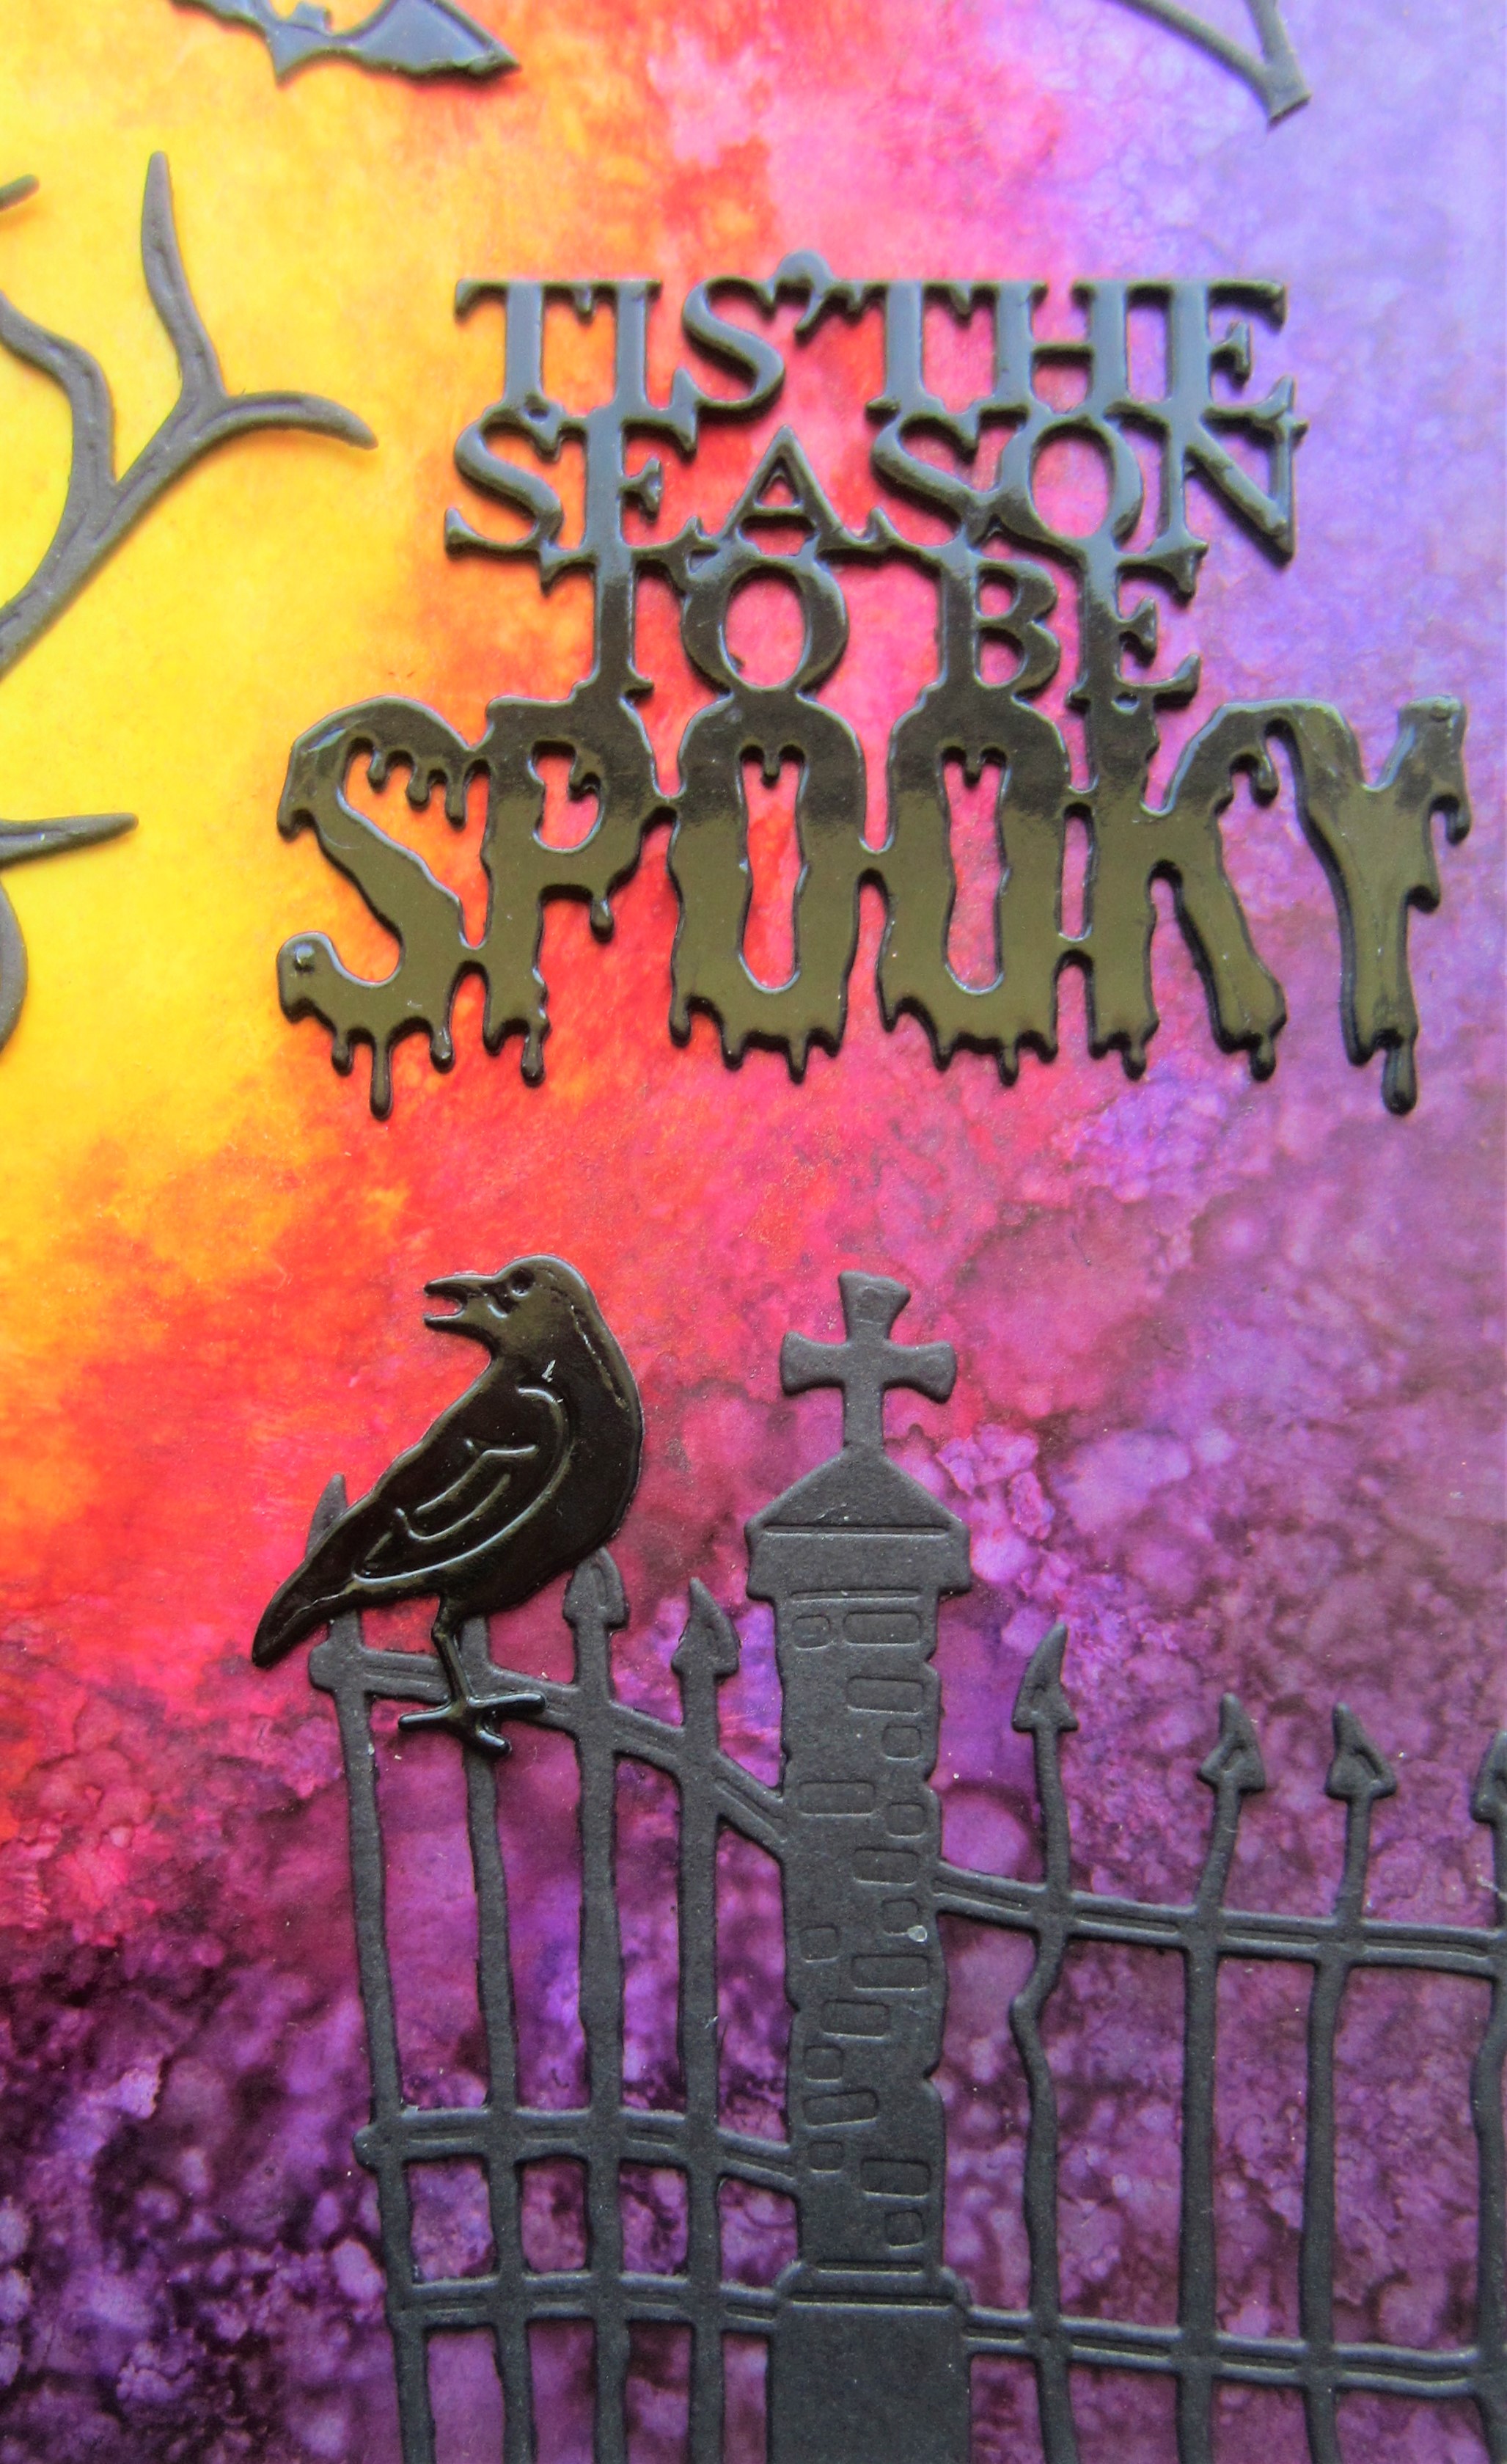
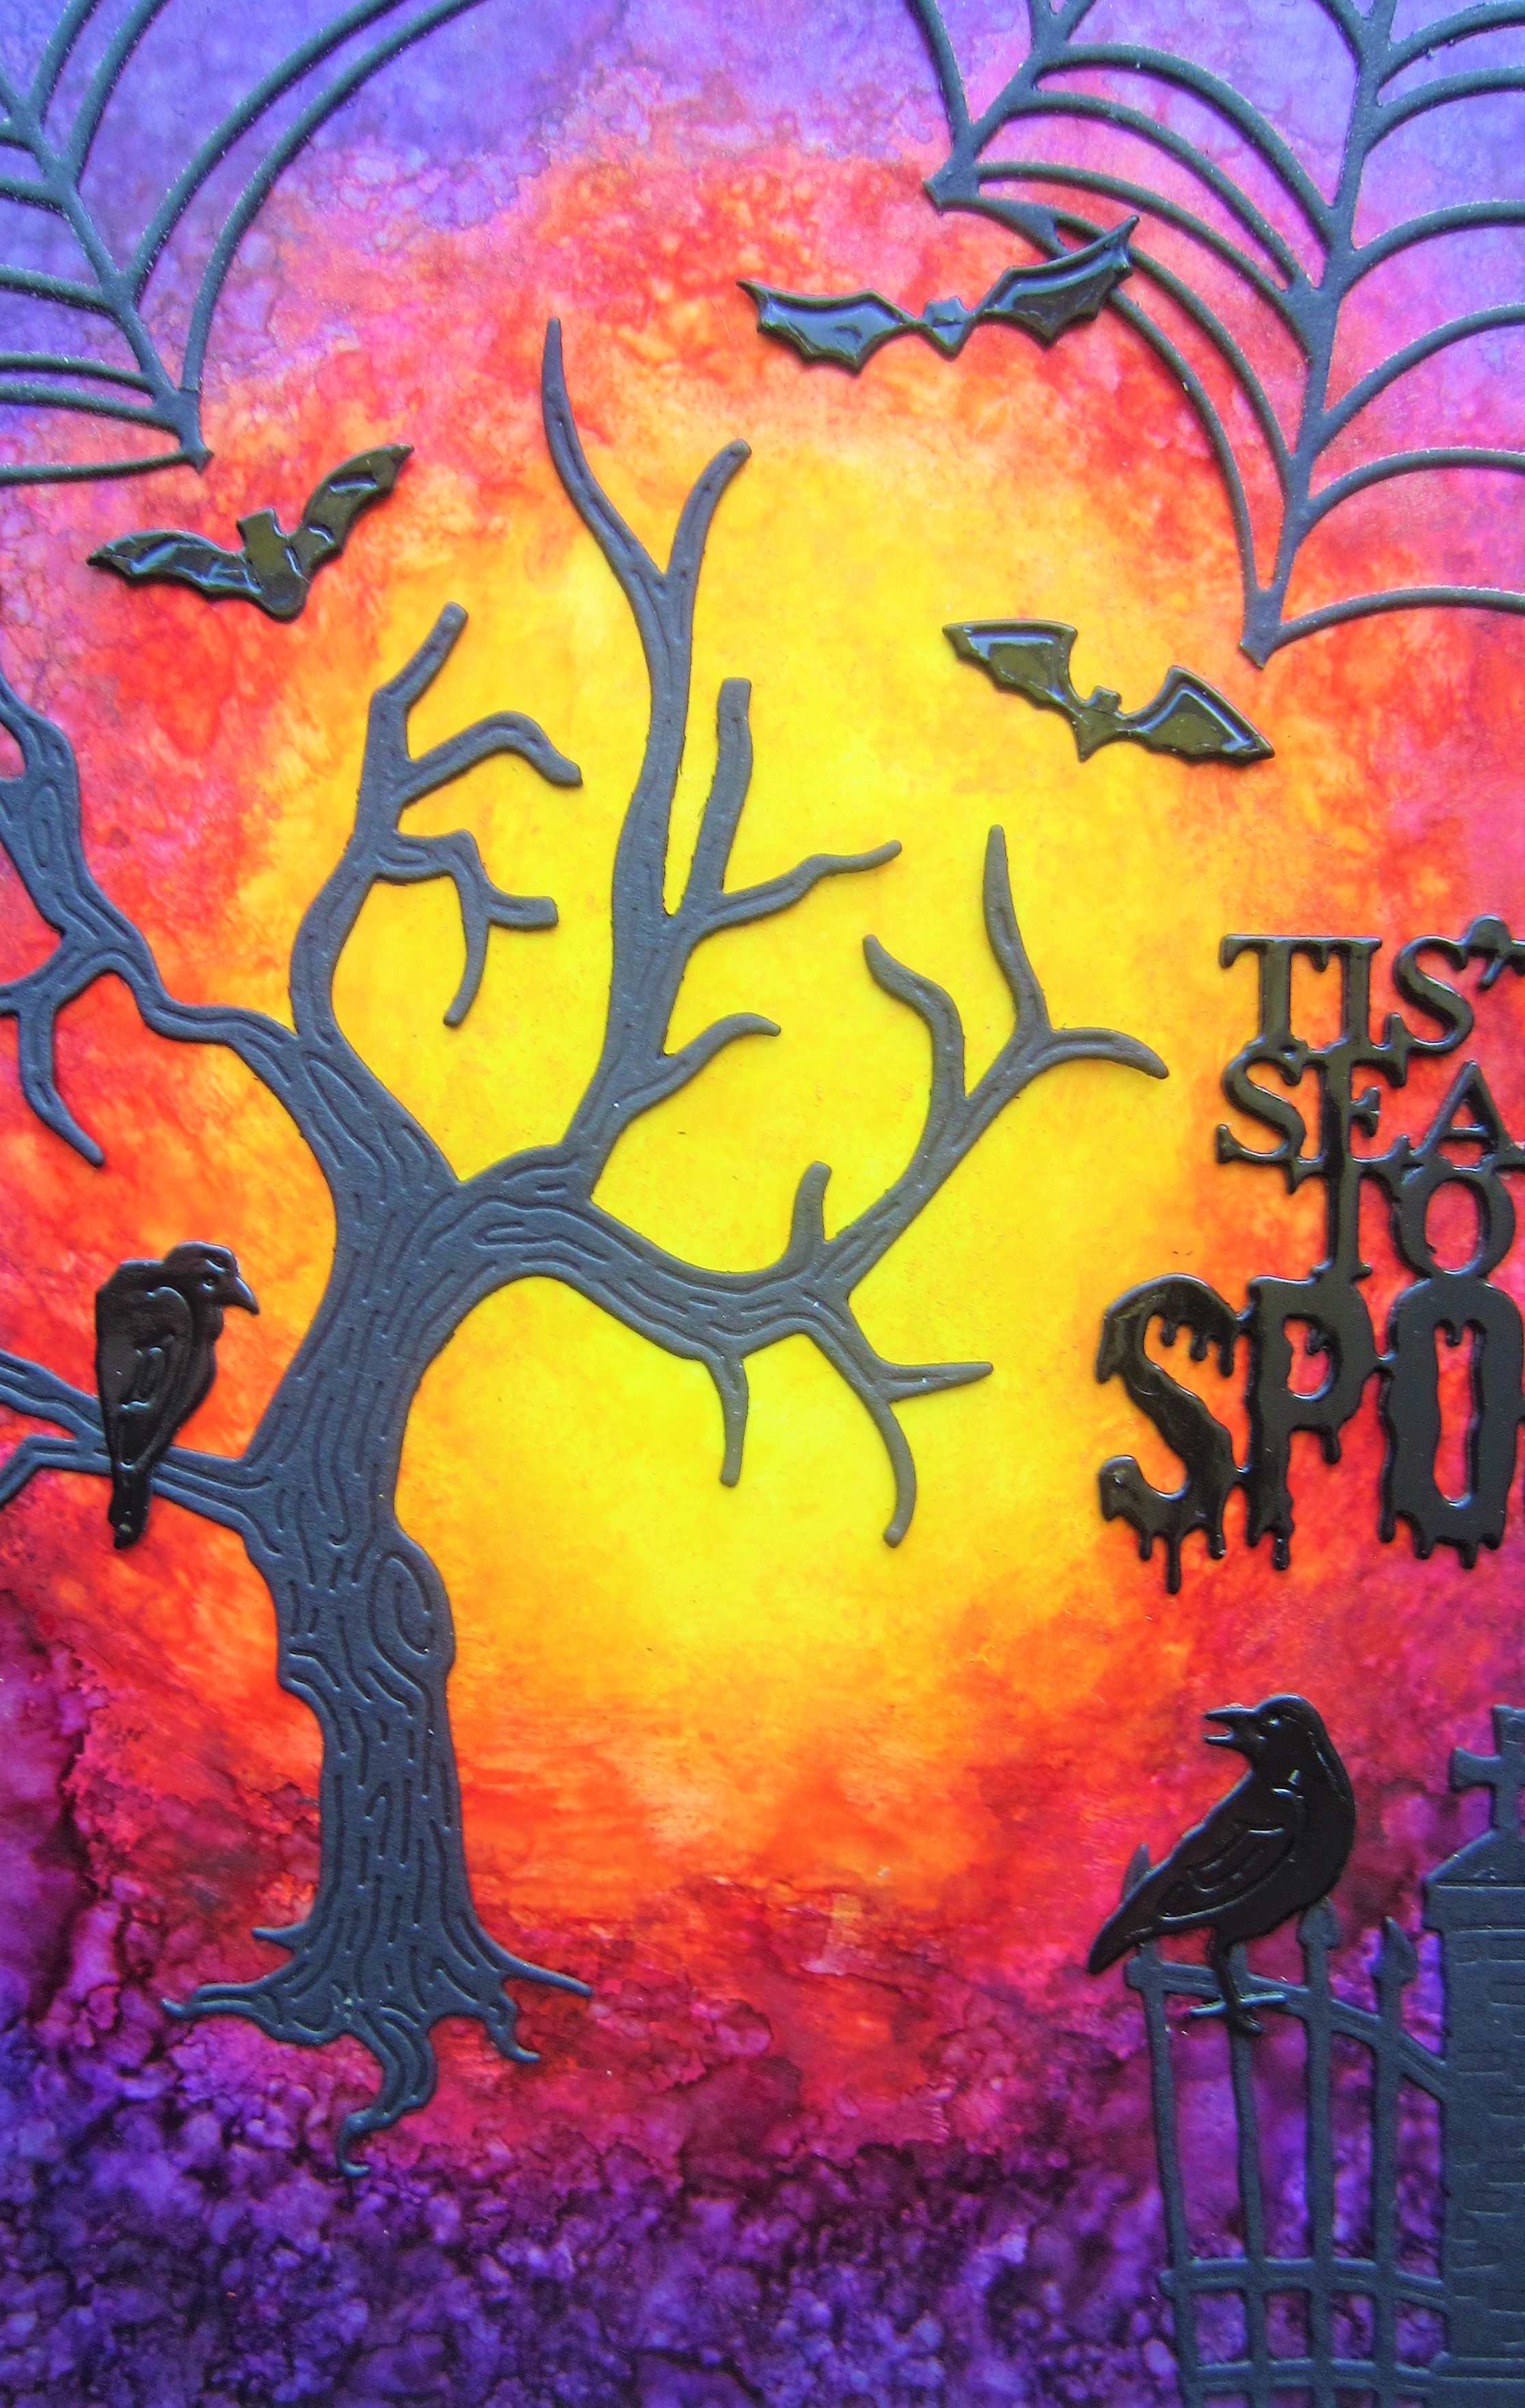
Hello crafters!  Today's card was a bit of an experiment, but I loved the way it turned out!  I started with a piece of white Yupo card.  I used Purple Twilight, Sunset Orange and Sunshine Yellow Alcohol Inks on a felt applicator.  I worked from the centre outwards by pouncing the applicator tool on the Yupo card.  Once I had it like I wanted, I put a few drops of Blending Solution on the applicator felt and went over it.  This creates little bubble-like areas on the card.  I cut the Spider's Web in black then cut it into sections and glued them to the top of the card.  I cut Jamie's Spooky Tree die in black and glued it to the card.  I added a raven and some bats flying around it.  I also used Jamie's gate (from his Graveyard die set) and added another raven to it.  I used the Tis the Season To Be spooky sentiment from my Halloween Frame to the right of the tree.  The card was completed with white mats and layers.  The finished dimensions are 7 1/2"  x  8 3/4" in size.  All for now, Sue x


                                                      Follow my blog with Bloglovin

Sunday 25 September 2022

Just Believe

Good Sunday morning all! This is a really easy card for doing batches for Christmas.  I started with a piece of card covered with a piece of sticky adhesive sheet.  I used the Persian Dawn Gilding Flakes all over the sticky sheet and I used a piece of Rubitscubit pad to move the flakes around, then refine and remove the excess. Next I used the Slimline Rectangle Frames die and cut a white frame and added it over the gilded background with mounting foam.  I cut the Slimline Holly Swirls Background in black and glued it to the background inside the frame.  I cut a Pierced Flag in white and attached it across the lower part of the card.  I cut the Just Believe sentiment in black and glued it to the flag.  I used the Poinsettia Trio set and cut the smallest one in white, added a gold centre then attached it to the left side of the flag.  From the Foliage Pieces,  I added several white pine sprigs as accents.  I added tiny white pearls to the Holly Swirls Background.  The card was completed with white and black mats and layers.  The finished dimensions are 4 3/4"  x  9"  in size.  All for now, Sue x


                                                               Follow my blog with Bloglovin

Saturday 24 September 2022

Birthday Wishes

Hello bloggers!  I used the Birthday Balloons die set to create today's background.  I cut the round, oval, star and heart balloons out of yellow, orange and raspberry card.  I glued them randomly on to a piece of black card.  I embossed the card with the Twill Weave embossing folder.  I glued it onto a larger piece of white card.  I used the Birthday Wishes from the Balloon Tail Sentiments die set, but this time I used them horizontally like a regular sentiment (they work nicely both ways!)  I completed the card with white and black mats and layers.  The finished dimensions are 7 1/2"  X  7 1/2"  in size.  All for now, Sue x


                                                        Follow my blog with Bloglovin