Monday 31 May 2021

Miss You

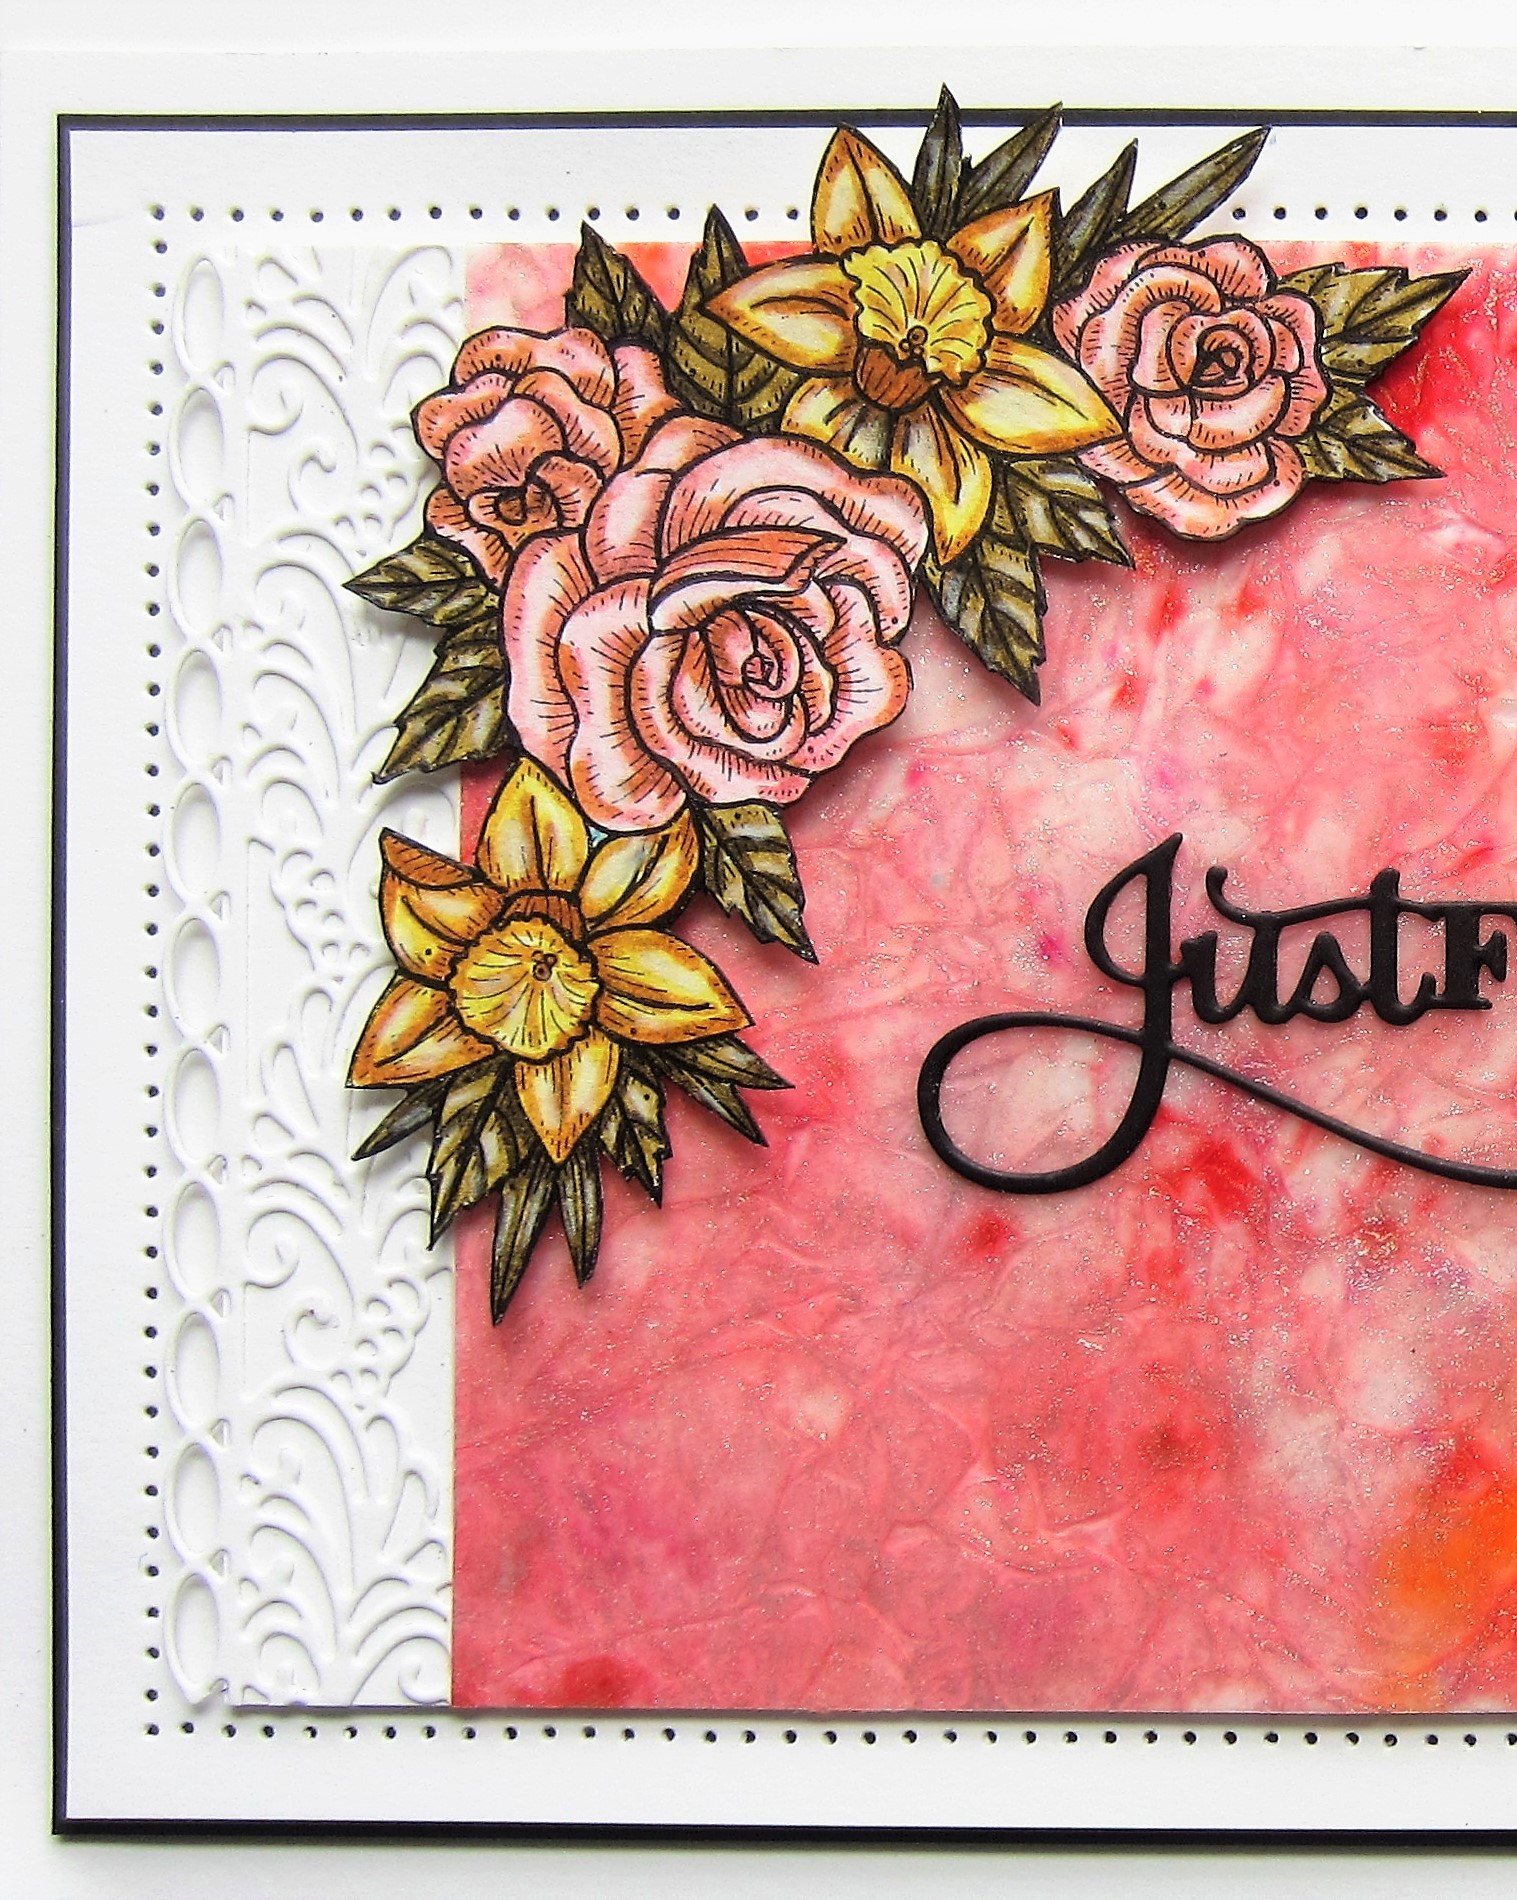
Hi bloggers!  I just love the fresh look of these floral panels!  I started with a piece of white card and used the Beyond Blue Pixie Sparkles all over it and let it dry.  Next I cut the Flowering Dogwood floral panels in white.  I cut two of the leafy panels and one of the dogwood panels and attached them to the Pixied background.  I added the leafy panels going in opposite directions.  I added mounting foam to raise them, then added them to a larger piece of white card.  I added double sided tape around the edge and glittered it with Iced Snow.  I cut the Miss You sentiment in black twice and stacked them , then glued it in the lower corner.  The card was completed with white and black mats and layers.  The finished dimensions are 8"  x  8" in size.    All for now, 
Sue x


                                                         Follow my blog with Bloglovin

Sunday 30 May 2021

Wild About You

Good Sunday morning all!  I started this card by embossing a piece of black card using the Pebble Rush embossing folder.  Next I used Harbour Haze Matt Chalk Polish lightly over the top of the embossing.  I stamped the Zebra stamp and cut it out with the matching Zebra die.  Using Distress Markers, I coloured the image using Vintage photo for the frame and Antique linen and Tumbled Glass to colour the zebra.  I cut a Cut Corner Rectangle out of white card and added it at an angle to the background.  The zebra was added next on top of the rectangle but more upright.  I stamped the sentiment and frame from the Wild About You clear stamp set and cut it out with the matching Safari Tags die, then added it with foam to the card.  I completed the card with white and black mats and layers.  The finished dimensions are 7"  x  8 1/2"   in size.  All for now, Sue x


                                                       Follow my blog with Bloglovin

Saturday 29 May 2021

Swimming By To Say Hi

Hello crafters!  I'm going vertical for today's ocean filled card.  I started by cutting the Slimline Stitched Rectangle Trio Aperture in white.  I added mounting foam to the back to raise it slightly.  Next I used the Turquoise Cascade Watercolour ink and dabbed it with a piece of kitchen roll onto another piece of white card to give it the look of water in the background.  I attached the aperture trio over it.  Using the Fishbowl die set and the Underwater Accessories, I cut the castle, seaweed, and small fish and seahorse and added them to the openings.  I used the Swimming By To Say Hi sentiment cut out of aqua and black card in the centre aperture.  I used the small wave from the Nautical Accessories in the lower opening and added the seaweed and larger fish to it.  I made a white frame to go over the apertures using the Slimline Essential Frames.  The card was completed with white mats and layers.  The finished dimensions are 4 3/4"  x 9 1/4" in size.  All for now, Sue x


                                                         Follow my blog with Bloglovin

Friday 28 May 2021

Surprise

 Hello there my crafty friends!  I have another Big Bold Word die cards to share with you today!  I started by cutting the Surprise out of black card twice and glued them together.  I then glued the die cut to a piece of clear acetate.  From the reverses side, I used the Pearl Tints to colour in the letters.  I used Blue Diamond, Canary Song, Fragrant Lilac, Majestic Teal Glacial Green and Reigning Purple Pearl tints.  I allowed it to dry overnight, then added a piece of white card behind it.  Using the Double Stitched Rectangles, I cut a white multi-layered frame and added it over the acetate with mounting foam.  I stamped the Happy Birthday from the coordinating stamp set in the Surprise Die/Stamp Combo set and cut it out with the tag die.  I added mounting foam and attached it to the bottom of the frame.  The card was completed with white mats and layers.  The finished dimensions are 6 1/2"  x  8" in size.  All for now, Sue x


                                                                 Follow my blog with Bloglovin

Thursday 27 May 2021

Because You Are Loved

 Hi bloggers!  Back to the Pixie Sparkles for today's card background.  I used Zesty Lime and Beyond Blue.  I allowed it to dry well then embossed it with the Quilted Pillow embossing folder.  Using the Double Stitched Ovals, I cut a wide frame out of white card.  I added mounting foam to the back to raise it and attached it to the background.  I cut the Because Shadowed sentiment out of white and added a black shadow, then glued it to the shadow backing die which I cut in white.  I added mounting foam to support it then attached it across the oval frame.  I used the matching stamps to add the "you are loved" sentiment and stamped and cut it with the tag die from the set.  I added it onto the edge of the oval frame.  I used the Striped Nasturtium die set and cut the outline flowers out of white card covered with a sticky adhesive sheet.  I glittered the flowers then assembled them and added them in opposite sides of the frame.  I used Lace Edged Leaves as an accents around the flowers.  The card was completed with white and black mats and layers.  The finished dimensions are 6 3/4"  x  7 3/4"  in size.    All for now, Sue x


                                                          Follow my blog with Bloglovin

Wednesday 26 May 2021

To A Dear Friend

Hi bloggers!  I thought I would share a fun look using the Slimline Large Circles Background die.  I cut it out of wisteria, aqua and powder pink card.  I offset the three colours to create a different pattern and glued them together.  Using the Slimline Essential Frame die set, I cut a white frame and added it with mounting foam over the background.  I used the To A Dear Friend sentiment cut in white several times, then stacked and glued to the inside of the frame.  I cut the Petite Peony Cluster out of white twice, then added powder pink flowers to it.  I glued them into opposite corners.  The card was completed with white mats and layers.    The finished dimensions are     4 1/2"  x  9 1/4"  in size.   All for now, Sue x


                                                                               Follow my blog with Bloglovin

Tuesday 25 May 2021

Just For You

 Hi bloggers!  I made a piece of caught in crystal for my background.  To do this, I used a piece of clear acetate and used clear Cosmic Lacquer on it then sprinkled Pixie Sparkles (Pale Blush and Coral Crush) then covered it with a piece of scrunched up white tissue paper and allowed it to dry thoroughly.  I cut two of the Stella's Borders in white and added the Pixie Sparkle piece and the two borders on to a larger piece of white card.  I stamped and cut two of the Spring Roses and Daffodils Stampcuts.  Using Distress Markers, I coloured both of them and attached them in opposite corners with mounting foam.    I cut the Just For you sentiment in black twice and stacked them then glued it to the centre of the card.  I completed the card with white and black mats and layers.  The finished dimensions are 6"  x  9"  in size.  

Unfortunately, my wifi signal did not behave yesterday!  If you tuned in to see my demos, I really appreciate it and hopefully I will have better luck the next time I try to demo via a zoom link.   All for now. Sue x


                                                            Follow my blog with Bloglovin