Friday 31 May 2019

For You

Hi there my crafty friends!  I started this card by cutting four of the Hexagonal Borders in white.  I glued them to the edges of a piece of Blue Dusk card and mitred all the corners with my scissors.  Next I cut the Lottie die in booth white and black.  I used the black as a shadow and offset it behind the white one.  I cut a black and a white square as a base for my sentiment and attached it in a diamond orientation.  I used the For You cut in Blue Dusk with a black shadow as the sentiment.  I cut and stamped several of the Layered Carnation and assembled them and scattered them across the die around the sentiment.  The card was completed with white, black and blue dusk mats and layers.  The finished dimensions are 7 1/2" x  7 1/2" in size. 

A quick note to let you know that our new demonstrator, Jamie Rodgers, will be on Create and Craft today at 8am and 3pm showing off my new Wedding themed dies!  I have seen his samples and they are absolutely gorgeous.  You are going to want to watch him in action!  There is also one more show on Saturday morning at 7am too!  All for now. Sue x


                                                        Follow my blog with Bloglovin

Thursday 30 May 2019

You Are So Kind

Hi crafters!  Here is a card that features the Roselyn triple layering die.  I started with a piece of coconut white card and embossed it with the Honeycomb Haven embossing folder.  Next I cut a multi layered frame in white using the Double Stitched Ovals.  I added mounting foam to the back and between the layers or dimension.  I cut the inner die from the Roselyn out of Ocean card twice and nipped them in half.  I used the four halves to create corners from the oval frame, placing them so the cut edges were just underneath the edge of the frame.   I attached the frame to the embossed background.  Next I cut one of the top layer of the Roselyn die in white and glued it into the centre of the frame.  I made another Roselyn die, but this time I triple layered it with white on the top, Ocean card for the middle and black for the base.  I seated it inside the frame in a diamond orientation.  I cut the centre die as a base and stamped my sentiment on it.  I used Blossom Patch to add some Ocean coloured flowers and glued them around the sentiment.  The card was completed with white, black and ocean card mats an layers.  The finished dimensions are 7 1/2" x  8 1/2" in size.  All for now,
Sue x


                                                         Follow my blog with Bloglovin

Wednesday 29 May 2019

Happy Anniversary

Hi bloggers!  I thought it was time to share one of the Filigree Artistry dies with you!  I selected a piece of Seafoam Green card as my background.  I used the Scalloped Border and cut it out of vellum for a soft look.  I extended it a bit to make it longer, then cut a thin strip of white card and wove it through the centre section of the border and glued it to the background.  Next, I cut the Vanessa die out of white card and added a vellum backing to it.  I seated it in the centre of the card with foam.  I used the Double Stitched Ovals to cut a base for the sentiment and cut the Happy Anniversary out of seafoam green and added a black shadow to it.  I glued it in the centre and added three small green flowers from the Blossom Patch die set.  I cut a double strip of white pearls down the centre and added a strip to the top and bottom edge of the card.The card was completed with white and seafoam green mats and layers.  The finished dimensions are 6 1/4" x  8 3/4" in size.  All for now Sue x


                                                        Follow my blog with Bloglovin

Tuesday 28 May 2019

Double Herringbone Background Card


Hi bloggers!  This Herringbone frame is so much fun!  Just crisscross them to make a fab new pattern for your backgrounds.  It looks great in one colour or in two as well!


The finished dimensions are 7 1/4" x  8 1/4" in size.  All for now, Sue x
                                                      Follow my blog with Bloglovin

Monday 27 May 2019

Sending Cheerful Wishes


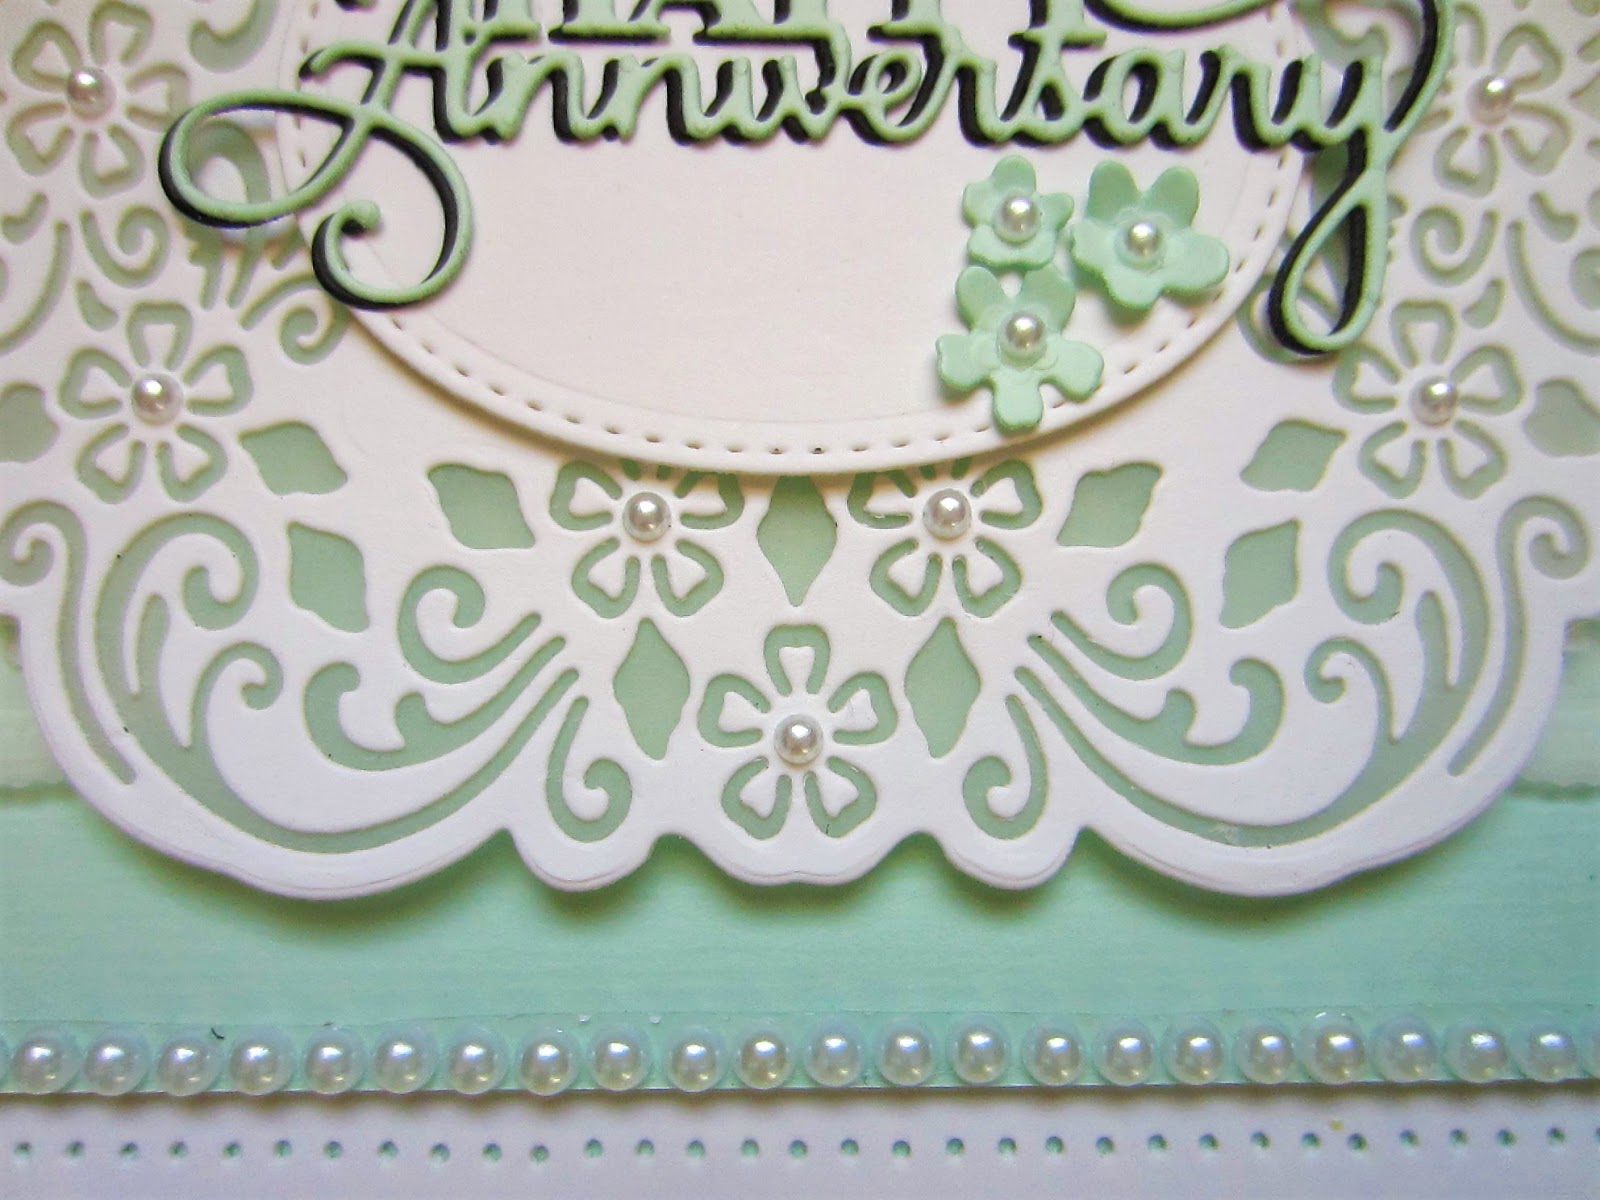
Hello bloggers!  I started this card by cutting the Penelope die into a piece of milk card on both sides, slightly overlapping in the centre.  I then embossed it with the Pinpoint Checkerboard embossing folder for texture.  I used the outer dies on the Penelope to make two thin frames out of milk card which I glued into place around the edges.  Next I cut the Penelope die again but as a triple layered die using Old Rose as the top, Milk as the middle layer and Powder pink as the base.  I assembled it then seated it on a larger die using milk card and just the outer decorative cutting edge.  I used the Double Stitched Ovals to create a small multi layered frame.  I stamped my sentiment on milk card then cut it out using the Double Pierced Flags.  I added an Old Rose base to my multi layered frame and tucked the end on the flag under the edge and added it to the centre of the Penelope die.  I cut a double strip of cream pearls in half and added a row to the top and bottom edges of the card.  The card was completed with Milk and Old Rose card mats and layers.  The finished dimensions are 6 1/2" x  9 1/4" in size.  All for now, Sue x


                                                     Follow my blog with Bloglovin

Sunday 26 May 2019

With Sympathy

Good Sunday morning all!  While today's card has been finished as a sympathy card, it is definitely one of those designs that would be suited to other sentiments too.  I decided to share it though as so many people email me about the difficulty of making sympathy cards.  My belief is to keep them simple and most styles will work and feel appropriate.  I started the card by stamping the Layered carnation stamp all over a piece of Blue Dusk card to add some pattern to the background.  Next I cut the Avery die in white and added a sky blue backing to it.  I cut the outer decorative die as a large backing piece for it and then cut the inner die as a base for my sentiment.  I cut the With Sympathy in black (wish I had used it as a shadow for a blue sentiment though).  I cut a single Layered Carnation stamp with the matching Layered carnation die and inked the edges of it with Faded Jeans Distress Oxide ink and added two leaves as accents.  I made a multi layered white frame using the Double Stitched Squares and framed it.  The card was completed with Blue dusk, black and white mats and layers.  The finished dimensions are 8" x  8" in size.  All for now, Sue x


                                                   Follow my blog with Bloglovin

Saturday 25 May 2019

Crisscrossed Layered Die Card


Hi crafters!  It always surprises me how different so many dies look when they are crisscrossed.  The Lola die shown here is almost unrecognisable when used in this manner.


The finished dimensions are 7" x  7" in size.  All for now. Sue x
                                                       Follow my blog with Bloglovin