Happy Halloween! Even though it is Halloween, we have another Friday Christmas double day for you! We have a double dose of Baubles today, but they look very different. First up we have a sort of distressed style. I used the large die from the Italian Decorative frames to cut a circle aperture in the centre of a piece of milk card. I embossed the piece with the Swirling Holly embossing folder. I used a clear Perfect Medium pad around the edges then dusted it with gold embossing powder. Prior to heating it, I used my finger to remove it slightly so there would not be a definite hard edge left. I added mounting foam to the back of this piece then mounted the aperture over a piece of soft gold card. I cut one of the Decorative Frames from the Italian collection using the inner heart die and recessed it into the aperture area. Next I stamped the Christmas Night Bauble stamp in black on milk card. I used an Antique linen distress marker and highlighted the scene a bit. I cut it out with the matching Bauble die then went around the edge with a Perfect Medium pad. I dusted the edge with gold powder and removed some of it with my finger before heating as I did on the background. I cut the bead cap out of gold card and glued it to the top of the bauble. I mounted the bauble on foam in my aperture and added a chalk seam binding messy bow at the top. I used some metallic twine and a small Dazzler in the centre that I had changed the colour with some gold mixative alcohol ink. I stamped my sentiment and cut it out with a Fancy Framed tag. I inked it with Antique Linen before removing it from the die. I mounted it with foam below my bauble. I completed the card with a milk mat which I pierced with my piercing ruler, then a thin gold mat and a final milk mat. The finished dimensions are 7 1/2" x 8 3/4" in size. Scroll down for card number two.
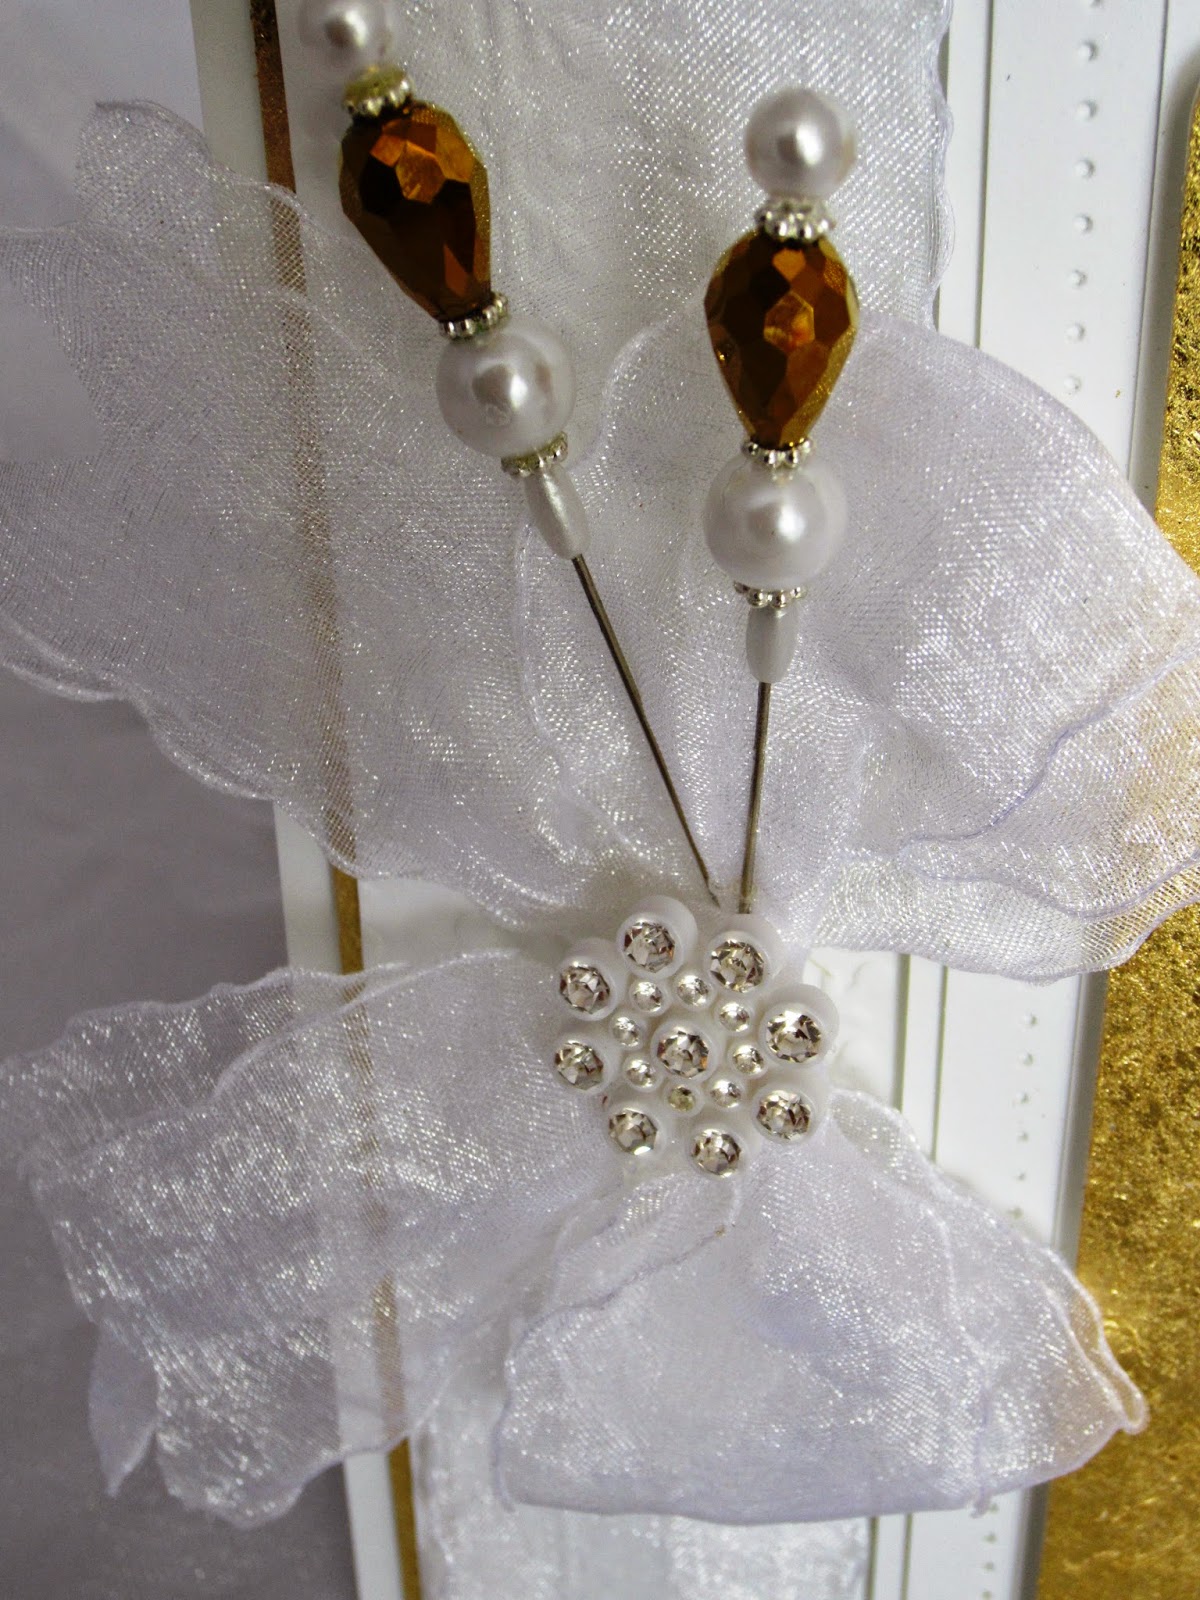
 The second card uses the same bauble die, but with the addition of gilding flakes and decorative paper. I covered a piece of white card with a sticky adhesive sheet and used the outside Bauble die shape to cut an aperture. I peeled away the backing paper and gilded the aperture with Golden Jewels Gilding flakes. I mounted foam on the back of this piece and attached a piece of decorative paper from my craft stash behind the aperture opening. I cut the Vintage Bauble in white card using the decorative insert die. I glued it into the recessed aperture opening and added pearls to embellish it. I matted this piece with a white mat that I pierced the edges on then a slightly larger white mat to give a finished look to the focal element. I used the Nordic Trees embossing folder to emboss a larger white background piece. I tied a piece of white frilly edged ribbon around it vertically and taped the ends to the back, I added a double bow to the side with glue dots. A white crystal Sparkler adorned the centre of the bow and I made two matching stick pins as embellishments. I added a mat which I gilded the edges with Golden Jewels and then a final white mat to complete the card. The finished dimensions are 7 1/2" x 9" in size. I hope you have enjoyed seeing two completely different bauble cards today! All for now, Sue x

 The second card uses the same bauble die, but with the addition of gilding flakes and decorative paper. I covered a piece of white card with a sticky adhesive sheet and used the outside Bauble die shape to cut an aperture. I peeled away the backing paper and gilded the aperture with Golden Jewels Gilding flakes. I mounted foam on the back of this piece and attached a piece of decorative paper from my craft stash behind the aperture opening. I cut the Vintage Bauble in white card using the decorative insert die. I glued it into the recessed aperture opening and added pearls to embellish it. I matted this piece with a white mat that I pierced the edges on then a slightly larger white mat to give a finished look to the focal element. I used the Nordic Trees embossing folder to emboss a larger white background piece. I tied a piece of white frilly edged ribbon around it vertically and taped the ends to the back, I added a double bow to the side with glue dots. A white crystal Sparkler adorned the centre of the bow and I made two matching stick pins as embellishments. I added a mat which I gilded the edges with Golden Jewels and then a final white mat to complete the card. The finished dimensions are 7 1/2" x 9" in size. I hope you have enjoyed seeing two completely different bauble cards today! All for now, Sue x


