Hi bloggers! I have an easy card to share with you today. I selected a piece of black card to use as the background. Next I cut about ten to twelve Skeletons out of white card. I glued them randomly around the edge of the back card. I cut a small square of white card and used it as a mat for piece of black card. I glued them into the centre of the card. I cut a small white frame using the Round Corner Squares and added it with mounting foam to the centre of the card. I cut the Trick Or Treat sentiment out of orange card and glued it inside the frame. The card was completed with white mats and layers. The finished dimensions are 8 1/4" x 8 1/4" in size. All for now, Sue x
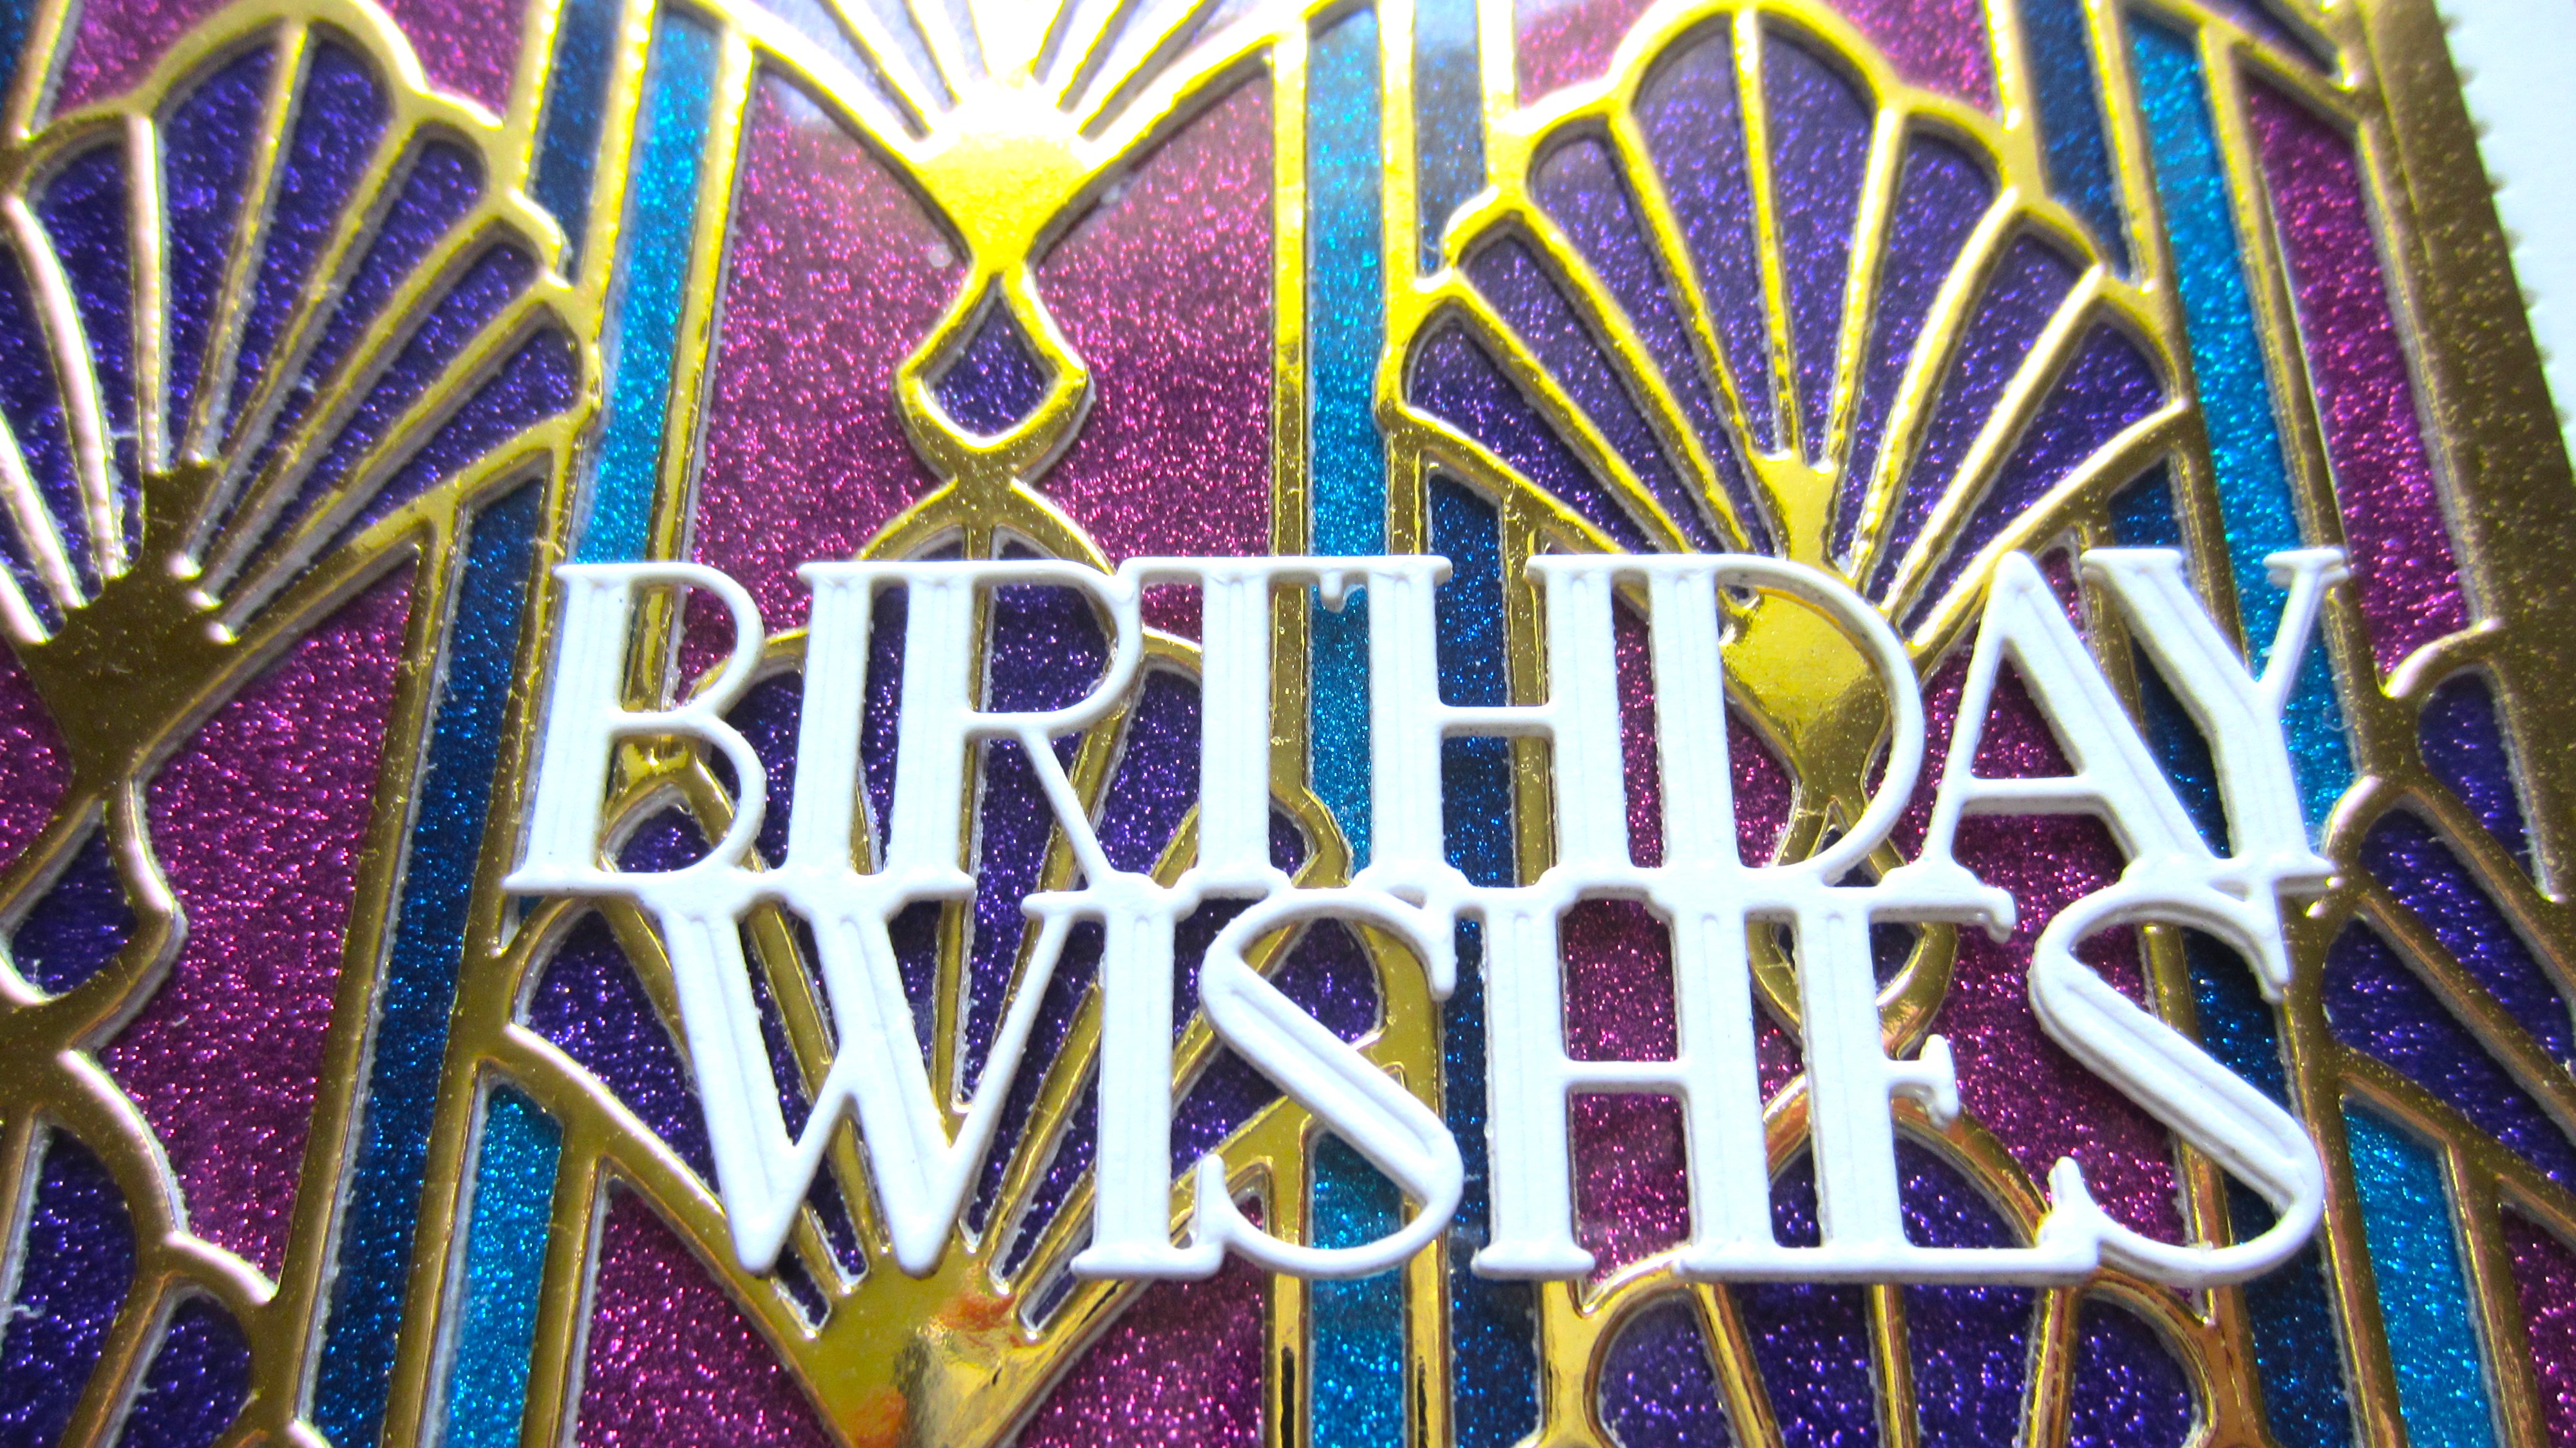
Hello crafters! I just love the colours in this card. I created it by cutting the Art Deco Fan Background in Gold Mirror card. I glued a piece of clear acetate to the back of it. Starting with the darkest colours first, I added glue to the areas that I wanted to be Canadian Blue first. I poured on the Polished silk glitter then tapped it off. Next I filled in the areas with glue that I wanted to be Antique Rose, poured the glitter over it and then tapped it off. Lastly I added glue to the areas that were Brilliant Blue and then taped off the glitter. I set it aside to dry overnight then all the glitter shows up like this! I added a piece of white card to the back (so mounting foam doesn't show through.) I cut the Art Deco Birthday Wishes sentiment in white and glued it to the bottom corner of the card. The card was completed with white and gold mirror card mats and layers. The finished dimensions are 6 1/2" x 7 1/2" in size. All for now, Sue x
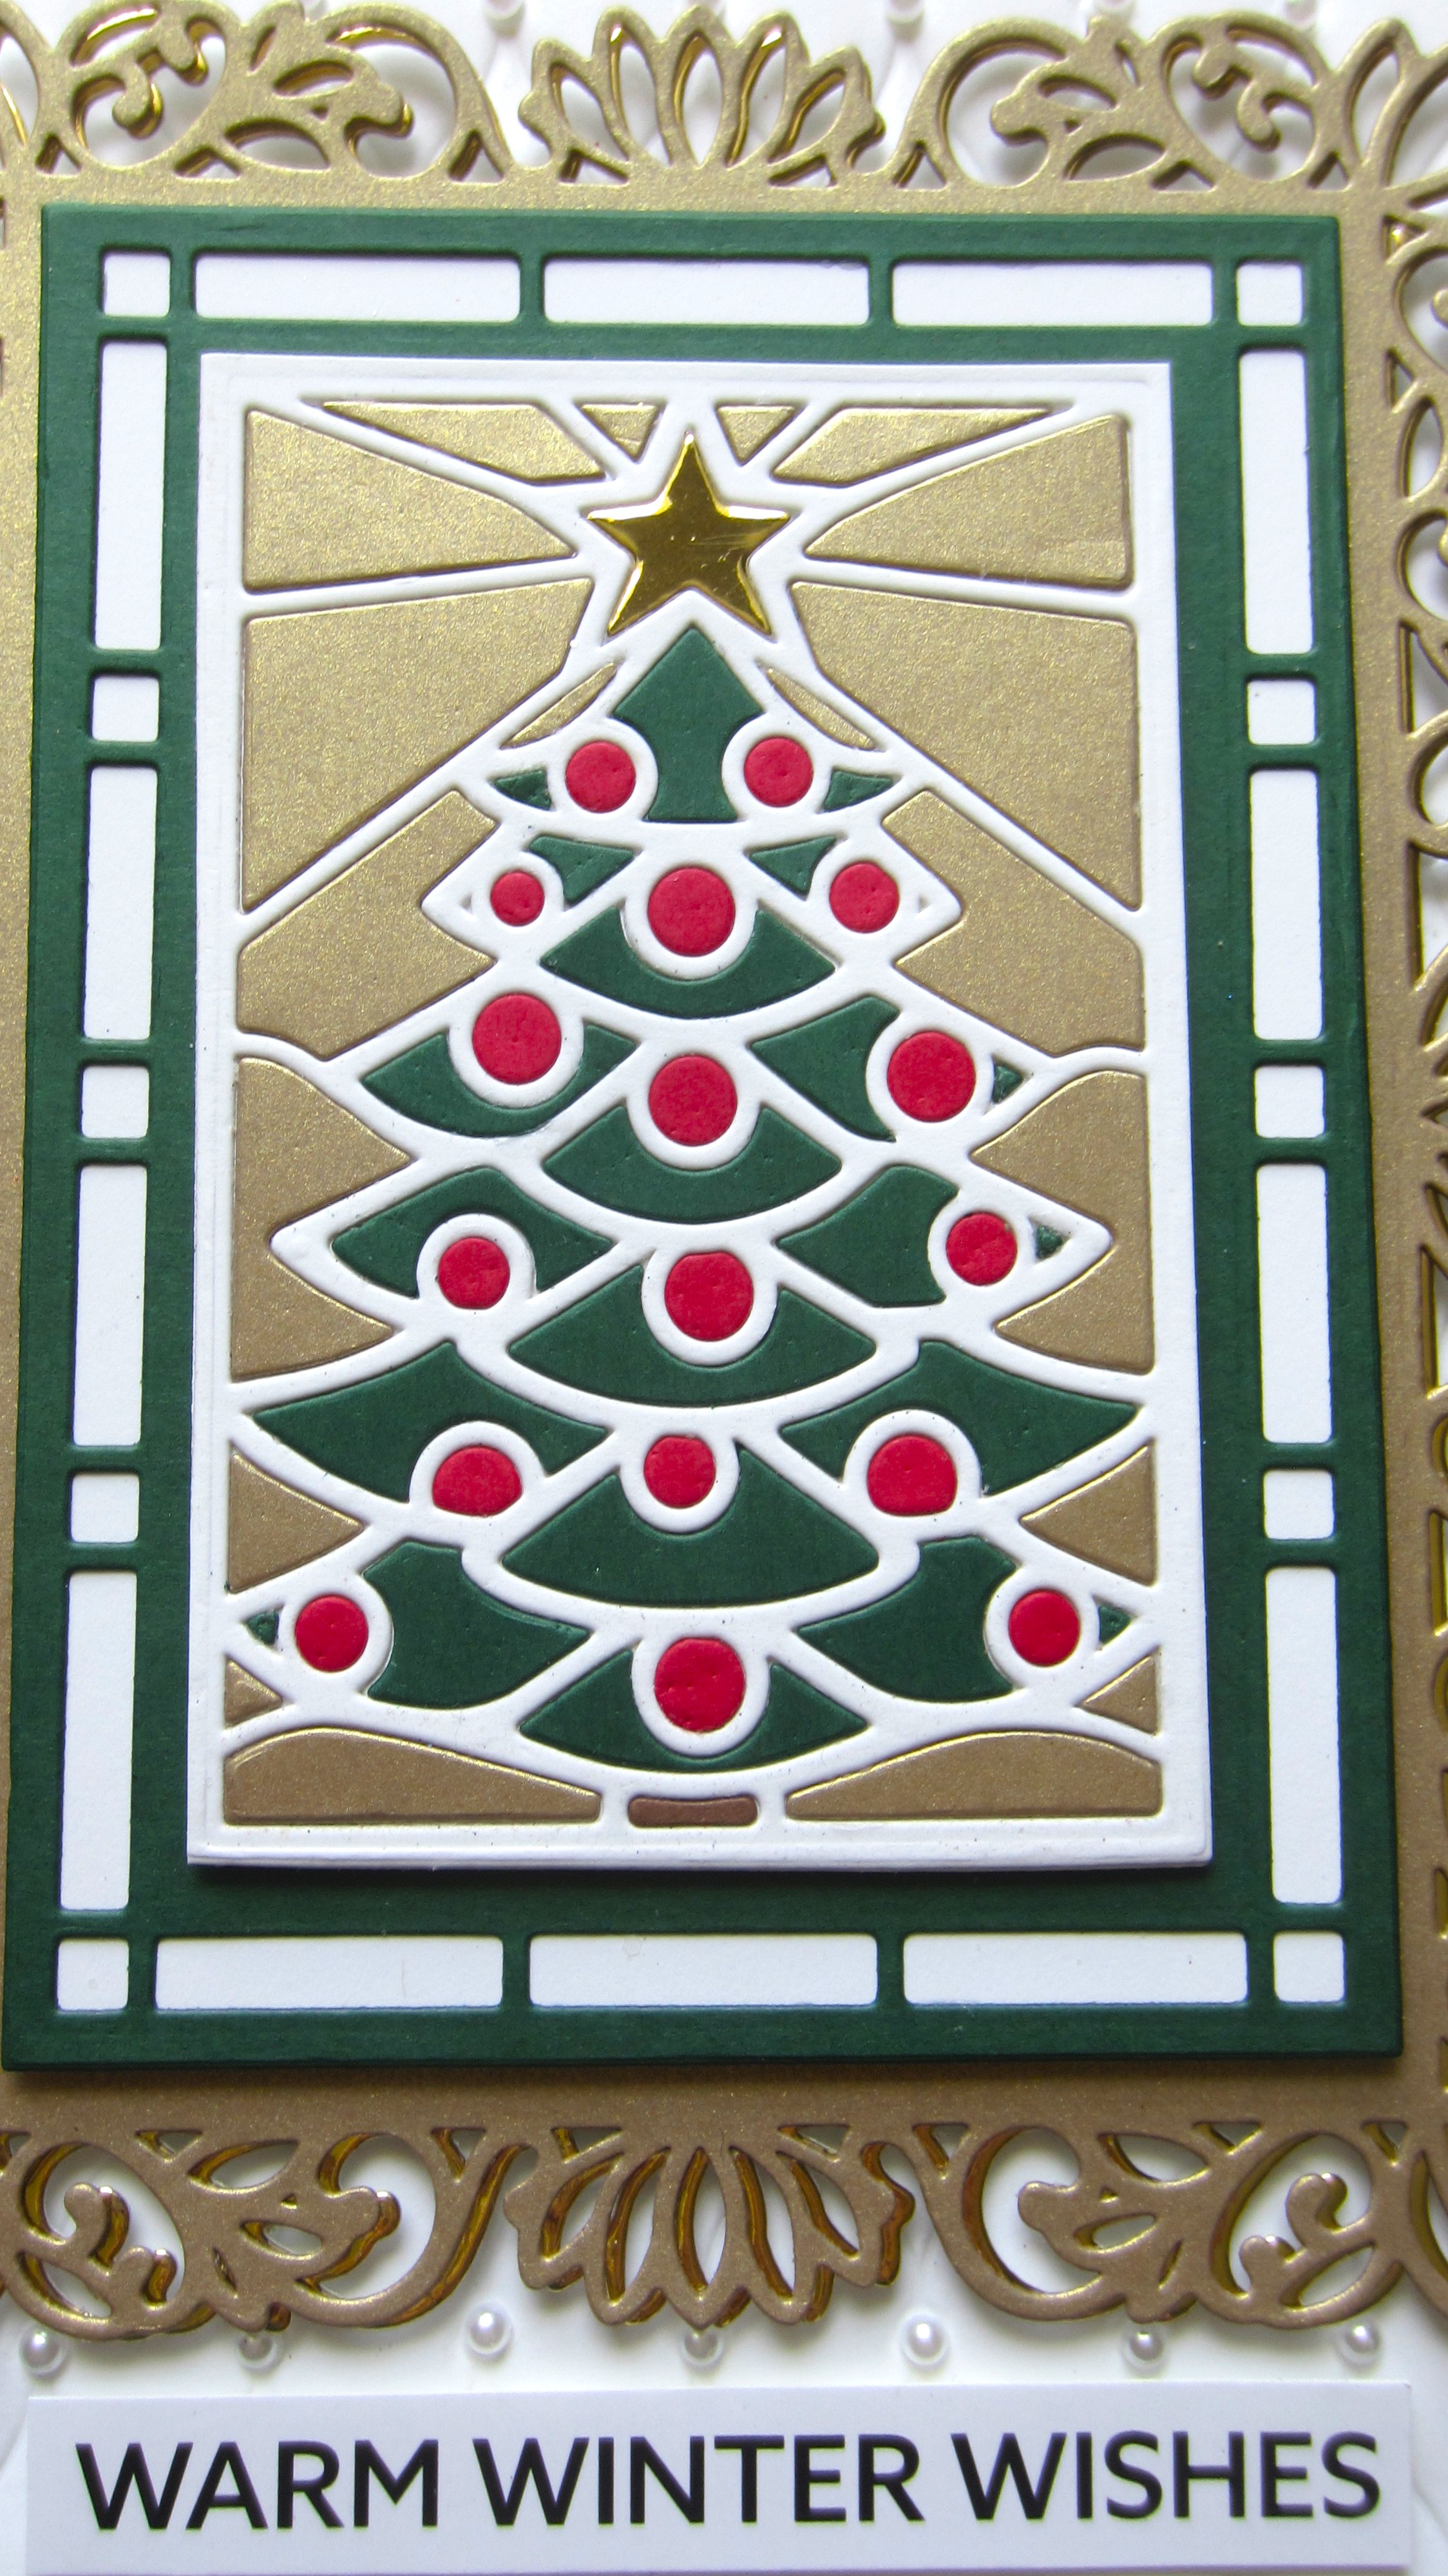
Hi there my crafty friends! I used the Padded Quilt embossing folder to add texture to a piece of white card. Next I cut the outer frame of the Stained Glass Christmas Tree die out of antique gold card. I shadowed it by cutting the die out of gold mirror card and used it behind the antique gold die cut. I cut the middle die out of dark green and backed it in white and added it to the other frame. I cut the Christmas Tree die in white and glued it to a white base. I cut the tree again in antique gold cars, red card and dark green card. I used the pieces to paper piece the tree. I added a brown trunk and a star cut out of gold mirror card. I cut the Warm Winter Wishes from the Christmas Wordie sheets and added it below the focal element. I added small white pearls to the embossed background as accents.The card was completed with white, gold and black mats and layers. The finished dimensions are 7 1/2" x 8 1/4" in size. All for now, Sue x
Hello crafters! I selected one of my favourite pixied backgrounds that uses Midnight Blue Pixie Powder. I cut the Bat And Web Border out of black card and glued it to the top of the card. I cut it again out of black gloss card and cut away the bats and added them to the first die cut. Next I cut the Vampire die out of milk card. I used markers to colour his hair, cape, jacket, pants and shoes. I cut the two ghosts from Frankie's Frame in white and nipped them away and glued them below the border. I cut Jamie's Pumpkin Border and nipped away three of the pumpkins and stacked them under the ghosts. I cut the Ghoulish Greetings sentiment in white and glued it at the bottom of the card. The card was completed with white mats and layers. The finished dimensions are 6 3/4" x 7 3/4" in size. All for now, Sue x
Hello crafters! I selected a piece of white card and embossed it with the Padded Quilt embossing folder. Next I cut the three baubles from the Opulent Bauble die set out of antique gold card. I backed each one of them with gold mirror card. I used the Foliage Pieces die set and cut several pieces of pine greenery and arranged them across the top of the card. I attached the baubles so they looked like they were suspended from the greenery. I added pine cones to the greenery as accents. I cut the Happy Christmas sentiment out of antique gold card and shadowed it with gold mirror card. The card was completed with white, antique gold and gold mirror card mats and layers. The finished dimensions are 8" x 9" in size. All for now, Sue x
Hello bloggers! I selected a piece of white card and used the centre die from the Art Deco Rosette to cut into the card randomly all over. I made about a dozen cuts into the card, then I backed it with a piece from my background stash where I had dropped some watercolour inks of differing colours all over it. Once it was glued behind the die cut background, I used spray glued to coat the entire piece then I sprinkled Frosted Sparkle Glitterbitz all over it. I used the dies from the Art Deco Grand Labels and cut the larger and the smaller one out of white card. I backed both of them in white too. I stacked the two dies on top of the background with the larger die seated on the background and the smaller one on top of it. I cut the Art Deco For You sentiment in black and glued it to the label die. The card was completed with white mats and layers. The finished dimensions are 7 3/4" x 8 1/4" in size. All for now, Sue x

Good Sunday morning all! I started today's card by cutting the Starlight Background in white. I backed it with a piece of pixie sparkled card that I used Boulevard Lights Pixie Sparkles on. I cut the Vintage Bauble out of antique gold card, glittered it with Black Onyx glitter and added the pearly beaded string from the Bauble Branch die set to make it appear as it's hanging. I used the Double Stitched Rectangles and added a white frame over the background. I cut the Merry Christmas sentiment in both antique gold and black. I shadowed the saying and glued it to the background. Using the Classic Poinsettia die set, I made three different sized white Poinsettias and glittered them with Frosted Sparkle Glitterbitz. The flowers were added in opposite corners. The card was completed with white and black mats and layers. The finished dimensions are 7" x 8 1/4" in size. All for now, Sue x