Sunday 31 August 2014

Christmas Wishes

Good Sunday morning all!  I was going to keep the Christmas cards for Fridays but I had already loaded this one up for today.  I am still sure they are more than enough Christmas cards to do double days as well as a few scattered here and there!  In other words, I made a lot of Christmas cards!  I love the simplicity of this one.  I stamped the Quilt Block background by Justrite using a Snow cap Adirondack pigment ink pad on to white card and heat set it.  I inked over the background with Aqua Adirondack ink, bringing the pattern up just so it looks like a ghost image in the background.  I used the Justrite Snowflake and a Cobalt blue Archival ink and over stamped the background.  I matted it with a thin white mat.  I stamped my sentiment on to vellum using a Clear Perfect Medium pad and heat embossed it with white embossing powder.  I cut it into a strip and mounted it across my card.  I used a Create a Flake for my snowflake which I seated on the end of the strip.  I cut a larger white mat and ran double sided tape around the edge and coated it with Iced Snow for a bit of bling.  I layered up my background on it then added my final double white mat with the inner pierced layer.  The finished dimensions are 6 3/4" x 8" in size.

Now for the Comment Game Winners.  This week's winners are:
Jean Johnston!!!
Cdteach!!!
Jill Berg!!!

For the extra qualifying post of Wed., Aug. 27th, the winners are:
Breezes!!!
Bea!!!
Fiona Young!!!

Congratulations all!  Please email me at americansue1@gmail.com to confirm your address and claim your prize.  All for now, Sue x


Saturday 30 August 2014

Christmas Wishes

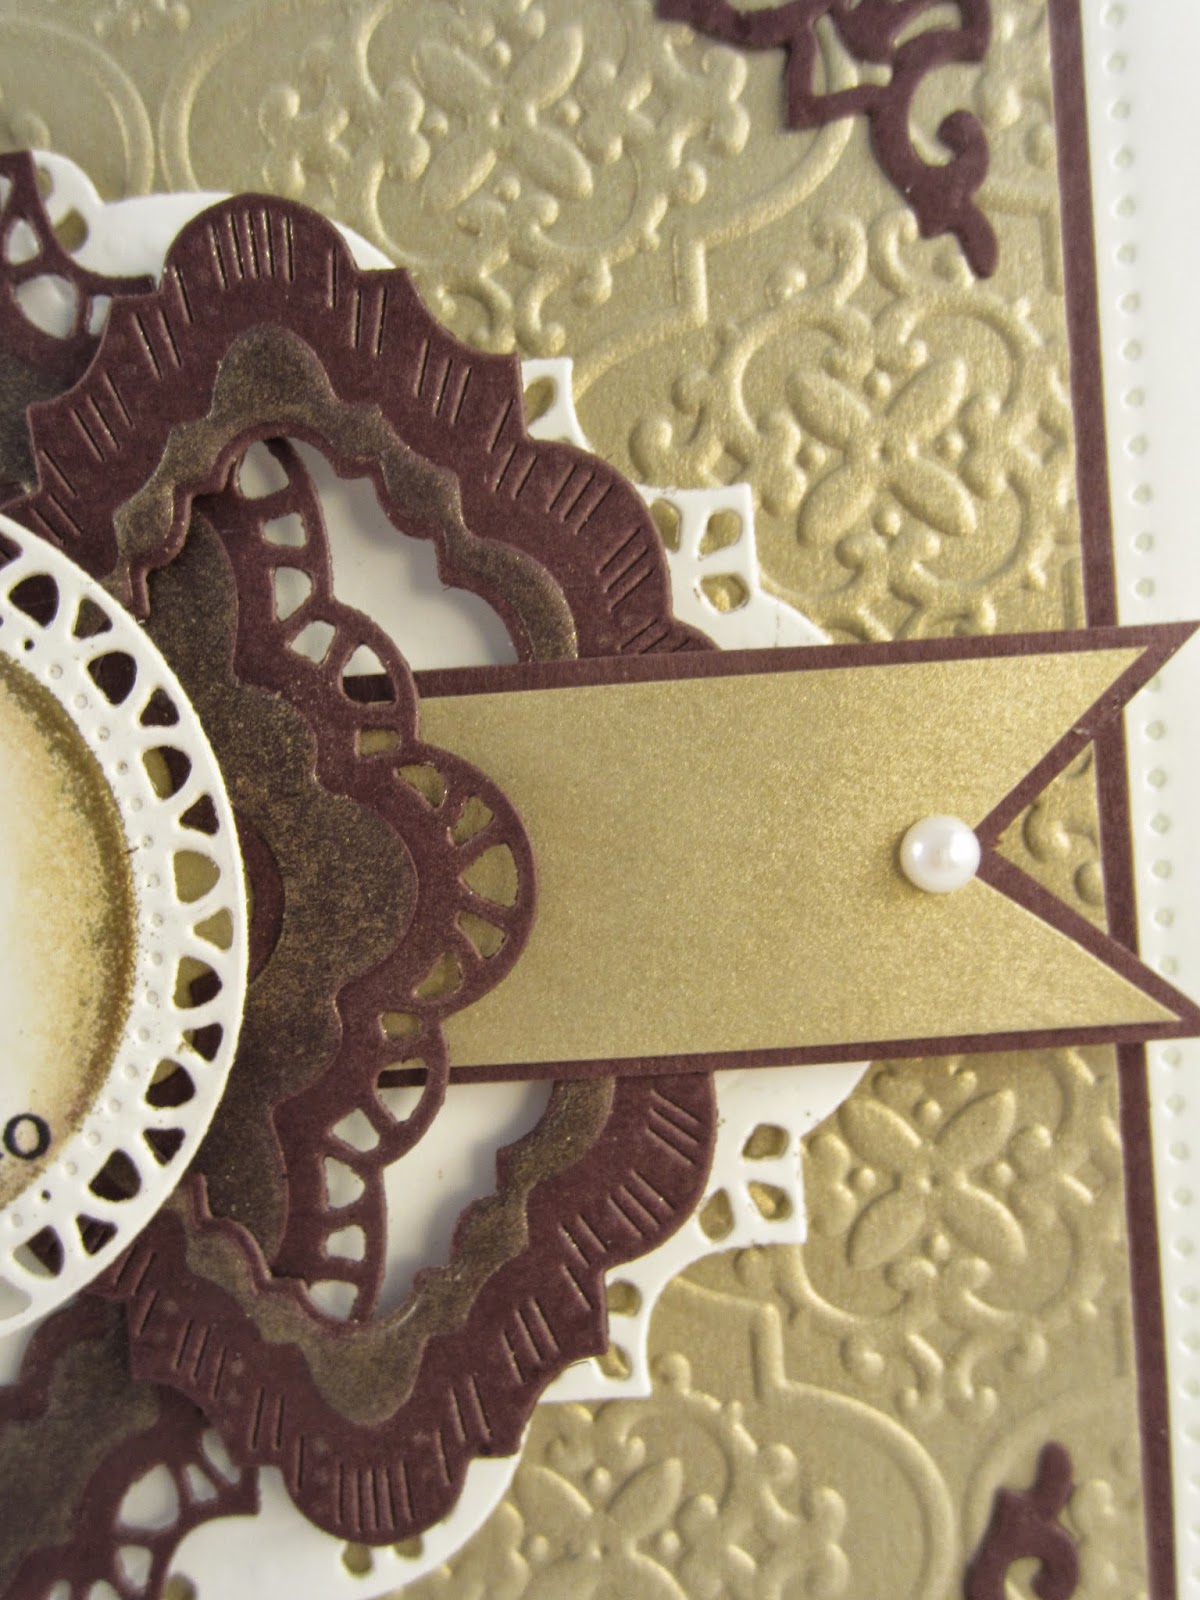
 Hello everyone!  More Christmas cards!  I may have to start "double days" again soon to get through all of these before we end up on Christmas' doorstep!  How do you feel about that?  Overdose or not?  This card shows my first attempt using the new texture pastes.  I will probably use these again as I found it quite fun to do!  The down side is there is a bit of a wait for it to dry, but if you were to do a bunch of them in a big batch, you could just pull them out as you need to use them and voila!  I used the Cosmic Shimmer Gold Pearl texture paste through the large polka dot mask on to soft vintage gold card for this one.  You just need to tape the mask down with removable tape and then use a spreader to pull the paste through the pattern on the mask (I used an old gift card for my spreader).  I really like the tone on tone look myself, it gives you texture without fighting for attention too much.  I gave it a thin white mat and added it to the top of the card above my stamped greeting, which I embossed in gold.  I stamped the Justrite Wreath in black on a piece of white card.  I did a messy watercolour wash with Distress markers and cut it out with the Majestic Circles.  I stamped just the bow area again on gold card, heat embossed it in gold and cut it out by hand to overlay on the original.  The card was finished with a white pierced layer, a thin gold mat and a final white mat.  The finished dimensions are 7" x 8 1/4" in size.

The winner of this week's Wednesday card giveaway is:

Camelot67!!!

Congratulations!  Please email me at americansue1@gmail.com to confirm your address and claim your card.  All for now, Sue x


Friday 29 August 2014

Thanks For Being There

Hello all!  This is what I call a "petticoat card."  I love doing these as they are just so girlie!  I cut eight Italian borders out of kraft card and highlighted them with Antique Linen while still in the die.  Using kraft card for my background piece as well, I glued them in an offset manner to the background piece to create the "petticoat" effect.  Doesn't it just remind you of a dress your Mom put you in when you were little (not you male crafters out there though I hope! LOL)  I matted the piece with a thin white mat to help make it pop then a black mat to frame it.  I stamped my sentiment (from the Bold Sentiment set by Cr. Exp.) in black, cut it into a flag and matted it with red and black.  I used the Classic Rose with the insert piece to make the flower (there is a video titled Filigree Blue Wedgewood which shows this technique)  I seated the flower on the end of the sentiment tag with some black jute twine and embellished it with Curled Vines.  I finished the entire piece with a double red mat with a pierced inner mat.  The finished dimensions are 7 1/2" x  9" in size.  I hope you like it! All for now, Sue x


Thursday 28 August 2014

Winter Wonderland


Hi there crafters!  I have a lovely card for you today showing off my new Christmas dies.  I was over the moon with how this one came out and I think you will like it as well.  The video shows you in easy steps how to make this beauty and it isn't too long either!  I have, however, missed extra taking photos of this card, so sorry!

Buy from Joanna Sheen


Wednesday 27 August 2014

Wednesday Weekly Card Giveaway

 Hi bloggers!  Back to a card giveaway day after missing it due to last week's die launch and giveaway.  While this card is pretty straightforward, nothing tricky, it is quite striking so I thought it was worthy of a giveaway day.  I stamped the Justrite Iron Swirls background stamp on to a piece of black card using a Clear Perfect Medium pad.  I heat embossed the image with True White detail embossing powder.  The image was then cut to size and matted with a thin white mat to frame it and make it pop.  I used the mauve seam binding and wrapped it both directions like a present, adding a messy bow to the junction.  I wanted to give it a bit of a feature so I cut the bow loops down the centre, creating a shabby chic sort of look with frayed edges.  I made two matching stick pins and added them to the bow, finishing it with a black jute twine bow and a crystal sparkler.  I stamped a sentiment and cut the ends into a flag.  I edged it with Shaded Lilac and then tucked the end under my sparkler.  To add a bit more colour, I added a pierced mat layer with a deep lilac card and followed with a thin white mat to set it off.  I finished the card with a black mat with Cosmic Shimmer black PVA glue dots around it and a final mat of lilac.  The finished dimensions are
 6 1/2" x 7 3/4" in size.  If you would like to be entered in the drawing to win this card, just leave a comment on the post (directions are on the side of my blog if you have never done so).  I will draw a name and announce the winner on Saturday's blog post.

I still haven't had all the Christmas die winners claim their prizes.  Please check the list that was posted on Monday to see if your name is on it and email me!   All for now, Sue x


Tuesday 26 August 2014

Dotted Daisy


Hi bloggers!  This one is not my usual type of card, but it is a great one if you need a quick card or want to use of any leftover scraps of card.  I also show you how to achieve still another look with your Delicate Daisies dies (more versatility!)  It isn't too long so I hope you can take a few minutes to enjoy it.


Buy from Joanna Sheen


The finished dimensions are 7" x 8" in size.  All for now,Sue x


Monday 25 August 2014

Christmas Die winners

Hello and welcome back!  I just want to say thank you again for the amazing reception that everyone gave to the new Christmas dies.  It was truly a labour of love but I think that they were all very well received so it was definitely worth it!  I hope everyone enjoyed seeing the sneak peeks of some of the samples and yes there are many more to come!  Without further ado, here is a list of the names drawn for each die ste:

Christmas Angel 2014- Donna Golby!!!
Illuminated Christmas Tree- Margaret Corgi owner!!!
Holly Accessory Kit- Liz Wagner!!!
Holly Spray- Janet Chard in Kent!!!
Pine Bough- Jan Caven!!!
Classic Poinsettia- Nicola Belshaw!!!
Mosaic Poinsettia- Virginia Davey!!!
Filigree Poinsettia- Lancashire Steph!!!
Vintage Bauble- Myra P!!!
Sentimental Bauble- Barbara Phillips!!!
Framed Noel- Jess Watson!!!
Let It Snow- Pharmacy Michele!!!
Peace- Sheila-Ginger!!!
Joy- Carol Edwards!!!
Believe- Hazel Young!!!

Congratulations all!  Please email me at americansue1@gmail.com to confirm your address and claim your die.  Can you please put the name of the die you have won in the subject line of the email too.  All for now, Sue x

Best Wishes

Hello my crafty friends!  I think today will be a big bow day as I haven't had a proper one in awhile! LOL  A couple of little ones, but this is the first large bow in about two weeks!  I started this card by cutting the Vienna die and the inner die from the Salzburg in the background (without the outer cutting edge).  I cut a piece of black card slightly larger and lined the edges with sticky adhesive tape.  I covered it with Midnight Snow.  Next I used a piece of sticky adhesive sheet and applied it to the back of the cut out area (so the sticky was towards the front.)  I covered this with Midnight Snow as well.  I wrapped a piece of silky crush ribbon around the bottom and taped the ends to the back. (Before anyone asks though, this colour was a sample that I received from the manufacturer, but they never put it into production.  It was a perfect match for our card, too bad!)   I peeled the other side of the backing paper off then centred my background on it (with a bit more tape at the bottom to hold it securely).  I matted the piece with mauve card and used a smaller piece to cut the tag from the  French Collection Auvergne die set.  I stamped my sentiment and cut it out with the California Collection Decorative Frames Set B.  I layered up the two pieces and added them to the middle of my card with mounting foam.  I tied a double bow and added it with glue dots, making some matching stick pins and finishing the bow with a crystal Sparkler.  I finished the card with a pierced mat layer of white then thin black and mauve mats before adding a final white layer to complete the card.  Big bow withdrawal has now been averted! LOL  The finished dimensions are 7 1/4" x 8 1/2" in size.

I will be doing the drawing for the Christmas die winners and posting it later today so don't forget to check back this afternoon to see if your name is on the list!  All for now, Sue x


Sunday 24 August 2014

Thank you

Good Sunday morning!  Here's another card that I seemed to have overlooked!  I must admit that this one is pretty in real life, but the pictures just don't pick up the Rich Plum card very well.  It's a buckle card (my favourites) using the California Decorative Frames for the buckle.  I started with the background though and embossed it with the Tapestry embossing folder using our soft vintage gold card.  I matted it on rich plum card and used the fall away pieces from Marvellous Squares for the corner embellishment.  I cut the largest die in the Decorative Frames Set B out of coconut white card as a backdrop for my buckle feature.  I used the next two sizes down in the set and cut them as frames, one larger and two smaller and I inked them while still in the die with clear perfect medium and dusted them with gold mica powder.  I cut a strip of gold card and matted it with rich plum to use as the weaving strip for my buckle.  I fixed all the frames in place and secured them with tape and mounting foam.  I stamped my sentiment and cut it out with the Italian Decorative frame die.  I inked it with clear perfect medium and then heated gold embossing powder to frame the sentiment.  I added it n the middle with mounting foam.  I finished the card with a double white mat with a pierced inner mat to balance the card.  Finished dimensions are 6 1/2" x 8" in size.

Now for the weekly Comment Game winners.  They are:
Lorna!!!
Elizabeth S!!!
Redfox!!!

Congratulations all!  Please email me at americansue1@gmail.com to confirm your address and claim your prize.

Don't forget to check back on Monday afternoon for the list of the winners for the Christmas dies!  My usual post will go live at 6am with the dies being posted later in the day.  If you haven't left comments on any of the die posts, it isn't too late to do so, you have until 6am on Monday morning.  All for now, Sue x