Tuesday, 30 September 2014

Diagonal Channel Technique


Hi Bloggers!  I love this card and I think you will too!  In today's video, I will show you a fun way to use your border die and make a stunning card that looks like you took ages, but really didn't!

As I like to say, better late than never!  Here are the winners of this week's Comment Game winners:
Helen Terry!!!
Crafty Susan!!!
Di!!!

For the extra qualifying post of Wed. Sept. 24th, the winners are:
Aunty Sue!!!
Clai01!!!
Sue from Wiltshire!!!

Congratulations all!  Please email me at americansue1@ gmail.com  to confirm your address and claim your prize! 


The finished dimensions are 7 1/4" x  8 1/2" in size.  All for now, Sue x

Monday, 29 September 2014

Season's Greetings

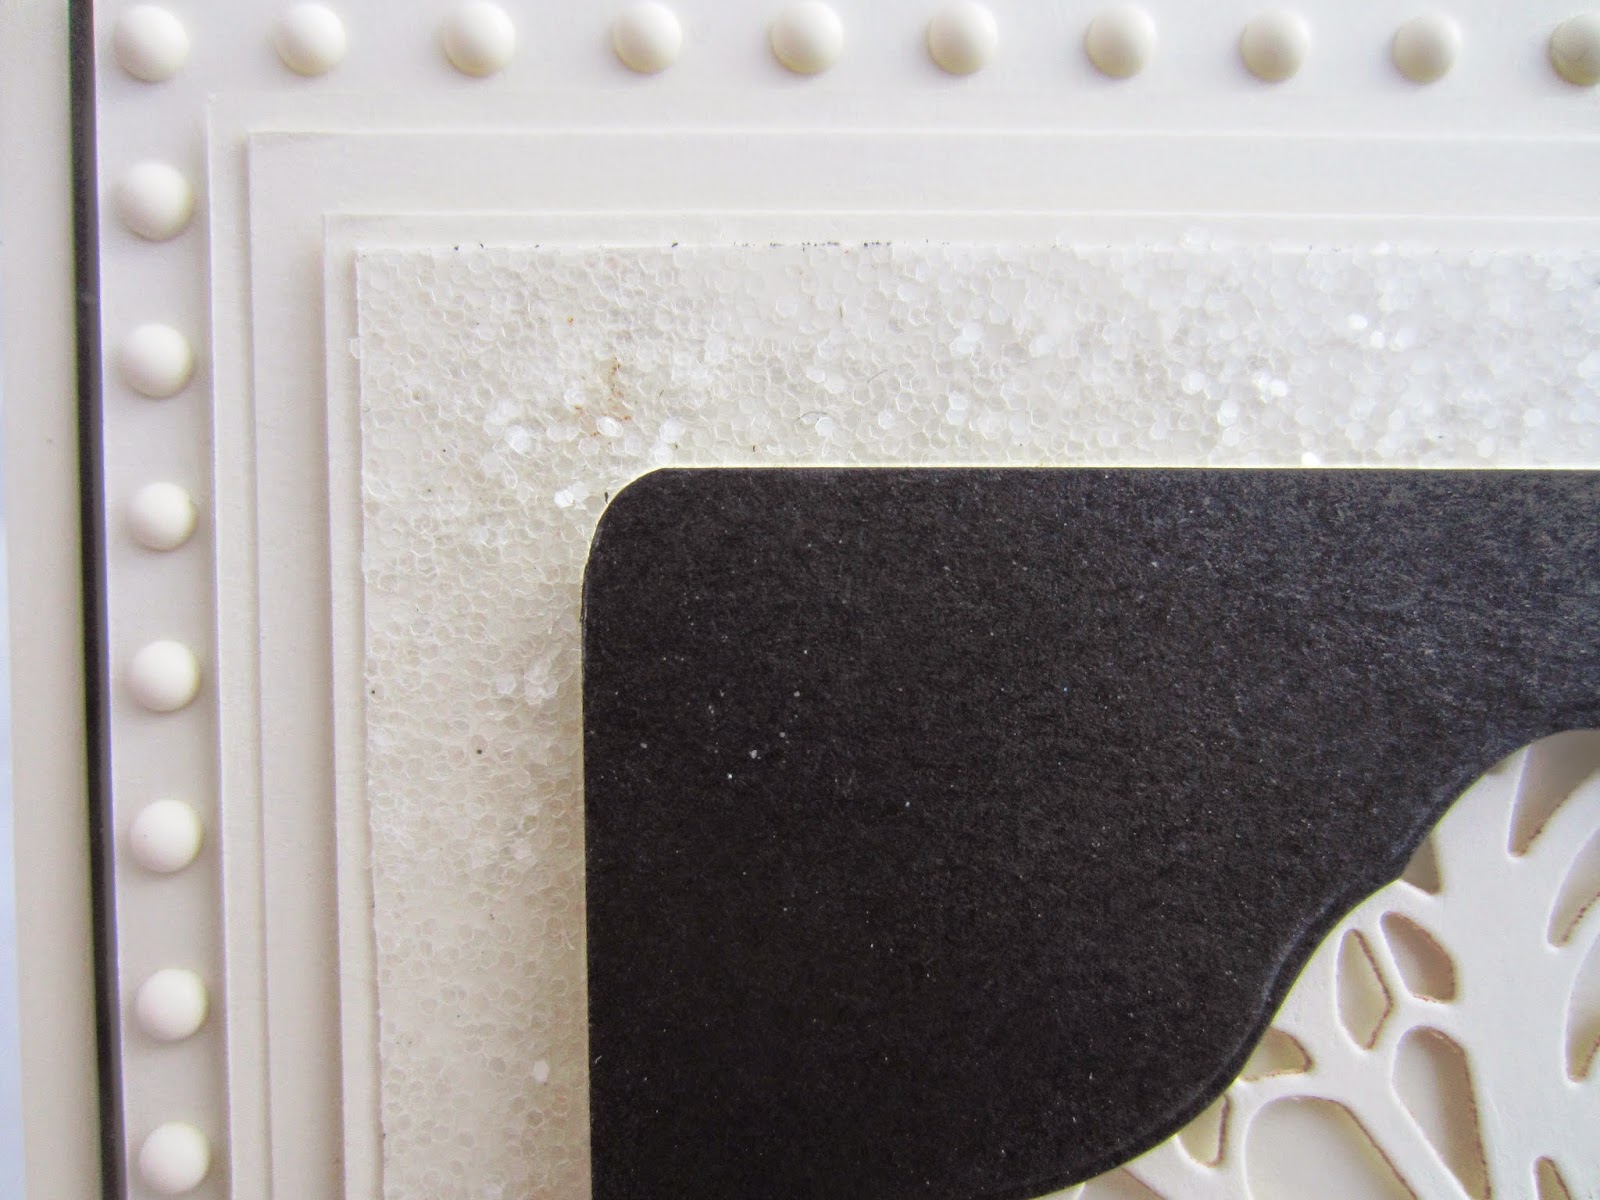
 Hi crafters!  I really wanted to show off this gorgeous aperture of the Christmas Angel.  I love how pretty it is!  I cut the angel in black so that it would make everything stand out nicely. I used milk card and cut the French Collection Background.  I added mounting foam to the aperture and seated it over the background.  I added this to another piece of card that was larger and ran double sided tape all the way around the edge.  I covered it with Iced Snow to add some sparkle to my card.  I stamped my sentiment in black and added my focal element above it.  The card was then matted in milk card that I added Cosmic Shimmer PVA glue dots in Ivory all the way around the edge.  A thin black mat was added before the final milk card mat layer.  The finished dimensions are 7" x  9" in size.  I do wish you could see her in person as she turned out just lovely!  All for now, Sue x


Sunday, 28 September 2014

Best Daughter

 Good Sunday morning all!  I have been having a look around for a few non Christmas cards to post (I don't want you to get all Christmased out too early!) LOL I found a few shoe cards that have never had their day on the blog and I thought I would share this one!  I have to admit that I am probably the only woman alive that doesn't just drool over shoes, but I do like shoe stamps a lot!  Probably because they don't hurt your feet! LOL  I started this one with two California Collection borders cut in coconut white card.  I put them together with the scallops offset and glued them diagonally across my card atop a periwinkle strip of card.  These borders are slightly longer so you can easily achieve this with them.   I stamped my sentiment in black in the upper corner.  I stamped the shoe and heat embossed it with clear powder to give it a shiny patent leather look.  I coloured the flowers and leaves with pencils and fussy cut the shoe out.  I used a black marker around the edge to take away the white paper edge that shows when you fussy cut an image.  I mounted it on foam for dimension and added it below my diagonal border. A few pearl finishing touches were added to the borders.   I matted the entire piece with a thin black mat for balance and finished the card with a white pierced mat layer then a final white mat.  The finished dimensions are 6 1/2" x  7 1/2" in size.

   Don't forget that the Comment Game winner announcements have been delayed until Tuesday's post this week.  Don't forget to check back.   All for now, Sue x


Saturday, 27 September 2014

Best Wishes

Hi bloggers!  A simple petticoat coat using some of my first release dies from earlier in the year.  I started with a piece of pale green card from my stash and cut three California Collection borders to create the bottom petticoat effect on the card.  I glued the to the card from the bottom upwards, slightly overlapping them.  I added small white pearls to the top row as accents.  Using the same green card and my Classic bow die, I made a pretty double bow to sit in the centre of the top border.  For the focal element, I cut the Granada die from my Spanish collection out of coconut white card.  I mounted it on foam and attached it to the top part of the card.  I stamped my sentiment and cut it out with the Fancy Tags two die.  Before removing it from the die, I inked it with Shabby Shutters distress ink.  I mounted it in the centre of my focal element.  I cut a white mat and used my piercing ruler to add a pierced frame around the card, then finished it with a single white mat.  The finished dimensions are 7 1/2" x  8 1/2" in size.

The winner of the Wednesday Card Giveaway this week is:
Nanny Jo!!!

Congratulations!  Please email me at americansue1@gmail.com to confirm your address and claim your card.

I will have to delay the Comment Game winners again this week until Tuesday as Julia Watts and I are on another roadtrip this weekend doing workshops and demoing in Taunton.  Please check back  to see if your name has been drawn as a winner then please.  Sorry for the inconvenience!

There are a few extra pics at the bottom of the post for you though!


I promised to show you a few pics from Ally Pally, but I only took but a few!  These are mostly even at dinner after the show!  A promise is a promise though!


Julia and Phill

 Me and Phill
 This is Elaine, Linda, Michaela, Judith and Christine, just part of the Creative Expressions team who help work  the stand at Ally Pally!
 Pam Smith and her husband Steve.  Pam does our demonstrations in the classroom during the show for us.


 I got quite a laugh when Steves dinner showed up and it was an enormous calzone!
This was the only pic taken at the show and I was probably the only one that thought it was funny.  Reports of my death have been greatly exaggerated (Mark Twain's quote)  but I couldn't help but pose under this sign at one of the stands that should have said "Sue Wilson's dies"  It was all in good fun though!  All for now, Sue x


Friday, 26 September 2014

It's A Double Day

 Hello my crafty friends!  It's a double dose of Christmas today and my angel is leading off the way.  It's a funny story about this card.  When I received the Christmas die prototypes, I immediately began to cut them all, grabbing some black card that I had handy.  The angel was first and I didn't get much further for awhile as I was so taken with her that I worked up this card from some bits that I had laying around! LOL  I used a white embossed card made from the Floral Brocade Pinpoint embossing folder and matted it on a thin black mat.  Atop that I gilded a large square piece using a sticky adhesive sheet on card, then rubbed Calypso gilding flakes over it.  I matted that with a thin black mat as well.  I glued my Christmas Angel 2014 die cut in the corner and cut a white dove for her to hold.  In the upper corner, I used a pearl snowflake so it looks a bit like a star.  I finished the card with double white mats with a pierced inner mat layer.  No sentiment needed.  The finished dimensions are 8" x  8" in size.  Scroll down for card no. 2.


 The second card was shown on the blog during the Christmas die launch, but I still feel it needs a proper showing and written instructions.  I started with milk coloured card and stamped my sentiment just below halfway and heat embossed it in silver.  Next I embossed it with my Snowflake Lattice embossing folder.  I cut the piece so there was about an inch and a half of it to use below my borders.   I cut two of the Austrian borders out of milk card.  I offset them so the edges were top and bottom and glued them together, which gives you a completely different pattern.  I glued one edge to the embossed background and the other edge to the smaller piece that I cut off.  I added mounting foam to the back.  I ran a strip of sticky adhesive on another piece of card which lined up with my borders.  I peeled the backing off and added Iced Snow so it showed through from the border area.  I cut a Sentimental Bauble decorative die out of vintage silver card and the matching solid die out of silver and glued them together for a tone on tone look.  I cut the Peace tag out of milk card and added it to mu bauble along with small pearls to the lattice work.  I mounted the bauble in the upper corner with a messy bow tied from chalk seam binding.  I added a vintage silver button and metallic twine to the bow and placed some pearl swirls coming from around the bauble.  The card was finished with a pierced milk mat, a thin silver mat and a final milk mat.  The finished dimensions are 7 1/2" x 8 1/2" in size.  I hope you have enjoyed your double day!  All for now, Sue x