Tuesday, 24 May 2016

Sparkly Background Birthday Card


Hi crafters!  The New Zealand Background has some beautiful floral cut outs that you can use your leftover small bits of sticky adhesive sheets on to add glitter!  It looks like you have used a whole sheet, but it is a great way to use up small pieces.  Have a look at the video to see how.


The finished dimensions are 6 1/2" x  8 1/2" in size.  All for now, Sue x


                                                      Follow my blog with Bloglovin


Monday, 23 May 2016

Thanks For Everything

Hi bloggers!  Today's card showcases another of the matching Stamps To Die For.  This one matches the Wellington die and it is called Floral Oasis. I started the card by preparing the background.  I cut two of the New Zealand Noble borders out of coconut white card.  I glued them to another piece of white card for a tone on tone look.  Next I stamped the Floral Oasis stamp with a Black Archival ink pad and cut it out with the Wellington die. I used Distress markers to colour the image (Spun Sugar and Mustard seed for the flowers, Forest Moss for the leaves and Shaded Lilac and Stormy Sky for the edge)  I mounted it in the centre of the card in a diamond orientation.  I stamped a sentiment from the Amazing Sentiment clear stamp set by Cr. Exp.  I used the inner ring from the Happy Birthday circle to frame it and mount it in the centre of the stamped image.  Finally, I finished the card with a Paved Pearl Technique border.  I do have this technique as a step by step tutorial at the top of the blog if you want to see how it is done.  The finished dimensions are 7 1/2" x  8" in size.  All for now, Sue x


                                                        Follow my blog with Bloglovin

Sunday, 22 May 2016

Best Wishes

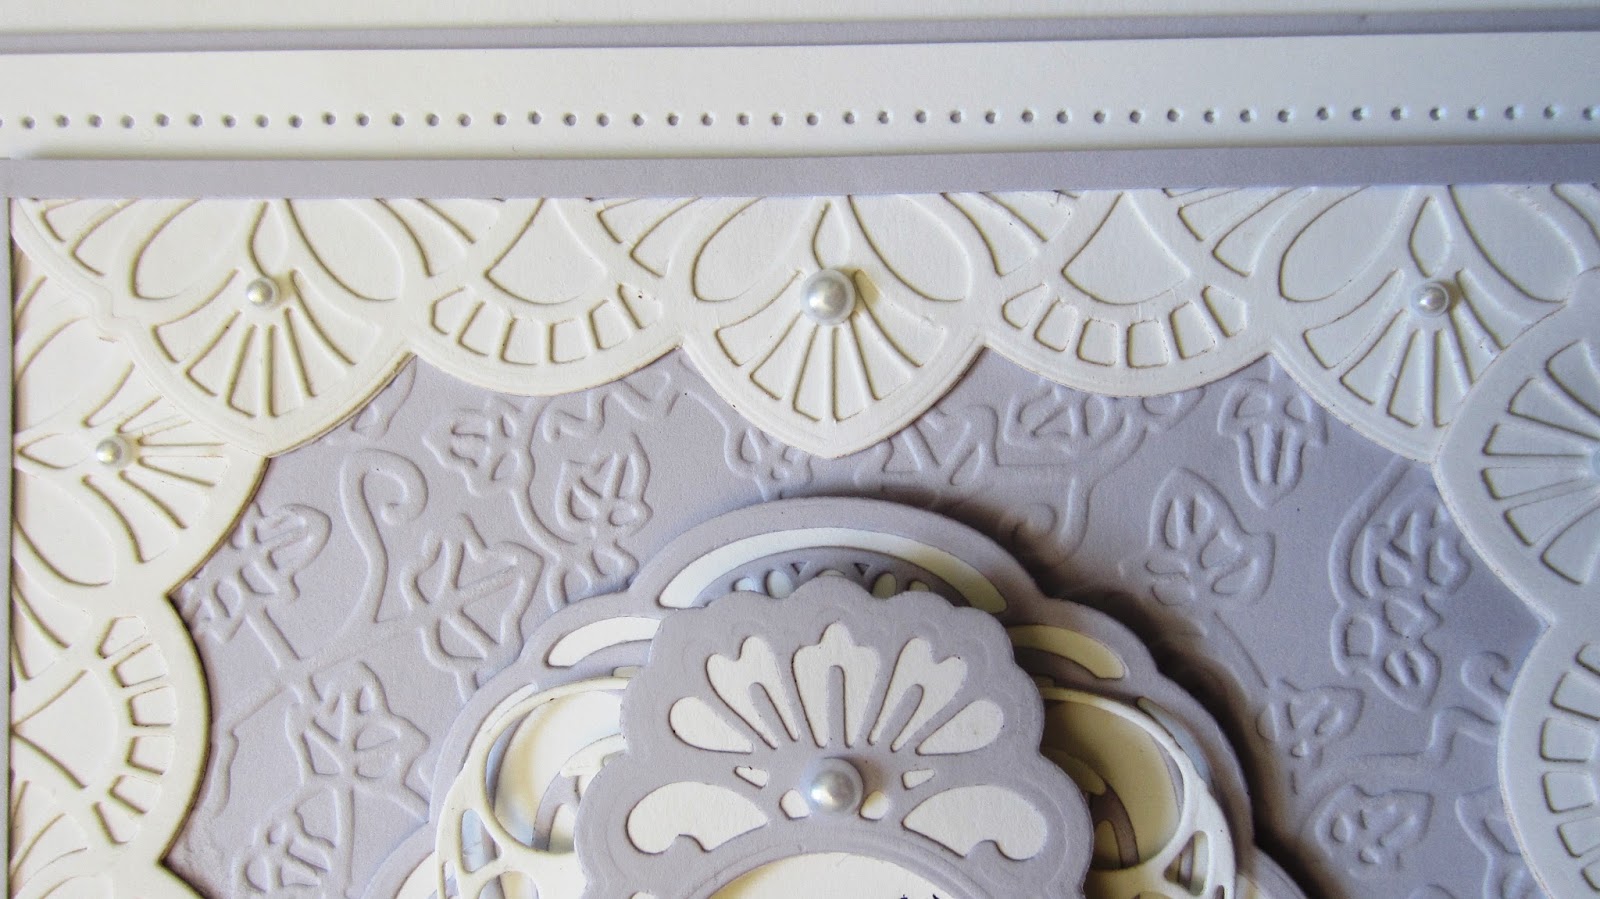
Good Sunday morning all!  I started by embossing a square of wisteria card with the Eternal Ivy embossing folder for some background texture.  Next I cut two of the Ravello Striplet out of coconut white card.  I backed them both with a solid white backing piece then cut them in half down the centre.  I glued all four pieces to the edges of the embossed background, overlapping them at the corners.  I cut thin strips out of wisteria card and glued them to the edges as accents.  For the focal element, I cut the Hamilton die out of wisteria card and backed it in white.  I mounted that to the centre of the card, then added another Hamilton die cut in white but I removed a bit of the design so that it could be layered up and still show some of the original die underneath it. I had originally trimmed it a bit differently but was showed a cleaner way by a friend from the blog so used that as it showed off the lower die cut much better!   I stamped a sentiment from the PetiteLavish  Sentiment set by Cr. Exp. and seated a New Zealand tag frame over it cut in wisteria and backed in white.  I finished the card in my usual manner with pierced mats and layers and added flatback pearls to the dies as accents.  The finished dimensions are 7 1/2" x  7 1/2" in size.

The winners of this week's Comment Game are:

Karen Lotty!!!
Narrowboat girl!!!
gingernuts!!!

Congratulations all!  Please email me at americansue1@gmail.com to confirm your address and claim your prize.  All for now, Sue x


                                                    Follow my blog with Bloglovin


Saturday, 21 May 2016

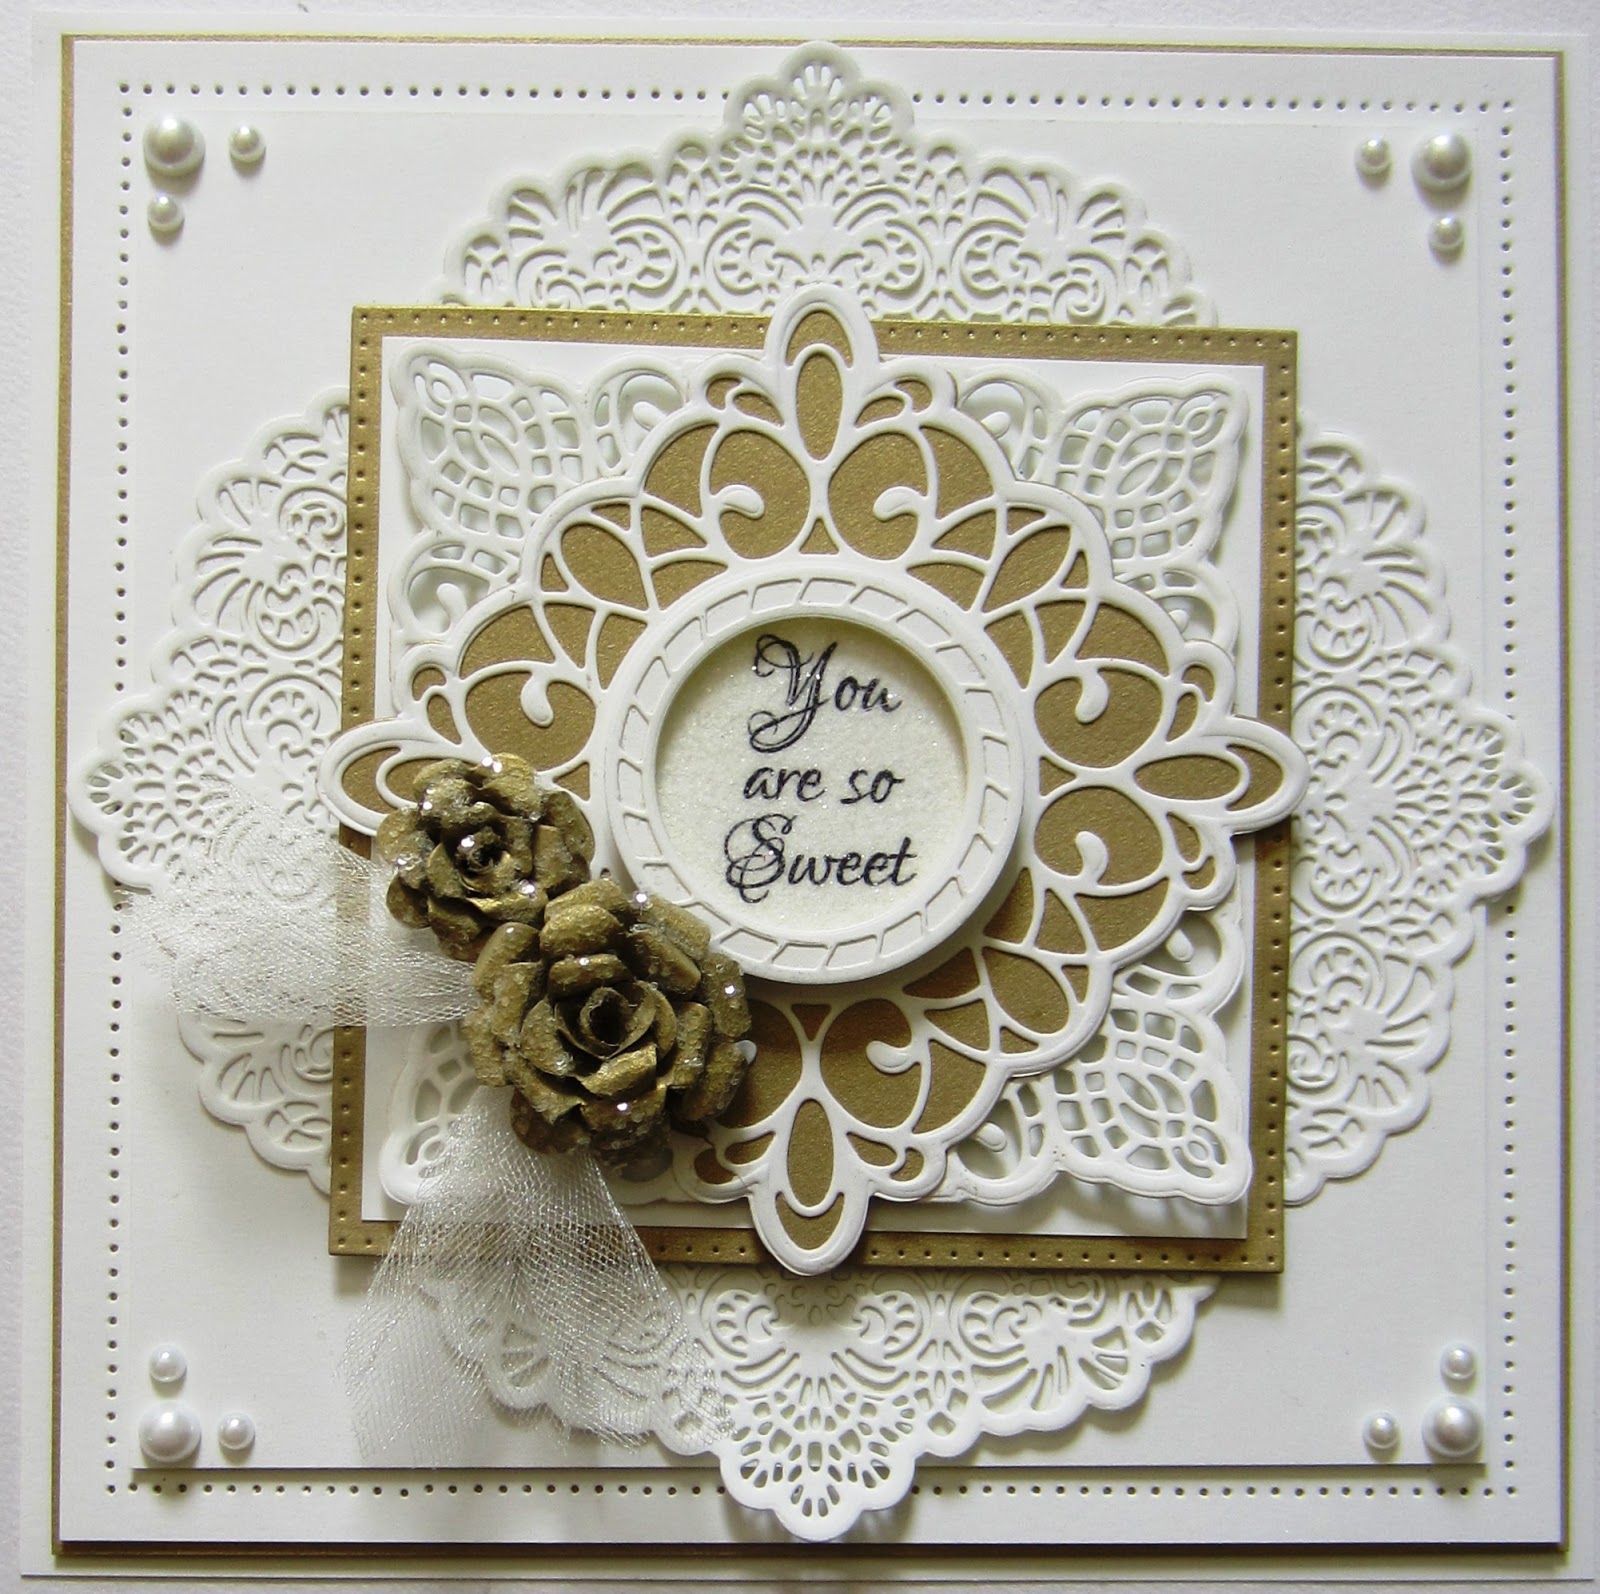
Gold and Lace


Hello there!  Today's video card would make a lovely wedding or anniversary card for someone special or just a beautiful card for a sweet friend.  I hope you enjoy it!

The winner of this week's Wednesday Card Giveaway is:

iReneM!!!

Congratulations!  Please email me at americansue1@gmail.com to confirm your address and claim your card.


 The finished dimensions are 8" x  8" in size.  All for now, Sue x


                                                            Follow my blog with Bloglovin

Friday, 20 May 2016

Best Wishes

Hello there my crafty friends!  It's all about the gilding flakes for today's card!  If you have never used them before, do not be afraid!  They are so easy to use (a bit messy, but not too bad!).  I covered a piece of white card with a sticky adhesive sheet.  Next I cut two of the New Zealand Noble borders out of white card.  I peeled the backing paper off the sticky adhesive sheet and paid down both of the borders facing each other and allowing a small edge of sticky paper behind both straight edges of the dies.  Next I added the Sunlight Speckle gilding flakes and used a piece of a Rubit Scrubit pad to move them into the remaining exposed sticky sheet areas.  I used the pad further to refine the flakes and remove the excess bits.  Next I used the outer cutting die in the Maggie set to cut a shape into the centre.  I added mounting cushion to the aperture to raise it for dimension.  I recessed the Maggie die cut piece back into the card after mounting the aperture onto a separate piece of white card.  The pattern from the borders was continued, but with the added dimensional aspects to it.  I stamped a sentiment from the Petite Lavish Sentiments set by Creative Expressions and cut it out with the centre of the New Zealand tag.  I cut a full tag to seat the sentiment on and added it to the centre of the Maggie aperture.  I finished the card with my usual pierced mats and layers and some flatback pearls as accents.  I hope you like it!  The finished dimensions are 7" x  9 1/4" in size.  All for now, Sue x


                                                          Follow my blog with Bloglovin

Thursday, 19 May 2016

Birthday Shaker Card


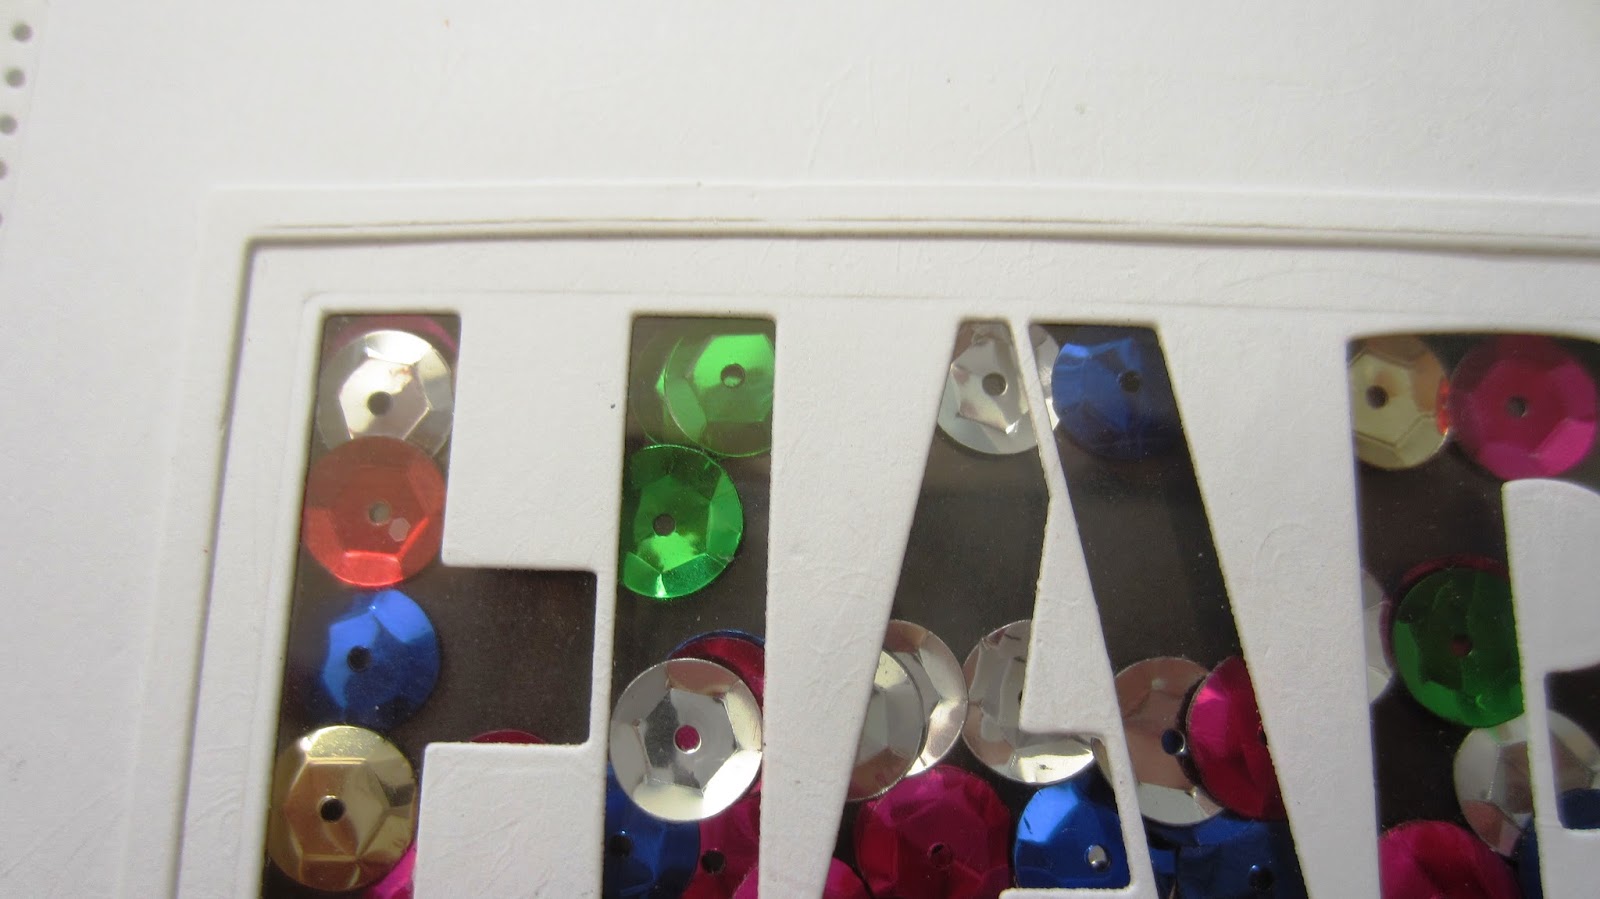
Hi there my crafty friends!  Shaker cards are all the rage and the Perspective range dies make great shaker cards too.  Today's video shows you just how easy they are to do!


The finished dimensions are 7 1/2" x  8" in size.  All for now, Sue x


                                                      Follow my blog with Bloglovin


Wednesday, 18 May 2016

Wednesday Weekly Card Giveaway

Hi bloggers!  A pretty aqua and white card is up on offer for today's card giveaway.  I started by cutting the decorative die from the Auckland  die set in the upper portion of the card.  I backed it with aqua card then used the smaller inner cutting edge to cut an aperture.  Next I used the cutting edge from the New Zealand Noble border to cut the lower portion of the card, giving it an interesting shape for my channel.  I added mounting cushion to both pieces.  I used the Dot Matrix Pinpoint Embossing Folder to create some texture for my channel area.  Next I used the smaller decorative die from the Auckland and cut into a piece of aqua card, then mounted it behind my aperture.  I stamped a sentiment from the Delightful Sentiments clear stamp set and glued it into place in the aperture opening.  I mounted both pieces with a split between them to create the channel and the embossed piece glued into that opening area.  I made a flower from the Sweetheart flowers using aqua card as the base with a white edge, then mounted it on some thin satin ribbon, white tulle and Lace Edged Leaves as accents.  I completed the card with a paper pierced white mat (using my piercing ruler), a thin aqua mat and a final white mat layer.  The finished dimensions are 6 3/4" x  8 1/4" in size.  Please leave a comment if you would like to be entered into the drawing to win this one!  The winner will be announced on Saturday's blog post so be sure to check back then.  All for now, Sue x


                                                         Follow my blog with Bloglovin