Hi bloggers! I have two Christmas cards for you today that are both in blue tones, so a bit different than the usual fare. I started this one by cutting a piece of
coconut white card on the diagonal, then embossing it with the
Let It Snow embossing folder for texture. I cut a
Snowflake Border in white and glued it to the embossed diagonal edge, then trimmed the edges of the border straight with the sides. I added a
white pearl strip along the glued edge as an embellishment. I added some mounting foam to the back then attached it to a piece of blue dusk card to complete the lower half of the card. I cut two of the
Season's Greetings die, one in white and one in black. I offset the black one behind the white one to act as a shadow and glued them to the lower portion of the card. For the focal point on the top of the card, I cut the all the dies in the Snowflake die set in
Blue Dusk, white and black and layered them up on top of each other. I added a white pearl to the centre, then glued it to the top of the card. I added small
3mm pearls to the centres of the snowflakes in the embossed background then completed the card with my usual pierced mat and other layers. The finished dimensions are 7 1/2" x 9 1/4" in size. Scroll down for card number two.

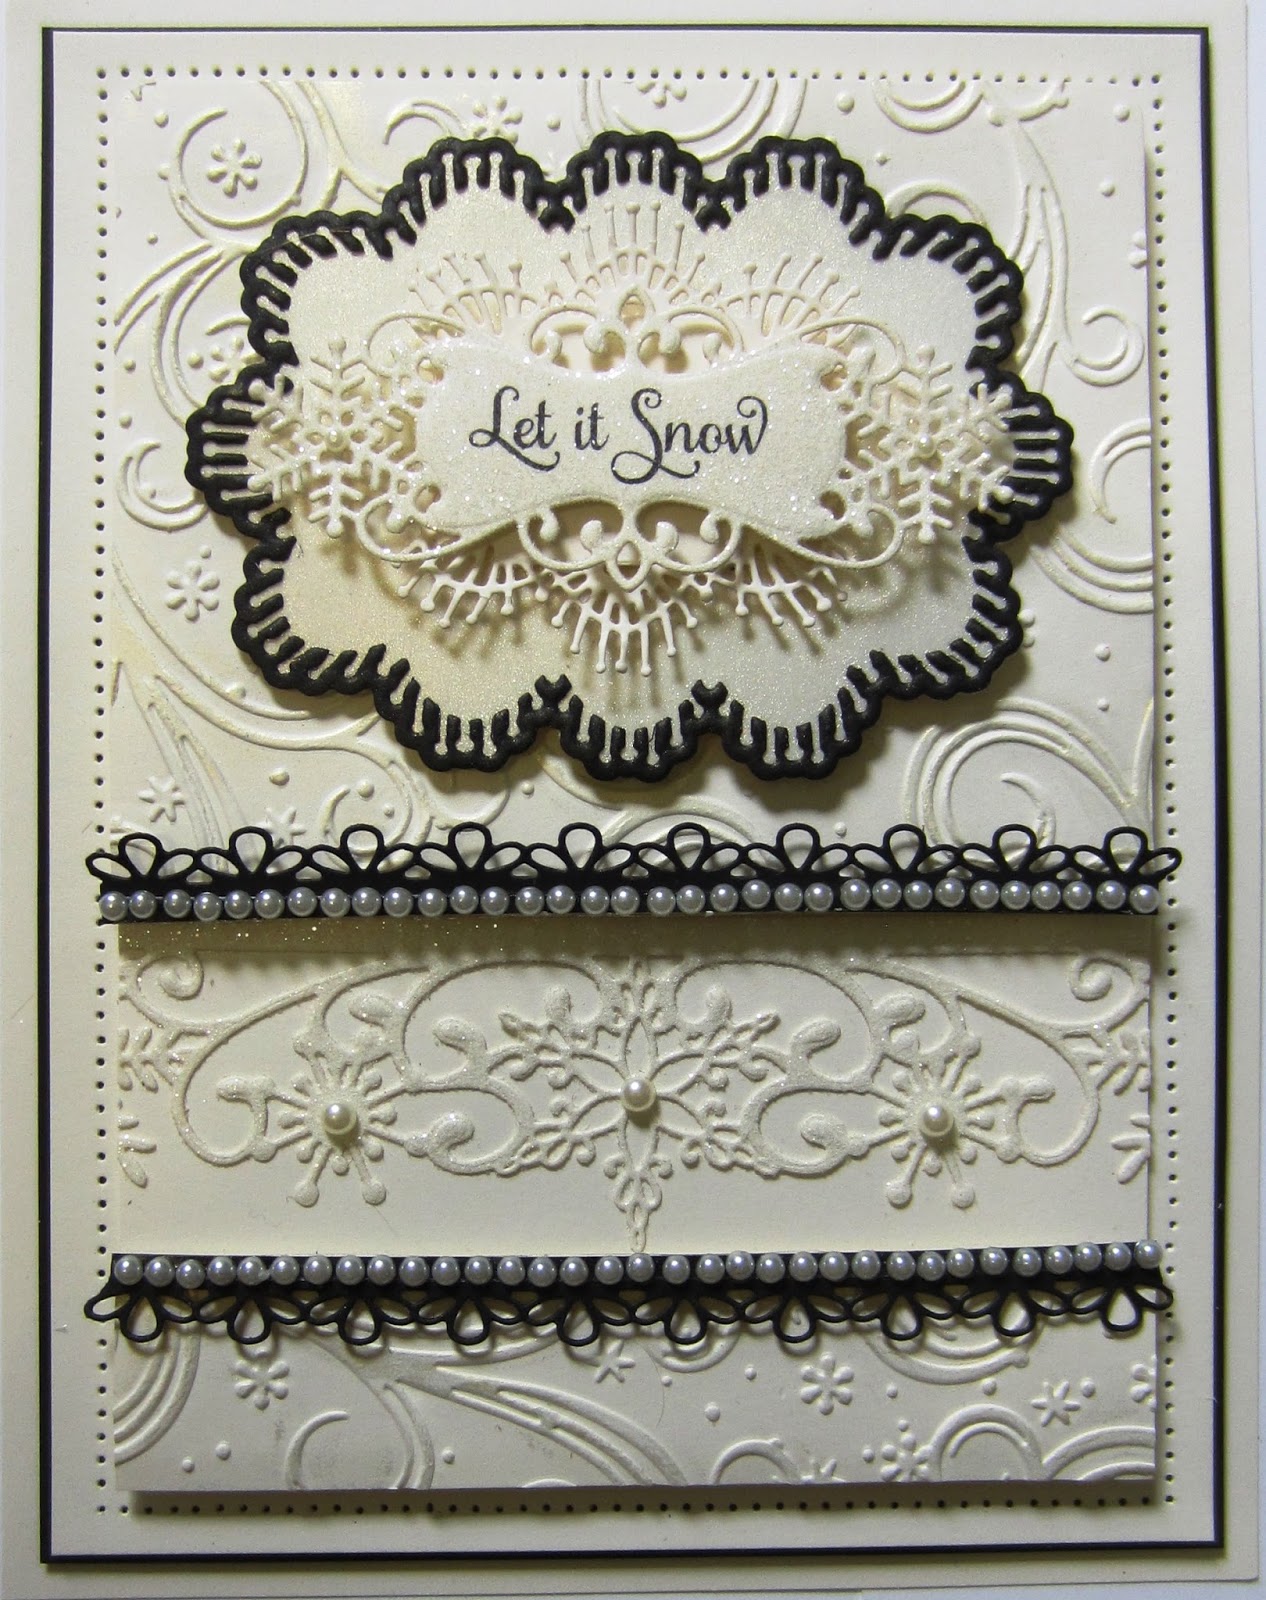
I started this card by using the shaving foam technique to add a swirly blue background. I used
Stormy Sky distress ink reinkers on the shaving foam, swirled it, then dipped my card into it. Once dry, I embossed it with the
Frosty Swirls embossing folder so that the top of the card was on the negative side of the folder. I then used
Silver Moon Sparkle Texture Paste to grout the swirls. I allowed it to dry for several hours before adding two snowflake borders to the top and bottom of the card edge. I ran a strip of white pearls along both edges and added some flat back pearls to the snowflakes. For the focal element, I cut the
Peeking Snowflake in white using the larger outside cutting edge. I used the same die to cut an oval covered in
sticky adhesive paper. I glittered that piece with
Silver Chrome polished silk glitter to use as a background for the focal element. I cut several of the let it snow sentiment and stacked them and glued them to the centre of the die. Finally, I added a white frame that was cut from the ovals in the
Peeking die and the Lattice Snowflake die. Two large pearls adorned the snowflakes and I glued the entire piece into the centre of the card. I added a final pierced mat, a silver mat and another white mat to complete the card. The finished dimensions are 7 3/4" x 9" in size. All for now, Sue x

Follow my blog with Bloglovin






 I started this card by using the shaving foam technique to add a swirly blue background. I used Stormy Sky distress ink reinkers on the shaving foam, swirled it, then dipped my card into it. Once dry, I embossed it with the Frosty Swirls embossing folder so that the top of the card was on the negative side of the folder. I then used Silver Moon Sparkle Texture Paste to grout the swirls. I allowed it to dry for several hours before adding two snowflake borders to the top and bottom of the card edge. I ran a strip of white pearls along both edges and added some flat back pearls to the snowflakes. For the focal element, I cut the Peeking Snowflake in white using the larger outside cutting edge. I used the same die to cut an oval covered in sticky adhesive paper. I glittered that piece with Silver Chrome polished silk glitter to use as a background for the focal element. I cut several of the let it snow sentiment and stacked them and glued them to the centre of the die. Finally, I added a white frame that was cut from the ovals in the Peeking die and the Lattice Snowflake die. Two large pearls adorned the snowflakes and I glued the entire piece into the centre of the card. I added a final pierced mat, a silver mat and another white mat to complete the card. The finished dimensions are 7 3/4" x 9" in size. All for now, Sue x


