Sunday, 30 November 2014

In My Thoughts Always

Good Sunday morning all!   The Tethered Heart striplet has been used in a double channel style card for today's post.  To begin, I embossed a piece of coconut white card using the Art Deco Fanfare embossing folder.  I cut it into three strips (they were roughly about
1 1/2" wide strips).  I added mounting foam to the backs of all the strips. I mounted the strips on a piece of teal card, leaving a gap between each that was just slightly more narrow than the striplets.
 Next I cut two of
the Tethered Hearts striplets and
glued them into place spanning across the channel area, just catching the edges of the striplets on to the embossed strips.  I stamped my sentiments in black Archival ink and cut it out with the Austrian tag.  I inked through the die with Peacock Feather distress ink before removing it.  I seated the tag on an oval cut from teal card.  I added the sentiment tag in the middle of the two striplets.  I completed the card with a double white mat layer.  On the inside mat, I added Cosmic Shimmer white PVA glue dots all the way around to frame the card.  The finished dimensions are 7 1/2" x  9" in size.

The winners of this week's comment game are :
Julie's Crafty Creations!!!
CAW!!!
Patricia Duffy!!!

For the extra qualifying post of Monday, Nov. 24th , the winners are:
Oksana!!!
Sue Dunn!!!
Lynn Dalby!!!

For the extra qualifying post of Wed. Nov. 26th, the winners are:
Denise Bryant!!!
Julie Elli!!!
Pat L!!!

Congratulations all!  Please email me at americansue1@gmail.com to confirm your address and claim your prize.  All for now, Sue x


Saturday, 29 November 2014

Thinking Of You

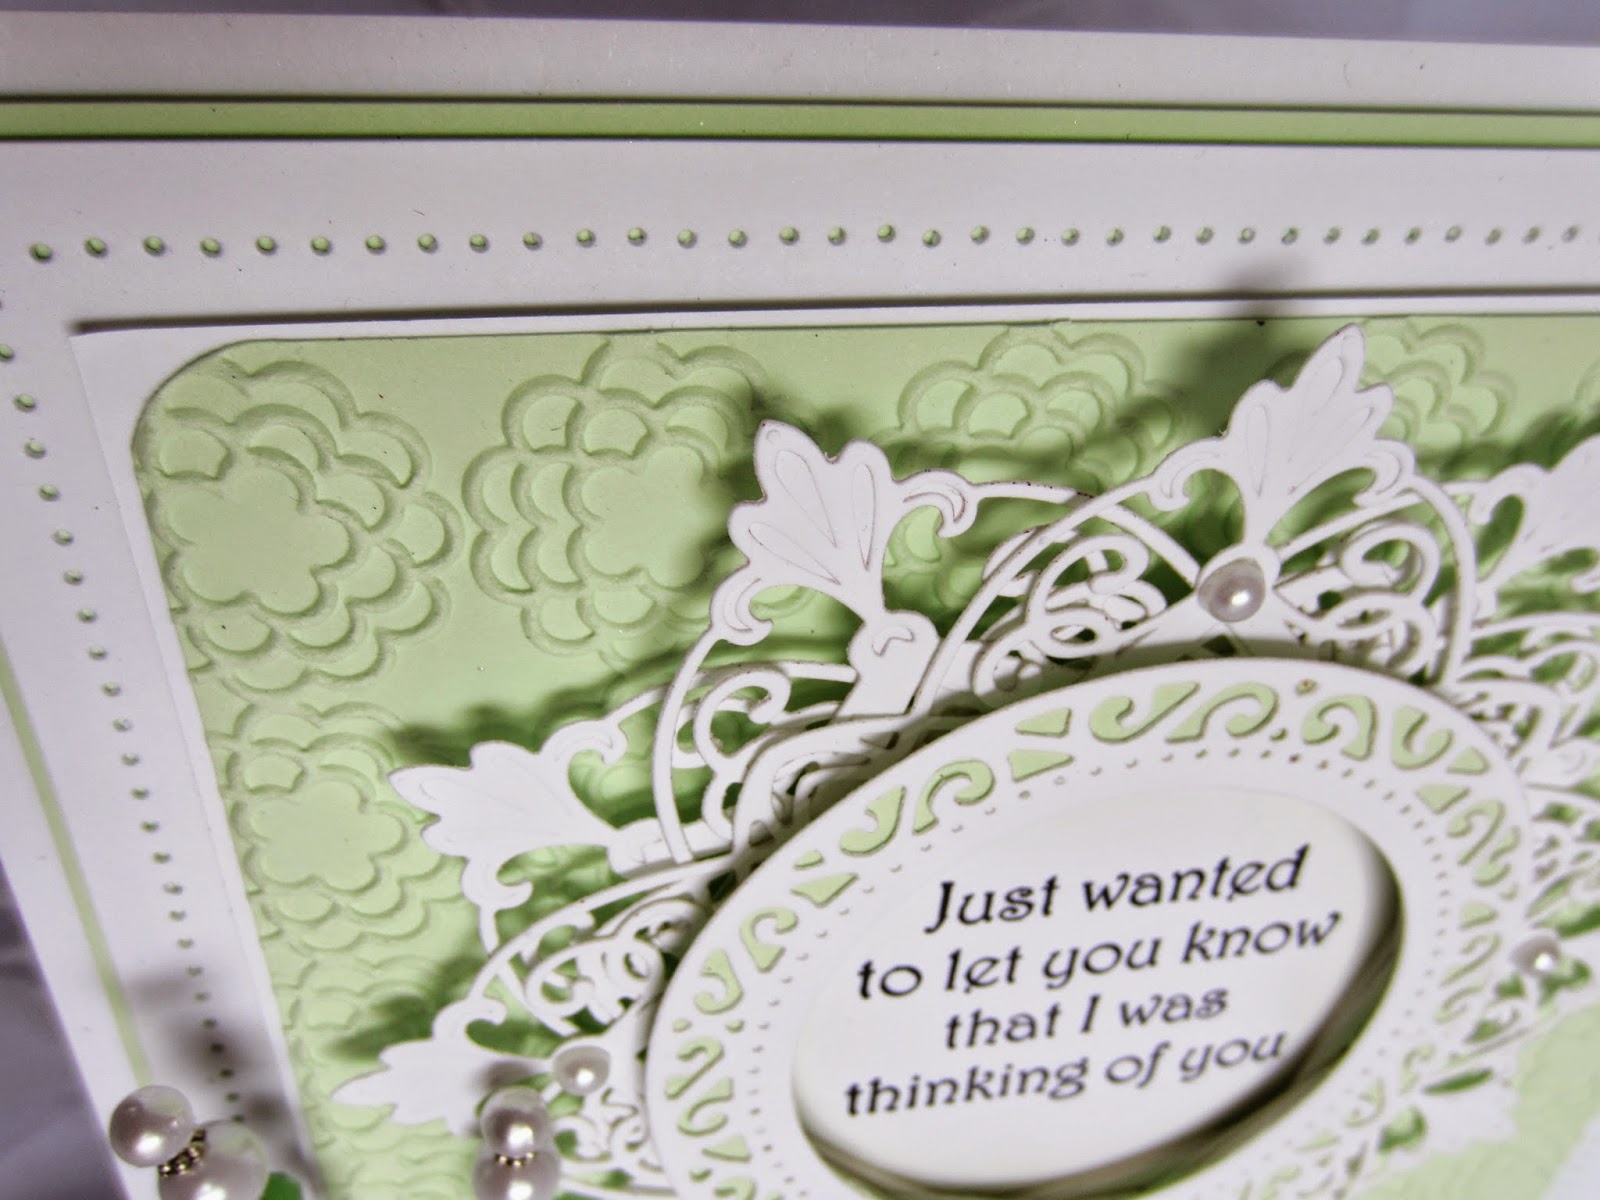
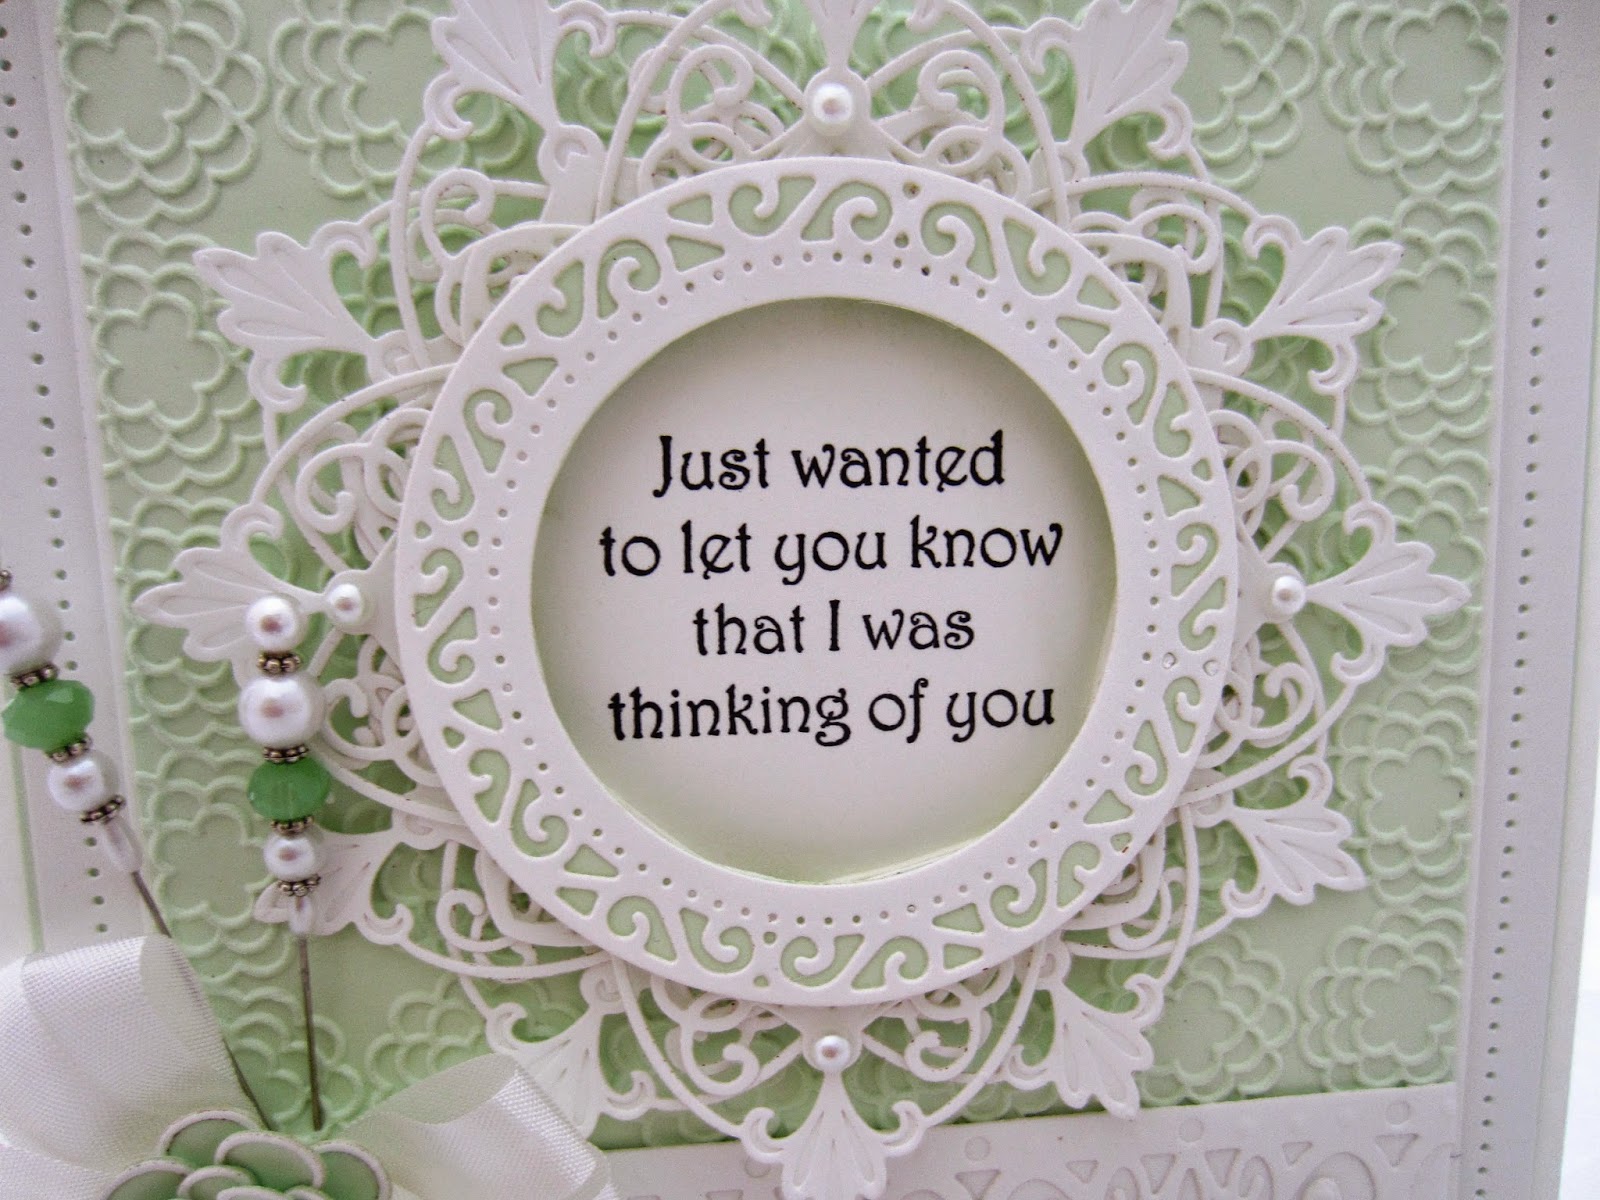
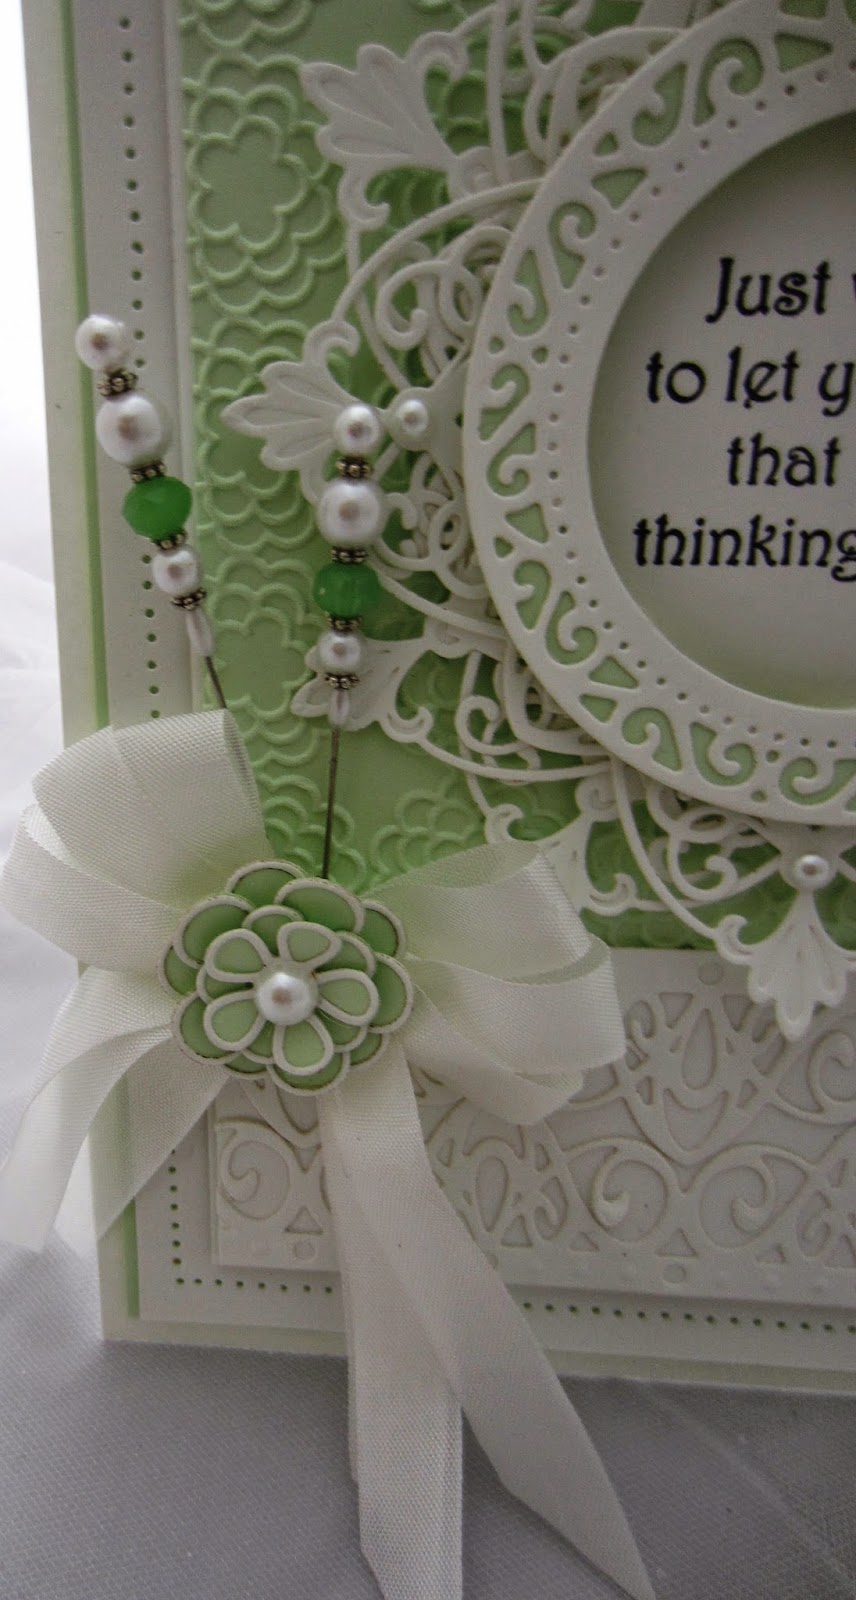
Hi bloggers!  Today's card uses a few of the newly released dies.  I selected a pale spring green for my background.  Using the Daisy Tiers embossing folder, I added some texture to may background.  For the bottom portion, I added a strip of white card and used two of the New York Borders offset and glued to the white card.  They add just enough interest without taking your eye away from the focal element.  Next I cut three of the Union Square die from the New York Collection.  I have to admit, I am a bit partial to this die as I just love the way the debossed detail came out on it.  I offset all three of them until it created a pleasing pattern of fleur de lis from the corners of the die cut, going around the outside.  I stamped my sentiment in black Archival ink and inked around it with Shabby Shutters.  Next, I  die cut a frame from the Italian Decorative frame set.  I backed the frame with green card and added mounting foam and placed it over my sentiment, cutting away the excess card.  I added it to the centre of my Union squares to complete the focal element.  I tied a messy bow out of white seam binding and topped it with a two tone Camellia flower, using both the Complete petal set and the Open Petal set.  I made two matching stick pins from beads in my stash to embellish the bow.  The card was then finished with a pierced white mat, a thin green mat and a final white mat.  The finished dimensions are 7 1/4" x 8 1/2" in size.

The winner of this week's Wednesday Card Giveaway is:
Maggie (better without a bow)!!!

Congratulations!  Please email me at americansue1@gmail.com to confirm your address and claim your prize.  All for now, Sue x


Friday, 28 November 2014

It's A Double Day

 Hello crafters!  First up, we have an easel card (I know, an actual card, huh!  Will wonders never cease!).  I started my card by creating the easel part of it by folding my base piece, then folding the top part of it again.  Next I began to create the piece that I attached to the front fold.  I cut the Let It Snow die out of coconut white card.  I removed the inside bits of the design and then glued it back into place in the aperture which I had backed with a piece of aqua card.  The aqua card helps pop the words out so they are more easily readable too.  I covered the entire sheet with a sticky self adhesive sheet and coated it with Iced Snow for a wintry blingey feel.  I cut a piece of acetate and wrapped the ends around the card and glued them to the back (I covered the edges with another piece of card to neaten it up a bit).  I left the acetate very puffy for a fun effect.  I also scattered small pearls across the front of it so they look like snow that is floating.  I added a pearl snowflake to the acetate as well.  For the bottom "stopper" portion of the card, I used several small snowflakes and my greeting which I cut out using the California Collection Decorative Frames die set B.  I added Iced Snow to the edge of the white mat die cut.  When open the top piece just sits behind the greeting tag to hold it into place.  You can see from the picture taken above the card a better look at the acetate puffiness.  When closed the finished dimensions are 4 1/2" x  6" in size (a really small card for me!)  Scroll down to see card no. 2.


 Card number two is one of those where you have a bit of a play and come up with some other fun way to use a die other than it's usual intended purpose.  Here I have cut several of the Pine Bough die to create this fun snowy tree.  I coated the die cuts with Cosmic Shimmer dries clear glue then sprinkled them with Iced Snow for that wintry effect again.  I glued them into place wider at the bottom, narrowing to the tip where I added a shadowed star from one of the dies in my Christmas Angel set.  I embossed the top of the card behind the tree with the Floral Brocade Pinpoint embossing folder and added a pearl star in the upper corner.  For the sentiment, I cut several of the Believe die in white and stacked them for a bit of dimension.  This is a great way to get dimension on those dies that are too thin and detailed to add mounting foam behind them.  I cut one extra one in silver card and offset it behind to act as a shadow which really helps it stand out against the white backdrop.  I dotted the "i" with a pearl and added some white mats to give the card a more finished look.  I used the Cosmic Shimmer white PVA glue to dot all the way around the edge to frame it.  The finished dimensions are 7 1/2" x  8" in size.  Well we are officially on the run up to Christmas now, so I hope you are well on your way to finishing up your Christmas cards.  I hope that some of the Friday double day ideas have helped you along the way.  All for now, Sue x


Thursday, 27 November 2014

Shadows & Frames


Hi bloggers!   Happy Thanksgiving to my American followers!  Your first look at the Scandinavian Collection in action, specifically the Stockhom die and the Border, Corner and Tag die sets.  The border is unique in that it is symmetrical from the middle outward so it can be cut down the centre to make a thinner border, which is really useful to have.  I hope you enjoy today's video.

Buy from Joanna Sheen


Finished dimensions are 8" x  8" in size.  All for now, Sue x


Wednesday, 26 November 2014

Wednesday Weekly Card Giveaway

 Hi guys!  It feels like absolutely ages since I had a card giveaway,  doesn't it!  Well it is about time for one and I have chosen this card for today's giveaway.  If you would like to be entered in the drawing to win it, just leave a comment on the blog (directions are on the right hand side of the blog if you have never done it before).  I started with a piece of coconut white card and embossed it with the Pinpoint Checkerboard embossing folder (just love this one!)  Next I went to work on making my flowers.  I selected a couple of shades of purples, both light and dark and used the Delicate Daisies Complete petal die set to cut a bunch of different sizes and in both of the colours.  Using the Delicate Daisy Open Petal die set, I cut the corresponding sizes out of coconut white card.  I glued the open petal dies atop the closed petal dies, then used two of each size in an offset manner to make each flower.  I added an 8mm white flatback pearl to the centres of each flower.  I arranged the flowers in a wreath style and glued them into place.  I cut several of the Faux Quilled leaves and added them around the flowers in several spots.  I stamped my sentiment (from the Cr. Exp. Bold Sentiment stamp set) in black and cut it into a forked end strip.  I mounted it across the inside of the wreath and added a mauve seam binding messy bow to the left side, covering the end of the strip.  I added a final flower on top of the bow and made two matching stick pins as embellishments.  I completed the card by piercing the edge of a white mat, then adding a thin purple mat and a final white mat.  The finished dimensions on the card are 8" x  8" in size.  Don't forget to check back on Saturday's post to see if your name was drawn as the winner of this one!

I still haven't heard from two of the die winners, caroljsmith and Rach 83, so please email me to claim your die if you see this!  All for now, Sue x


Tuesday, 25 November 2014

Hazed Background Technique


Hi crafters!  Welcome to the first video in the new series!  This video will show you how to achieve different looks in your backgrounds as well as giving you a few ideas how to use some of the dies in the newest release!  I hope you have time to enjoy it, as it isn't too long either, an added extra bonus!  The finished size is 7 1/2" x  7 3/4" in size.
Don't forget to check the blog post below this one to see if your name was drawn for one of the dies that are being given away as we still have some that haven't been claimed yet!!  All for now, Sue x


Buy from Joanna Sheen