Showing posts sorted by relevance for query spider's web. Sort by date Show all posts

Wednesday, 31 August 2022

Spider's Web

 Good morning all!  Last, but not least!  The final die in my Halloween  collection is the Spider's Web Background.  I have to admit, I am not a fan of spiders (or any creepy crawlers really), but having a spider's web is absolutely essential if you want to make some eerie Halloween cards or projects, don't you think?  While this Spiders Web makes a great background, you can also cut it up and use pieces of it as I have done here.  I love the way Jamie's haunted tree and gate look with it, don't you!  If this one is floating your boat, then just leave a comment on this post.  I would love to know what you think of my very first Halloween die collection .Well that's it for my collection, but don't forget to check out Jamie's Halloween collection as well as the rest of the Creative Expression's team!  We will be doing a spooky release on Facebook every day in September.  Just a quick reminder too that the winners will be posted on my blog on Sept 5th in the afternoon so don't forget to check back then!  All for now, Sue x


                                                         Follow my blog with Bloglovin

Friday, 16 September 2022

Happy Haunting

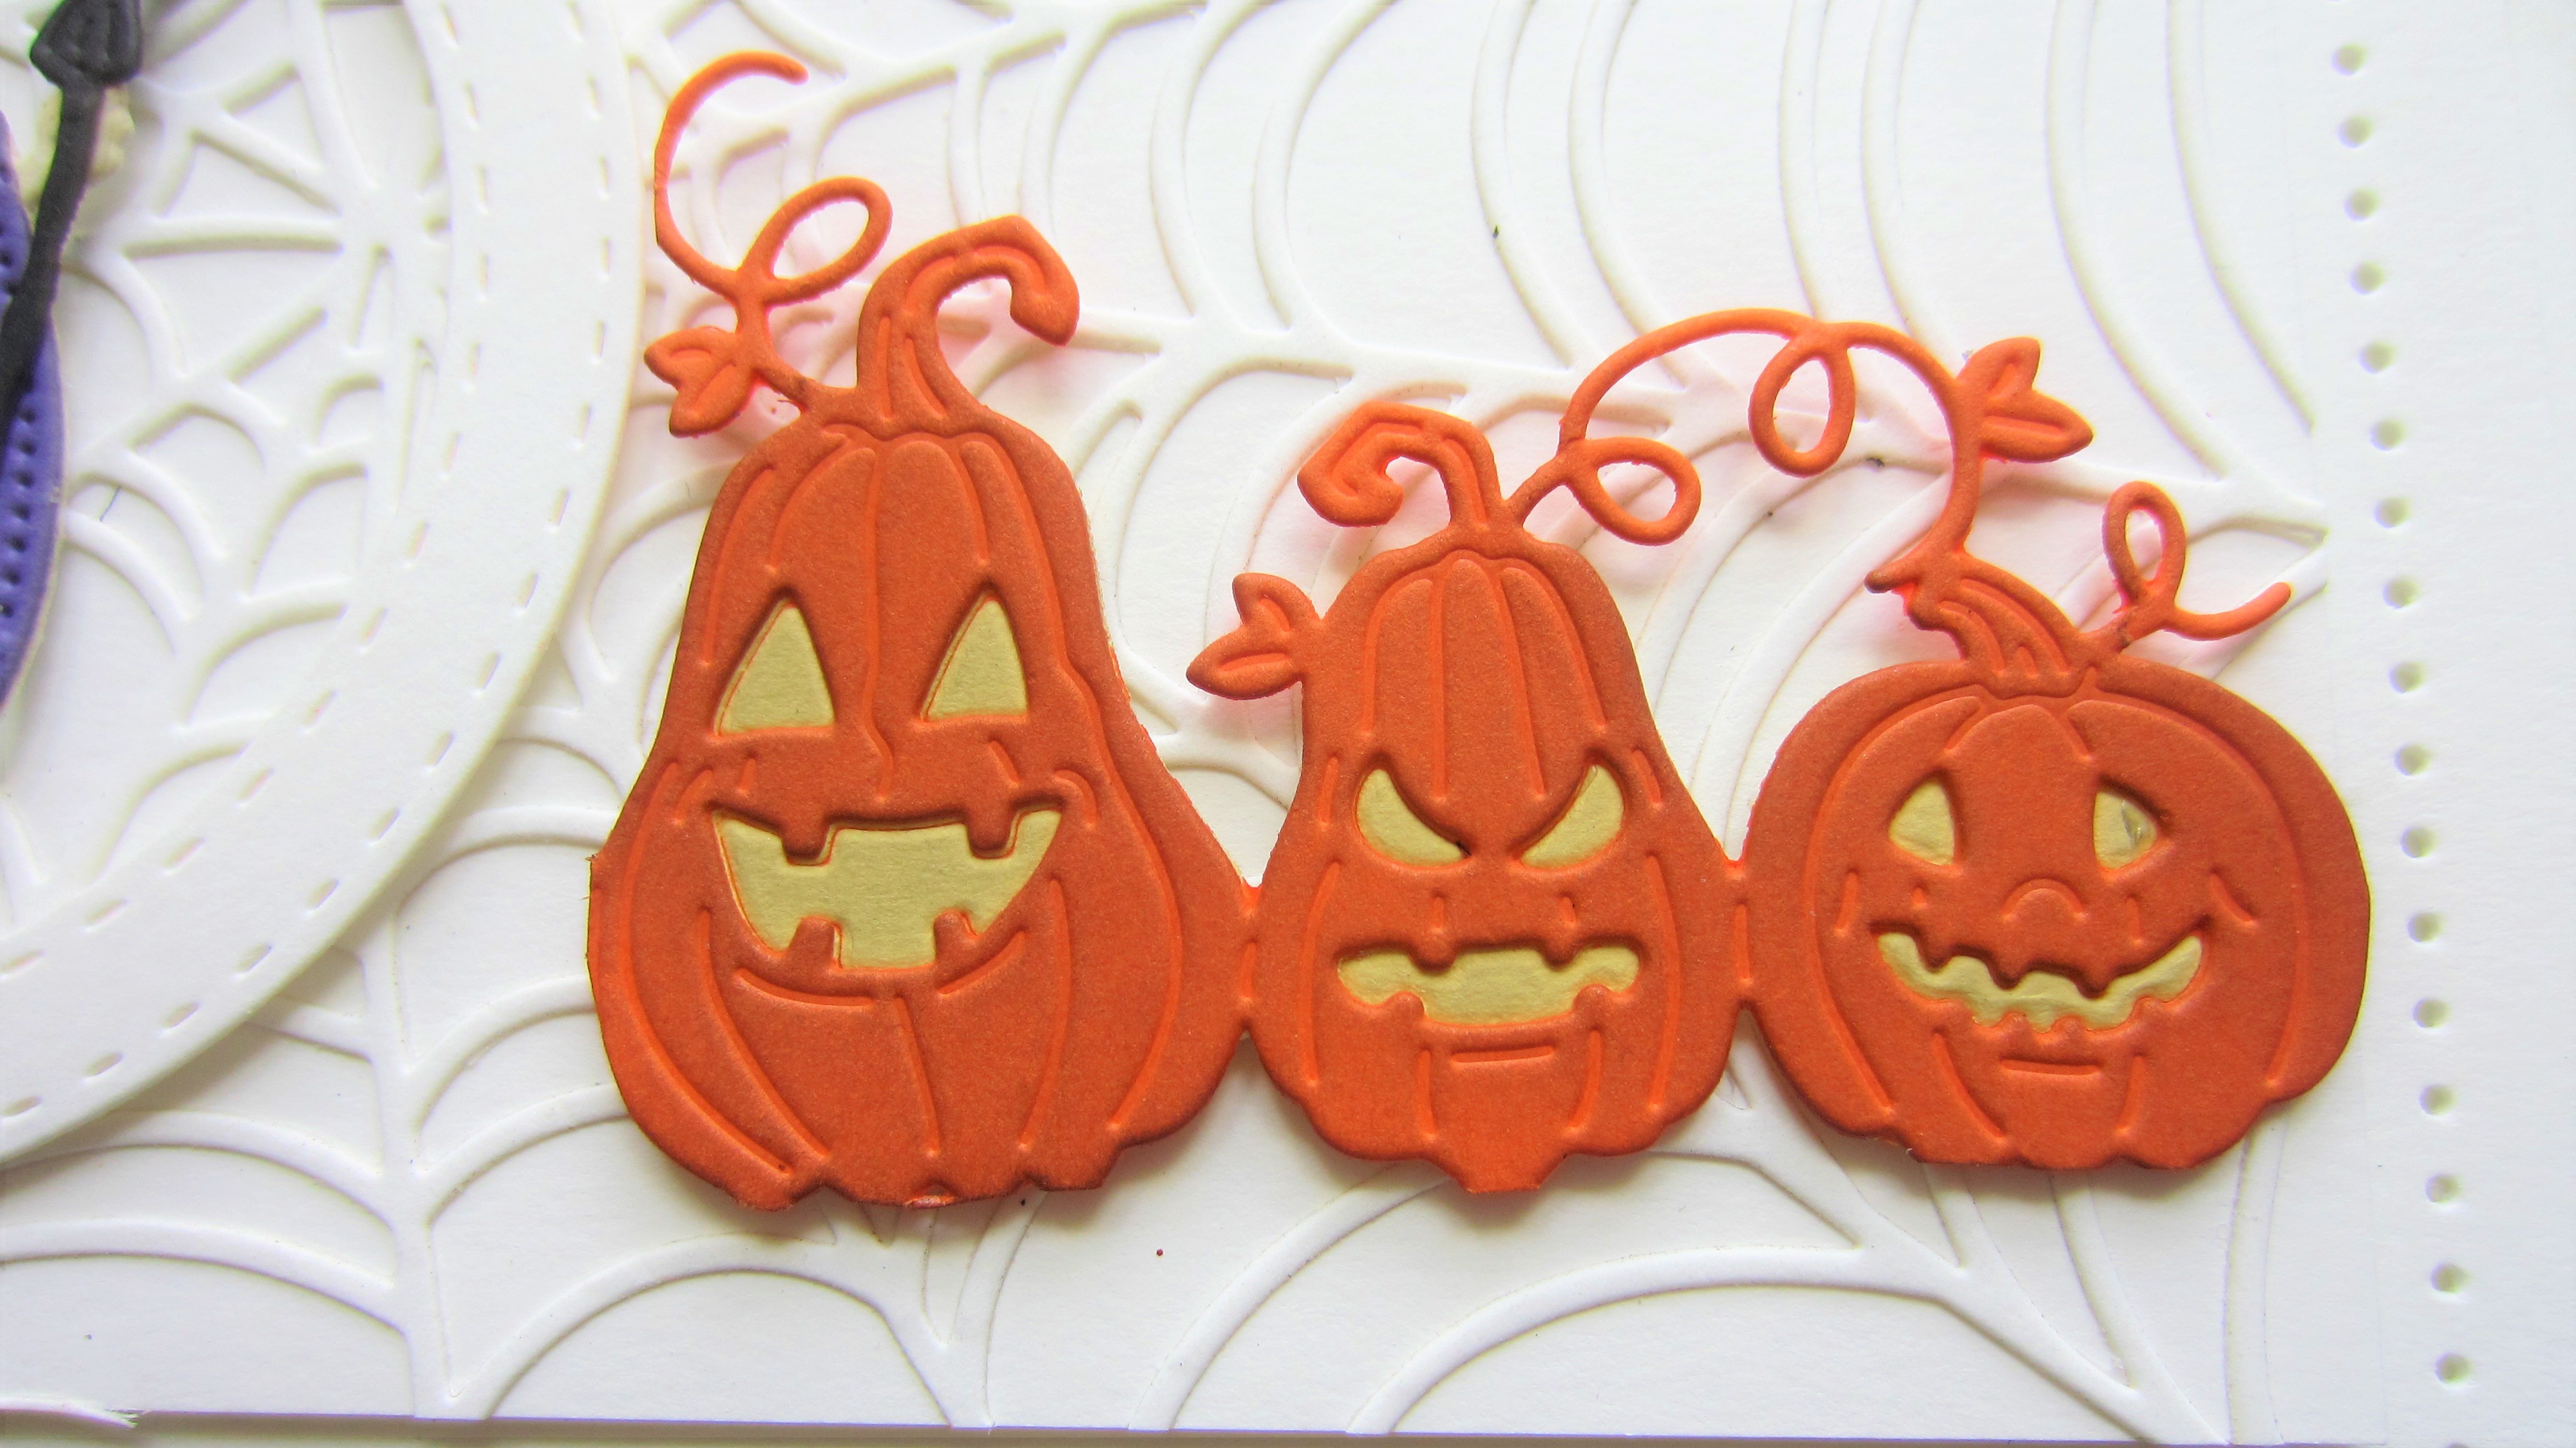
Hi crafters!  I hope you enjoyed the latest die launch and are ready to go back to one post a day (only for a short while though!)  I started by selecting a piece of white card to use.  I cut the Spider's Web die a couple of times.  I glued the web onto the white card.  I had to cut into both webs to make them fit where I wanted them to go.  Next I used the Double Stitched Circles dies and cut three small circle frames.  I added mounting foam to the backs of each frame and attached them onto the card .  In the top frame, I cut the mummy from the Halloween Frame die.  I used Weathered Wood Distress ink and a soft grey pencil to accents the mummy wrap.  In the centre frame, I added one of the ghosts from the Ghoulish Ghost die set.  In the lower frame I used Jamie's Witch and cut here out of milk card.  I then cut her again out of deep purple and a final time out of black.  I cut the dress off of the purple die cut and glued it on top of the milk card die cut.  I used the hat and the hair from the black die cut and glued them on the base die cut.  I cut the broom out of black card and glued it into her hand, then added her into the frame.  I had to nip away her feet so she fit in the frame.  I cut the three pumpkins from the Halloween Frame and added a yellow backing, then glued them into the lower corner.  I cut Jamie's Happy Haunting sentiment out of orange and black.  I used the black die cut as a shadow then glued it to the top of the card. I completed the card with white mats and layers.  The finished dimensions are 6 3/4"  x  8 3/4"  in size.  All for now, Sue x 


                                                      Follow my blog with Bloglovin

Sunday, 16 October 2022

Boo

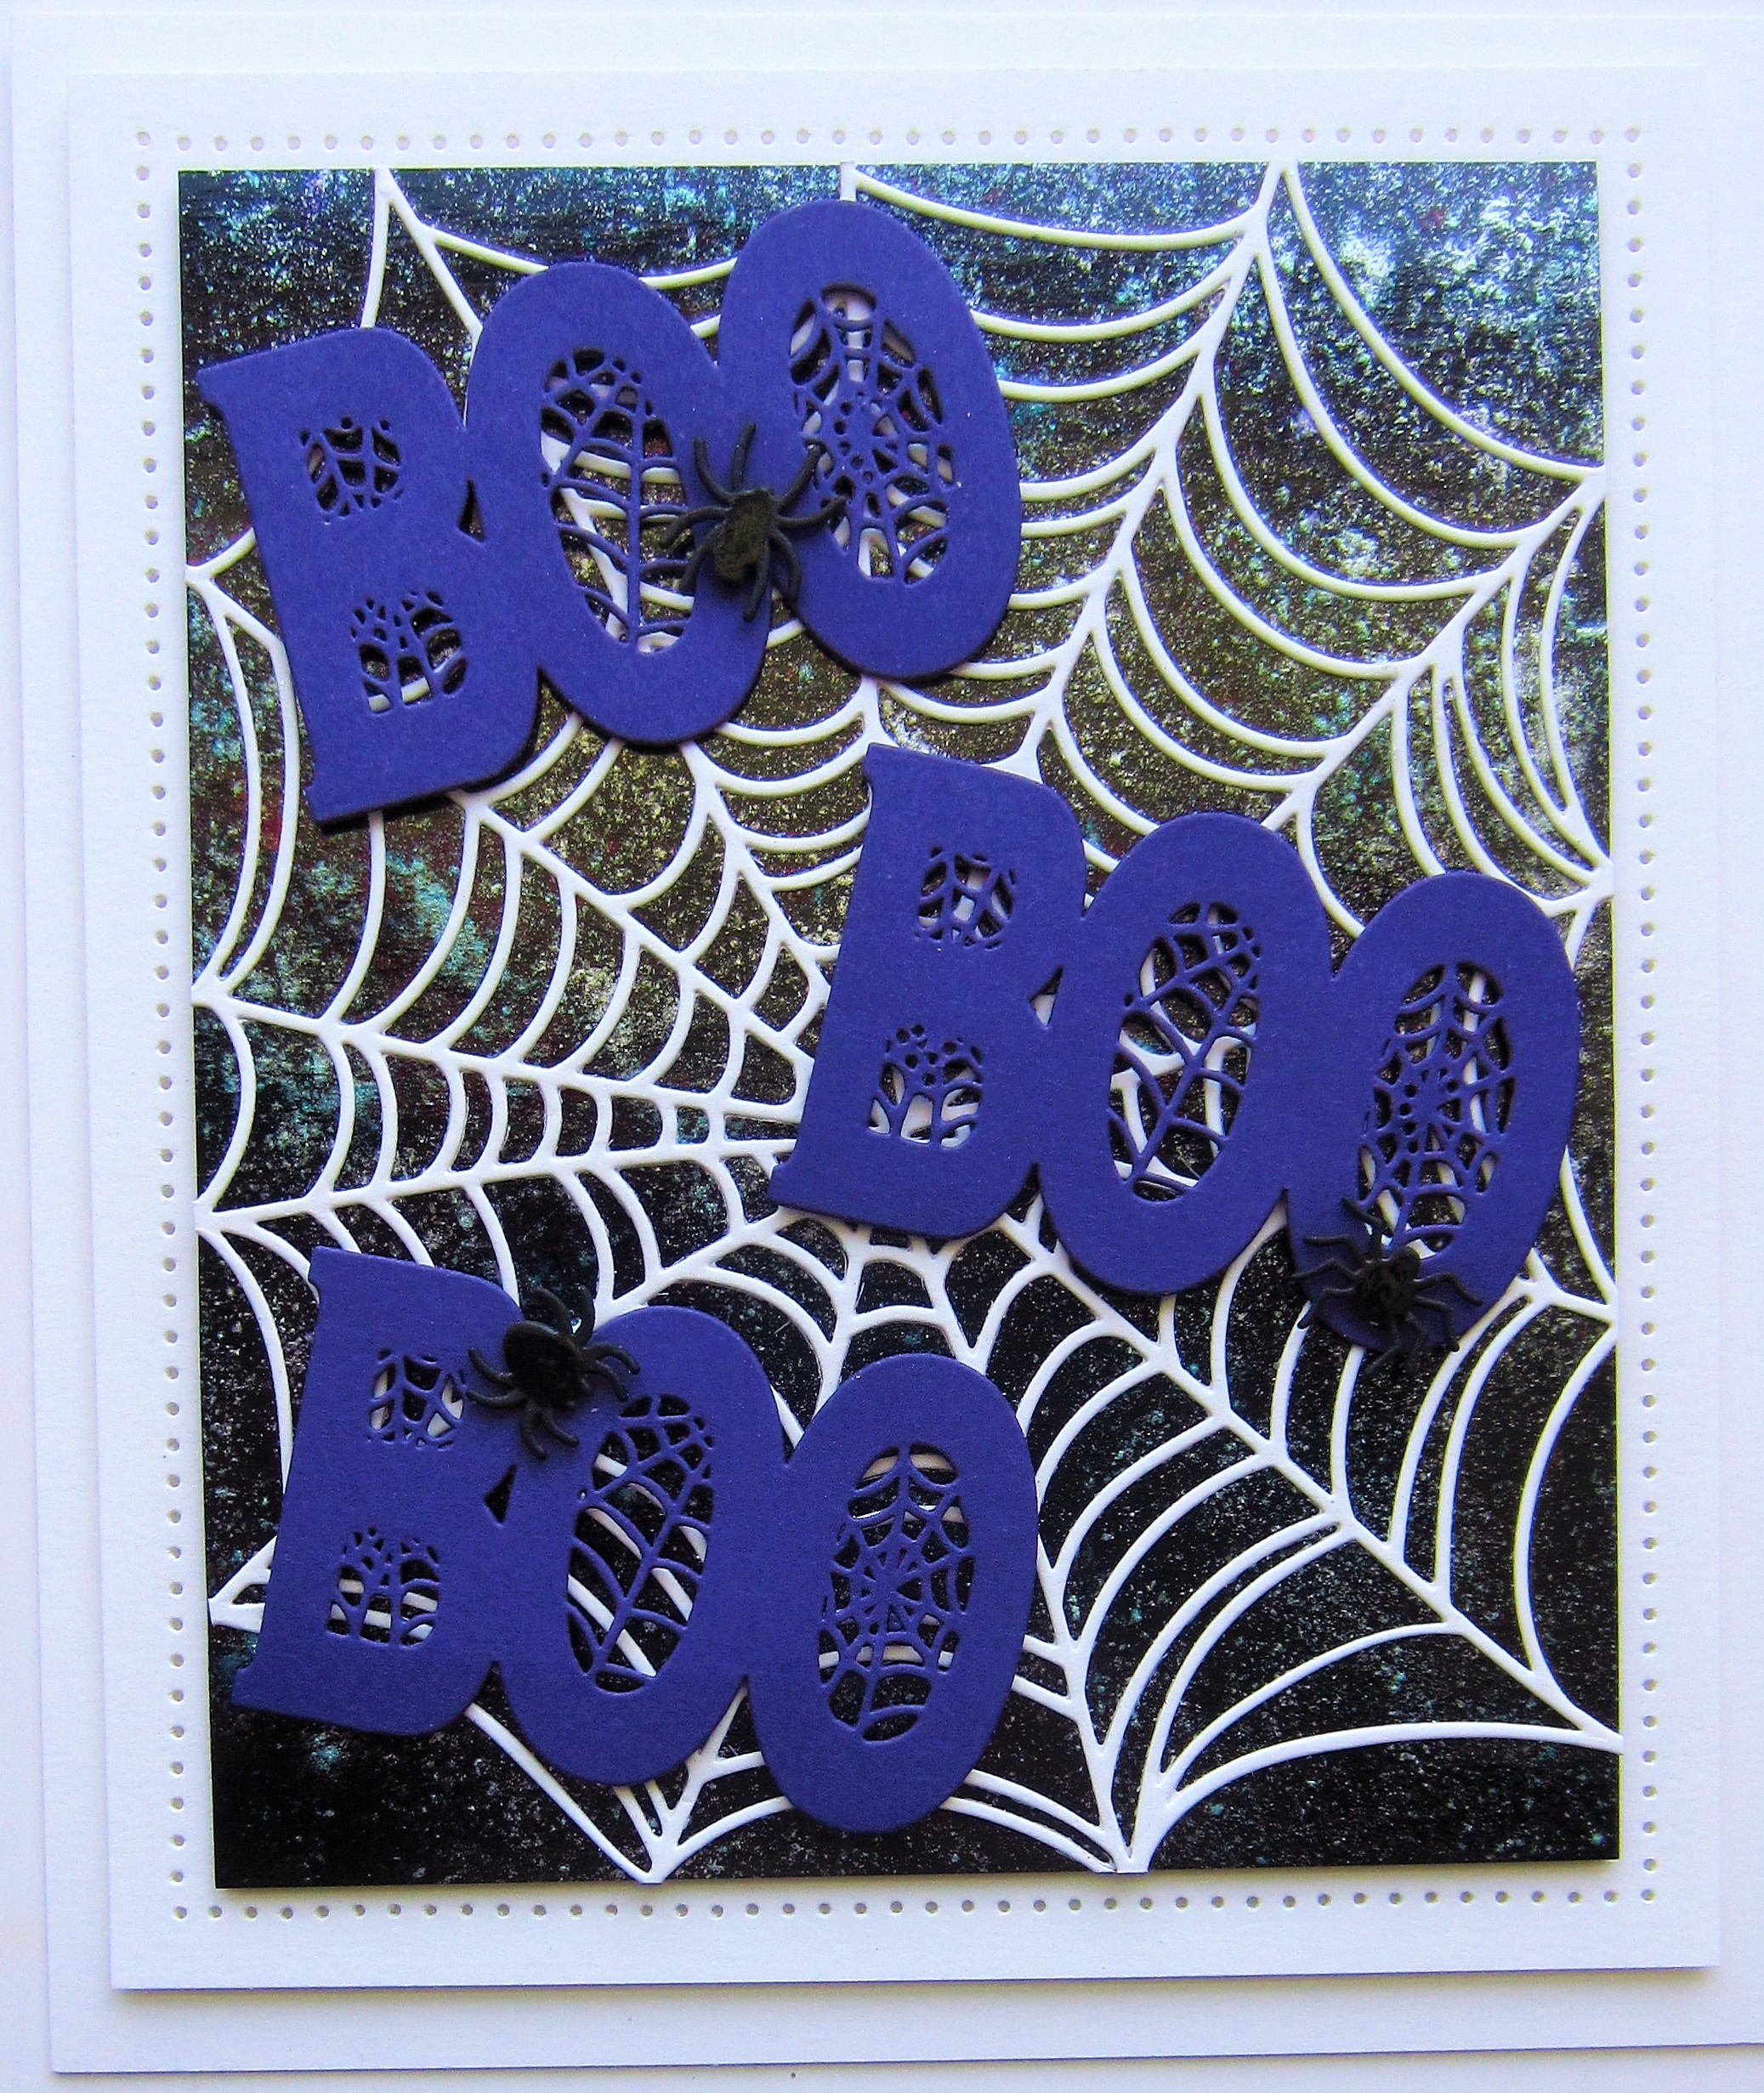
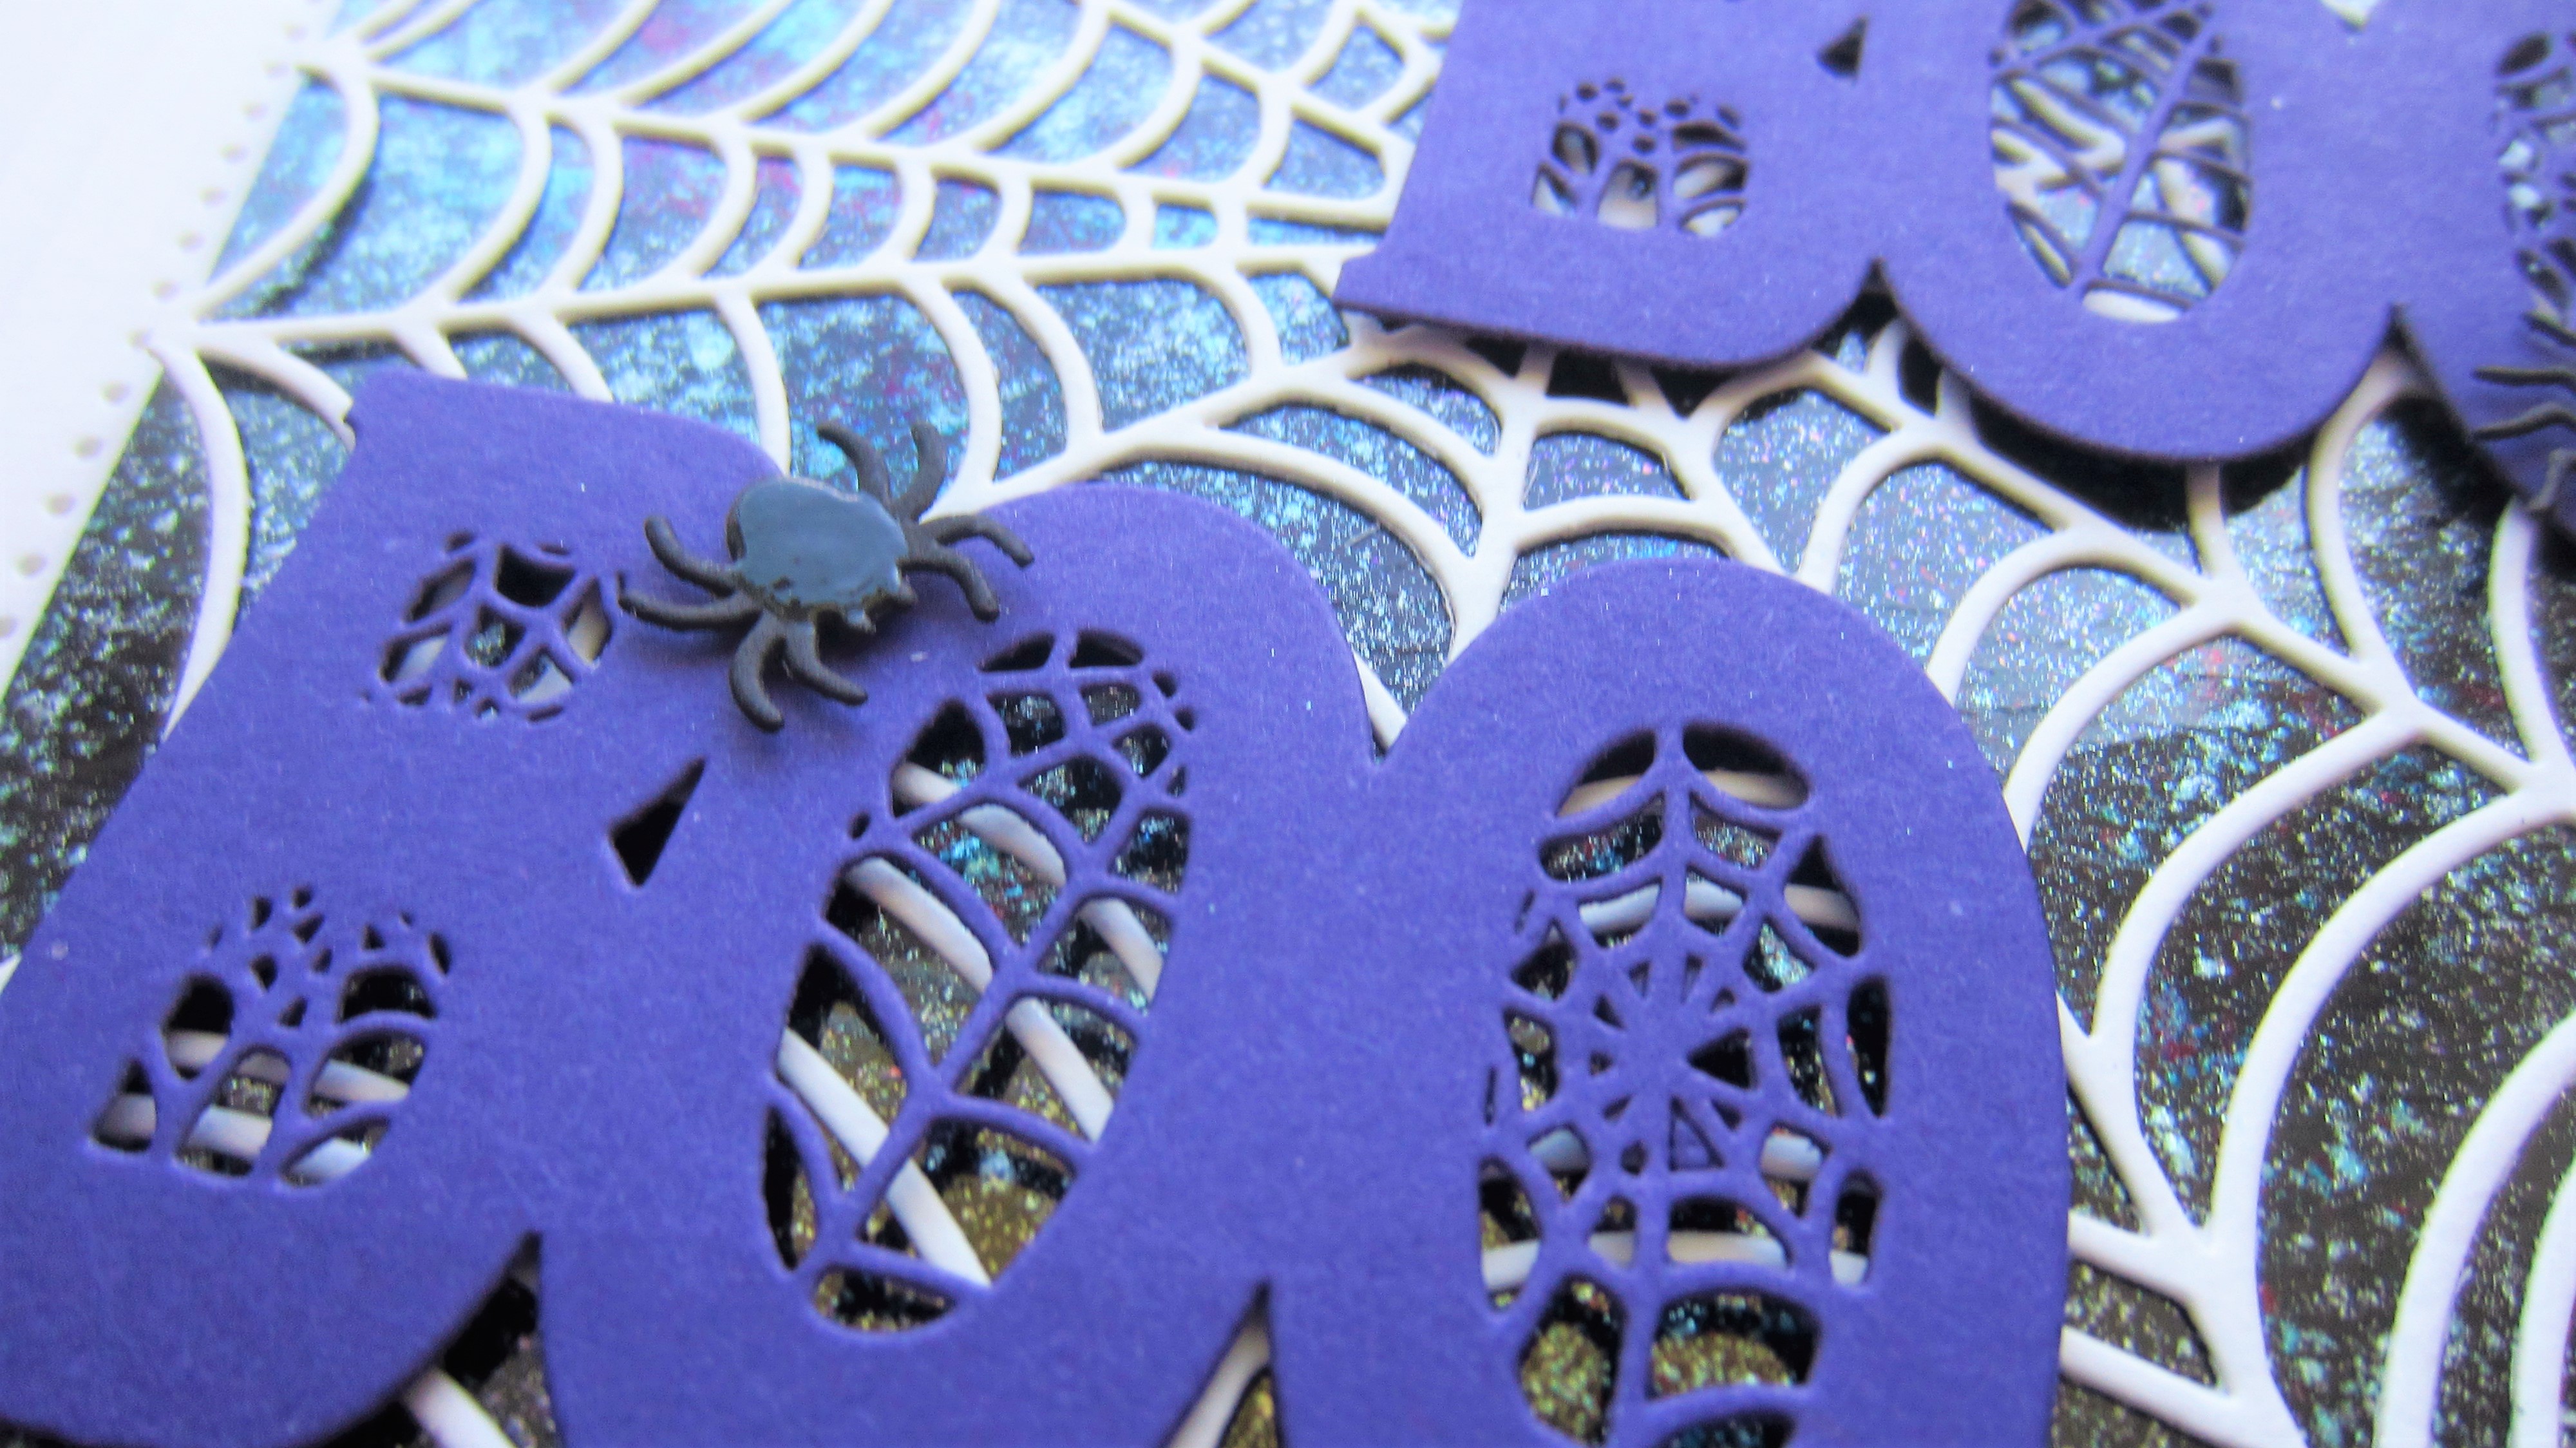
 Good Sunday morning all!  I selected a piece of black gloss card to use for the background.  I sprinkled Purple Violet and Aqua Lagoon Pixie Powders randomly all over it, but I left a lot of open area.  I spritzed it with water and set it aside to dry.  Once dry, I used the Spider's Web die cut in white.  I took it out of the frame and glued it onto the background piece.  I cut three of the Boo sentiments from the Ghoulish Ghosts die set and glued them across the card.  I added a few black spiders to make it more spooky!  The card was completed with white mats and layers.  The finished dimensions are 6 1/4"  x  7 1/4"  in size.  All for now, Sue x


                                                        Follow my blog with Bloglovin

Friday, 23 September 2022

Happy Halloween

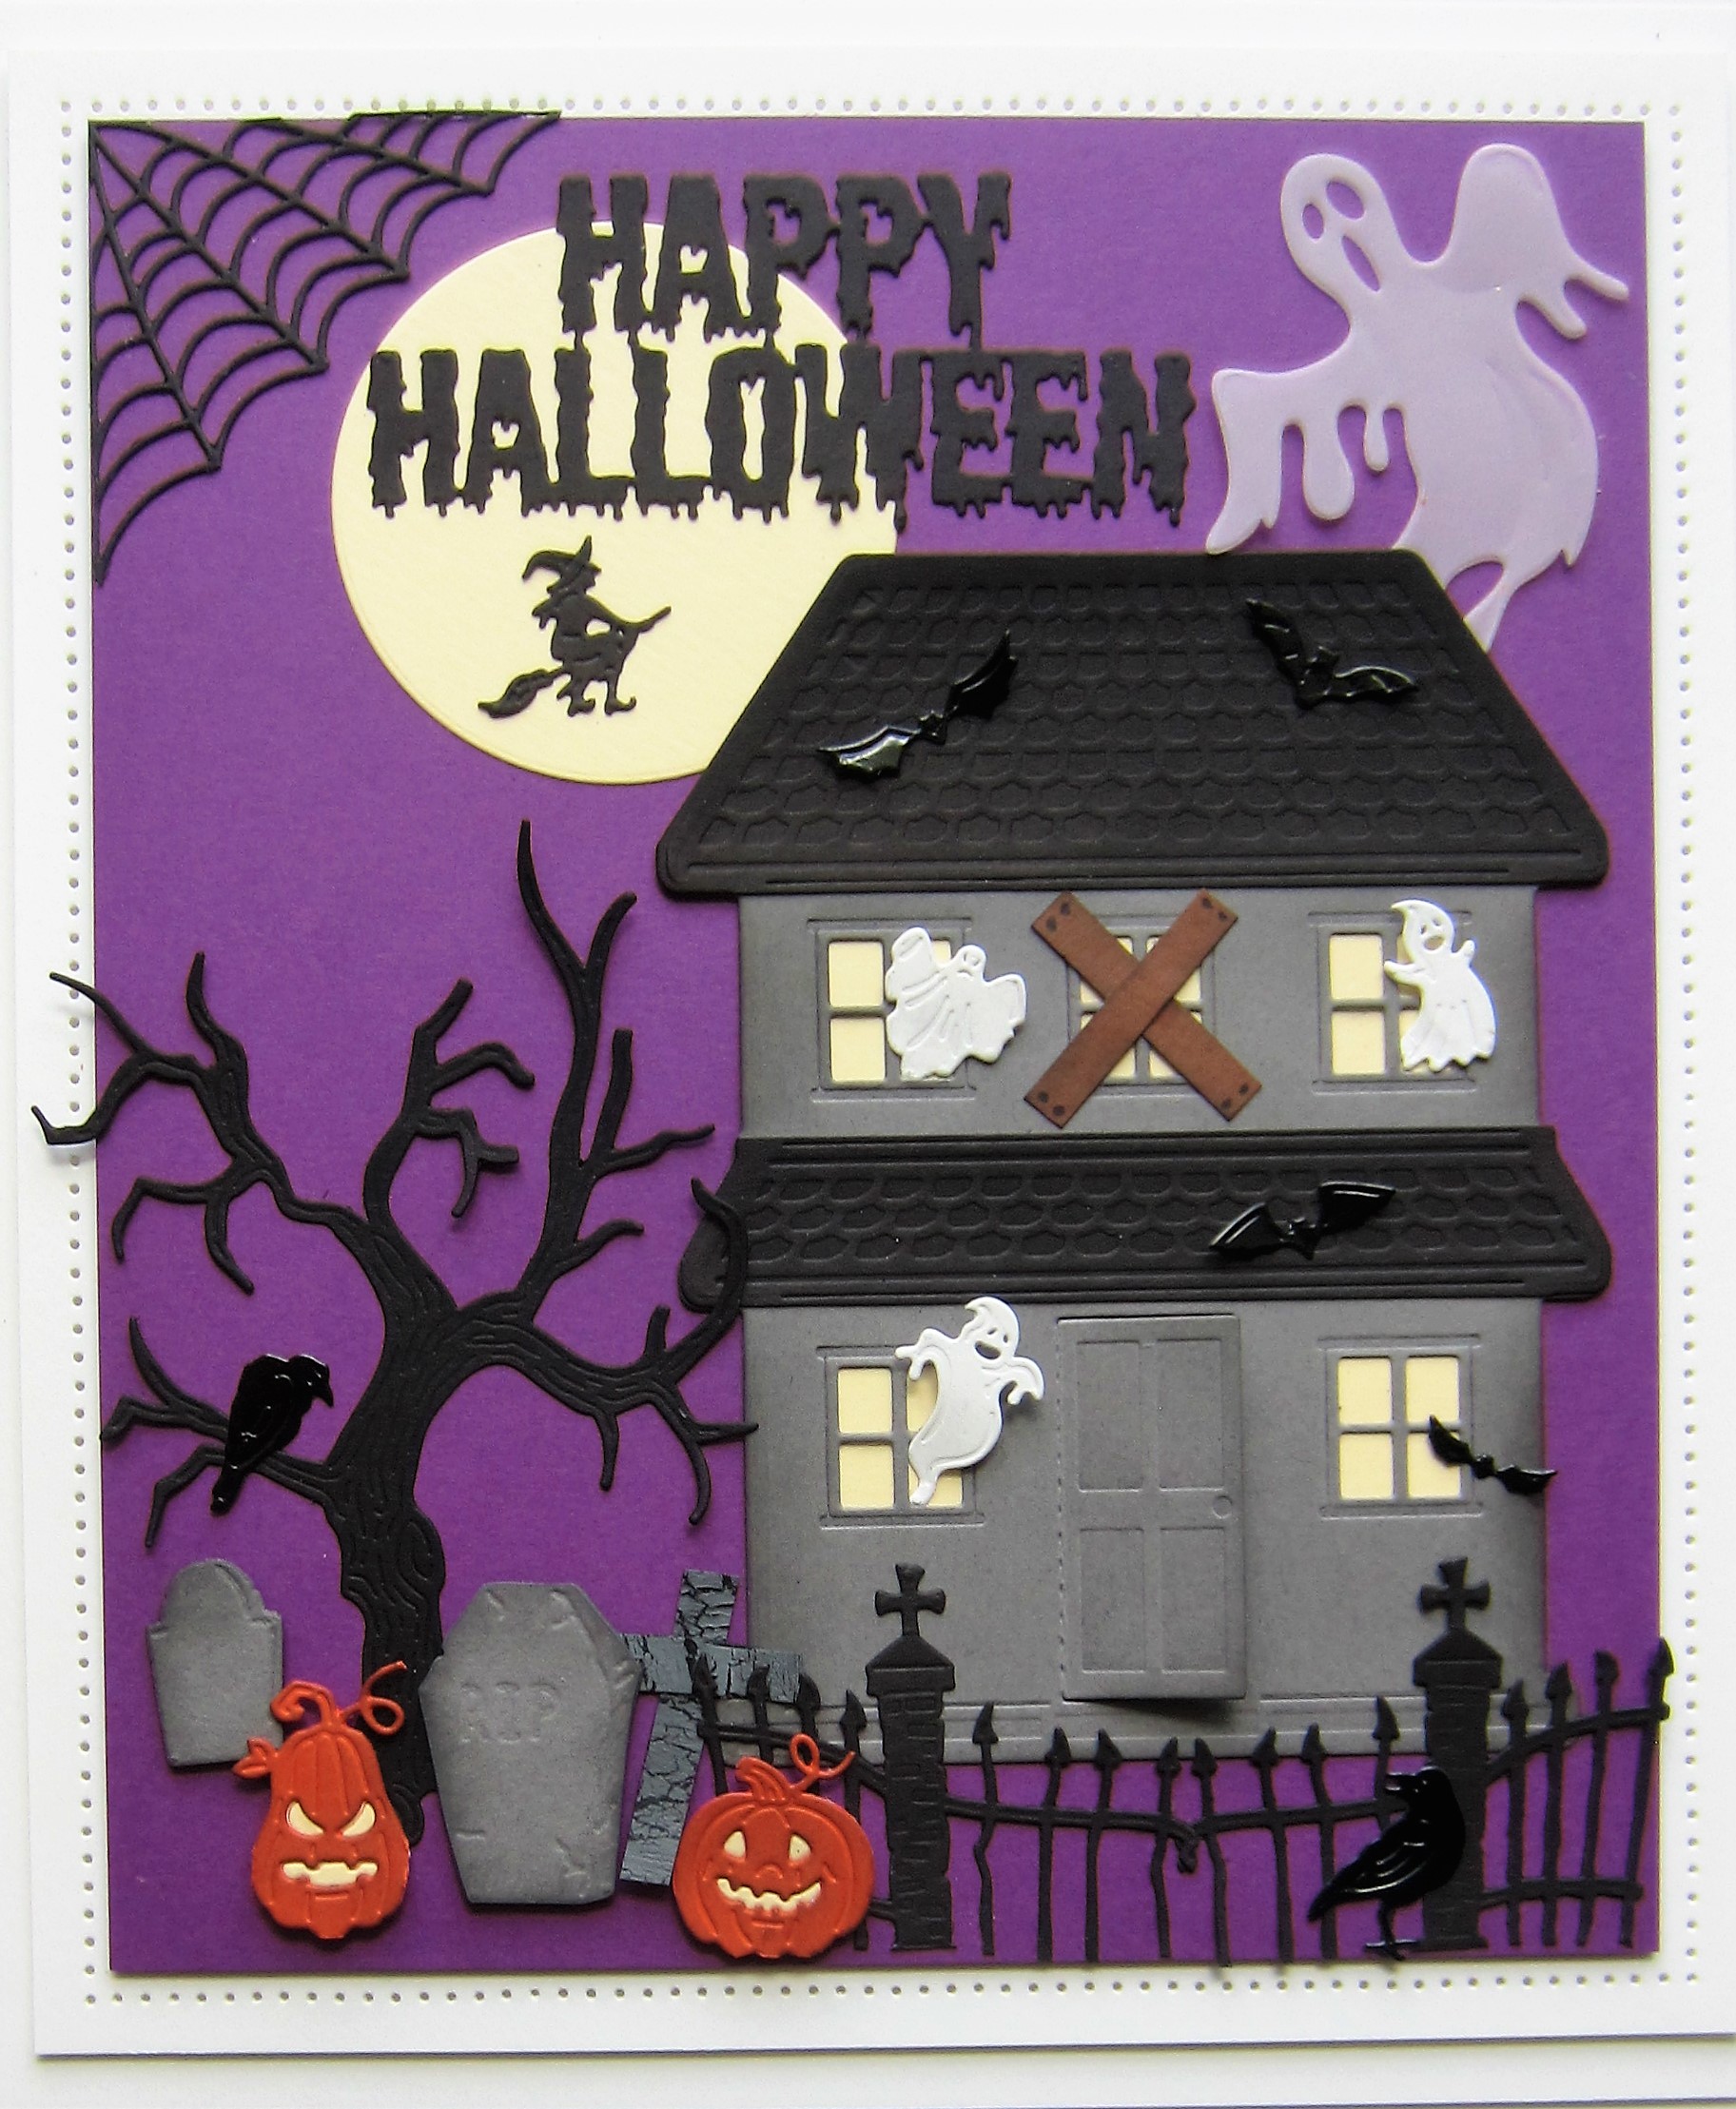
 Hello spooky friends!  I used the House Front Shaped die released earlier in the year for today's card.  I cut the house out of slate grey card and added black roofs to it.  I added a piece of pale yellow card behind the windows and added small ghosts from the Haunted House die set in three of the windows.  I cut a couple of pieces of brown card and attached them crisscrossed over the centre window for a more haunted look.  Several bats were added to the roof and lower window.  I cut a large pale yellow circle and added it in the corner with the small flying witch and part of the spider's web too.   I cut Jamie's spooky tree die in black and glued it to the purple background next to the house.  I added some distressed gravestones around it as well as a few pumpkins from the Halloween frame.  Several pieces of the spooky gate were added in front of the house. Lastly, I added one of the Ghoulish Ghosts, cut in vellum for a more ghostly look, in the upper corner.  The card was completed with white mats and layers.  The finished dimensions are 8 1/4"  x  9 1/2"  in size.  All for now, Sue x


                                                        Follow my blog with Bloglovin

Tuesday, 4 October 2022

Tis The Season To Be Spooky

 Hi there my spooky friends!  I started with a piece of purple card as the background.  Next I cut the Spider's Web in white and glued it on top.  I added a couple of Jamie's spooky gates cut in black to the bottom of the card.  From the Halloween Frame, I cut the pumpkins in orange and added a soft yellow backing piece to them and I cut the mummy out of white card.  I used a grey pencil and outlines the mummy's wrappings, then distressed the rest of him with Weathered Wood distress ink.  I added the pumpkins and mummy to the bottom of the card with mounting foam.  I cut two of the Ghoulish Ghosts in white and added some highlights with a soft blue pencil.  I attached the ghosts to the top of the card.  I cut the Tis The Season To Be Spooky sentiment from the Halloween Frame in black.  I matted it with a purple and black mat then attached it to the centre of the card.  The card was completed with white mats and layers.  The finished dimensions are 6 3/4"  x  8"  in size.  All for now, Sue x


                                                        Follow my blog with Bloglovin

Monday, 5 September 2022

Halloween Release Blog Launch Die Winners

 Hello crafters!  I hope you enjoyed the Halloween die release as much as I enjoyed designing them and making the samples!  It was a real treat for me!  The truly ironic thing is that I have not had a single trick or treater at my door in over fifteen years, twelve of those years were in the UK and the past several years here in the US!  But I still love all the spooky fun of Halloween.  I have finished doing all the drawings and here are the winners:


Halloween Frame:  Bente S!!!

Haunted House: Sharon in Toronto!!!

Ghoulish Ghosts: Magic Maggie/Bendie Yorkite!!!

Spooky Greetings: Crafty Chris in Bournemouth!!!

Spider's Web:  Deb E Isle of Wight!!!


Congratulations all!  Please email me at americansue1@gmail.com to confirm your postal address and claim your winning die.  Please put the name of the die you won in the subject line of the email as it makes it easier for us to get them sent out quickly to you.  All for now, Sue x
Monday, 26 September 2022

Tis' The Season To Be Spooky

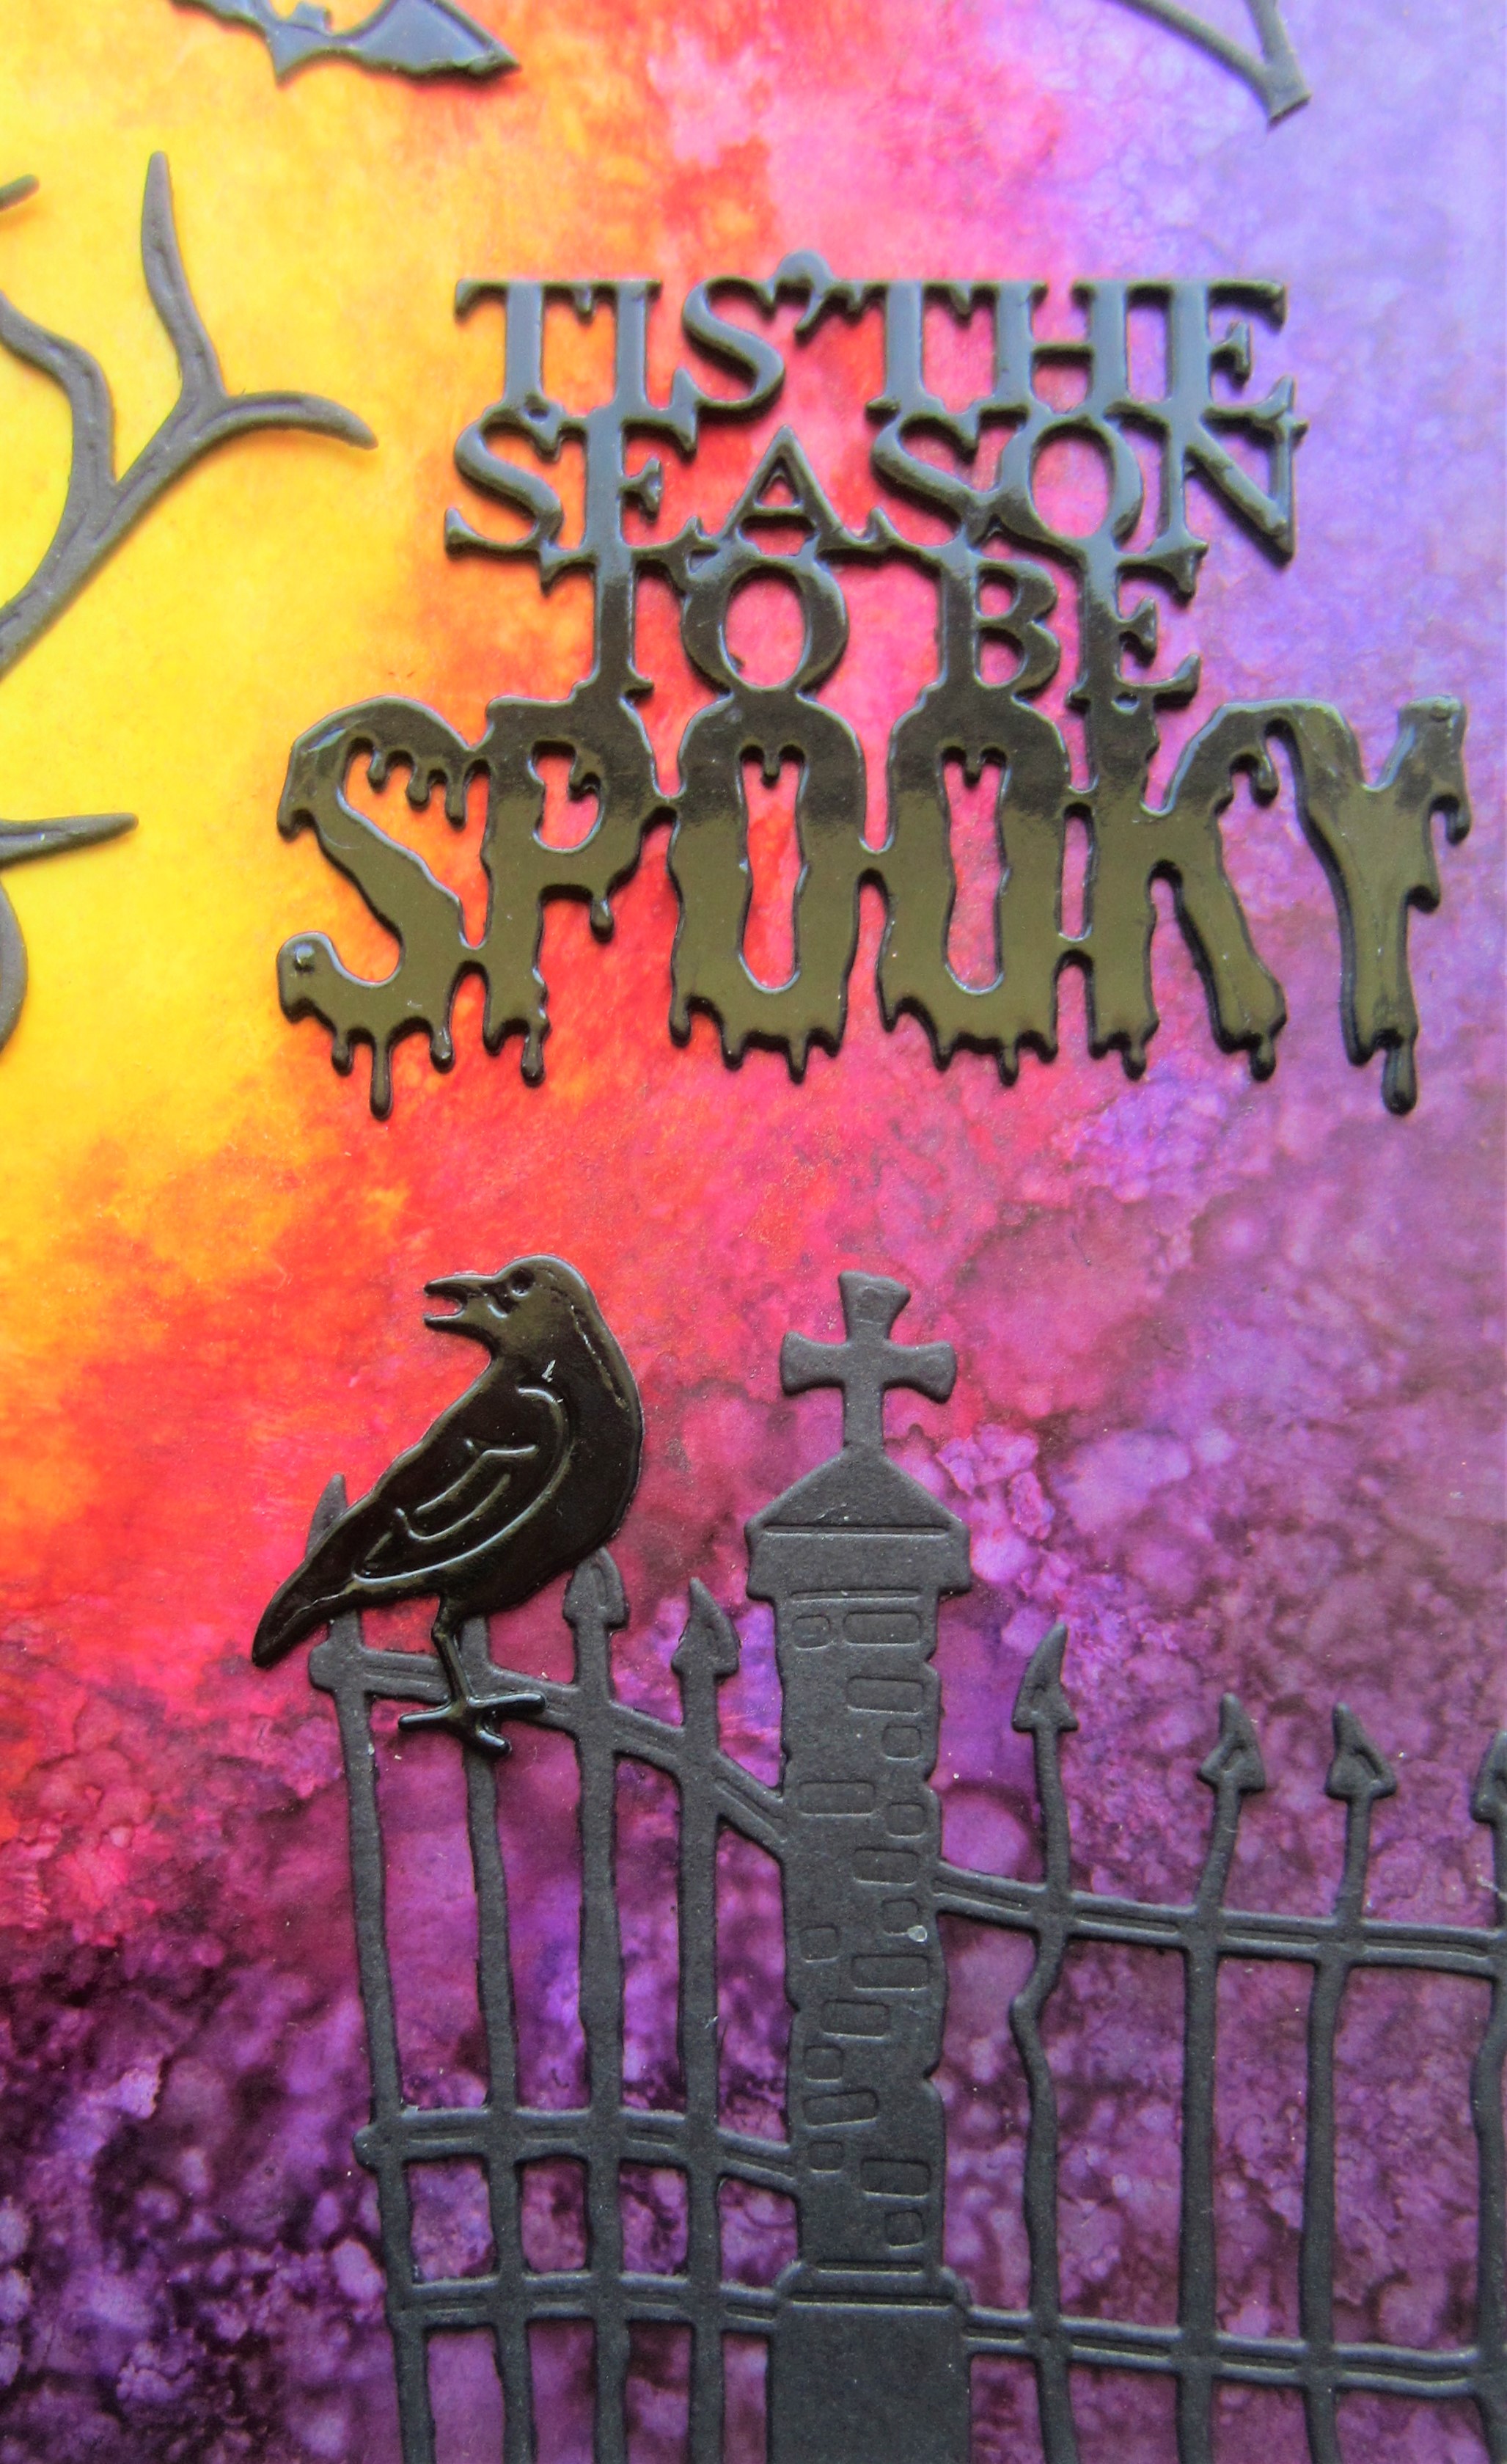
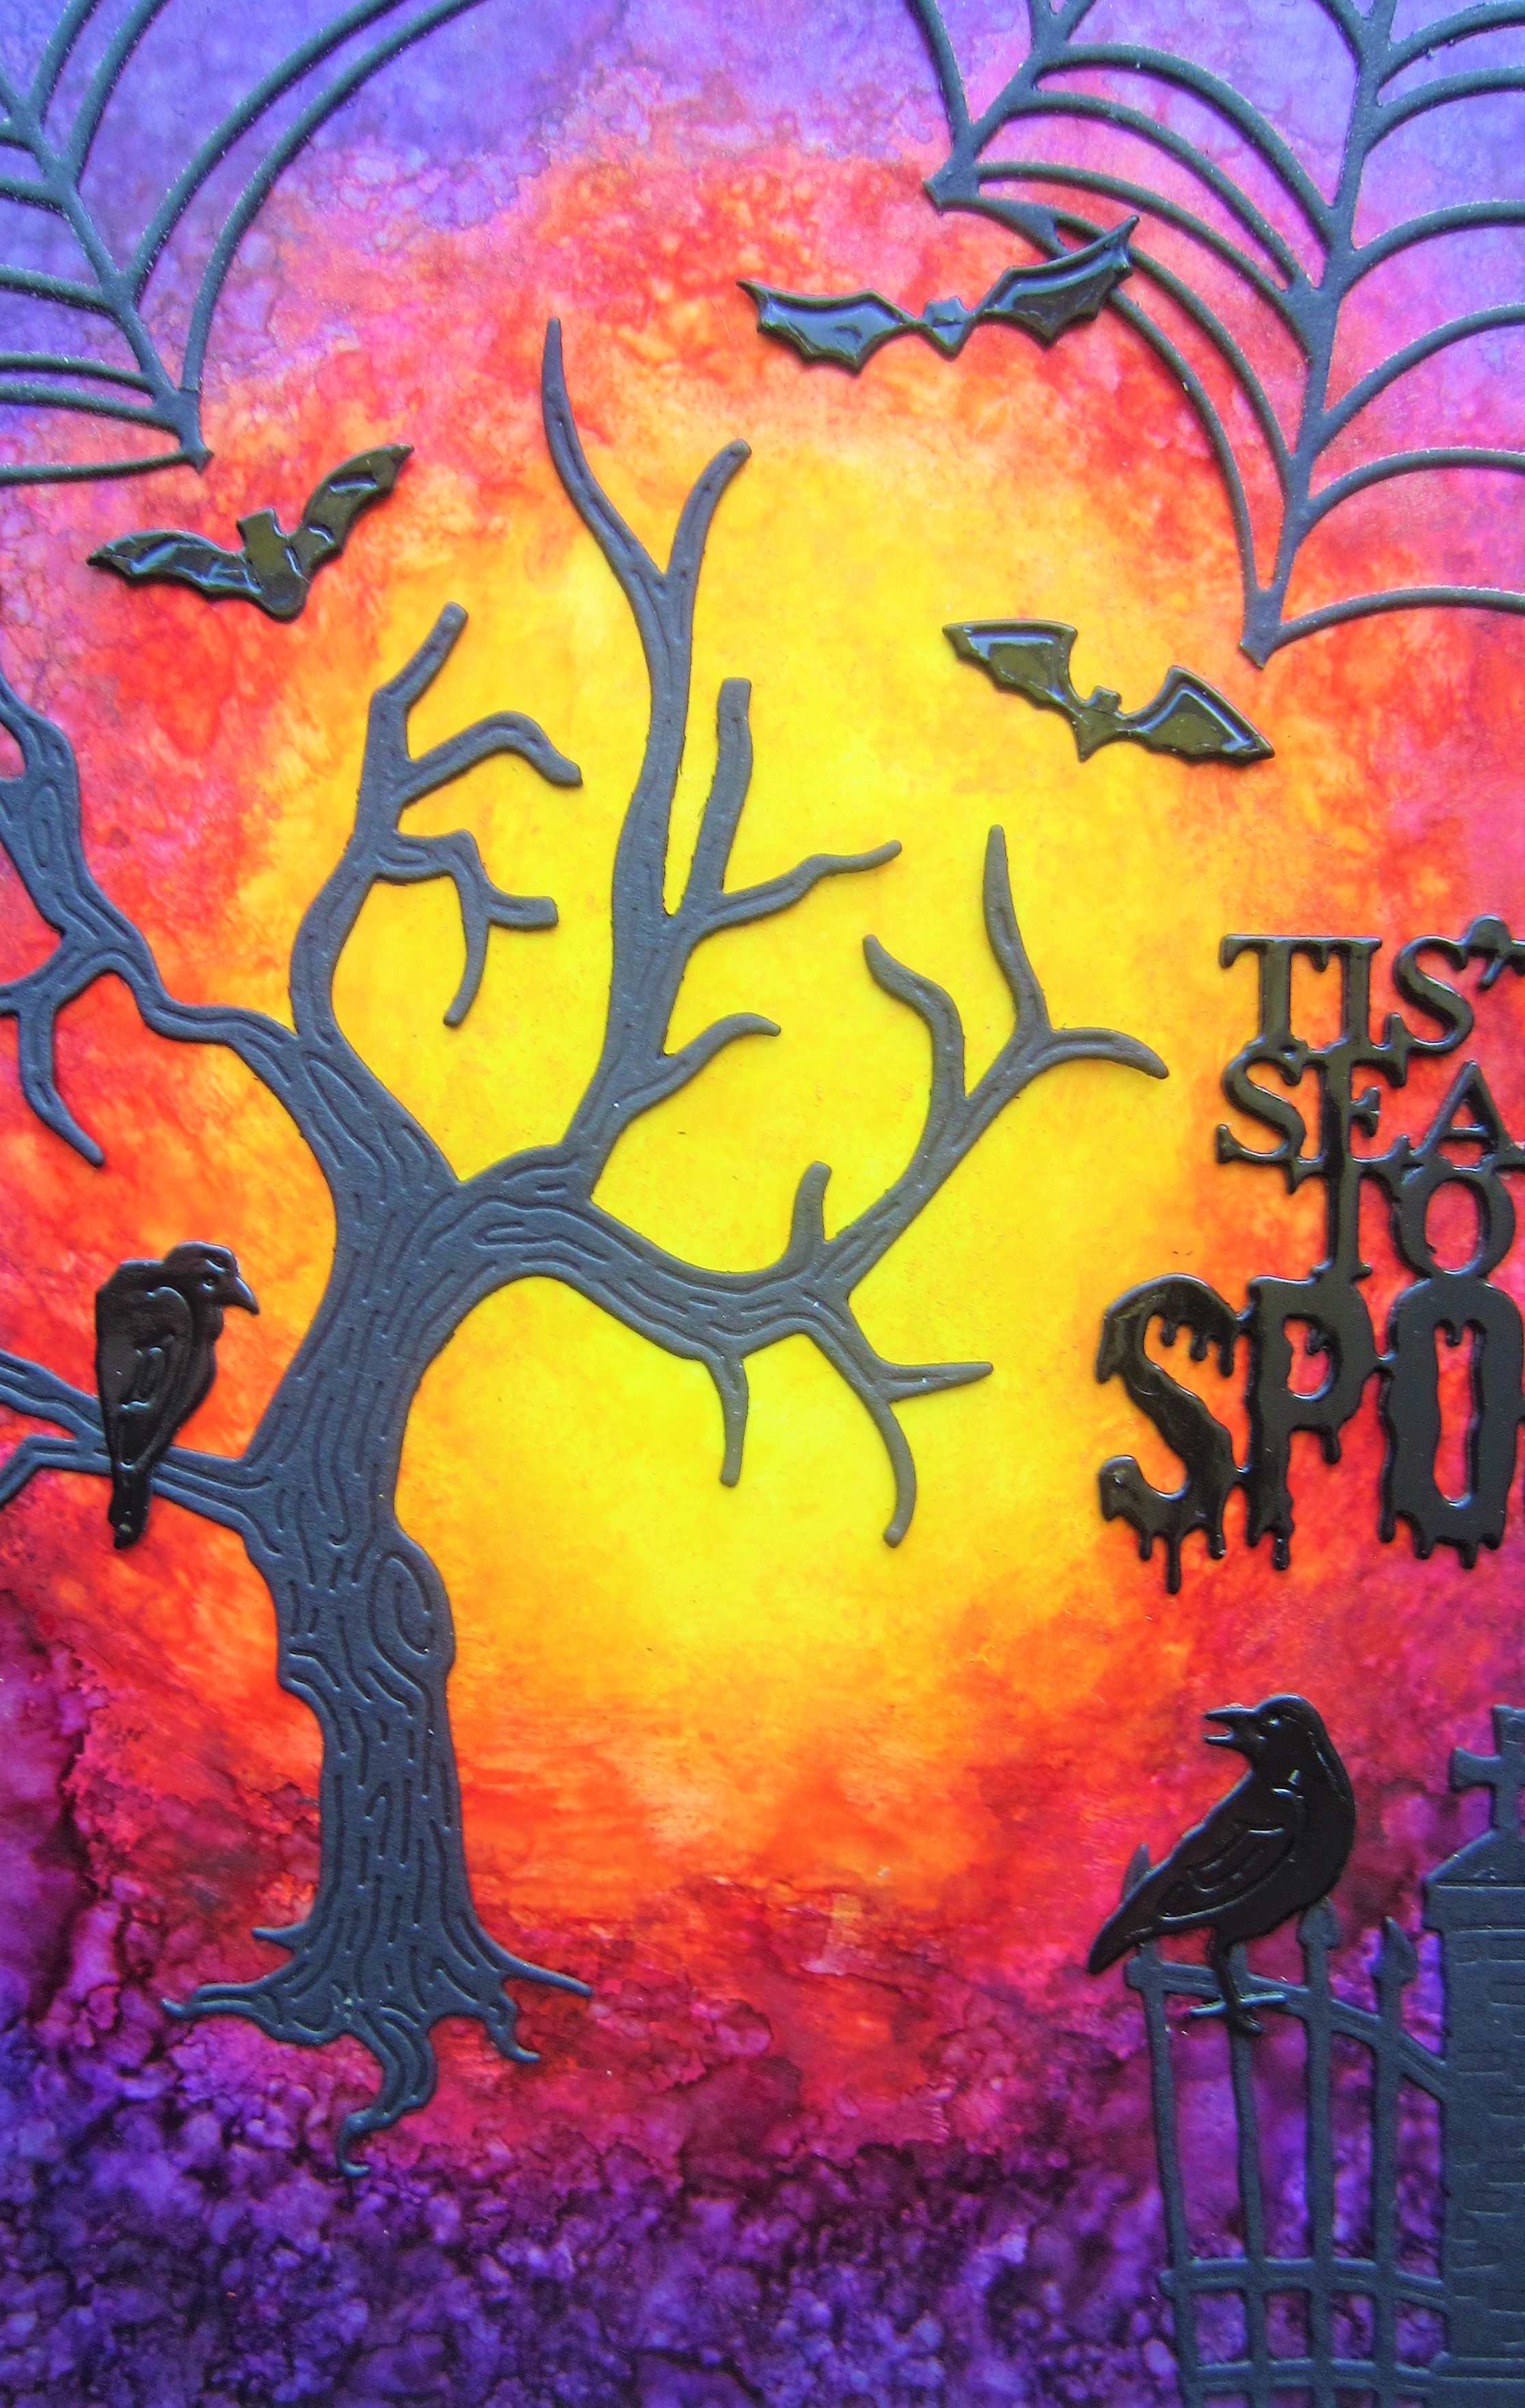
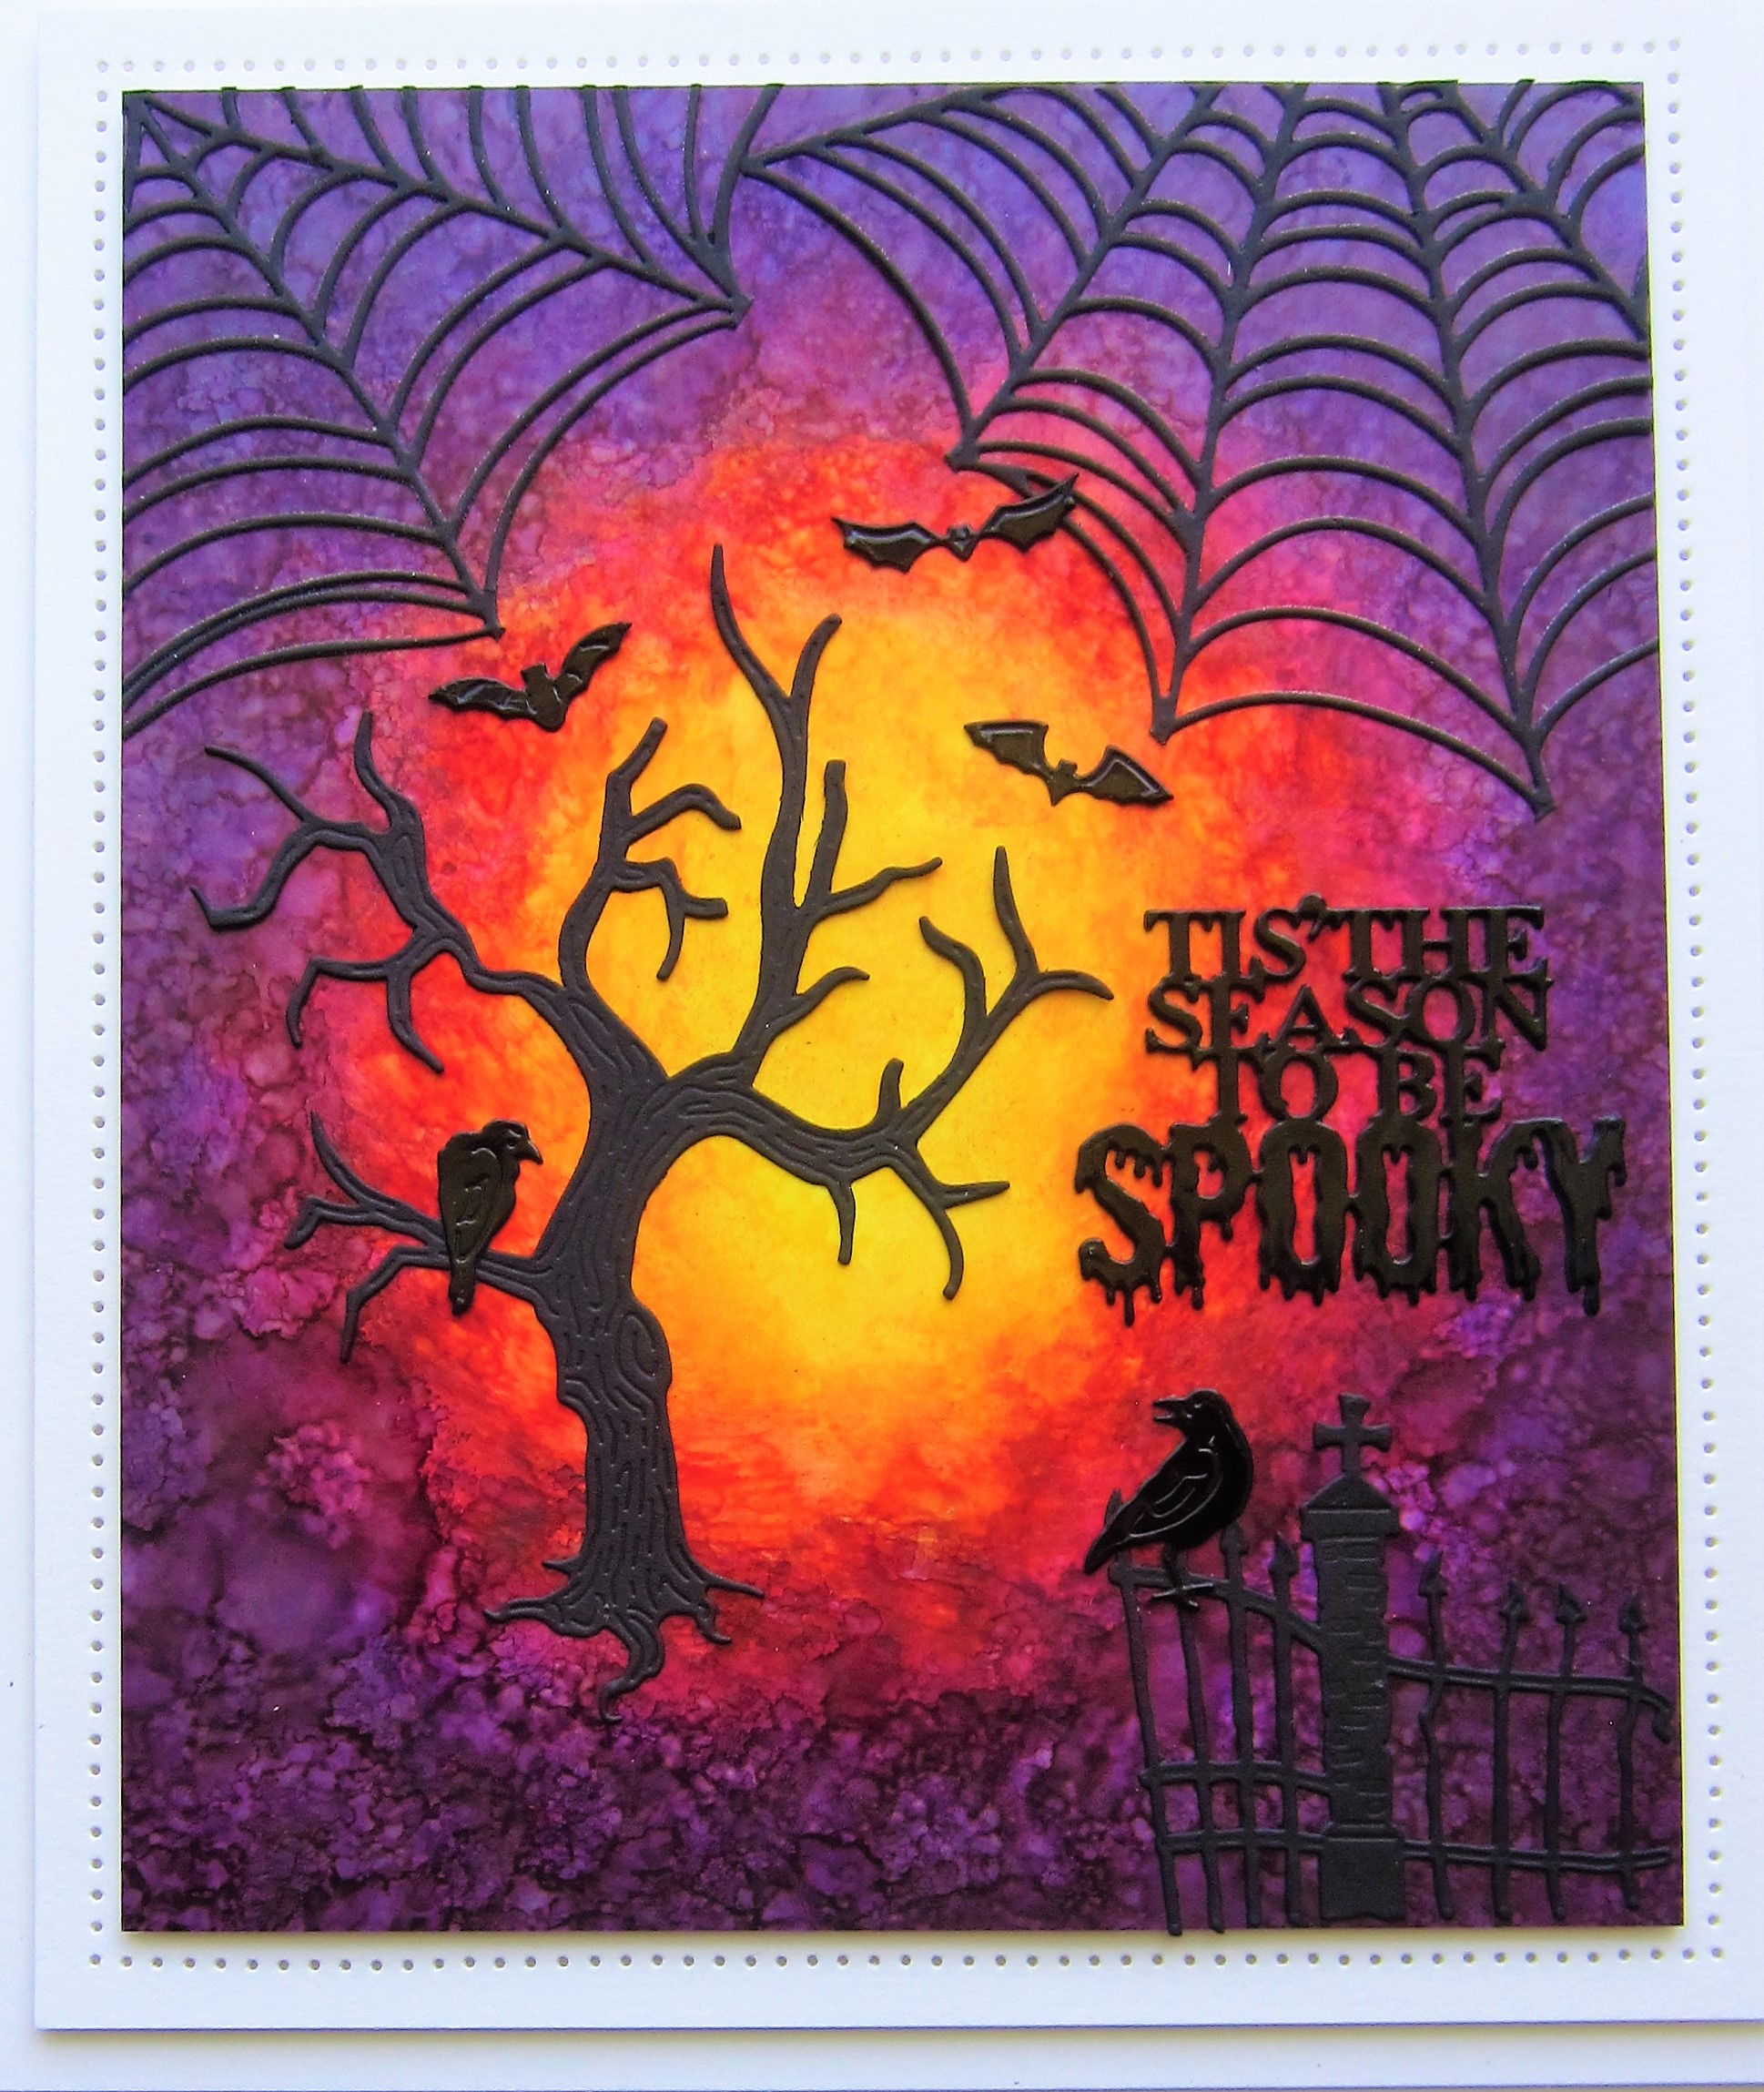
Hello crafters!  Today's card was a bit of an experiment, but I loved the way it turned out!  I started with a piece of white Yupo card.  I used Purple Twilight, Sunset Orange and Sunshine Yellow Alcohol Inks on a felt applicator.  I worked from the centre outwards by pouncing the applicator tool on the Yupo card.  Once I had it like I wanted, I put a few drops of Blending Solution on the applicator felt and went over it.  This creates little bubble-like areas on the card.  I cut the Spider's Web in black then cut it into sections and glued them to the top of the card.  I cut Jamie's Spooky Tree die in black and glued it to the card.  I added a raven and some bats flying around it.  I also used Jamie's gate (from his Graveyard die set) and added another raven to it.  I used the Tis the Season To Be spooky sentiment from my Halloween Frame to the right of the tree.  The card was completed with white mats and layers.  The finished dimensions are 7 1/2"  x  8 3/4" in size.  All for now, Sue x


                                                      Follow my blog with Bloglovin