Tuesday, 24 September 2019

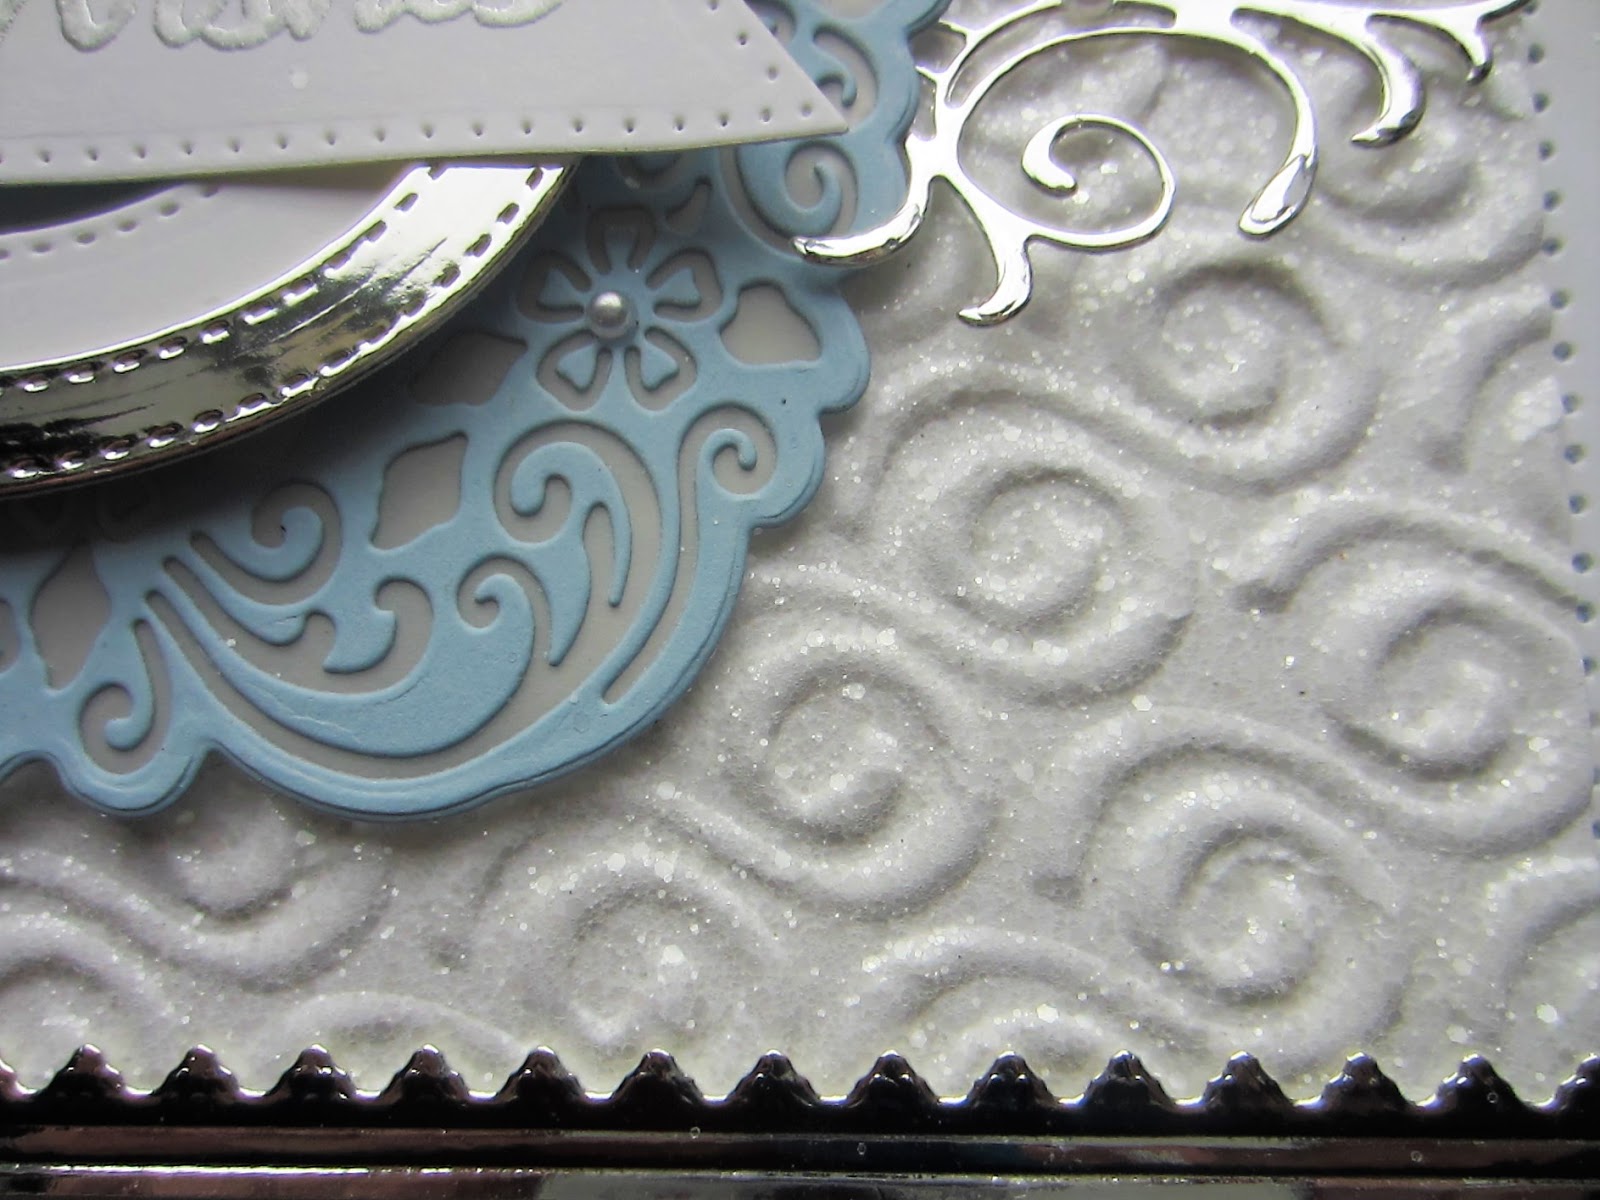
Elegant Noel Card


Hi crafters!  If you like the clean and simple look, this one is for you!  It is also a very easy card to make in batches as it is very quick to do! While pink may not be everyone's choice for a Christmas card, this one can be done in any colour you like and it will still look fabulous!


The finished dimensions are  6 1/4" x
7 1/4" in size.  All for now, Sue x
                                                       Follow my blog with Bloglovin

Monday, 23 September 2019

For You


Hi crafters!  It has been ages since I shared any samples with gilding flakes so I have brought out my Verdigris Gilding Flakes for today's sample!  I started by using the Verdegris flakes all over a piece of coconut white card coated with a sticky adhesive sheet.  I applied the gilding flakes and uses a piece of Rubit Scrubit to move and refine the gilding flakes.  Next I used the Double Stitched Rectangles die set to cut two frames and the centre section.  I glued a piece of acetate to the largest frame then added mounting foam to the back to raise the three pieces.  I embossed a piece of white card with the Ribbon Swirls folder and added the frames to it.    I used the For You shadowed sentiment cut in black and added to a white shadow and glued it into the centre of the card.  I used the Striped Nasturtiums and made two flowers using just the top outline die for the flowers.  I cut several of the Lace Edged Leaves and added them as accents.  The card was completed with white and black mats ans layers.  The finished dimensions are  6 1/2" x  7 3/4" in size.

To answer the question I asked of you, I have run into quite a few famous people in my travels including Paul McCartney, Ashton Kutcher, Paul Daniels, Duffy (the Welsh singer), Roger Daltry (from the Who), Fergie (from the Black Eye Peas), Chuck Connors (American actor from the Rifleman series)and Usain Bolt (fastest human alive).  All of them were lovely and welcoming!  I do have some good stories about the first three on the list, but it would take pages here to tell!  I will keep them for another time! LOL   All for now Sue x


                                                      Follow my blog with Bloglovin

Sunday, 22 September 2019

Thinking Of You

Good Sunday morning all!  I have been playing with the Lustre Polish again today!  I started by coating a piece of black card with the Tantalising Teal Lustre Polish and allowing it to dry well.  I cut the Celtic Square Background in white, leaving a wide border around the edge and attached it over the Lustre Polish piece.  I cut the Millie die in white and added it in the centre with foam.  Using a bit of the extra Lustre Polish piece I made, I cut the solid part of the Striped Nasturtiums out of it as well as the Thinking Of You sentiment.  I cut the top part of the flowers in white then assembled them into three flowers that I added around the Millie die.  I cut a circle for the sentiment and added it to the middle of the die.  I used a couple of leaves from the Fern Fronds and the Petal Pocket Flower sets.  White on white mats and layers were used to complete the card.  The finished dimensions are 7" x  7" in size.

I think it is time for another question?  Have you ever met or crossed paths with anyone really famous?  If so, who was it and is there a good story to go with it? LOL   All for now, Sue x


                                                      Follow my blog with Bloglovin

Saturday, 21 September 2019

3D Embossed Sparkly Card


Hi bloggers!  It is all about the bling with this card!  The video shows you how use and extend the borders from the Squares and Crosses Border.  It's a good all around card for so many occasions too.


 The finished dimensions are 7" x
 8 3/4" in size.  All for now,  Sue x
                                                     Follow my blog with Bloglovin

Friday, 20 September 2019

May Your Christmas Sparkle

Hello crafters!  I started with a piece of milk card and cut the centre die from the Marilynne set out of it randomly all over.  Next I used a piece of Khaki card and Spearmint, Olive Green and Emerald Green Pixie powders all over it.  I allowed it to dry well, then mounted it behind the background to show through the die cut areas.  Next I used the outline for the Triple Layered Poinsettias and cut several of them.  I added a solid backing that was cut with a sticky adhesive sheet attached.  I put the flowers together, then coated the exposed adhesive with Frosted Sparkle Glitterbitz then assembled them.  I attached them in the lower corner, then added Evergreen Branches cut out of a leftover piece of the pixie powdered background as well as some leaves from the set cut out of milk card.  I cut the May Your Christmas Sparkle sentiment out of gold mirror card several times and glued it in the upper corner.  Milk card mats and layers were used to complete the card.  The finished dimensions are 7"  x  8 1/4" in size.  All for now, Sue x


                                                      Follow my blog with Bloglovin

Thursday, 19 September 2019

Happy Birthday

Hi bloggers!  Yes another Penelope card!  I started with the Brambled Rose embossing folder to add some texture to the coconut white background.  I used the Zigzag borders to cut two white strips and one Iris card strip.  I glued them on to a piece of black card, then used the zigzag borders on either side to cut them out leaving a thin black border around them.  I added them across the bottom of the card.  I used the Happy Birthday sentiment cut in Iris card and added to a white shadow backing.  I glued it onto the zigzag borders on the right side.  For the focal element on the top of the card, I cut the Penelope die top layer out of white, the middle out of Iris card and backed it with a black backing.  I added it onto the larger backing which I cut in white.  I cut the Betsy die in white and layered it on top of the Penelope die with the centre stamped with my sentiment in black.  The card was completed with white, black and Iris card mats and layers.  The finished dimensions are 7 1/2" x  8 1/2"  in size.  All for now,
Sue x


                                                         Follow my blog with Bloglovin