Friday, 24 January 2014

Raindrops On Roses

Hi crafters!  Today's card is a pretty one with the Raindrops On Roses and Majestic Blooms collections from Heartfelt Creations.  I used one of the floral stamps from the Majestic Blooms and stamped it around the edge of a piece of coconut white card using a clear Perfect Medium pad.  I heat embossed it with white powder for a tone on tone look on the background edge.  I used Cosmic Shimmer dries clear glue around the edge and coated it with Iced Snow.  Next I stamped the Raindrops on Roses background using a clear Perfect Medium pad on white card.  I heat embossed the image with white powder.  I painted the roses and leaves with distress inks. I softly inked the entire piece with Tumbled Glass and Seedless Preserves to give the background colour.   I used Rock Candy Stickles on the top of the flowers for accents.  I coated the edges with glue and Iced Snow on this layer as well.  I stamped the large flower background in clear Perfect Medium and then heat embossed in white.  I cut it out with the matching die and used several of the flowers to create a pretty flower.  I pinched the ends of the flowers and created a tight bud for the centre of the flower, then added larger flowers for a larger flower.  I seated it upon a white seam binding bow at the side of the card.  I finished the card with a double white pierced mat layer.  Finished dimensions are 7" x 8 1/4" in size.  All for now, Sue x


Thursday, 23 January 2014

Sending Wishes


Buy from Joanna Sheen

Hi bloggers!  It is all about the stamping for today's card.  So many crafter's tell me that they aren't comfortable with stamping, but hopefully I can show just how easy it is!  Stamping really does allow you to include so many more techniques to your crafting arsenal (and it's fun too!)


Finished dimensions are 7 1/2" x 7 1/2" in size.  All for now, Sue x


Wednesday, 22 January 2014

Wednesday Weekly Card Giveaway

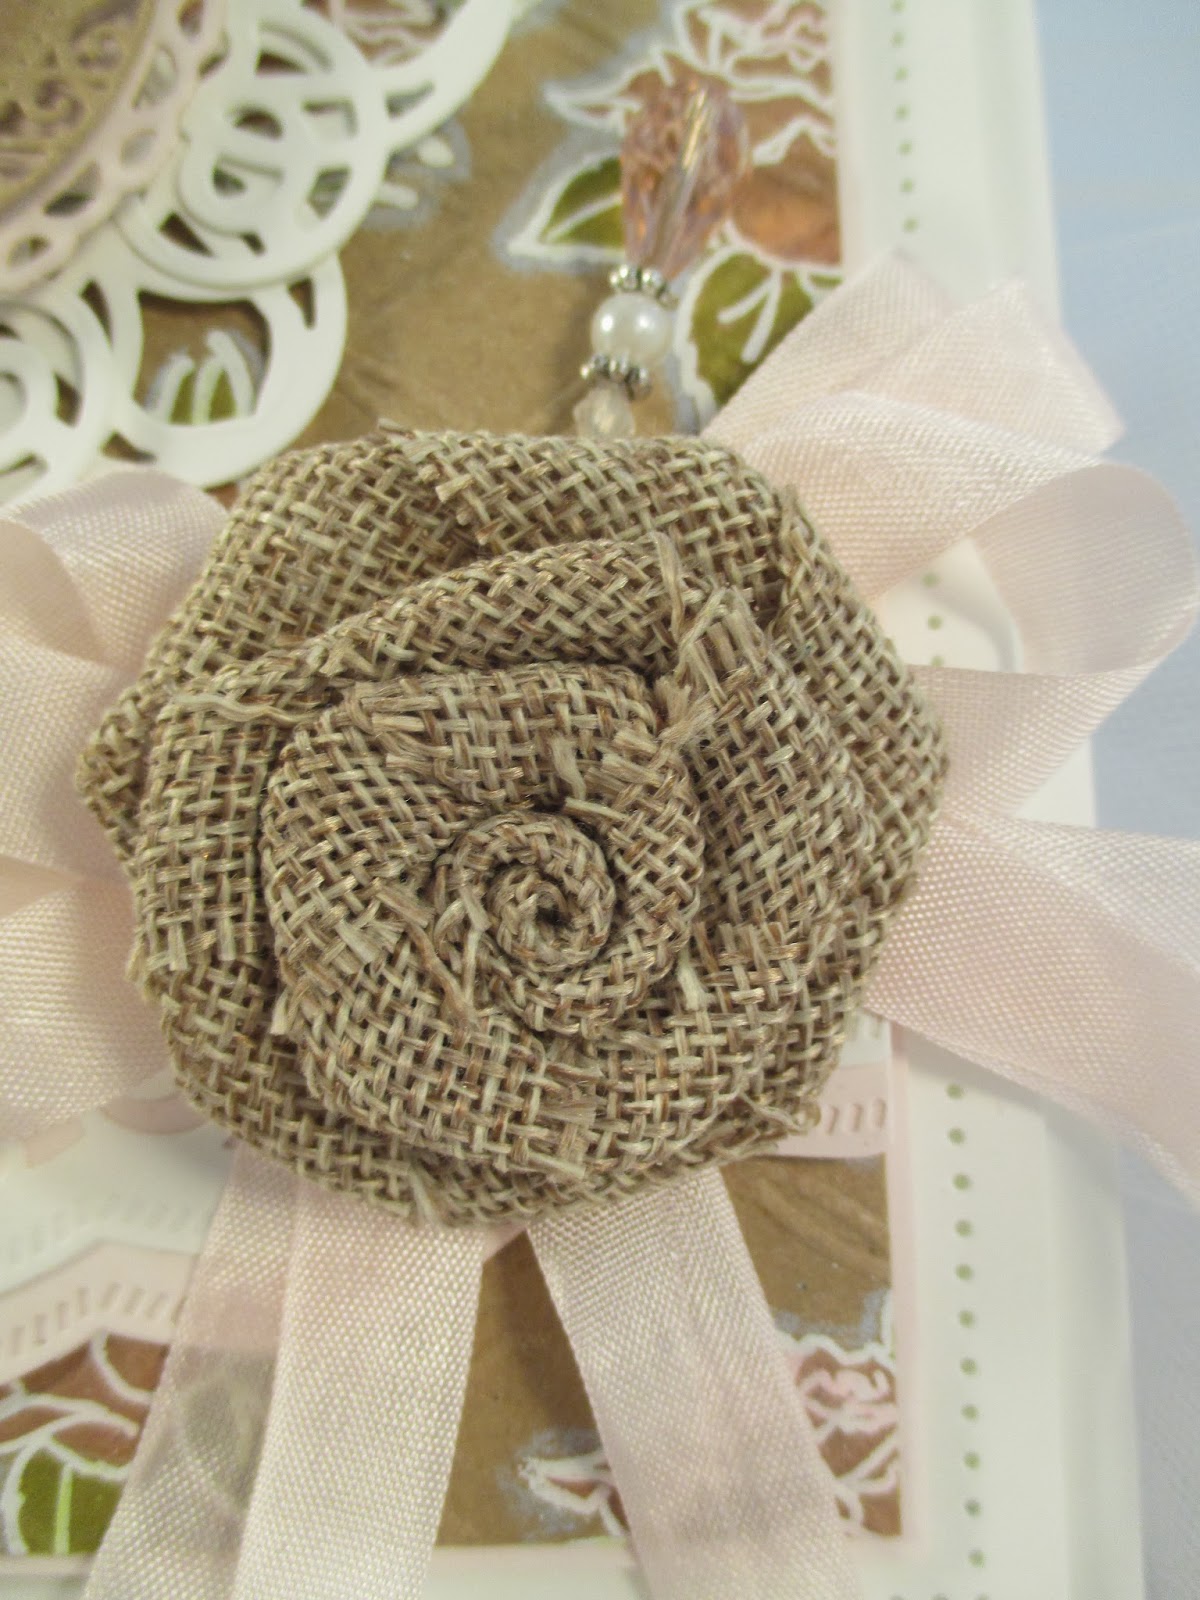
Hi guys!  Today's card is one of those that you really need to see in person so I thought it would be perfect for the Wednesday card giveaway!  You know the drill by now, if you want to be included in the drawing for the card, just leave a comment on the blog.  I started with a piece of kraft card and stamped the rose from What Defines Us stamp set all over it.  I used a clear Perfect Medium pad and then heat embossed them in white powder.  Using distress markers, Spun Sugar and Shabby Shutters, I coloured the roses.  Just a little word about that, though, when you colour with markers on kraft card, it doesn't show up until it dries, it just looks like wet card for a few minutes!  But then the colour comes through and it really pops with the white embossing.  After I finished all the colouring, I embossed the background with the Tied Together embossing folder.  I extended the pattern to cover the entire background.  I cut one of the Scalloped Borders two in coconut white card.  I used blush card to make a matching mat layer for it and glued the piece across the bottom portion of the card.  I tied a messy bow out of seam binding and topped it with a hessian (burlap) rose from my craft stash.  For the focal element, I cut the tag from the Vintage Bracket and Label die set eight times.  I crisscrossed the tags to give a pretty round decorative back piece for my sentiment.  I stamped the sentiment from the What Defines US set on to kraft card using a clear Perfect Medium pad.  I heat embossed it in white powder and cut it out with the Stately Circles.   I inked through the die with Antique Linen as an accent.   I cut another circle in blush card and slightly offset it behind the sentiment.  I finished the card with a double white mat layer and a handmade stick pin to give it a bit of bling.  Finished dimensions are 7 1/4" x 8 1/2" in size.

Now for a bit of a confession... I left a box of cards with a coworker to post out for the card giveaway each week while I am in the States.  I thought I would remember which ones I left her but it seems that I have already posted several of them on other days.  So I thought I could just add in one of them here for a multiple card giveaway!  So included for this drawing is this extra card.  All for now, Sue x


Tuesday, 21 January 2014

Celestial Teal Aperture Card


Hello my crafty friends!  Today's card is a pretty one that uses the Couture Creations Doily dies.  They are really intricate and pretty.  I hope you like the technique showcased in the video.  I think it is lovely!

Buy from Joanna Sheen


Finished dimensions are 8" x 8" in size.  All for now, Sue x

Monday, 20 January 2014

Sweet Friend

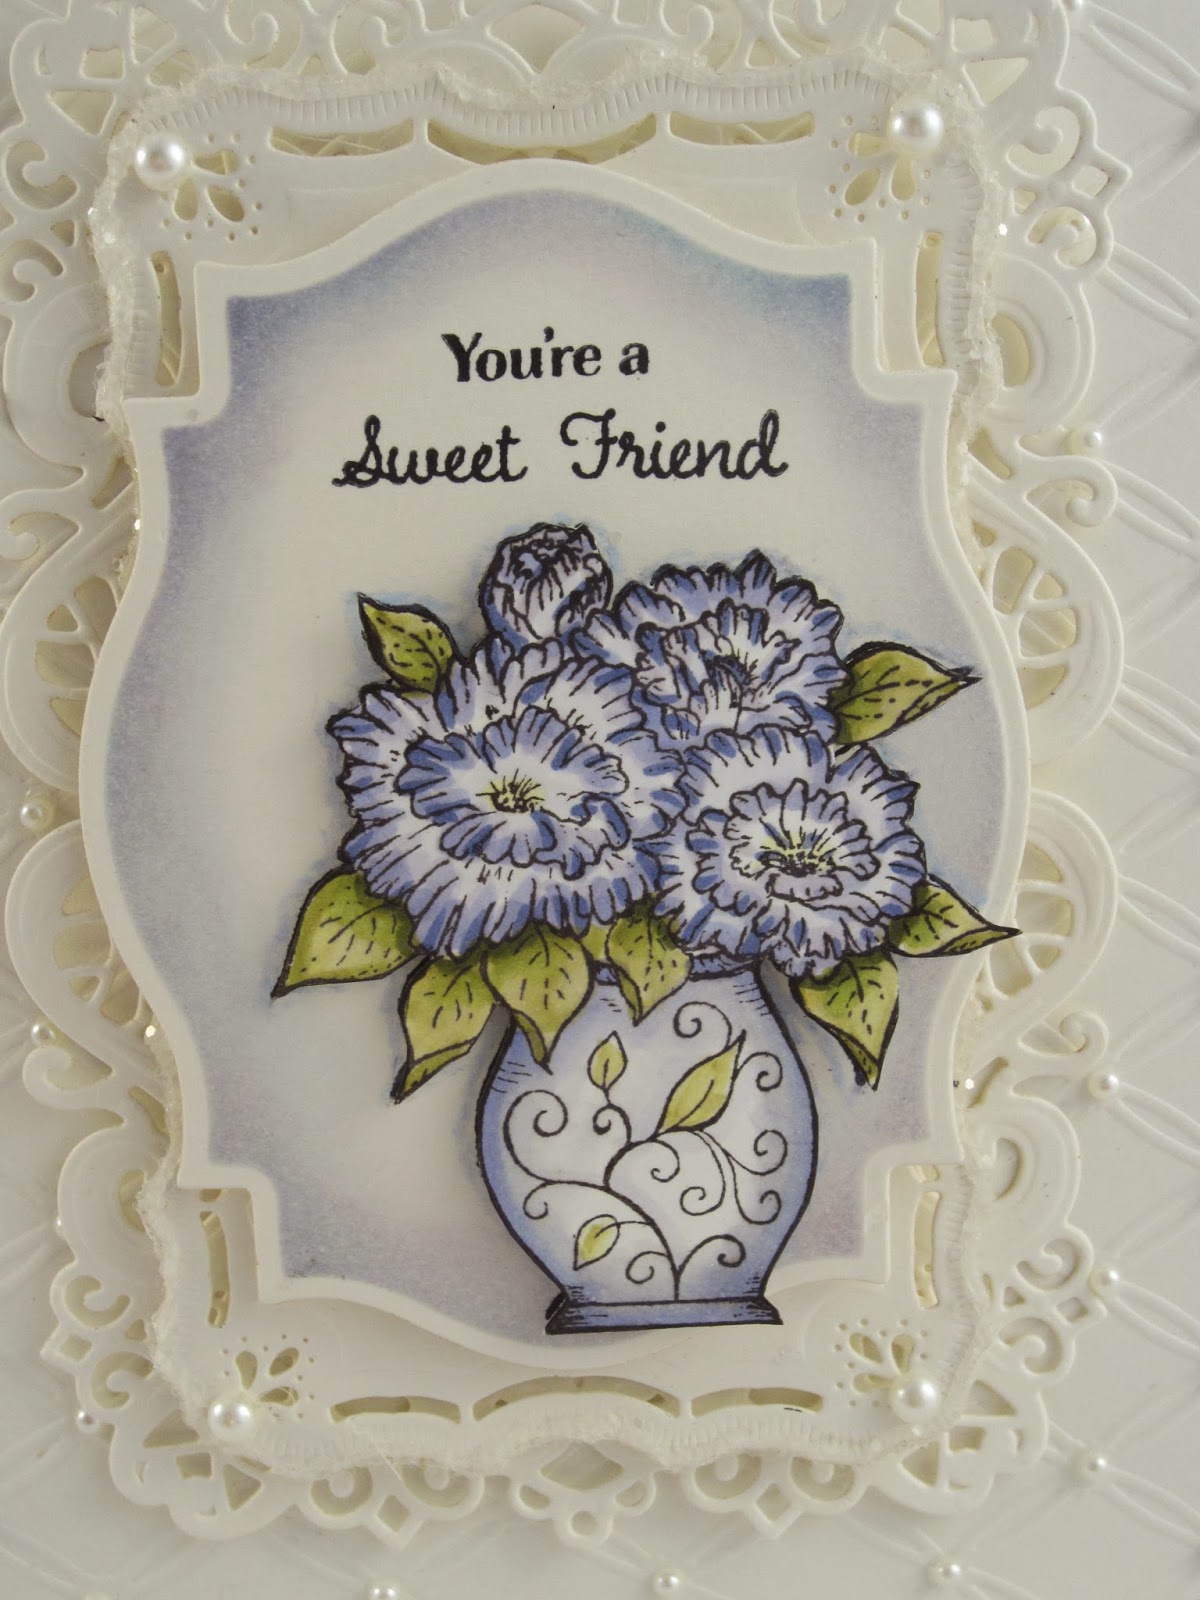
Hi crafters!  Here is another sample from the CHA shows that I really thought came out quite pretty.  I embossed the background with a favourite folder called Tied Together by Couture Creations.  I extended the pattern to make a slightly larger background for my card.  Using the die from the Raindrops on Roses set, I cut two of the die that has a sort of edge feel to it (as opposed to the more oval die).  I used them at the top and bottom of my focal element, peeking out.  Next I cut a Resplendent Rectangle to layer on top.  I used Dries clear glue on the edge and added Iced Snow to the edge of the die for some bling.  Next I stamped my sentiment on milk card and stamped the flower vase below it slightly offset to the right.  I cut this out with Labels 18.  While still in the die, I inked through the die with one of the newer Distress colours called Shaded Lilac (very pretty new colour!)  I stamped the flower vase again on milk card and used the distress ink to paint it with. I cut it out by hand and added mounting foam to the back.  I mounted it on to the Label shape.  I stamped just the flower part a third time, coloured and cut it out to mount up for dimension on the original image.  I matted the card with a thin mat of matching lilac card, then added a double milk card with a pierced inner layer.  I completed the card with flatback pearls on the embossed background and the Resplendent Rectangle die corners.  Finished dimensions are 6 3/4" x 8" in size.  All for now, Sue x


Sunday, 19 January 2014

Never Give Up

Good Sunday morning all!  It's all about the background for this one.  I have used the Vintage Alphabet Soup stamp by Becca Feeken and gilded it.  I dabbed flake and glitter glue across the stamp and put my milk card to the stamp and rubbed over it quickly.  I set the stamped image to the side so the glue had a chance to turn clear and cleaned my stamp completely.  It is important to remove the flake and glitter glue residue from your stamps.  I gilded the design with Verdigris gilding flakes and used a piece of Rubit Scrubit pad to refine and remove the excess flakes.   I cut the background into three equal strips and matted them with milk card and attached the strips to soft gold card with mounting foam.  I used the Scalloped Borders to add a decorative feature to the card.  I cut it out of milk ca5rd then matted it with soft gold card and glued it across the background.  I made a flower out of cream coloured felt (from our blossom felt pack) by folding a strip in half lengthwise and gluing the edges.  I then did diagonal cuts all along the strip and rolled the felt into a flower (I used Cosmic Shimmer dries clear glue along the edge as I rolled).  I seated the bloom on a messy bow tied from chalk seam binding and gold tulle.  I stamped a sentiment from the What Defines Us set (also by Becca) and heat embossed it in gold.  I used some antique linen distress ink while still in the die as well.  I tucked the edge of the tag under my flower.  I finished up with a pierced layer, a soft gold mat layer and a final milk card layer.  Finished dimensions are 6 1/2" x 7 1/2" in size.

It's time for the Sunday Comment game winners.  The winners this week are:

Kitty Davies!!!
Kayleigh B!!!
Gwen 70!!!

Congratulations all!  Please email me at americansue1@gmail.com to confirm your address and claim your prize.  All for now, Sue x


Saturday, 18 January 2014

Sneak Peek For Sam's Shows

Hi bloggers!  I thought I would show you a couple of cards that I made for Sam Poole's shows today.  When Sam was down over Christmas, she brought the stamps with her so I had a bit of a play with them and made five or six cards for her show.  These two are my favourites so I thought I would share them with you.  The first one showcases the doodle flowers and mason jar stamps on the shows.  I used the Interlocking Circle embossing folder to add some detail to the background.  Next I stamped the mason jar on white card and cut it out.  I added Iced snow to the bottom half of the jar so it looked like there was some water in the jar.  I drew in the stems with a green pencil.  I stamped the flowers on pastel coloured card with a clear Perfect Medium and embossed them with white powder.  I cut them out by hand and added a wire for a stem.  I did the same for a few leaves.  The wired flowers allowed me to give a 3D look to the framed flowers.  I stamped the sentiment and cut it into a tag shape and added it with some Bakers Twine.  To frame the flowers I used the Grand Rectangle dies.  I used an in between shape to add some detail to the frame.  I mounted it up on foam pieces for dimension.  The card was easily finished with a double white pierced mat layer and some flatback pearls for the flower centres.  Finished dimensions are 7" x 8" in size.  Scroll down for card no. 2.


Card number two uses Sam's Curly tree stamp.  I stamped it on coconut white card using a clear Perfect medium pad.  It was heat embossed in white powder and then sponged with Aqua Adirondack ink.  I used the Heart Circle die cut in red for the fall away hearts I have used.  I glued them all over the tree then used one with some black inked stitch lines to have it look like it was hanging.  I used the Grand Postage frame die to add a decorative feature to the inside of the frame.  The Grand Squares were used to create the frame for the tree.  I stamped the sentiment in black on a larger piece of card and mounted the framed tree above it.  I added some scattered pearls as accents and a double white pierced mat to finish the card.  How cute would this be for Valentine's Day!  The finished dimensions are 7" x 8" in size.
 Sam's shows are on today at 11 am and 4 pm, do be sure to tune in to see them as she always has wonderful ideas, techniques and samples to show!

It is also time to announce the winner of the Wednesday Card Giveaway.  This week's winner is :

Margaret Corgi Owner!!!

Please email me at americansue1@gmail.com to confirm your address and claim the card! All for now, Sue x


Friday, 17 January 2014

Welcome Little Darling

 Hello my crafty friends!  A sweet baby card for today.  This one uses the baby carriage from the Bundle of Joy stamps from Justrite.  I used the harlequin patterned  papers from the Teresa Collins paper pack.  I cut four squares and matted them with thin white mats.  I mounted them up using foam pieces, with a small gap between them.  For the focal element, I stamped the pram in Pitch Black Adirondack ink, not my usual black Archival because I coloured this one with alcohol based markers.  I used a blue grey colour to create a shadow by dotting all the way around the image, heavier in some areas.  I cut a frame from the Marvellous Square dies.  I mounted the frame above the coloured image with mounting foam.  I added a rolled felt flower as an embellishment that I created from the Bitty Blossom die.  I seated it upon a seam binding messy bow and some Bakers Twine.  I stamped the sentiment and cut it out using Vintage Labels Five. I inked it through the die with aqua Adirondack ink.  I finished the card with flatback pearls in the corners and a double pierced mat layer in coconut white.  Finished dimensions are 7 3/4" x 7 3/4" in size.  All for now, Sue x