Saturday 31 August 2024

Merry Christmas

 Hi bloggers!  I cut the Snowflake Floating Background out of cobalt blue card.  I added small pieces of mounting foam to the back of the die.  I covered a piece of white card with a sticky adhesive sheet.  I peeled the backing paper off, attached the background to it, then coated the remaining sticky areas with Frosted Sparkle Glitterbitz.  I cut a white oval frame using the Double Stitched Ovals.  I added mounting foam to the back, then attached it to a piece of white card that I covered with another piece of sticky adhesive sheet after I removed the backing paper.  I cut the Noble Merry Christmas die out of silver sparkle card and I attached it to the centre of the frame, then sprinkled more Frosted Sparkle Glitterbitz over the sticky areas.  The card was completed with white mats and layers.  The finished dimensions are 7 1/2"  x  9"  in size.  


All for now, Sue x 


                                                          Follow my blog with Bloglovin

Friday 30 August 2024

Season's Greetings

Hello crafters!  I started by embossing the Brick Wall embossing folder.  I lightly inked over the top of it with Pumice Stone Distress ink.  Next I cut a white frame using the Double Stitched Rectangles.  I added mounting foam to the back of it then attached it to a piece of white card.  Using the Cosy Fireside Christmas die set, I cut the fireplace out of slate grey card.  I added a black mantle to it.  I cut the mantle clock in gold and glued it to the top of the mantle.  I cut three red stockings and used Fluffy Stuff on the tops then heated it.  I added them across the top of the fireplace.  I cut the fire and logs and coloured them then added them inside the fireplace.  I cut the tree in green and coloured the baubles in red.  I added a gold star to the top and cut an assortment of presents for around the tree.  I added one to the side of the fireplace.  I cut the Season's greetings sentiment in red and added it to a white shadow backing piece.  I added it to the inside of the frame with mounting foam.  The card was completed with white mats and layers.  The finished dimensions are 7"  x  8 3/4"  in size.  


All for now, Sue x


                                                      Follow my blog with Bloglovin

Thursday 29 August 2024

I Smile When I Think Of You

 Hello crafters!  For today's card, I cut the 3D Card Maker out of white card.  I used the Dynamic Daisies and the Floral Medley for the flowers.  I cut the daisies out of powder pink and sky blue and cut the leaves and stems out of forest green card.  I dressed the pop up sections with the flowers and used the Fabulous Foliage to add greenery around them.  I cut the butterflies from the Bountiful Butterfly die set using a piece of black card on top of a piece of white card.  I coloured the white copy then glued the black die cuts on top.  I glued it to the side of the daisy at the top of the card and the bottom flap of the card.  I cut the I Smile When I Think Of You sentiment in black and glued it to a white shadow backing piece.  I glued it to the bottom front of the card.  For the front of the card, I cut the Magnolia Cover Plate, backed it in white then paper pieced the pieces back in.  I matted it in powder pink.  


All for now, Sue x


                                                                 Follow my blog with Bloglovin

Wednesday 28 August 2024

Haunted Wishes

Hello bloggers!  I started with a piece of black card and used Aqua Lagoon, Midnight Blue, and Rich Gold Pixie Powders then spritzed it with water.  I cut the Skeleton Frame out of black gloss card and glued it to the background.  I cut the Haunted Wishes from the Bride Of Frankie set out of both black gloss and white card.  I shadowed the black die cut with the white die cut and glued it to the inside of the frame.  The card was completed with white and black mats and layers.  The finished dimensions are 6 1/2"  x  7 3/4"  in size.  

https://www.creative-expressions.uk.com/product/creative-expressions-sue-wilson-halloween-skeleton-frame-craft-die/

All for now, Sue x


                                                           Follow my blog with Bloglovin

Tuesday 27 August 2024

Happy Christmas

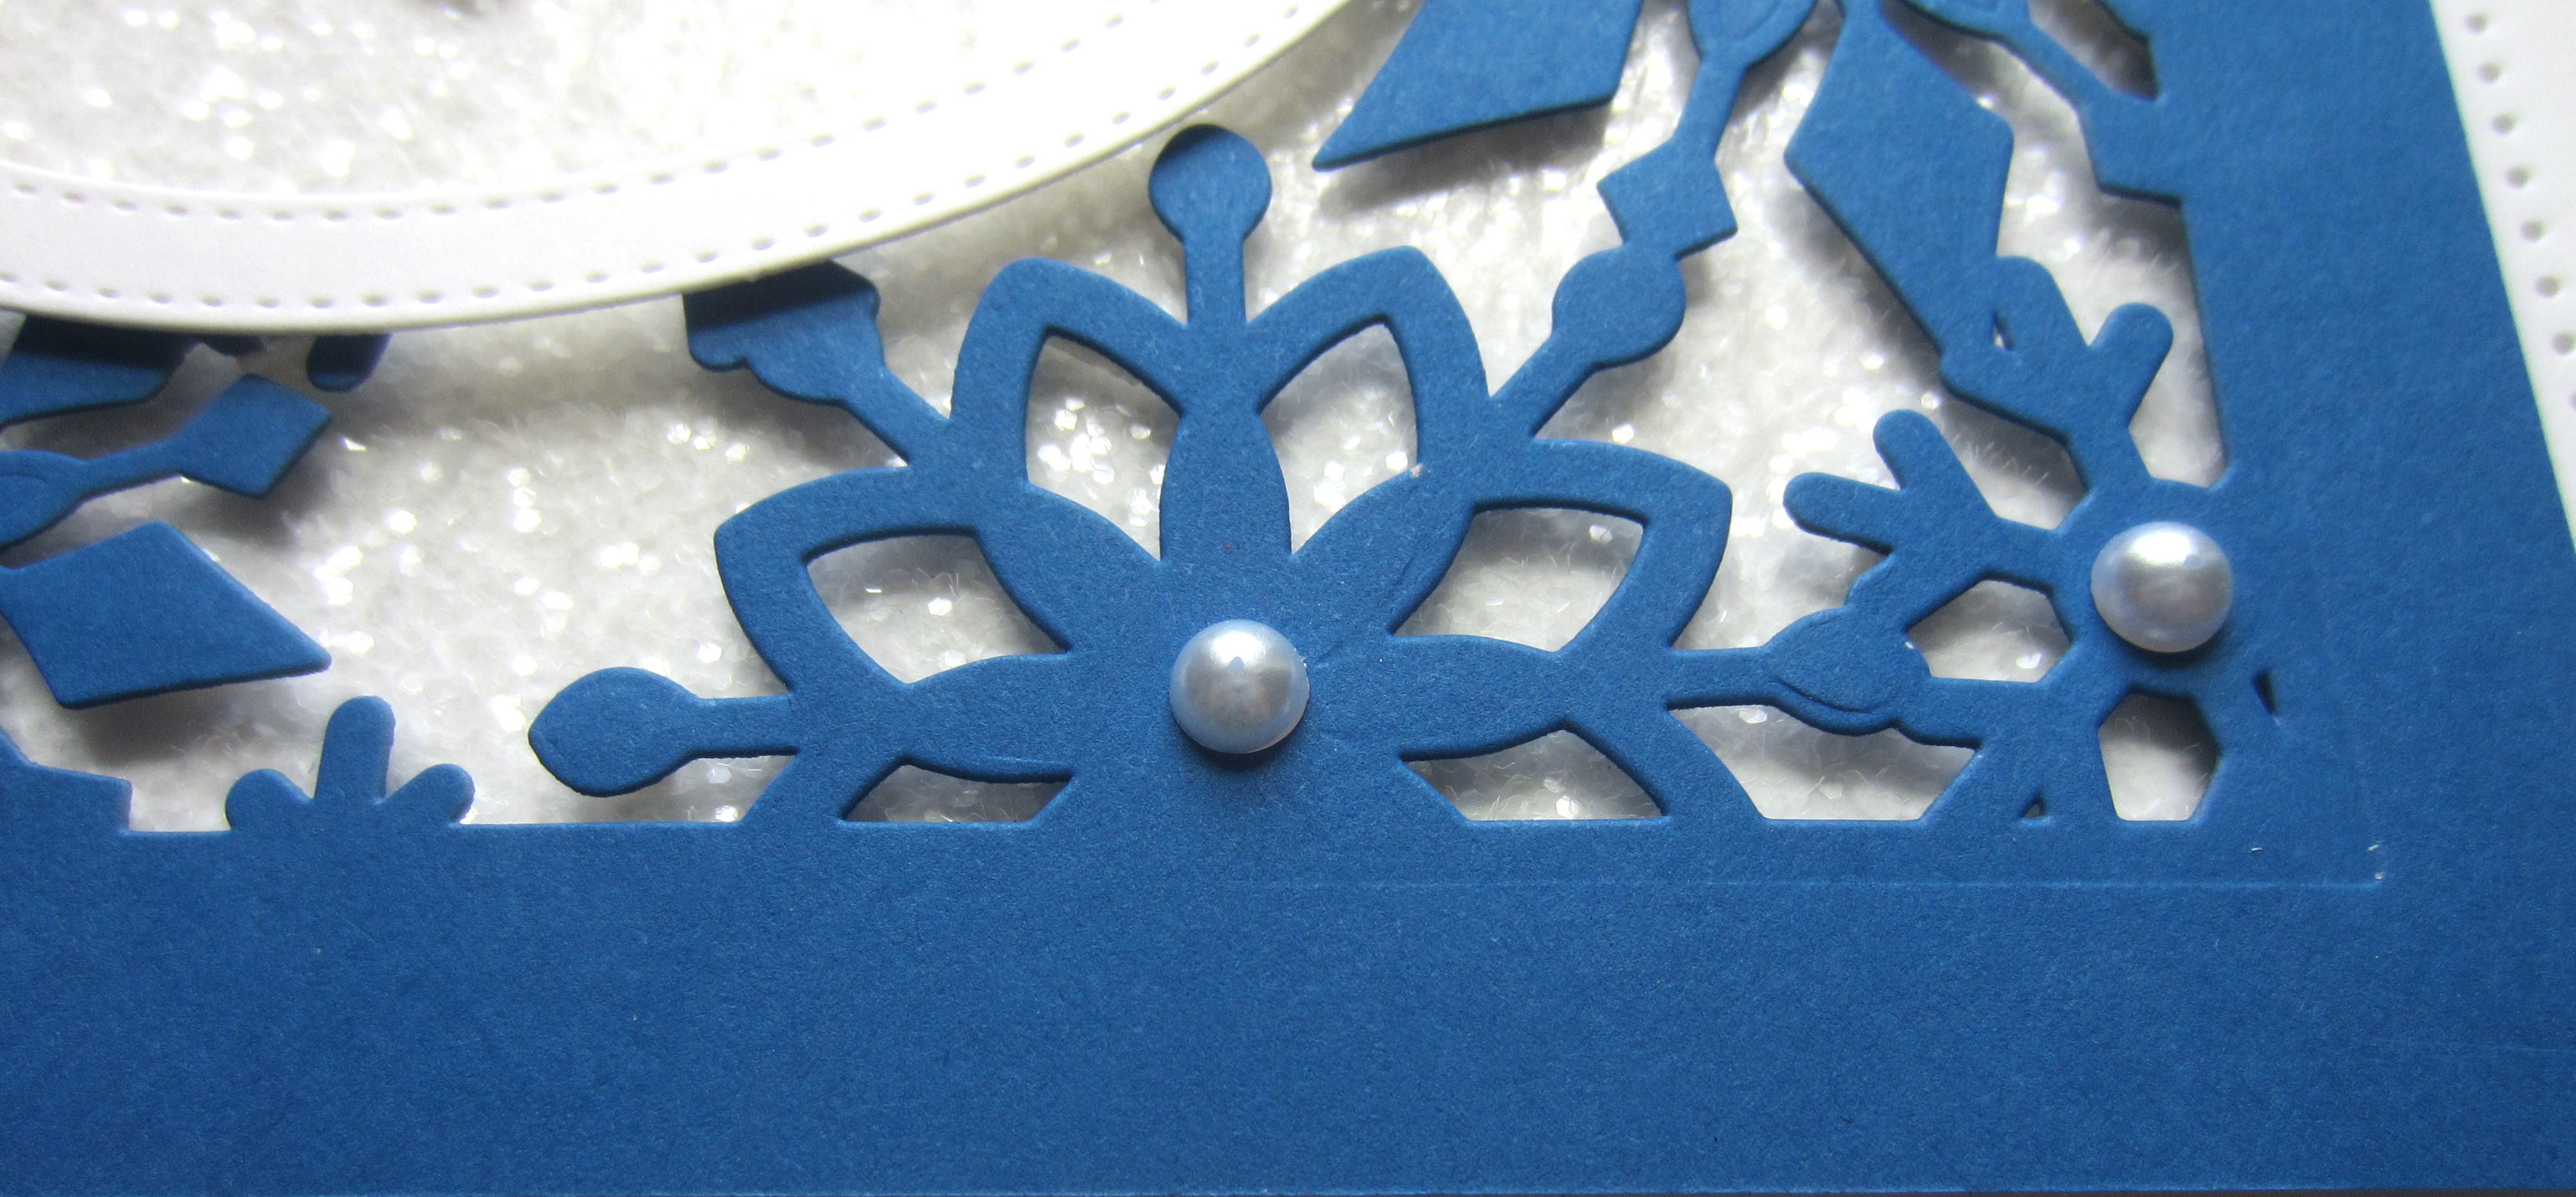
   Hello bloggers!  I started today's card by cutting the Poinsettia Cover Plate die out of a piece of black card on top of a piece of white card.  I used the white card to colour the image with alcohol ink markers.  I cut the die again in white and used the fall away pieces of the background and paper pieced them into place.  I covered the entire piece with a sticky adhesive sheet, then added the black die cut on top.  I sprinkled Frosted Sparkle Glitterbitz over the entire piece, then trimmed the excess away from around the die. I cut the Happy Christmas sentiment from the Festive Wordie sheets and added it with mounting foam to the bottom corner of the card.   I matted it with white and black pieces cut from the Double Stitched Rectangles.  I added one more mat of red card for balance.  The card was completed with white mats and layers.  The finished dimensions are 6 1/4"  x  7 3/4"  in size.  

https://www.creative-expressions.uk.com/product/creative-expressions-sue-wilson-festive-poinsettia-cover-plate-craft-die/

All for now, Sue x 


                                                       Follow my blog with Bloglovin

Monday 26 August 2024

Tis The Season

Hello crafters!  I started by cutting the Snowflake Ribbon Wave die out of silver sparkle card.  I backed it with a piece of pixie card that I made using Midnight Blue and Aqua Lagoon Pixie Powders.  I added it to the outer die which I cut in white.  I taped two pieces of Brushed Silver card together and used the ribbon wave die to hide the join.  I trimmed the card underneath that  die cut.  I cut the Crystal Kaleidoscope die in white and added a white circular centre to it.  I cut the Tis The Season out of leftover pixied card and glued it to the centre of the die.  The card was completed with white mats and layers.  The finished dimensions are 6 3/4"  x  8 1/4"  in size.  

https://www.creative-expressions.uk.com/product/creative-expressions-sue-wilson-festive-snowflake-ribbon-wave-craft-die/

All for now, Sue x


                                                        Follow my blog with Bloglovin

Sunday 25 August 2024

Haunted Wishes

 Good Sunday morning all!  I cut a piece of white card and embossed it with the Brick Wall embossing folder.  Next I used the  Slimline Stitched Rectangle Frames and cut a white frame.  I used the Slimline Essential Frames to add a thin black frame on top.  I added mounting foam to the back of the frame and adhered it to the embossed background piece.  Using the Jack-O-Lantern die set, I cut thirteen assorted pumpkins with assorted faces and and backed them in black.  I added the pumpkins with mounting foam to the inside of the frame.  I cut the Haunted Wishes out of both black gloss card and orange card.  I shadowed the black die cut with the orange die cut  and glued it to the top of the card.  I cut a Slimline Looped Rectangles in white and taped the entire frame to it.  I completed the card with white mats and layers.  The finished dimensions are 5 1/2"  x  9 3/4"  in size. 


 All for now, Sue x


                                                          Follow my blog with Bloglovin