Friday 31 July 2020

May Your Days Be Merry And Bright

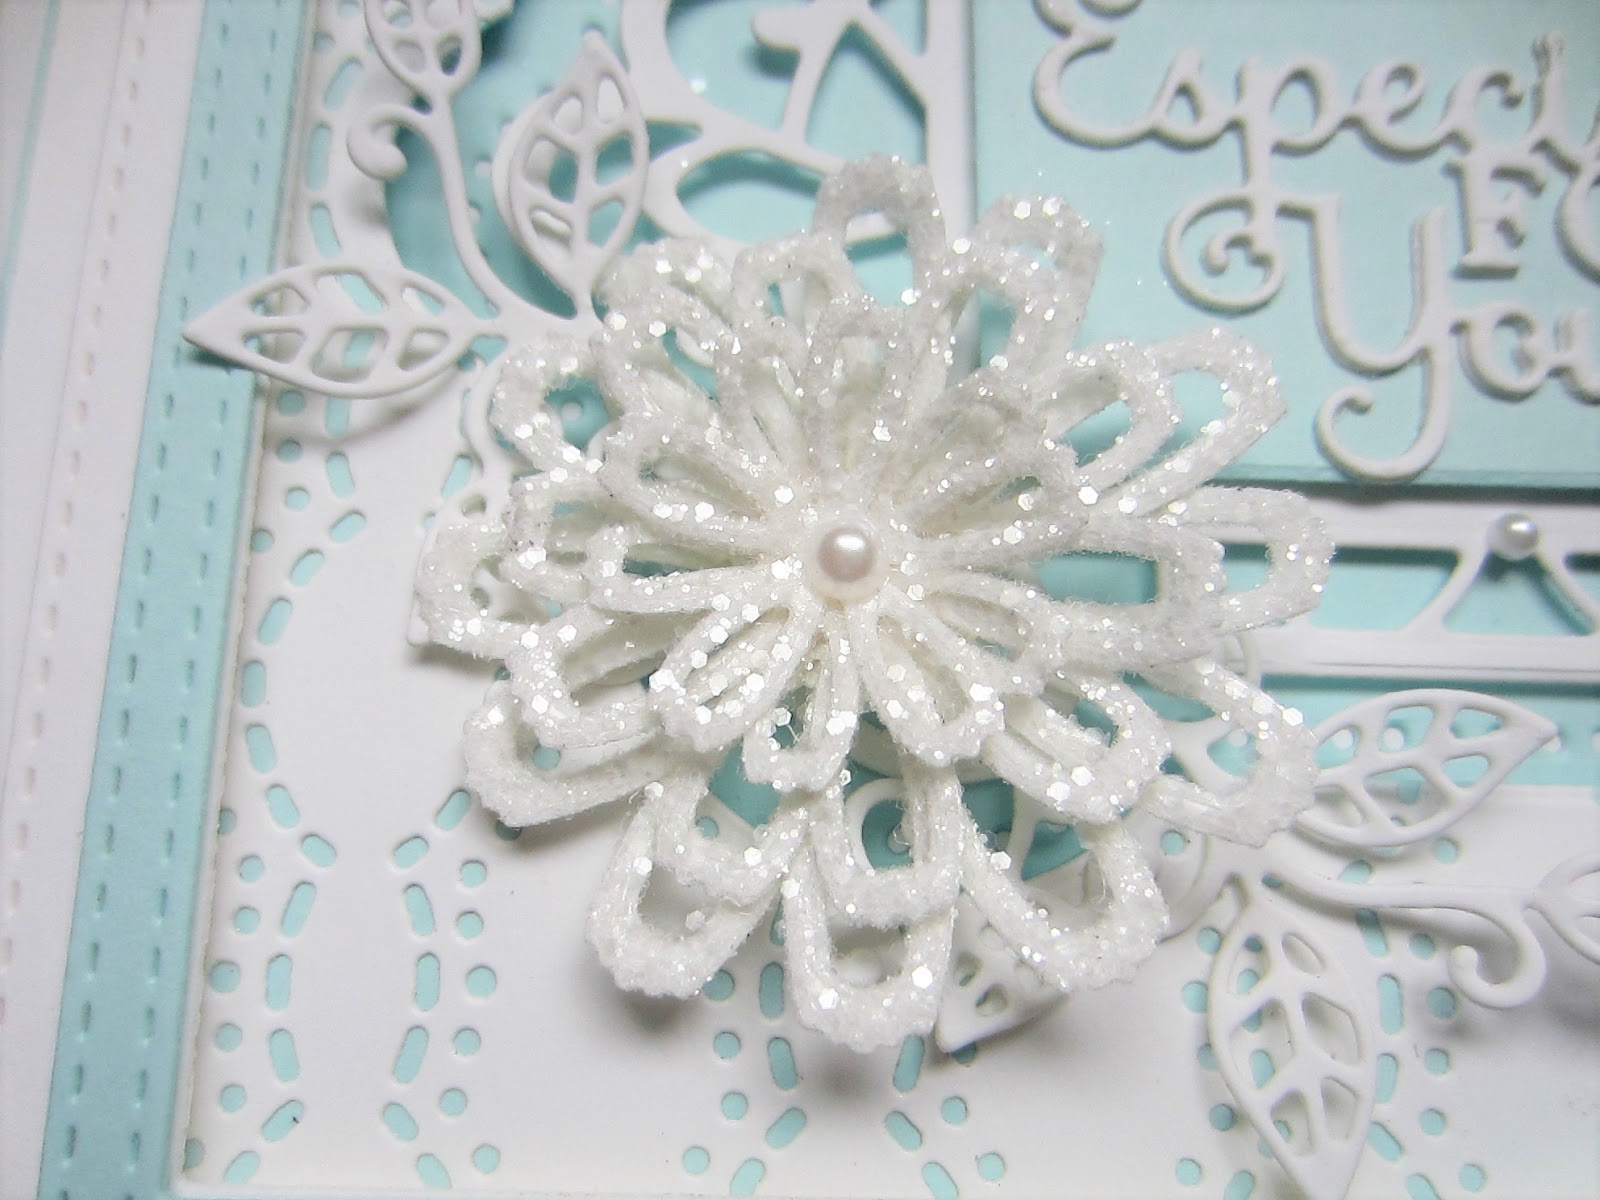
Hello all!  I just love the simplicity (and bling) of this Christmas card!  I started by covering a piece of dark card with a sticky adhesive sheet.  I peeled the backing paper off and coated it with the Midnight Marine Holographic Glitterbitz.  I used the shadow die from the Merry And Bright All in One and cut it out.  Next I cut the actual die in white.  I kept the inside fall away pieces from all of the bulbs and glued the die to the backing card and glued the bulbs back in to place.  Next I cut a frame using the Double Stitched Rectangles and added acetate to the back of it.  I added mounting foam to raise the frame too.  I covered a piece of white card with another piece of sticky adhesive sheet then coated it with Iced Flake.  I attached the frame over the top of it and added the All in One to the acetate with foam.  The card was completed with white mats and layers.  The finished dimensions are 7"  x  8" in size.  All for now, Sue x


                                                       Follow my blog with Bloglovin

Thursday 30 July 2020

Especially For You

Hi crafters!  I started with the Delilah Edger set and used one of the decorative edgers to cut into a piece of coconut white card.  I ran it across the card, turning it in different directions as I went.  I backed it with aqua card.  I used the outer cutting die from the Mallory die set and cut an aperture in the centre.  I added mounting foam to the background to raise it and added it over a piece of white card.  I cut the Mallory die out of aqua card using the decorative outer edge and recessed it down into the aperture opening.  I cut the Mallory again in white using the smaller cutting edge and added it with foam.  The Especially For You sentiment was cut in white and seated on an aqua rectangle and layered in the centre.  I covered a piece of white card with a sticky adhesive sheet and cut the Cosmos Flower outline dies out of it.  I peeled off the backing paper and glittered them then assembled them.  I attached them to opposite sides of the Mallory die and added cut up pieces of the Magnolia Corner as accents.  Using the Double Stitched Rectangles, I made a multi layered frame with a wider white base and a thin aqua frame on top.  I added it with foam over the background.  The card was completed with white and aqua mats and layers.  The finished dimensions are 7"  x  8 1/4" in size.  All for now. Sue x


                                                       Follow my blog with Bloglovin

Wednesday 29 July 2020

New Baby

Hi bloggers!  It's time for another sweet baby card!  I love the colours on this one as they are a bit different from what I usually pick!  I started with a piece of coconut white card and taped the Blast Mask to it.  I started from the centre of the mask and sponged Shaded Lilac Distress Oxide through.  I moved to the Peacock Feathers Distress Oxide ink moving putwards and finished with the Blueprint Sketch Distress Oxide ink towards the edges of the mask.  Next I used the Double Stitched Circles to make a small frame and added it with foam to the centre of the card.  I cut the Kangaroo and baby from the Zoo Animal set in aqua card, inked the ears and noseand pouch with worn lipstick and added them to the centre of the card with two stars from the Twinkle Twinkle Cloud and Stars die set.  I cut several more of the stars in different sizes and colours (aqua, Ocean and wisteria card) and glued them around the background.  I used the New Baby sentiment from the Newborn Baby die set cut in Ocean card with and aqua card shadow.  The card was completed with white mats and layers.  The finished dimensions are 7"  x  7" in size.  All for now, Sue x


                                                     Follow my blog with Bloglovin

Tuesday 28 July 2020

Best Wishes

Hi crafters!  I selected a piece of Iris card and used one of the edgers from the Martha Edger set.  I cut the edger ten times vertically across the card. I backed the card with a piece of white card.   Next I used the outer cutting die from the Joanie die set to cut an aperture in the card.    I added mounting foam to the back to raise it and attached it to a piece of white card.  Next I cut the Joanie twice, once in white and once in black.  I used the black as an offset shadow behind the white die cut, then glued it into the recessed aperture opening.  I stamped the sentiment on a small piece of white card, then cut a small circle frame out of a piece of white card with a sticky adhesive sheet attached to it.  I peeled the backing paper off the frame and  used Iced Snow on it.  I added foam to the back and attached it over the sentiment, then cut away the excess card and added it to the centre of the Joanie die.  I cut three small flowers out of Iris card and glued them to the bottom of the sentiment frame.  The card was completed with white, black and Iris mats and layers.  The finished dimensions are 7 1/2"  x  7 1/2" in size.  All for now, Sue x


                                                        Follow my blog with Bloglovin

Monday 27 July 2020

Golden Girl

Hello there my crafty friends!   Even though this die is called Golden Girl and is evocative of autumn with the sycamore leaves cascading down her, there is nothing that says you can't create a beautiful card using summery pinks and blues, is there?  I hope not!  I started by making a background by swiping Summer Sky and Lilac Rose Opal Polish across a piece of black card.  I applied it lightly in spots to give it a slightly distressed look.  Next I cut the Golden Girl die out of the background card (once it was good and dry).  Using a piece of coconut white card with a sticky adhesive sheet attached, I peeled the backing paper off and attached it behind the die cut card.  I used Frosted Sparkle Glitterbitz to fill in the remaining exposed adhesive.  I made a multi-layered frame using the Background Rectangles and attached it with foam over the image.  Using some of the leftover Opal Polish card, I cut several of the outline die from the Cosmos Flower die set and created three flowers with them.  I seated the flowers in opposite corners and used the Magnolia Corner cut up as accents.  The card was completed with white mats and layers.  The finished dimensions are 6 1/4"  x  8 1/4" in size.  All for now, Sue x


                                                      Follow my blog with Bloglovin

Sunday 26 July 2020

Wishing You Well

Good Sunday morning all!  I started this card with a piece of coconut white card and the Feathered Mask taped to it.  I used the Stellar Ice Luna Paste through it with a plastic palette knife.  I set it aside to dry thoroughly, then I used the Millie die and cut an aperture in the centre.  I added mounting foam to the back to raise it, then cut the outer two dies from the Millie die set and added a thin white frame around the edge of the aperture.  I recessed the rest of the masked background down into the aperture opening.  I cut a small frame using the Double Stitched Circles.  I added it with foam in the centre of the card and cut the Wishing You Well sentiment to fit inside.  Using the Jasmine dies, I cut enough for three different sized flowers out of Steel card.  I assembled them and added them around the edge of the aperture.  I used Lace Edged Leaves in white as accents.  The card was completed with white and Steel card mats and layers.  The finished dimensions are 7 1/2"  x  7 1/2"  in size.  All for now. Sue x


                                                     Follow my blog with Bloglovin