Good Sunday morning all! I thought I might do double days based on the same dies in two different cards (at least until I run out of enough cards! LOL) I have selected two cards using the
Petite Squared Tile die this week. For the first card, I cut the decorative inside part of the die three times across a piece of black card. I added a sticky adhesive sheet to the back of it, then gilded the exposed adhesive with
Persian Dawn gilding flakes. I used the outer cutting edge from the
Belgian Tag to cut a shape into the middle of the background. I added mounting foam to the aperture to raise it for dimension . I then added the cut out tag shape back into to the recess of the aperture. I cut the entire tag out of black and glued it into the aperture. I stamped my sentiment and cut it out with the smaller die in the centre of the tag. I matted it with a piece of gold card. The card was completed with a white pierced mat, then thin black mat and a final white mat. The finished dimensions are 6 1/2" x 7 1/2" in size. Scroll down for card number two.

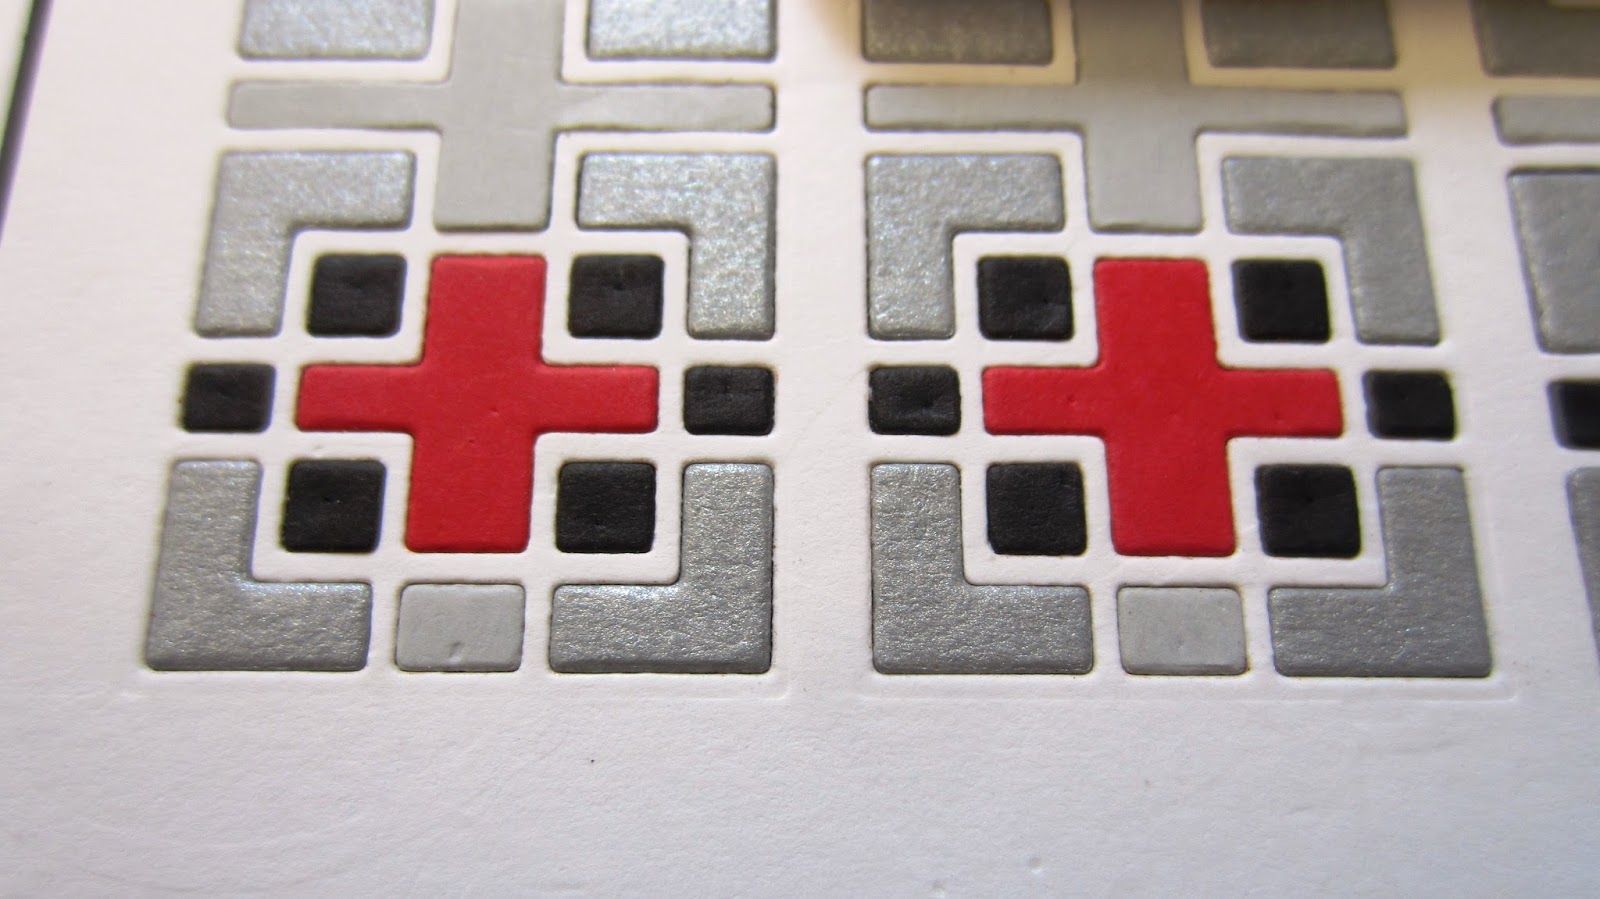
Card number two has been paper pieced using red, grey, silver and black card into a die cut white background. I cut the
Squared Tile Striplet die four times across a piece of white card. I covered a second piece of white card with a
sticky adhesive sheet. I attached the die cut to the exposed adhesive. I cut the die again in black, red, grey and silver four times and used the waste from each to piece back into the original. I stamped my sentiment (which, by the way, I thought should have said Get Well Soon because of the red crosses in the pattern, but couldn't find one anywhere!) I cut a frame from the
Bern die and backed the corner area with red card and then filed in the remaining area with black card. I mounted it in the centre of the card. I completed the card with the same white black white matting and layering. The finished dimensions are 6 3/4" x 7" in size. Both very simple cards, but two different techniques which both work great for those cards we need for the men in our lives too!
The winners of this week's Comment Game are:
Debra K!!!
Denise Bryant!!!
Susan Mitchell!!!
Congratulations all! Please email me at americansue1@gmail.com to confirm your address and claim your prize. All for now, Sue x

.
Follow my blog with Bloglovin


 Good Sunday morning all! I thought I might do double days based on the same dies in two different cards (at least until I run out of enough cards! LOL) I have selected two cards using the Petite Squared Tile die this week. For the first card, I cut the decorative inside part of the die three times across a piece of black card. I added a sticky adhesive sheet to the back of it, then gilded the exposed adhesive with Persian Dawn gilding flakes. I used the outer cutting edge from the Belgian Tag to cut a shape into the middle of the background. I added mounting foam to the aperture to raise it for dimension . I then added the cut out tag shape back into to the recess of the aperture. I cut the entire tag out of black and glued it into the aperture. I stamped my sentiment and cut it out with the smaller die in the centre of the tag. I matted it with a piece of gold card. The card was completed with a white pierced mat, then thin black mat and a final white mat. The finished dimensions are 6 1/2" x 7 1/2" in size. Scroll down for card number two.


 Card number two has been paper pieced using red, grey, silver and black card into a die cut white background. I cut the Squared Tile Striplet die four times across a piece of white card. I covered a second piece of white card with a sticky adhesive sheet. I attached the die cut to the exposed adhesive. I cut the die again in black, red, grey and silver four times and used the waste from each to piece back into the original. I stamped my sentiment (which, by the way, I thought should have said Get Well Soon because of the red crosses in the pattern, but couldn't find one anywhere!) I cut a frame from the Bern die and backed the corner area with red card and then filed in the remaining area with black card. I mounted it in the centre of the card. I completed the card with the same white black white matting and layering. The finished dimensions are 6 3/4" x 7" in size. Both very simple cards, but two different techniques which both work great for those cards we need for the men in our lives too!
  .
.