A daily papercrafting blog which features my handmade cards showcasing Creative Expression's products including my own line of cutting dies and embossing folders, Cosmic Shimmer, Ranger and more which use various techniques and ideas to hopefully inspire the creativity in you.
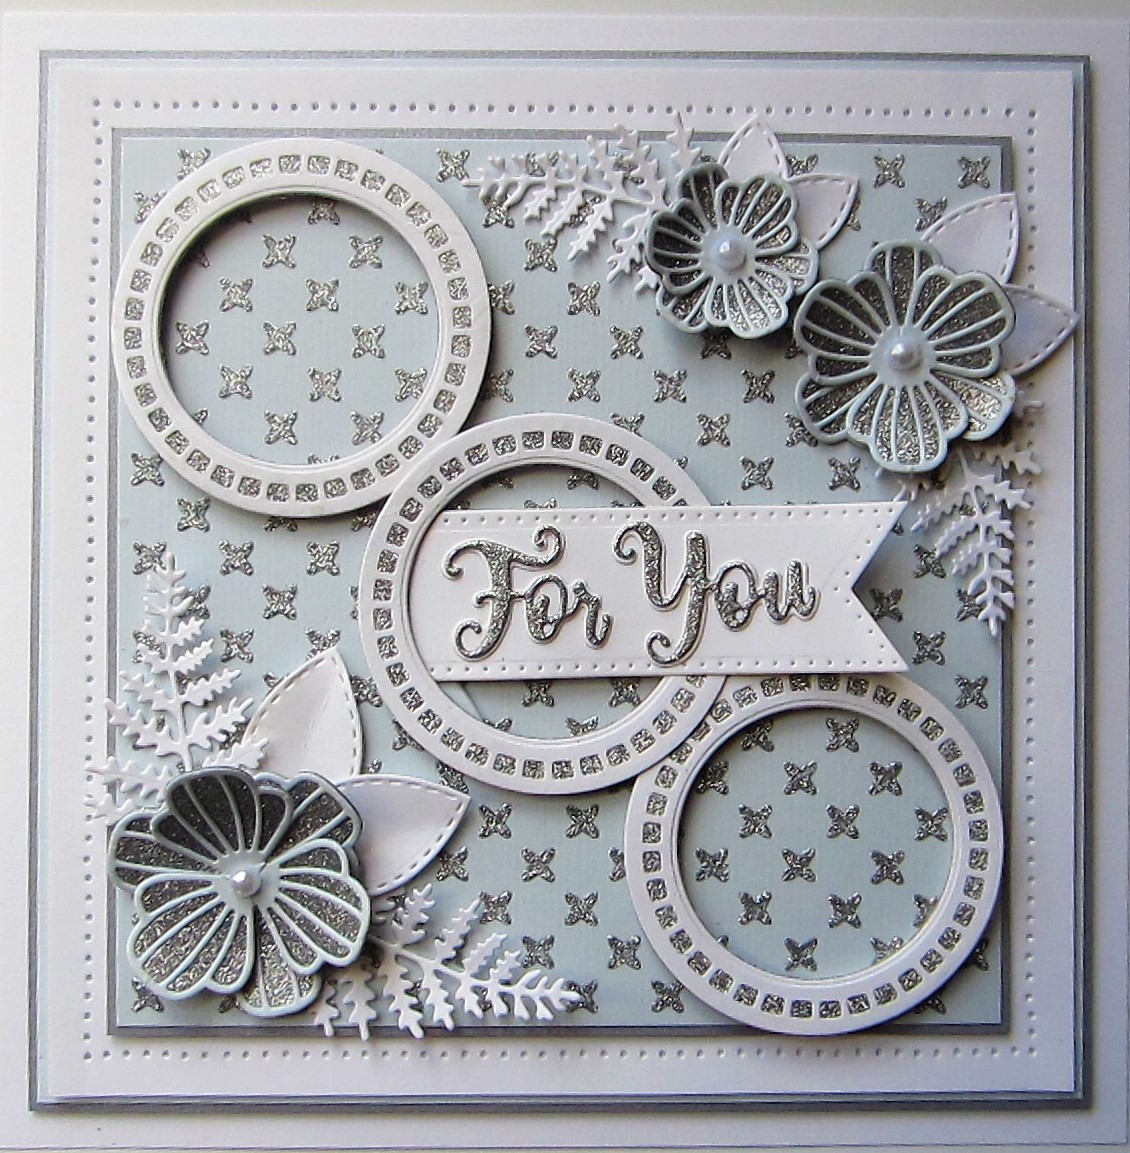
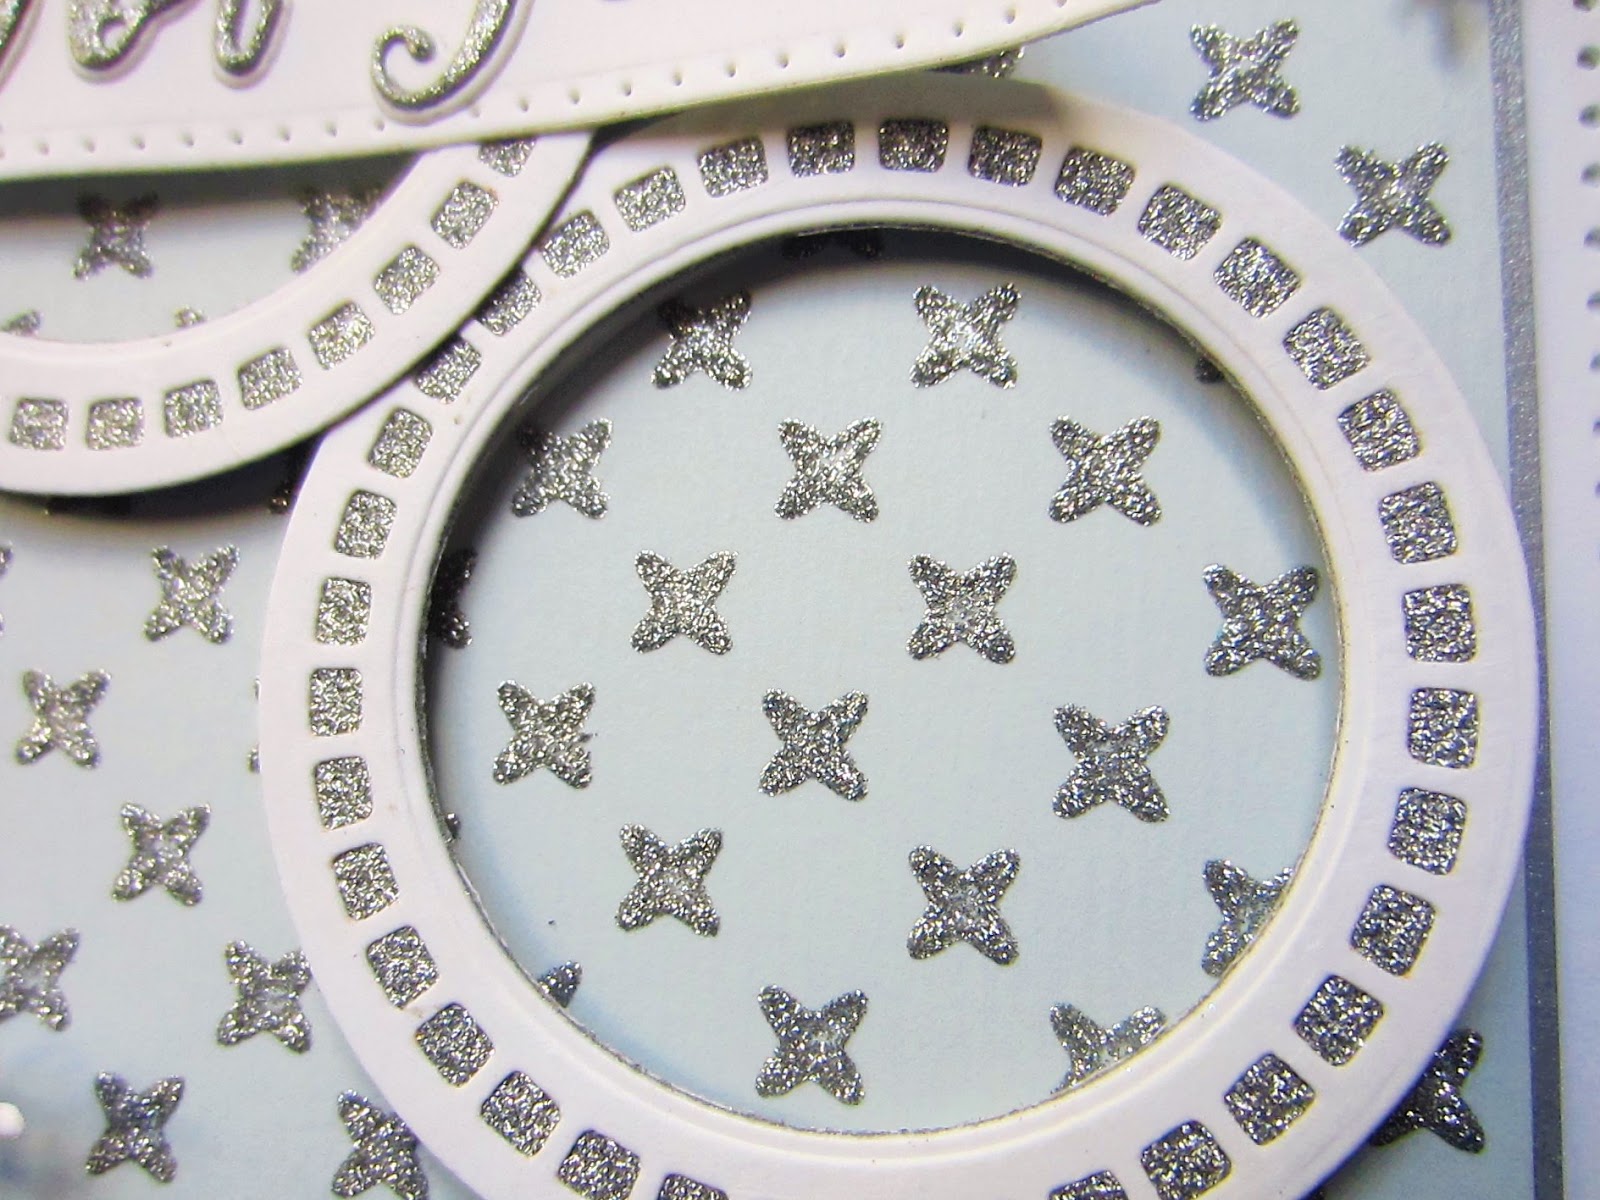
Good Sunday morning all! Today's card is Arctic blue, white and silver. I started with a piece of Arctic Blue card and taped the Crisscross mask to it. I used Silver Chrome Glitter Kiss through it, then set it aside and allowed it to dry. At the same time, I coated a piece of white card with more Silver Chrome Glitter kiss and set it aside to dry as well. I cut three of the centre decorative circles from the Eliza die out of white card. Once dry, I cut three circles out of my Silver Chrome piece and glued them to my Eliza circles, then cut the centres out of them. I added mounting foam to each of them, then mounted them diagonally across my background. I cut a white Pierced Flag die and then seated it coming out of the centre circle. I cut the For You sentiment from the silver chrome piece and glued it to the flag die. With the remaining silver chrome piece, I cut enough of the solid die from the Striped Nasturtium set to create three different sized flowers. I cut the striped piece from Arctic Blue card and glued them together. I seated the flowers in opposite corners and added some white Fern Fronds as accents. The card was completed with white, arctic blue and slate grey mats and layers. The finished dimensions are 7 1/4" x 7 1/4" in size. All for now, Sue x
Hi bloggers! A lovely way to add interest to a card is to use an aperture and recess your main focal element into the recess. Add a fabulous background before cutting the aperture and have even more interest to your creation!
The finished dimensions are 7" x 8 1/4" in size. All for now, Sue x
Hi bloggers! I embossed a piece of coconut white card with the Circle Illusion folder for the background. Next I cut the Tina die using black as the top layer, Iris as the middle layer and white as the backing and glued it to the left side of the card. I cut the Petunia Flower Square using two pieces of white card stacked on top of each other. The top one gave me the outline and the bottom one gave me the image to colour. I used Shaded Lilac for the flower and shadowed it a bit darker around the edges, then used Forest Moss for the leaves. I added a piece of sticky adhesive sheet, then placed the die outline over it in place. I covered the remaining sticky adhesive with Frosted Sparkle Glitterbitz. I matted it with a thin black mat and a larger square cut from the Double Stitched Squares. I mounted it with foam slightly over the border and added the Many Thanks sentiment cut in black with a white shadow below it. The card was completed with white, black and Iris card mats and layers. The finished dimensions are 7" x 7" in size.
As for my guilty pleasure, that is a bit of a hard question to answer as I have quite a list (I know, I'm bad! LOL), however, I think that top of my list would have to be sitting outside on my patio with my ipad and looking at Pinterest! I love to just see where it takes me, from home decor to healthy recipes, to fashion and of course anything crafty! I can spend hours if I am not careful! Add into that some white chocolate and I am in heaven! LOL All for now, Sue x
Hi bloggers! I am showing off one of the Stamps To Die For with this card. I started by embossing some teal card with the Checkerboard Pinpoint Embossing folder. Next I cut a Herringbone background die out of white card and cut the sections in parts and crisscrossed them to form a wide border. For the focal element, I stamps the Vivian's Royal Wreath STDF in black and cut it out with the matching Vivian die. While still in the die, I inked it with Peacock Feather Distress Oxide ink. I removed it then cut the centre out and added foam to raise it. I attached it to the top of the card, then cut a Pierced Flag out of vellum. I cut the All The best sentiment in white and glued it to the vellum flag and attached it to the inside of the stamped frame. I made two flowers using the Petite Forget Me Nots and inked the edges lightly with Peacock Feather. I added the flowers to the left of the border and used the Wildflower leaves to add a few accents around them. The card was completed with white, Teal and black card mats and layers. The finished dimensions are 7" x 8" in size.
We haven't had any group questions in awhile! How about what is your favourite guilty pleasure?? It can be absolutely anything, come on, spill it!! All for now,. Sue x
Hi crafters! Today's card is what I call a modified petticoat card. If it were a full petticoat card. the borders would have been cut out and mounted slightly over lapping each other instead of cut into the card. I started with a piece of wisteria card (I know it looks grey but it isn't!) I used the Matilda decorative die without the outer cutting edge to cut into the card in three rows at the bottom of the card. I backed it with Iris card, leaving out the middle die cut for simplicity. I cut the Vivian die in white and used the outer dies to add a thin frame in Iris card. I cut the centre of the Vivian die in Iris and stacked it in the centre of the die cut with foam. I used the Sending Hugs sentiment and cut it in black and added a white shadow, then attached it to the centre of the die cut with foam. I added a single floral accent by cutting the top layer of the Wildflower Triple Layering die in white twice and offsetting them. I added an iris centre and seated it on a satin bow. I added white pearl accents to the centres of all the flowers. The card was completed with white, wisteria and iris mats and layers. The finished dimensions are 7" x 9 1/4" in size. All for now, Sue x
Hello there my crafty friends! I started this card by embossing my background using the 3D Ribbon Swirls embossing folder. Next I cut the Vivian die in white and added a white backing to it. I used Coral card to add a thin frame to the outside using the die's outer decorative cutting edges. I cut the Vivian again out of white, but added a Soft Salmon card backing to it then cut it in half. I mounted the halves coming horizontally from behind the original Vivian die cut. I cut the centre of the Vivian die in white, added a soft salmon backing to it then layered it in the centre of the Vivian die. I cut the All The Best sentiment in Coral and added a white shadow to it then glued it in the centre of the card. Lastly, I cut the Wildflower triple Layered die out of Soft Salmon, Coral and white and assembled them, then arranged them cascading across the card diagonally. I used white leaves as accents. The card was completed with white, Soft Salmon and Coral mats and layers. The finished dimensions are 7 1/4" x 8 3/4" in size.
We still have a handful of unclaimed dies from the blog launch drawings. Please scroll down to the post to see if your name is on the list and email me if you are! All for now, Sue x


 The finished dimensions are 7" x 8 1/4" in size. All for now, Sue x


 The finished dimensions are 5 1/2" x 6 3/4" in size. All for now, Sue x


