Monday 31 October 2022

The Last Of The Halloween Cards

Happy Halloween everyone!  I thought that I would be able to work all my Halloween cards on to the blog before Halloween was actually here, but I was off by a few.  So I have decided just to share them all with you in a single post, like I do with all the Christmas cards every year.  I hope you have enjoyed them this year, I really enjoyed making all of them!!  

I posted the winners of the October Blog Launch yesterday.  Please scroll down to the post beneath this one to see if your name is on the list.  There are still quite a few dies that have not been claimed yet!  All for now. Sue x


                                                       Follow my blog with Bloglovin

Sunday 30 October 2022

October Release Blog Launch Die Release Winners

 Hello crafters!  Thank you again for a wonderful blog launch.  I really enjoyed reading all 

the wonderful comments that were left on each post.  Without making you wait any longer, 

here are the winners:


Butterfly Rectangle:  Fluffycat (Frances)!!!

Floral Rectangle:  Tooth Fairy Jo!!!

Leafy Rectangle:  Betty McAlister!!!

Daisy Rectangle:  Cr@fty (Heather T)!!!

Just Because Block Sentiment:  Pauline Austen from Teeside!!!

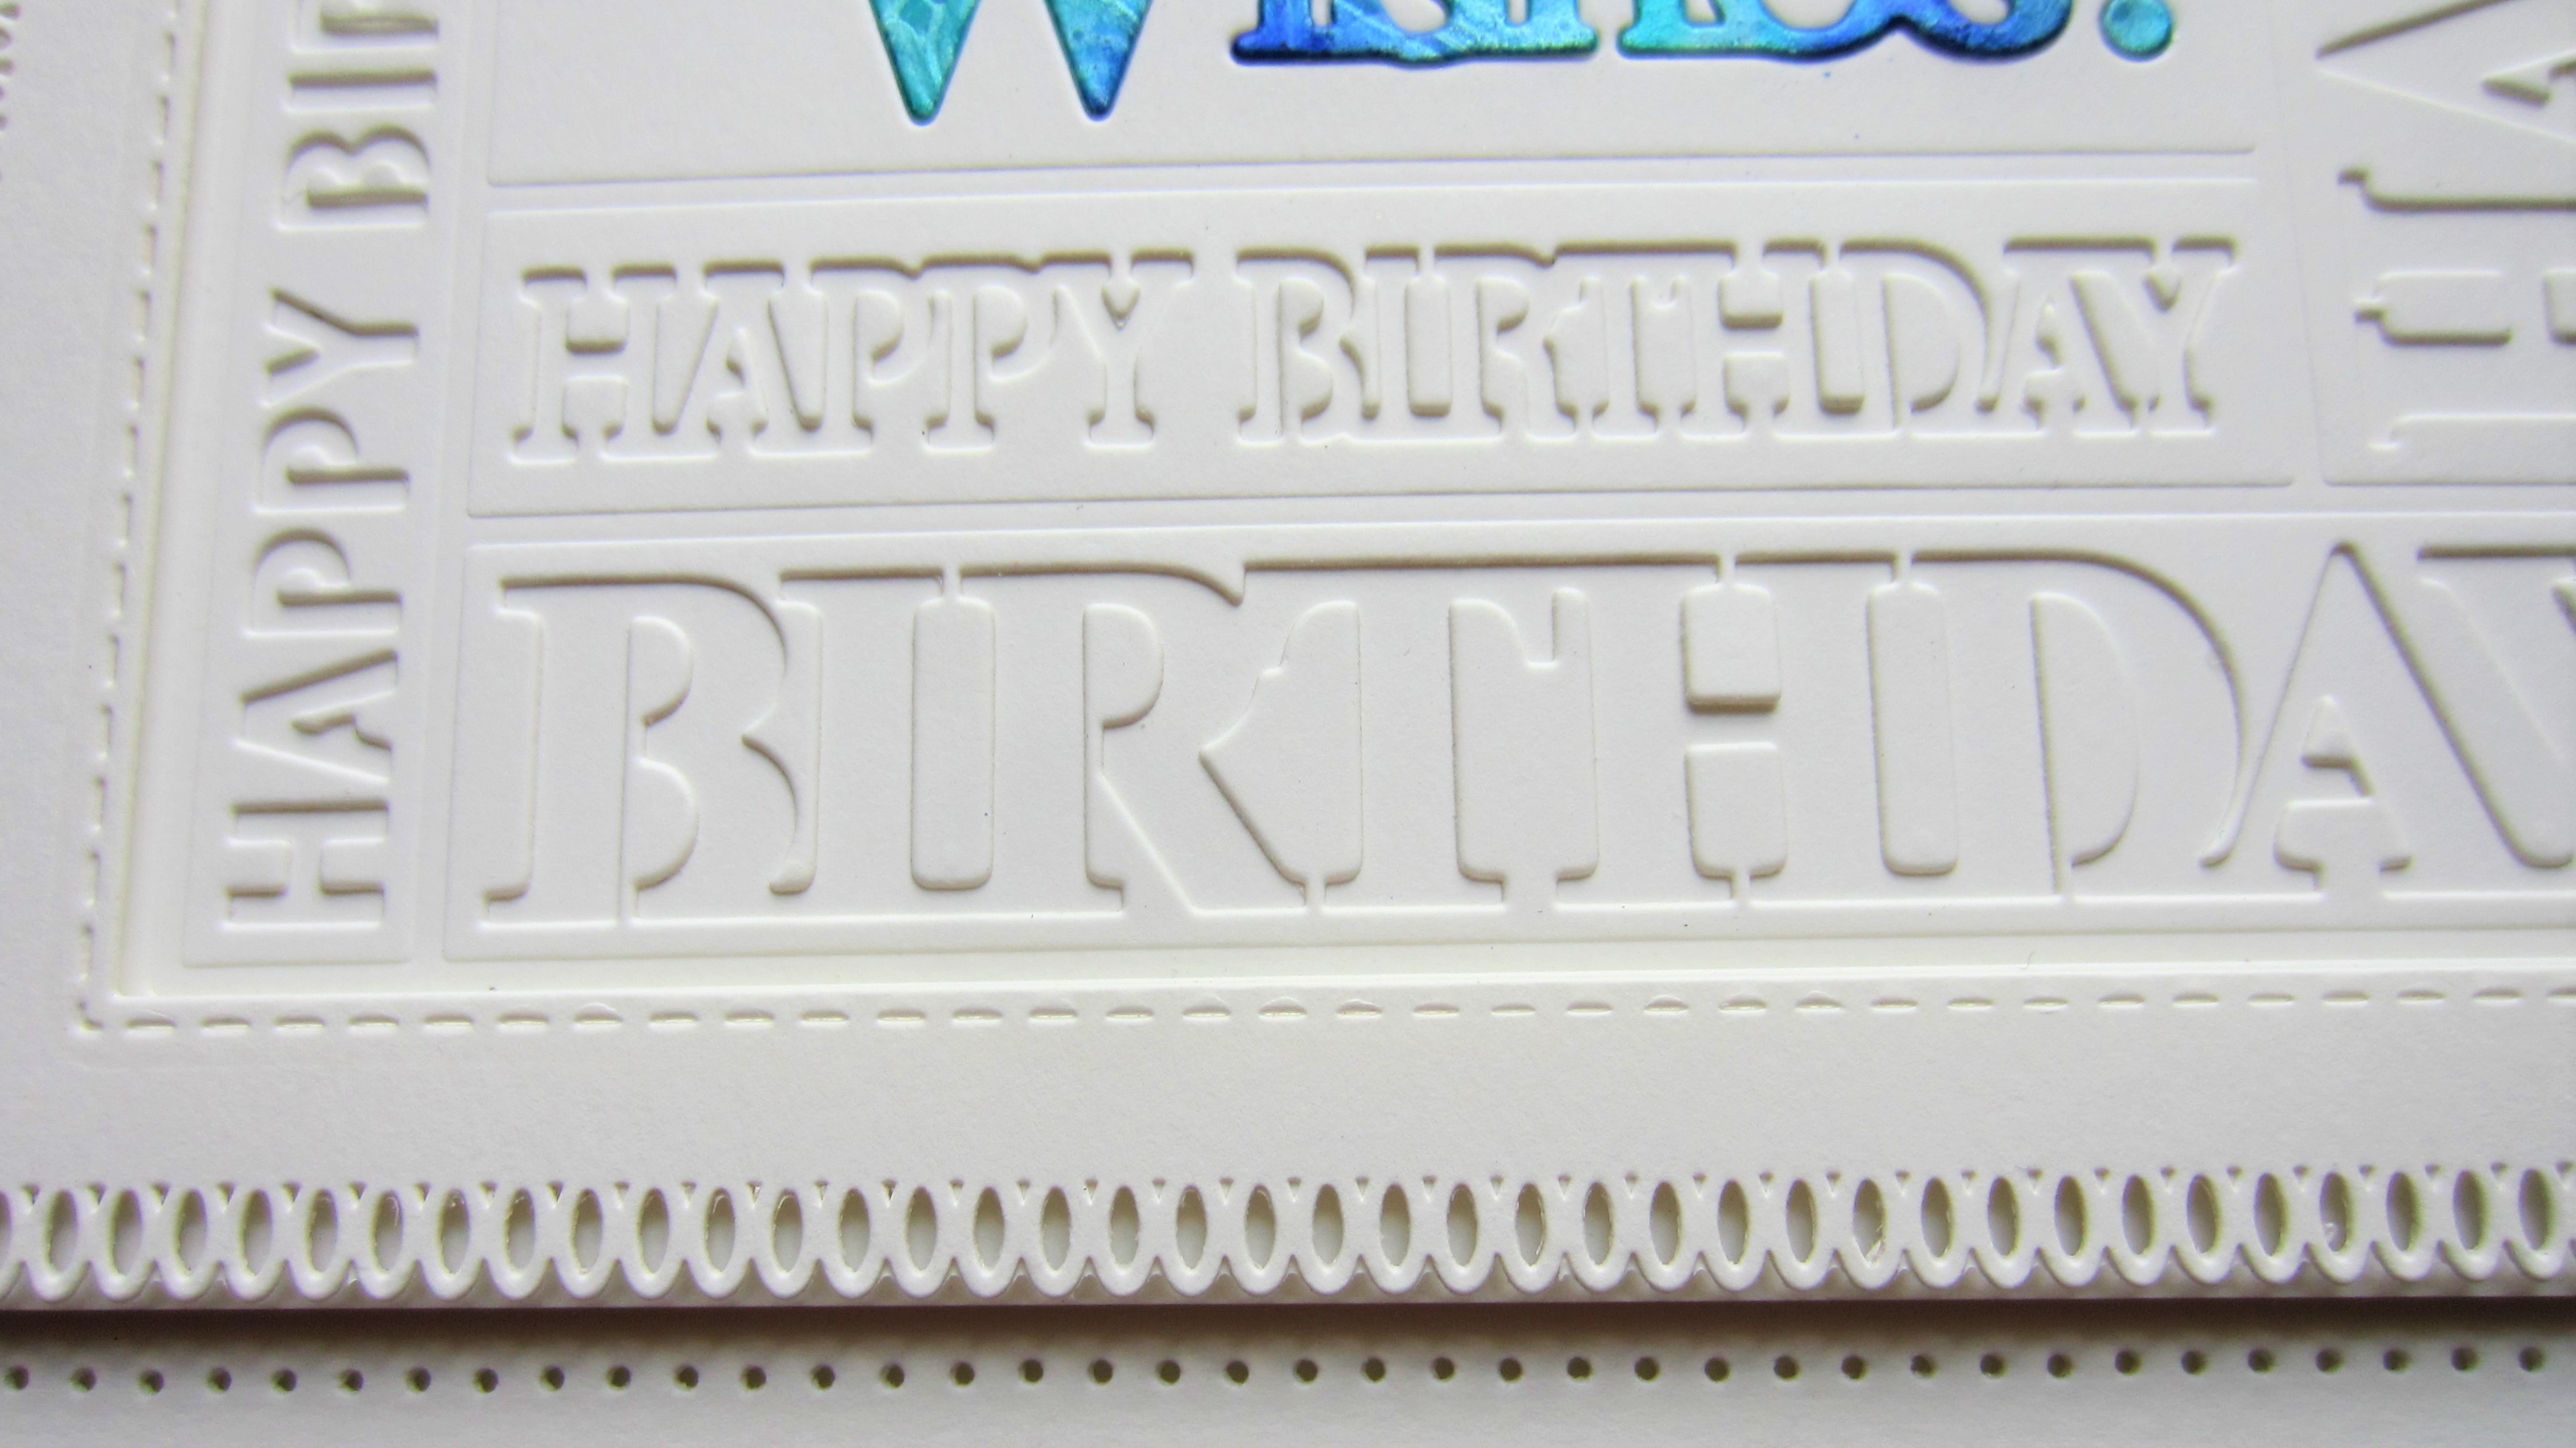
Birthday Wishes Block Sentiment:  Snuffy Snoo!!!

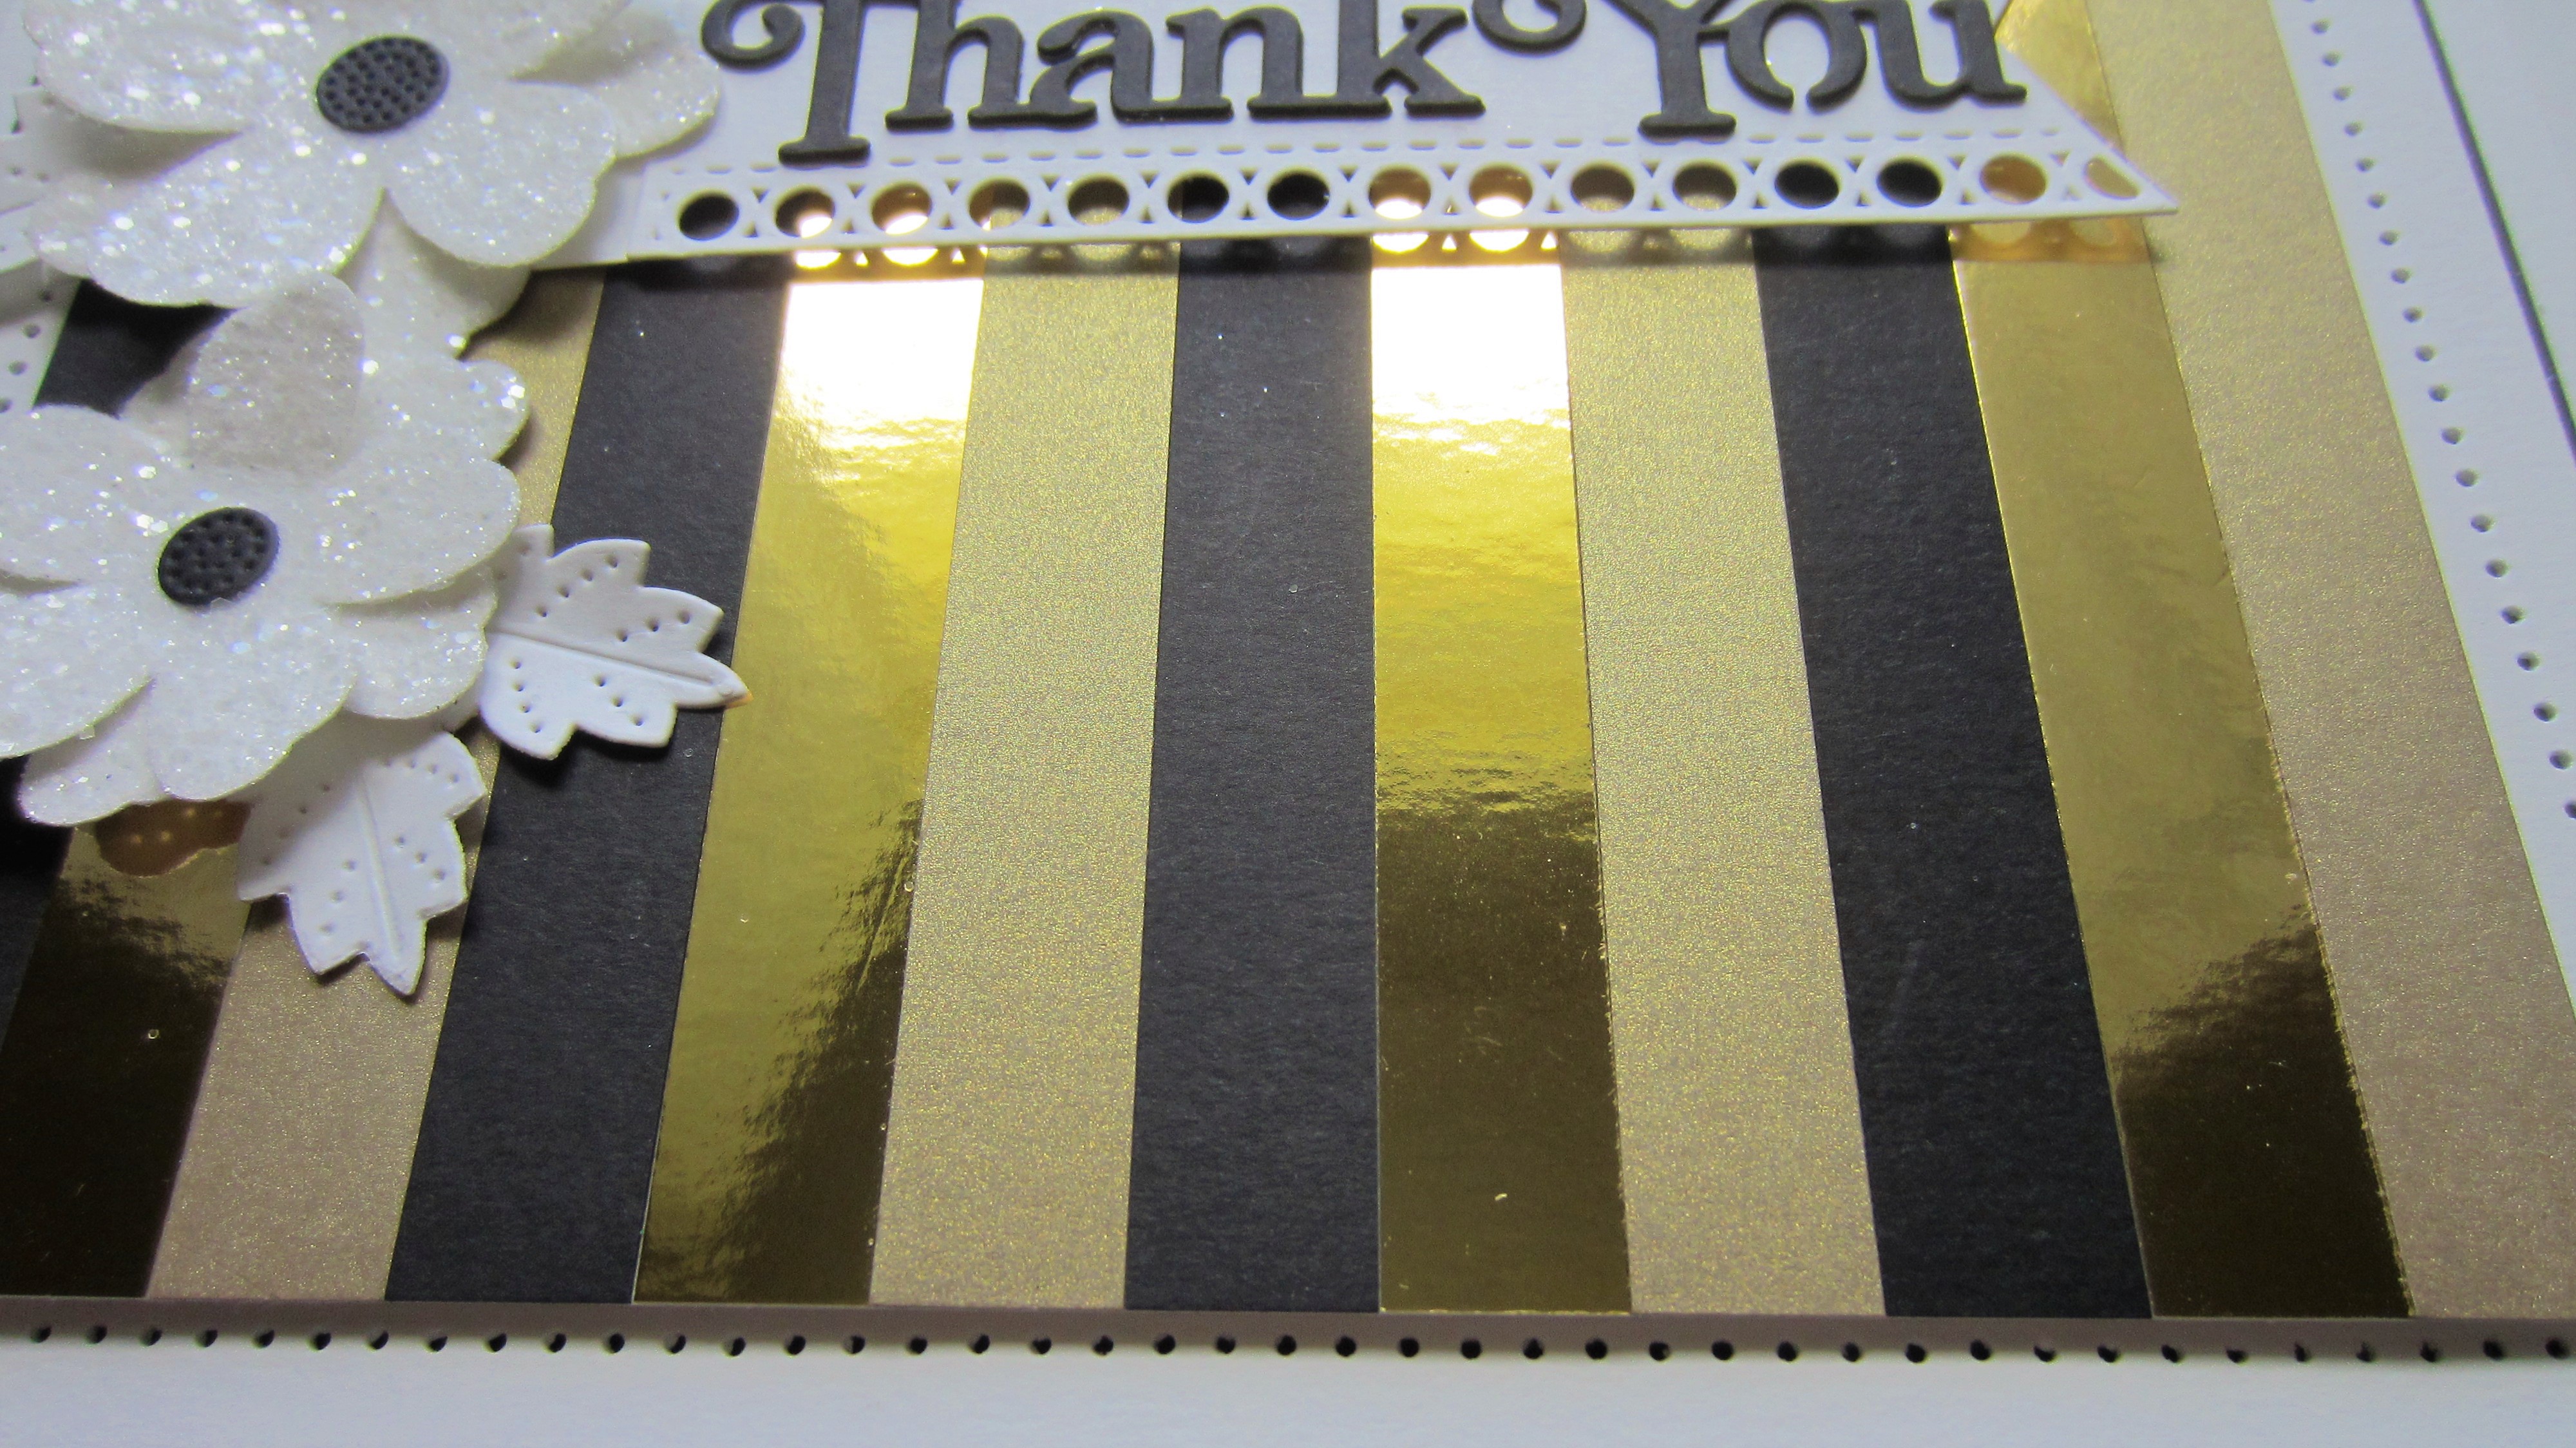
Thank You Block Sentiment:  Elizabeth Bennett!!!

You Are So Special Block Sentiment:  Crafty Vonnie!!!

Beaded Cornice:  Ursula from Verwood!!!

Decorative Borders:  Pat L in Belfast!!!

Jewelled Scalloped Border:  June Smith!!!

Stitched Starburst:  Helen Bell!!!

Floral Wishes :  Marlene O!!!

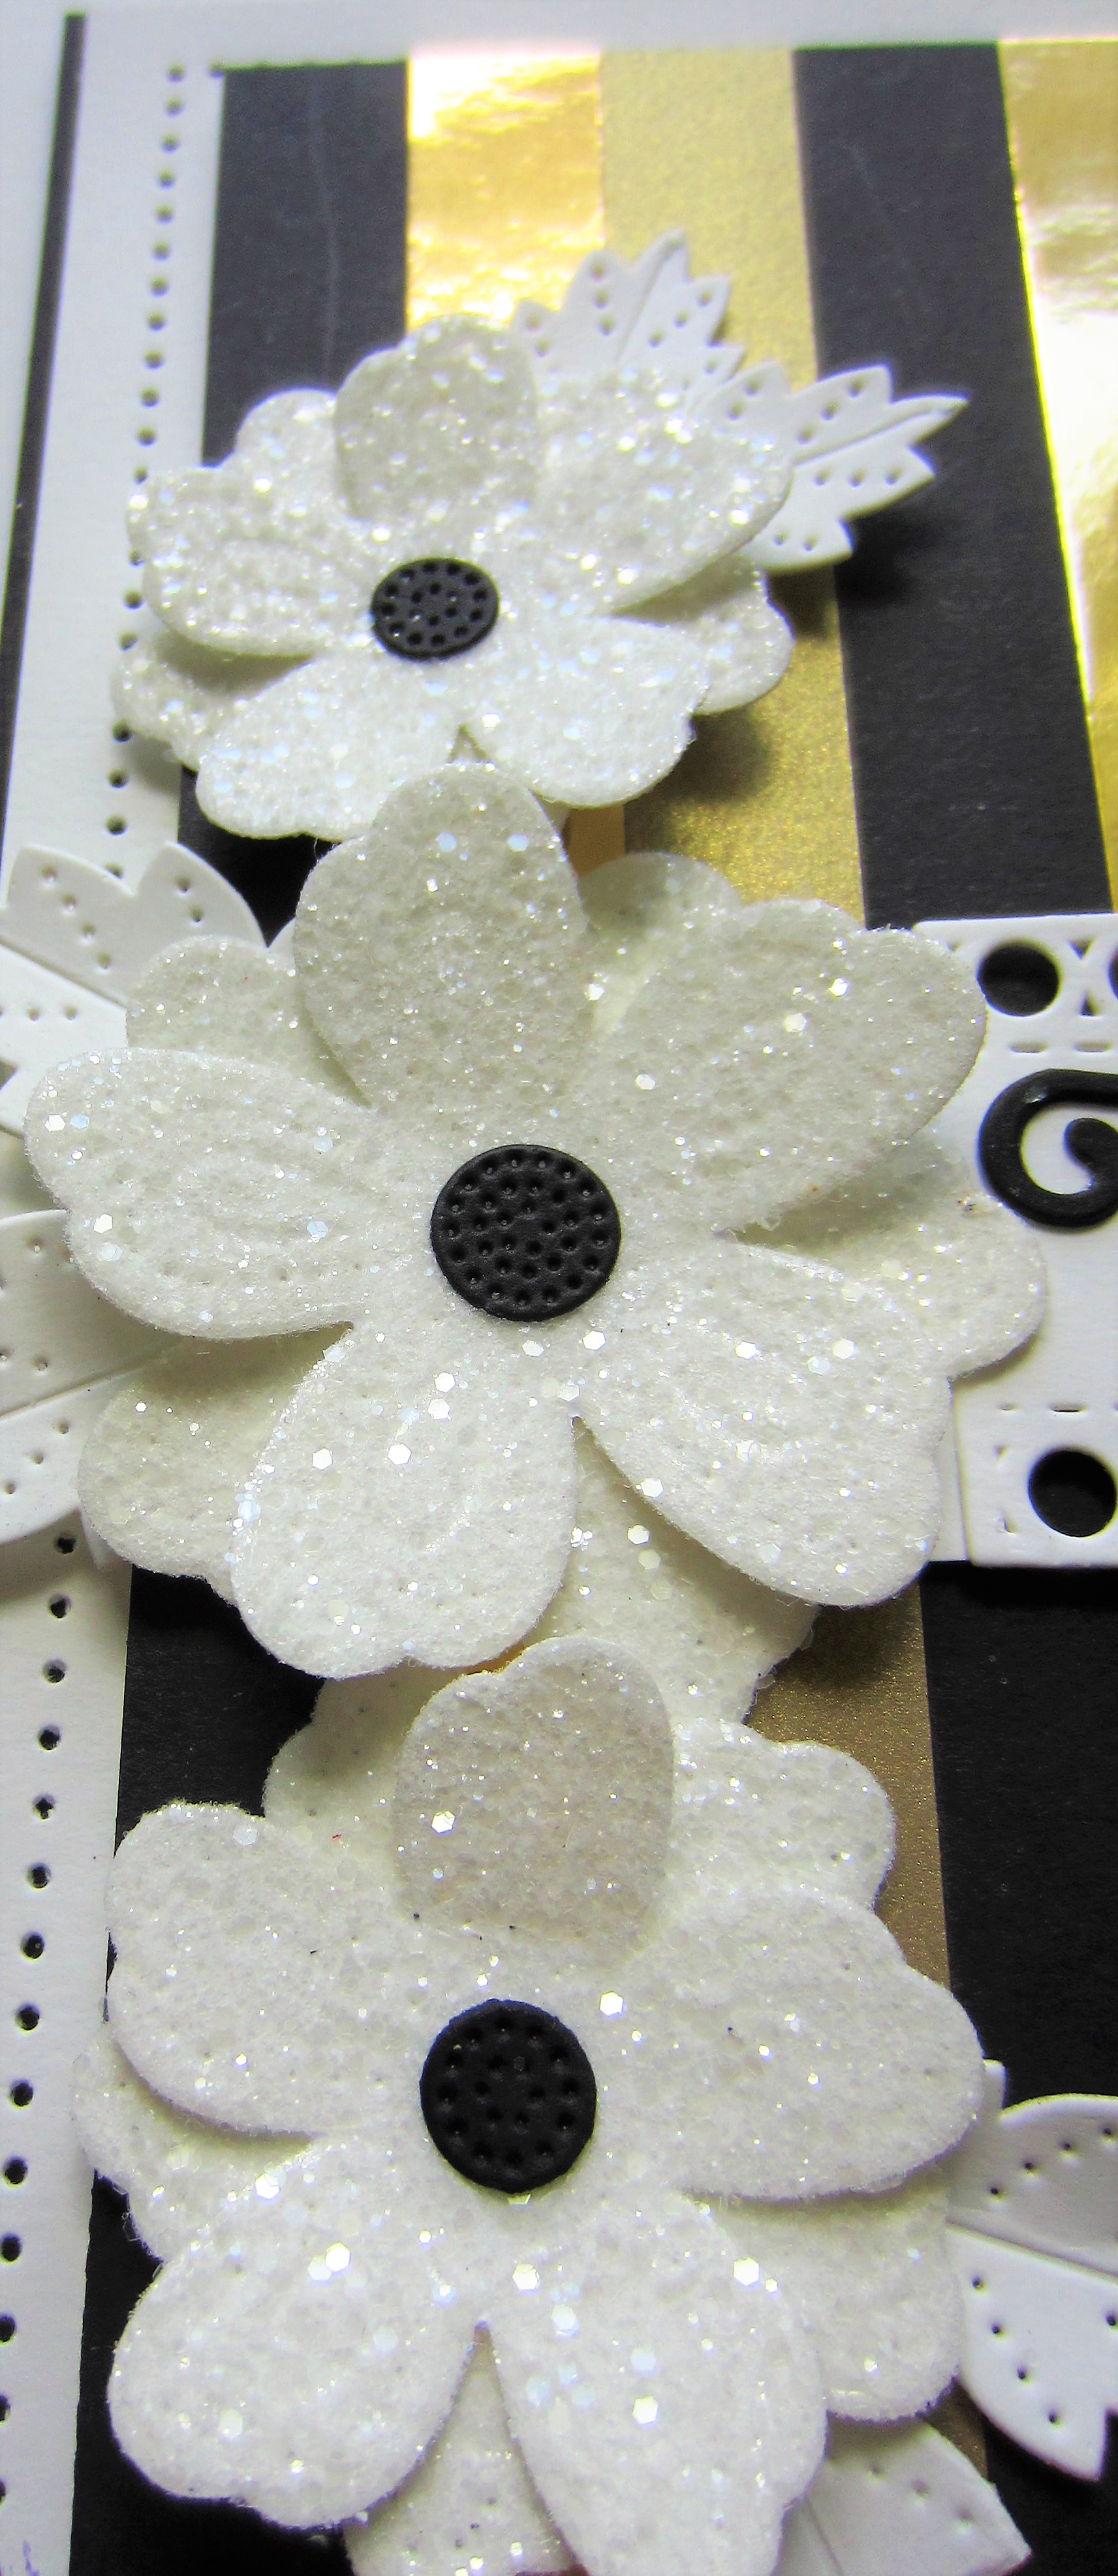
Pierced Summer Blossoms:  Bejay in Truro!!!


Congraulations all!  Please email me at americansue1@gmail.com to confirm your postal address and claim your winning die.  Please put the name of the die you won in the subject line of the email when you send your postal address to me.  All for now. Sue x

Thank You

Good Sunday morning all!  I went hunting in my scrap pile and pulled out some Antique gold, black and gold mirror card pieces to create the background for today's card.  I cut all the pieces into 1/2" strips and then added them to a piece of card covered with a sticky adhesive sheet, alternating the colours. Next I used the Pierced Summer Blossoms and cut them out of white card covered with a sticky adhesive sheet.  I used Frosted Sparkle Glitterbitz on them then assembled the pieces into three flowers.  I attached them to the middle left side of the card.  I cut a Decorative Flag die in white then added the Thank You sentiment from the Thank You Block Sentiment.  The card was completed with white and black mats and layers.  The finished dimensions are 7 1/2"  x  8"  in size.  All for now, Sue x


Saturday 29 October 2022

Thank You

 Hello crafters!  I used the Leafy Rectangle for today's card.  I cut it twice out of white card.  I cut off the long sides on both of the die cuts.  I glued them to a piece of white card to create a large square with them.  I used the Double Stitched Squares and cut two frames.  One frame that was larger to fit over the edges of the cut Leafy Rectangle and the other one a smaller square to go in the centre of the card.  I attached both frames with mounting foam.  I used the extra die with the leaves on it and cut it in three colours; rust, custard, deep red and green.  I selected all the large Sycamore leaves and added Cosmic Lacquer to them and set them aside to dry overnight.  Once dry, I added them to the smaller frame's edge.  I cut the Thank You Block sentiment in deep red and shadowed it in black then added the Thank You sentiment to the centre of the frame.  The card was completed with white mats and layers.  The finished dimensions are 7 3/4"  x  7 3/4"  in size.  All for now, Sue x


                                                       Follow my blog with Bloglovin

Friday 28 October 2022

Merry Christmas

 Hello there my crafty friends!  I started with a piece of white gloss card for today's offering.  I used Red Pepper, Flamingo, Pool, Cobalt and Glacier alcohol inks.  I allowed it to dry thoroughly before adding the frames made from the Slimline Cut Corner Rectangles,  making a multi-layered frame.  Using the Poinsettia Trio, I added two poinsettias cut out of white card, and glittered them with Frosted Sparkle Glitterbitz then added some leaves as accents.  I cut the Noble Merry Christmas sentiment out of black gloss card and glued it inside the frame.  The card was completed with white mats and layers.  The finished dimensions are   5 1/4"  x  9 1/4"  in size.  All for now, Sue x


                                                        Follow my blog with Bloglovin

Thursday 27 October 2022

Happy Haunting

 Hi bloggers!  I selected a piece of cobalt blue card and used the Pearl Whisper Airless Mister across the background.  I used a heat tool to dry it thoroughly.  I cut the Haunted House with a piece of black card on top and a piece of yellow card underneath the black card.  This way, it cut out the entire haunted house but only the outline of the haunted house on the yellow piece.  I glued the two pieces together and attached it atop a hill I created by cutting a piece of grey card.  I cut the Spooky Tree in black and attached it next to the house.  Under the house on the card, I added a cemetary of odd headstones  and I used the mummy from the Halloween Frame there too.  I cut the Happy Haunting sentiment and the moon to add at the top of the card.  The card was completed with white mats and layers.  The finished dimensions are 8"  x  8 1/2"  in size.  All for now. Sue x


                                                          Follow my blog with Bloglovin

Wednesday 26 October 2022

Twinkle

Hi crafters!  I selected a piece of white card and embossed it with the Diamond Poinsettia folder.  Next I cut it at abut 1/4 the way from the top and added mounting foam to both pieces.  I cut the Poinsettia Panel die out of red card.  I attached the embossed background pieces to another piece of white card, leaving room for the Poinsettia Panel between them.  I recessed the panel in the open section and used Berry Sparkle PVA glue on the centres of the flowers in the panel.  I cut two poinsettias out of red card using the Poinsettia Trio die set.  I added green leaves as accents and also used greenery from the Foliage Pieces die set then added them to the lower corner of the card.  I cut the Twinkle sentiment in black and added a white shadow backing to it.  I attached it to the lower part of the card.  The card was completed with white mats and layers.  The finished dimensions are 7 1/4"  x  9 1/4" in size.  All for now, Sue x


                                                         Follow my blog with Bloglovin 

Tuesday 25 October 2022

Birthday Wishes

 Hello crafters!  I have an almost all white card to share with you today.  I did a very similar sort of card for the launch but in rainbow colours, but I had a small leftover piece of pixied card so I decided to put it to use here!  I cut the Birthday Wishes Background in white.  Using a piece of pixied card, I cut just the centre Birthday Wishes phrase out of the background die.  I then added a white backing to the Birthday Wishes Background and paper pieced the Birthday Wishes phrase back into the die.  I used the Looped Squares and then cut the centre out of the die with the Double Stitched Squares.  I added it with mounting foam over the background.  The card was completed with white mats and layers.  The finished dimensions are 7 1/2"  x  7 1/2" in size.  

:A quick note:

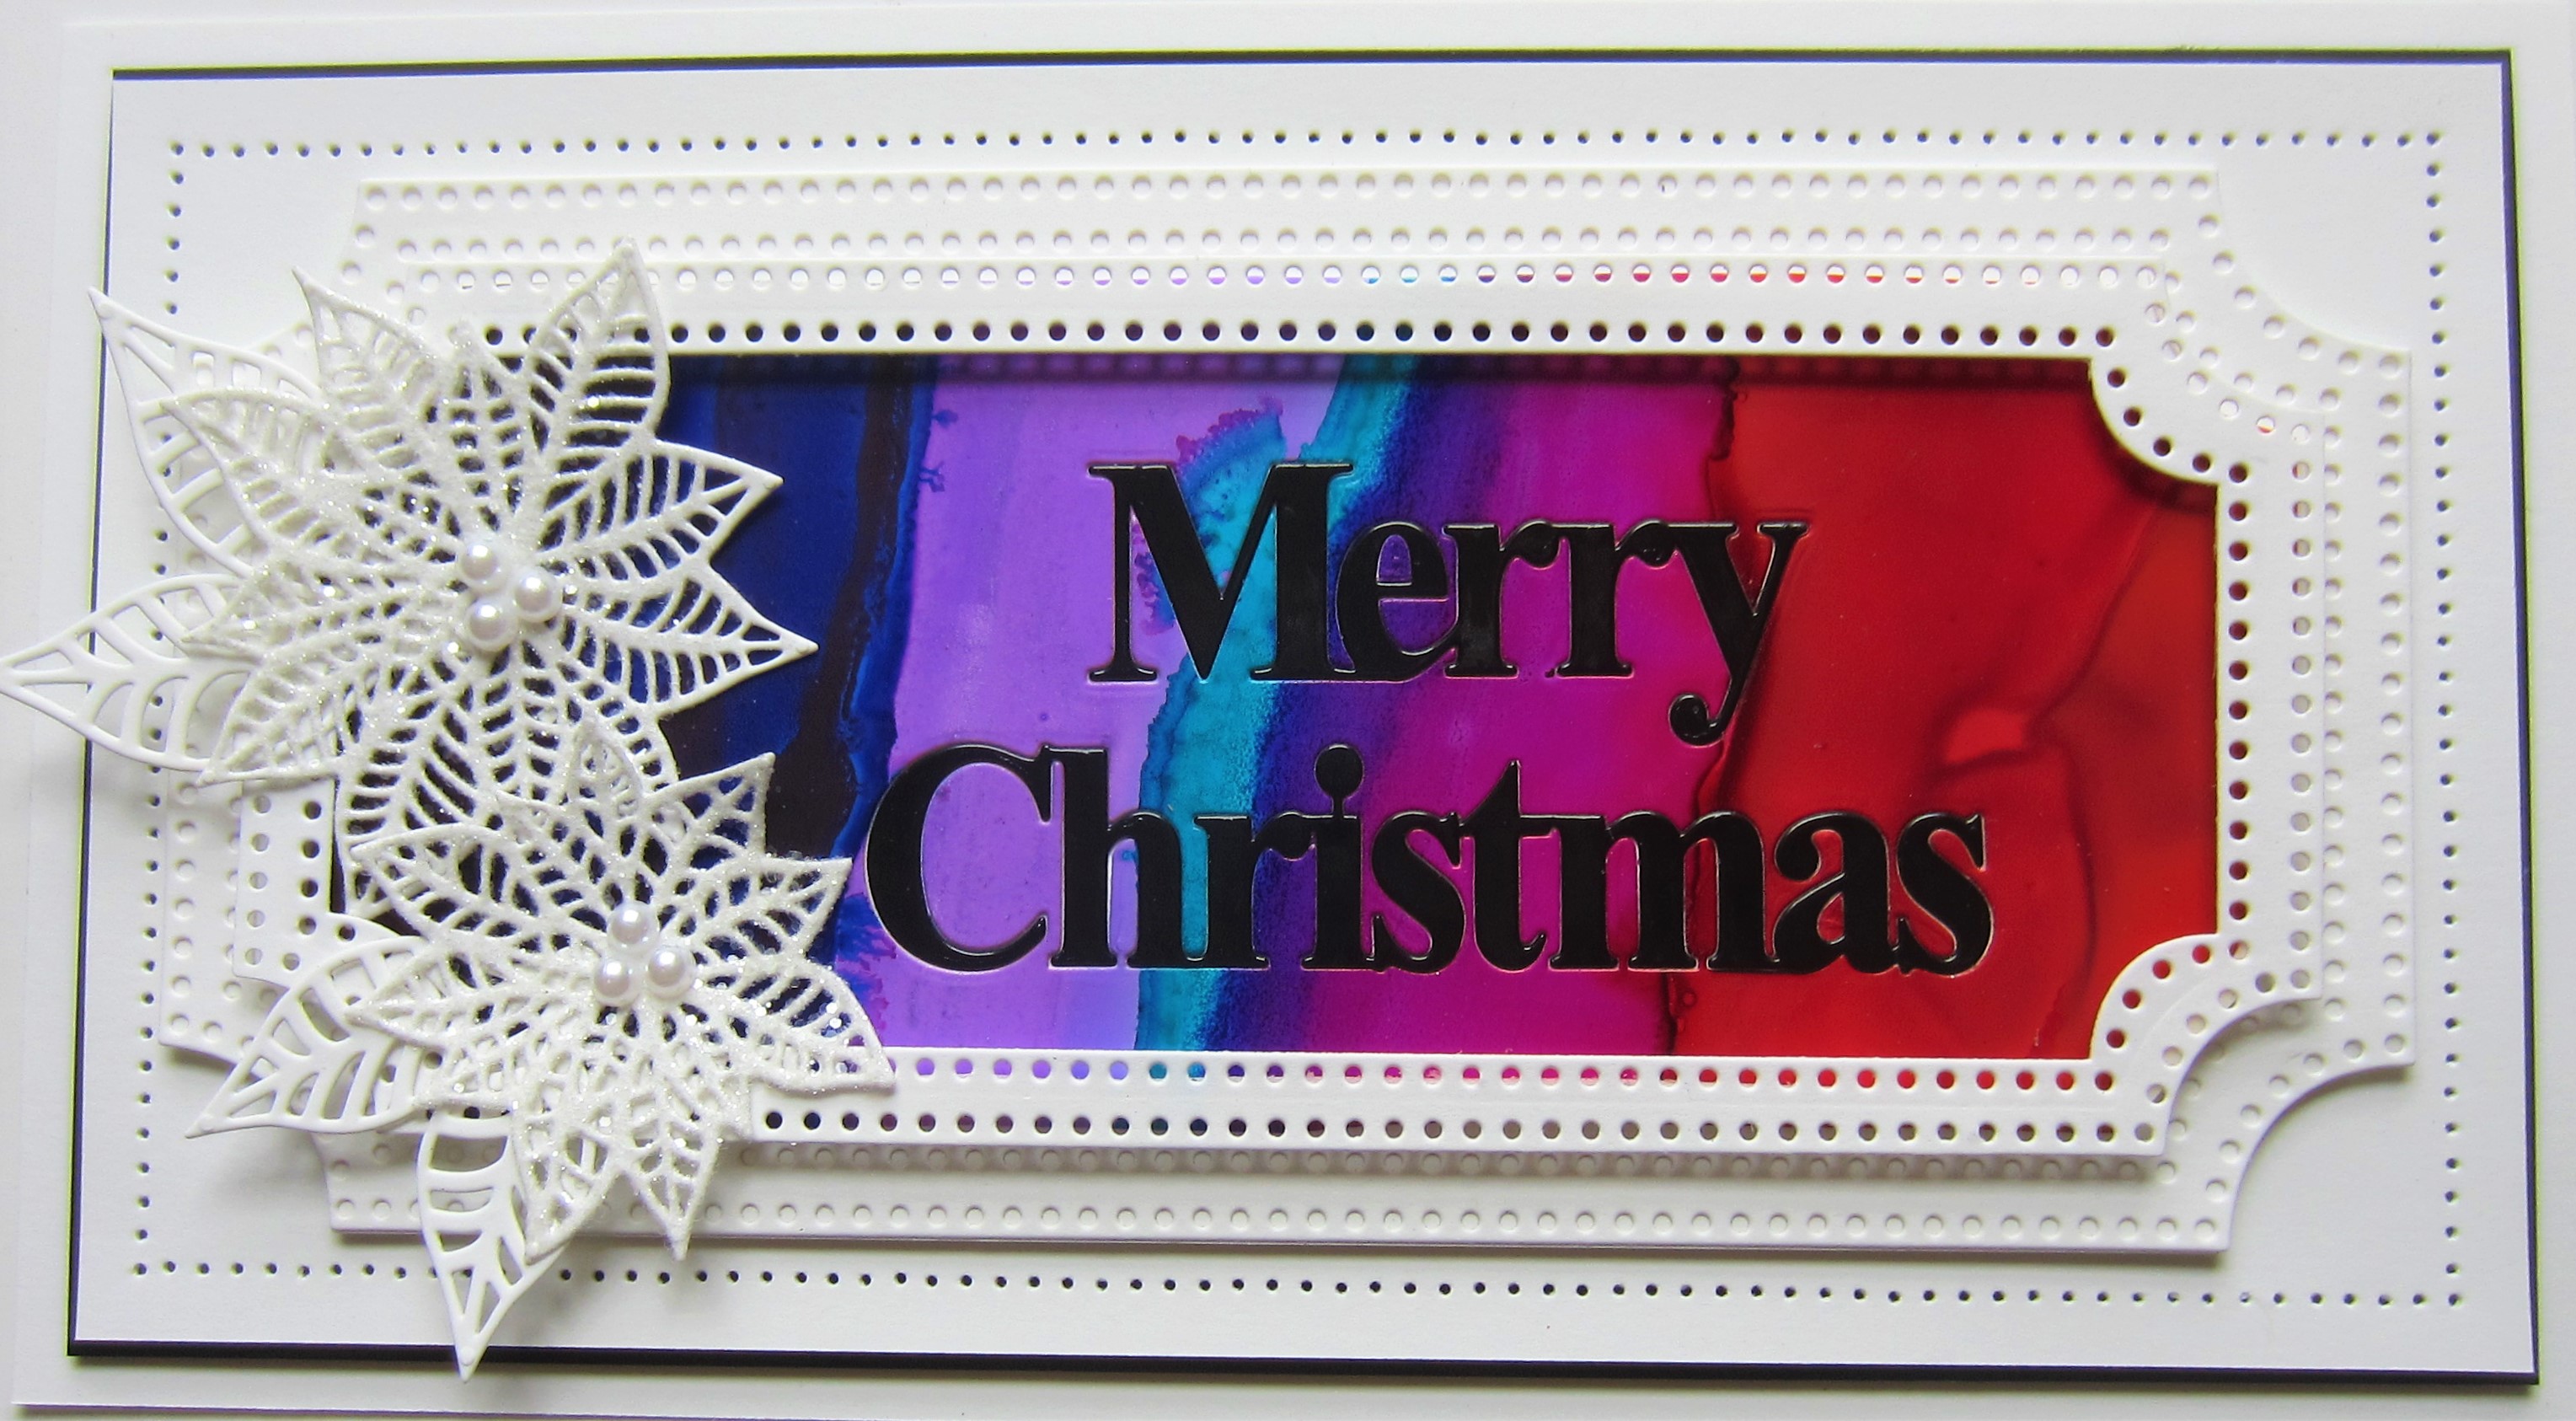
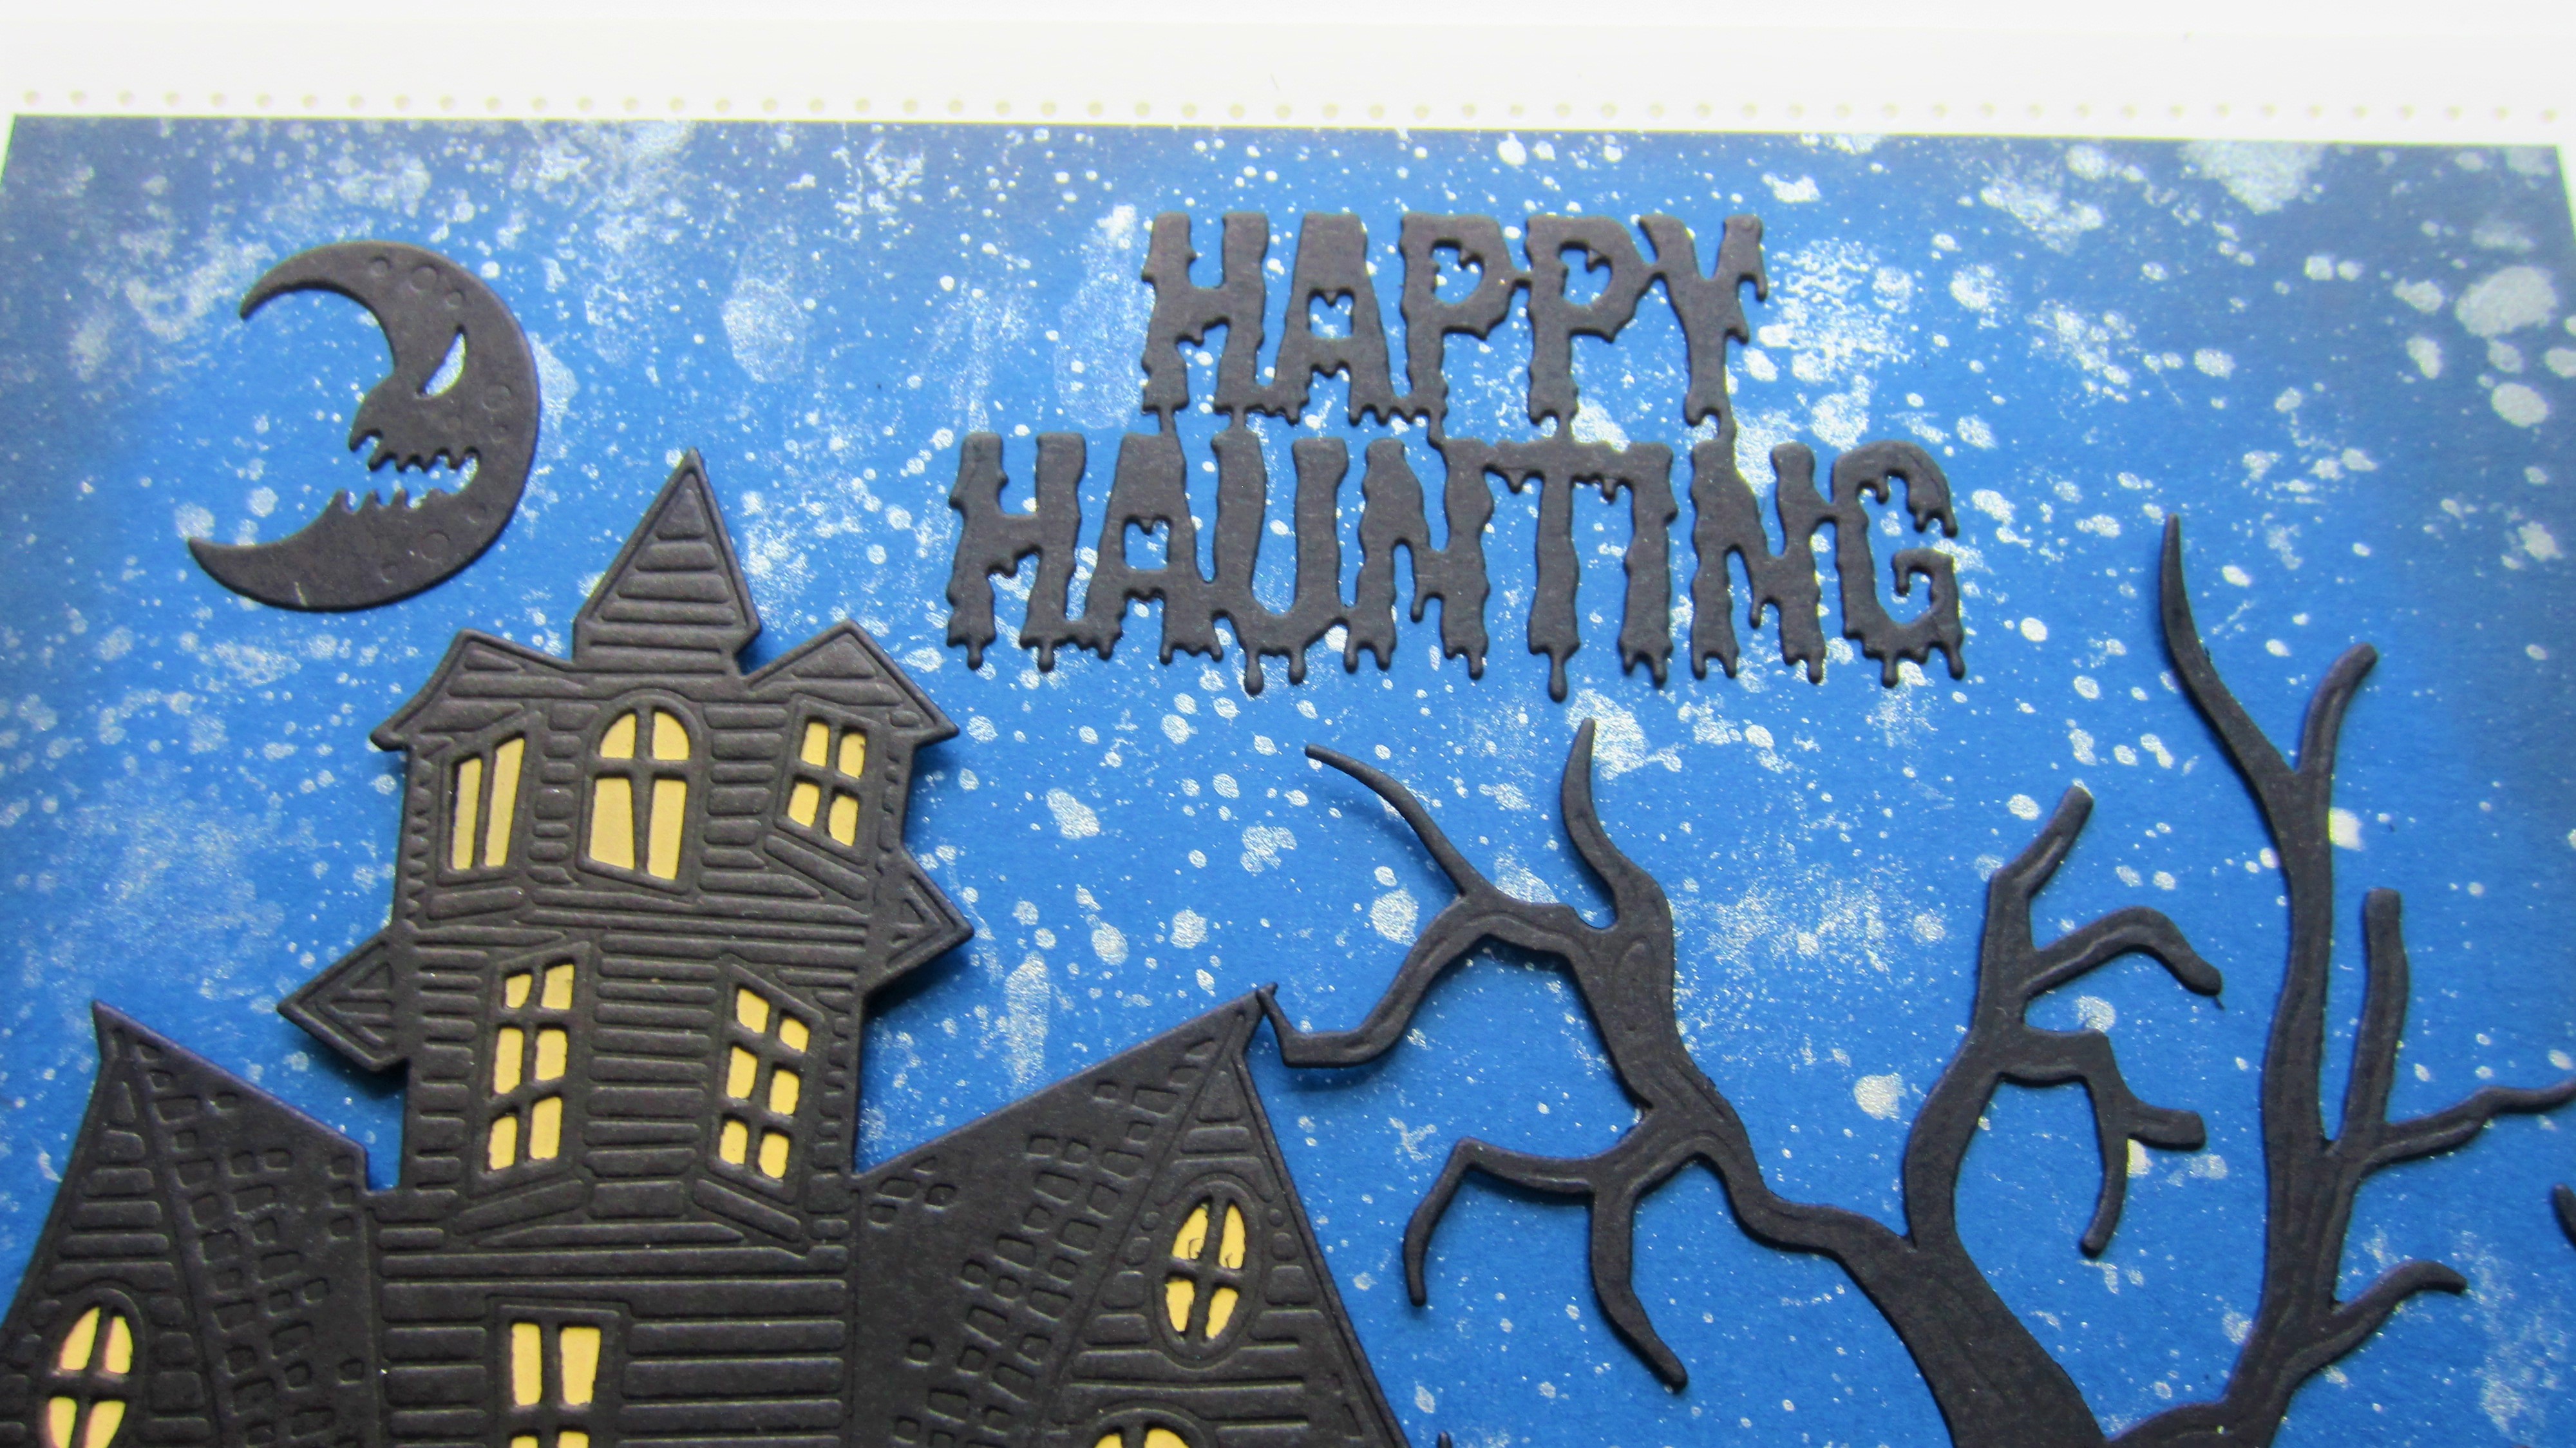
Tune in to see Jamie Rodgers demonstrate my BRAND NEW Floral Frame Collection on HobbyMaker at 4pm tuesday and 2pm & 5pm on Wednesday 26th October. See how to create an array of gorgeous cards using my frames, borders, backgrounds and mini expressions craft dies!

Sky 670, Freeview 73, Freesat 807 and via the HobbyMaker website and YouTube


Show dates/times:

Tuesday 25th October 4pm

Wednesday 26th October 2pm and 5pm


 All for now, Sue x


                                                       Follow my blog with Bloglovin