Monday 30 June 2014

Moonlit Berries Letterpressed

 Hello all!  I had a request to post this card so here it is!  This was the first demo from my last C & C shows.  I started with the background and on the positive side, I inked the Couture Creations embossing folder called Moonlit Berries with a clear Perfect Medium pad.  I placed a piece of milk card in the folder and ran it through the Grand Calibur to transfer the ink to the card.  I dusted the background with Gold Sparkle mica powder for a light shimmer.  Using the soft gold card for the border, I inked up the opposite side of the embossing folder and letter pressed it.  I dusted it with Gold Sparkle mica powder as well.  I used a sanding block and lightly sanded the design to distress the pattern.  I matted the border with a milk card and soft gold card mat and taped it to the side of the card.  Using chalk seam binding, I wrapped a piece around the card and taped the ends to the back.  I tied a messy bow and added it to the bottom of the border.  I folded several pieces of gold tulle and in order to die cut it, you need to tape them to a piece of card.  Using the Classic Rose die, I cut several of these to create a full tulle flower.  I put  a brad through the centre of each of the pieces and offset the scallops.  I heated the tulle quickly so the edges just barely melted to create a more ruffly flower.  I seated the flower on my bow and added two fancy stick pins that I made to match.  Using the Labels Seven Merry Wishes Stamp, I stamped it on soft gold card and heat embossed it with gold detail powder for a tonal look.  I cut it out with the matching die.  I stamped the Snowflake Labels Seven stamp on to milk card using a perfect Medium pad.  I heat embossed it with gold powder and then stamped the sentiment and embossed it too.  I cut it out with the matching die and mounted it atop the first die cut and then in the centre of the card.  I added a double milk mat with a thin gold mat and a pierced inner layer.  Finished dimensions are 6" x 8" in size.  All for now, Sue x


Sunday 29 June 2014

The Sweetest Flower

 Good Sunday morning!  I found this lovely little card in one of my files and thought it deserved a day on the blog as it is so sweet!  I selected a polka dot patterned paper from my stash and covered it with a piece of sticky self adhesive sheet.   I peeled off the backing paper and micro beaded it for a lovely textural look.  Using the Scalloped Borders Two, I cut two using one of the decorative inserts and cutting edge.  I cut the bottom of each piece straight and mounted them on either side of a Tied Together embossed strip. I added 5mm flat back pearls to the embossed piece.   Using the Justrite Nested Cloud dies, I cut a small and large frame out of coconut white card and put them together with mounting foam.  I cut another frame out of black card to use as a shadow.  I cut the black frame in half and mounted it just peeking out of the top and bottom.  I stamped my sentiment from the Justrite Welcome Spring set using a black Archival ink pad.  Using a Tattered Rose distress ink pad, I added a light bit of shading around the sentiment.  I mounted the frames on foam then added them over the sentiment.  I seated the frame in the centre of the borders.  Using the  Layered Scallop Posy die (Heartfelt Creations), I cut some of the small flowers out of white felt and added a small pearl to the centre.  I scattered the flowers across the card diagonally.  I finished the card with a double white mat with a pierced edge on the inner mat.  Finished dimensions are 7 1/4" x 7 1/2" in size.

Now for the weekly Comment Game winners.  This week's winners are:
Marleine!!!
Erica!!!
Nikinoo!!!

From the extra qualifying post of Wed. June 25th, the winners are:
Jackie Williams!!!
Cheryl Brown!!!
Nicola Turner!!!

Congratulations all!  Please email me at americansue1@gmail.com to confirm your address and claim your prize.  All for now, Sue x


Saturday 28 June 2014

Hello Friend

Hello my crafty friends!  Today's card offering is a super simple one that really does not need loads of explanation, but it is the kind of card someone would like to get in the post from a friend I think.  These are the best sort of cards in my opinion as they don't need to be sent for a reason.  Out of coconut white card, I cut four of the corner from the Italian collection and glued them into place to form a pretty filigree background.  Next I cut out one of the Decorative frames from the California Collection.  I used Adirondack Peach Bellini ink to colour it while still in the die, leaving that pretty white edge.  I stamped my sentiment in black Archival ink and cut it out with the Decorative Frames from the Italian Collection and inked it with an even lighter hand and mounted it in the middle.  I made a single Lattice bow in white and glued it to the side of my sentiment.  I finished the card with a thin peach mat, before adding a pierced white double mat and some flatback pearls in the corners.  The finished dimensions are 7" x 7" in size.

This weeks winner of the Wednesday Card Giveaway is:

Denise Hancock!!!

Congratulations!  Pleas email me at americansue1@gmail.com to confirm your address and claim your prize!
All for now, Sue x


Friday 27 June 2014

Thanks

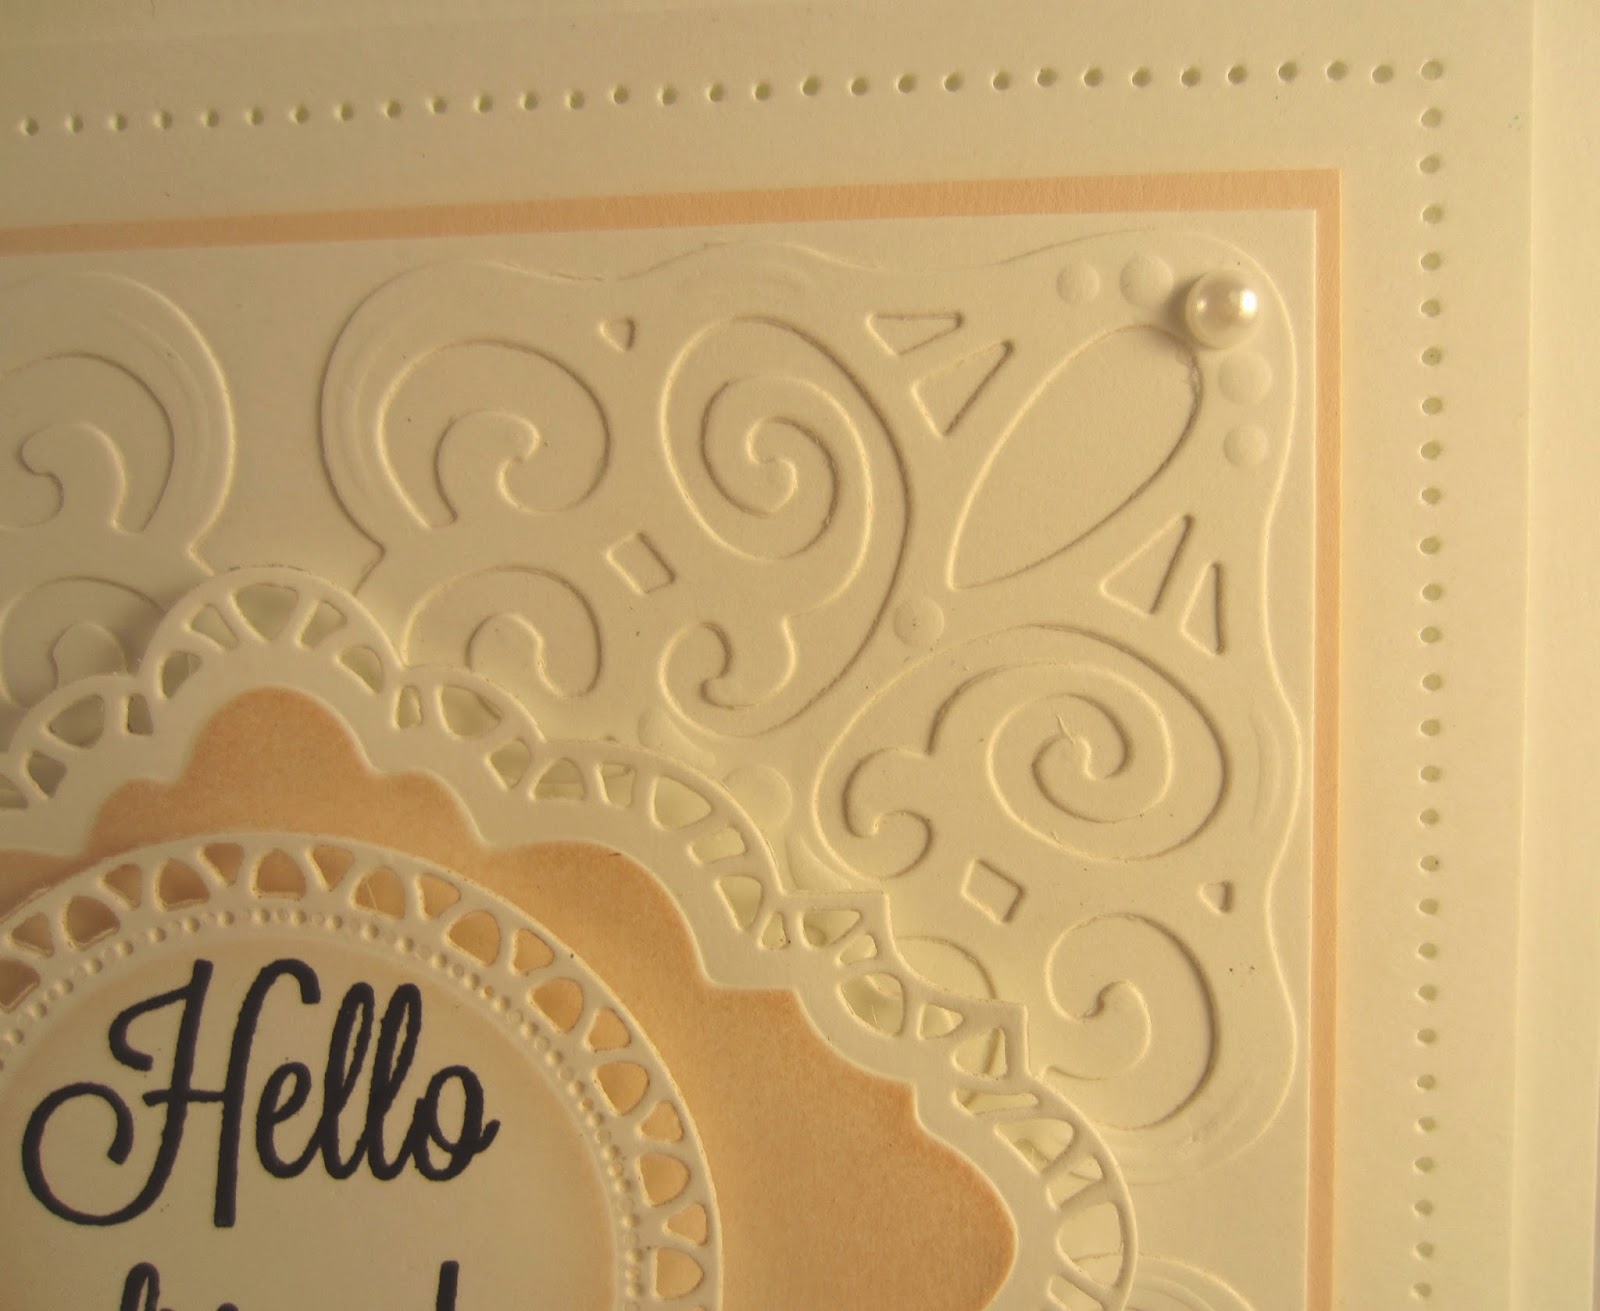
Hello crafters!  Let's do a stained glass card today!  These are a lot of fun, but do require a lengthy drying time so you have to plan ahead.  I cut the Calabria die from the Italian Collection in white and added a piece of clear acetate to the back by attaching it with Cosmic Shimmer dries clear glue.  I selected a colour palette of white, rose copper, sea green and dark emerald polished silk glitters.  For this technique it is important to start with the darkest colours first.  This is because as you fill in with each colour you add, the glitter will tend to stick to the sections that you have already done.  A dark colour atop a lighter colour will show through, but the reverse rarely has any effect.  I started with the Dark emerald glitter first and added my glue to the acetate in just the sections that I wanted to be that colour, then tapped off the excess on to copy paper.  Next I did the Rose Copper sections in the same manner, filling in the sections with glue, then covering with the g;litter and tapping off the excess.  I finished the piece with the Sea Green glitter sections then finally the Diamond Snow sections.  Once all the sections have been covered, this piece needs to be put aside to dry overnight.  From the front, you will only see the white from the glue until it dries and reveals all the glittered sections.  In the meantime, I prepared the background by cutting a circle in the centre of a piece of white card, then embossing the background using the Heart Lattice folder (which is due to be back in stock in a few weeks time).  I cut one of the California borders to add to the bottom section of the card.  I added a thin rose coloured strip behind the border which showed through the piercing holes on the die.  I added mounting foam to the back and once the stained glass section was dry, mounted it over to give it a recessed look.  I tied a double bow out of dusty rose frilly edged ribbon and added it to the side with glue dots.  A small pearl embellishment was added to the centre and two fancy stick pins were added to the knot as embellishments.  I stamped a sentiment and tucked the end under the pearl embellishment.  The entire piece was matted with a thin mat of rose card, then a pierced white mat and a final larger white mat.  Finished dimensions are 7" x 8 1/4" in size.  All for now, Sue x


Thursday 26 June 2014

Clean & Simple


Hello bloggers!  Need a quick card, but one that is elegant and still makes a statement?  This is a video for you to watch!  Scroll to the bottom of the post for a surprise too!


Buy from Joanna Sheen


 Finished dimensions 7" x 8" in size.


Here is a "selfie" of me at the unit yesterday as I was there when they delivered the HEART LATTICE EMBOSSING FOLDER!!!  Yes it is finally back in stock.  You will need to contact your local stockists to purchase these though, please do not contact Creative Expressions directly for them.  At least the long wait is now over!  All for now, Sue x

Wednesday 25 June 2014

Wednesday Weekly Card Giveaway

 Morning all!  I really like this one and thought it would make a nice card for today's giveaway for you.  Definitely on the more traditional side than the previous Christmas posts have been, but with an elegant look to it and a bit of bling!  I worked backwards on this one, starting with the Justrite Wreath first and stamping it in black archival ink.  I used several Distress markers to colour the image including Forest Moss, Scattered Straw, Festive Berries, and even a few touches on Pine Needles and Crushed Olive.  I stamped the image a second time and coloured and cut out selected areas of the holly to mount upwards for dimension.  I cut the bow out and coloured it with Festive Berries then added a coat of Cosmic Shimmer Red Berry Sparkle glue and allowed it to dry then mounted it on foam over the original bow.  I cut a Reflective Moments die in coconut white card and mounted the wreath which I cut out with a simple circle die.  I stamped the sentiment from the set called Bells Of Christmas set and cut it out with Fancy Framed Tags Two ad mounted it below the wreath.  I added  a pierced white mat layer with a thin black mat to the focal feature.  I cut a larger white piece and ran double sided tape around the edges, then added Iced Snow for a bit of the bling.  A thin black mat and a final wider white mat finished the card off nicely.  Finished dimensions are 6 1/2" x 8 1/4" in size.  If you would like to be included in the drawing to win this card, simply leave a comment on today's post (instructions how are on the right hand side of the blog), the winner will be announced on Saturday's blog post.
 
   On another exciting note, I saw my good friend Nigel May recently and I was excited to hear that he
 has had another woman's fiction novel released on line.  It is called "Addicted" and is down loadable now
 on Amazon for just 99p and I'm including the link for you below.  For those of you who read his first novel, "Trinity", I am sure that you will want to tuck into this one as well.  It is sure to be an exciting and glamorous read!
Here is the link for you:
 http://myBook.to/ADDICTED_NigelMay 
 
 All for now, Sue x


Tuesday 24 June 2014

Misted Flowers


Hello crafters!  Today's video shows another way to use the Classic Rose die set to achieve a completely different looking flower using it.
I still have not heard back from either of the last two card giveaway winners, Aquarius or Pauline A, or the Blog candy winner, Loftylass.  Please email me at americansue1@gmail.com so I can get your prizes out to you.  I will give you another week to claim the prizes, then I will draw if I haven't heard from any of the winners!

Buy from Joanna Sheen


Finished dimensions are 6 1/2" x 8" in size.  All for now, Sue x

Monday 23 June 2014

Get Well Soon

Hello all!  What a weekend!  Still getting over the jet lag a bit, but have to hit the ground running as I am filming the third series of videos this week!
 Before I rush off though,  I want to share this pretty card with you.  I stamped the Woven Leaves stamp on to lilac card using a black Archival ink pad.  I cut it out with the matching Granada die from the Spanish Collection, giving it some pretty detail around the edge.  While it was still in the die, I used some Shaded Lilac distress ink to add a bit more depth to it, leaving the uninked edge to frame it when you remove the die.    I wanted to create a background with a nice decorative edge to seat it on so I picked the Scalloped Borders Two die set.  I cut one side using the insert and an edge, then placed my die cut focal element in the centre and aligned the die around it and taped it in place to cut, just so that I knew exactly where the other edge needed to be cut. That way, the decorative edge is showing nicely behind both sides of the die cut. I wanted to add some texture so I embossed it with the Art Deco Fanfare embossing folder.  I added a larger lilac mat and used a white gel pen to add detail to the edges of it.   I mounted the die cut  in the middle with foam.  I stamped my sentiment in black ink and cut it out with an oval die.  I inked it with Shaded Lilac before removing it from the die.  I used the Decorative Frames set B from the California Collection to cut a small black die to act as a shadow and mounted my sentiment on it.  Using the Classic Rose die set, I made three different sized roses, sugared them with Diamond Sprinkles and added them around my sentiment, with the largest flower being seated upon a messy bow tied from mauve seam binding.  I added a white double mat with Cosmic Shimmer white PVA glue dots around the edge to complete the card.  Finished dimensions are 7" x 9" in size.  All for now, Sue x