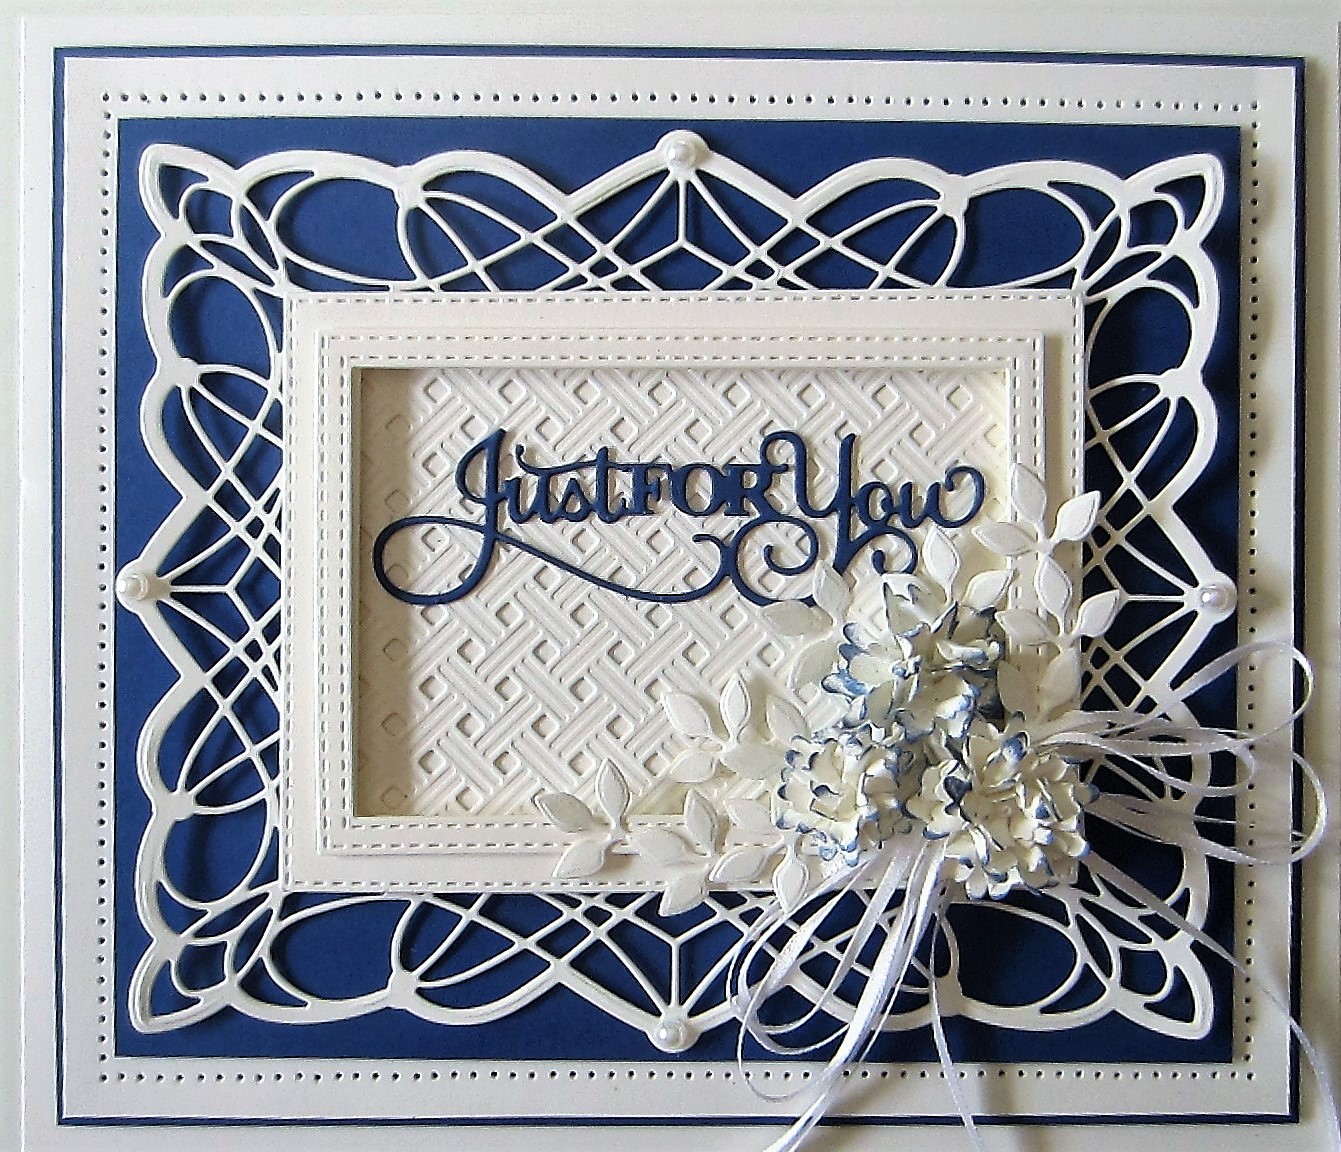
Good Sunday morning all! A crisp blue and white card for the blog today! I selected a piece of
cobalt blue card as my base and cut the
Triple Column Background to go on it. Next I cut the
Basketweave Background in white and added a white backing piece to it. I cut a frame for it using the
Double Stitched Rectangle die set and added it with foam mounting over it. I cut away the excess of the background and added foam to the back and attached it to the middle of the
Triple Column Background. I cut the
Just For You sentiment out of cobalt blue card and glued it into the top of the frame. Using the
Petite Forget Me not die set, I made three scrunched flowers and edges them with
Chipped Sapphire ink. I seated them in the corner of the frame and added white leaves as accent. I tucked a white satin bow under them. The card was completed with white and cobalt blue mats and layers. The finished dimensions are 7 1/2" x 9" in size. All for now, Sue x
 Follow my blog with Bloglovin


 Hi bloggers! I just had to have a play with the new Holographic Sparkle Shakers! I started by cutting the Herringbone Background out of coconut white card. I covered another piece of white card with a self adhesive sticky sheet and attached the background to it. Next I used the Holographic Sparkle Shakers and tapped them all over the


 Hi crafters! It's Lola's day on the blog today! I started with a piece of coconut white card and embossed it with the Tulip Twist embossing folder. Next I cut the Millie die in white and backed it with white. I used the outer dies to cut a frame around in Teal card. Next I used the Lola die and cut the top layer out of aqua card. The second layer out of Ocean card and the bottom layer out of teal card. I cut and assembled three of these the same way. I used two of them and taped one to each end of the Millie die vertically. I cut the last one in half and used it horizontally coming out from between the centres of the two dies on the ends. It added a nice pop of colour to the card. I cut the Beatrice die in white and added a white backing to it. I attached it in the centre of the Millie die. I used the Petite Forget Me Not flowers to make two small flowers to embellish the focal element. I added some leaves cut out of white card. I cut the Just For You sentiment in both aqua and teal card. I used the teal to shadow behind the aqua and glued it into place in the centre of the card. The card was completed with white, aqua and teal mats and layers. The finished dimensions are 6 3/4" x 9" in size. All for now, Sue x


