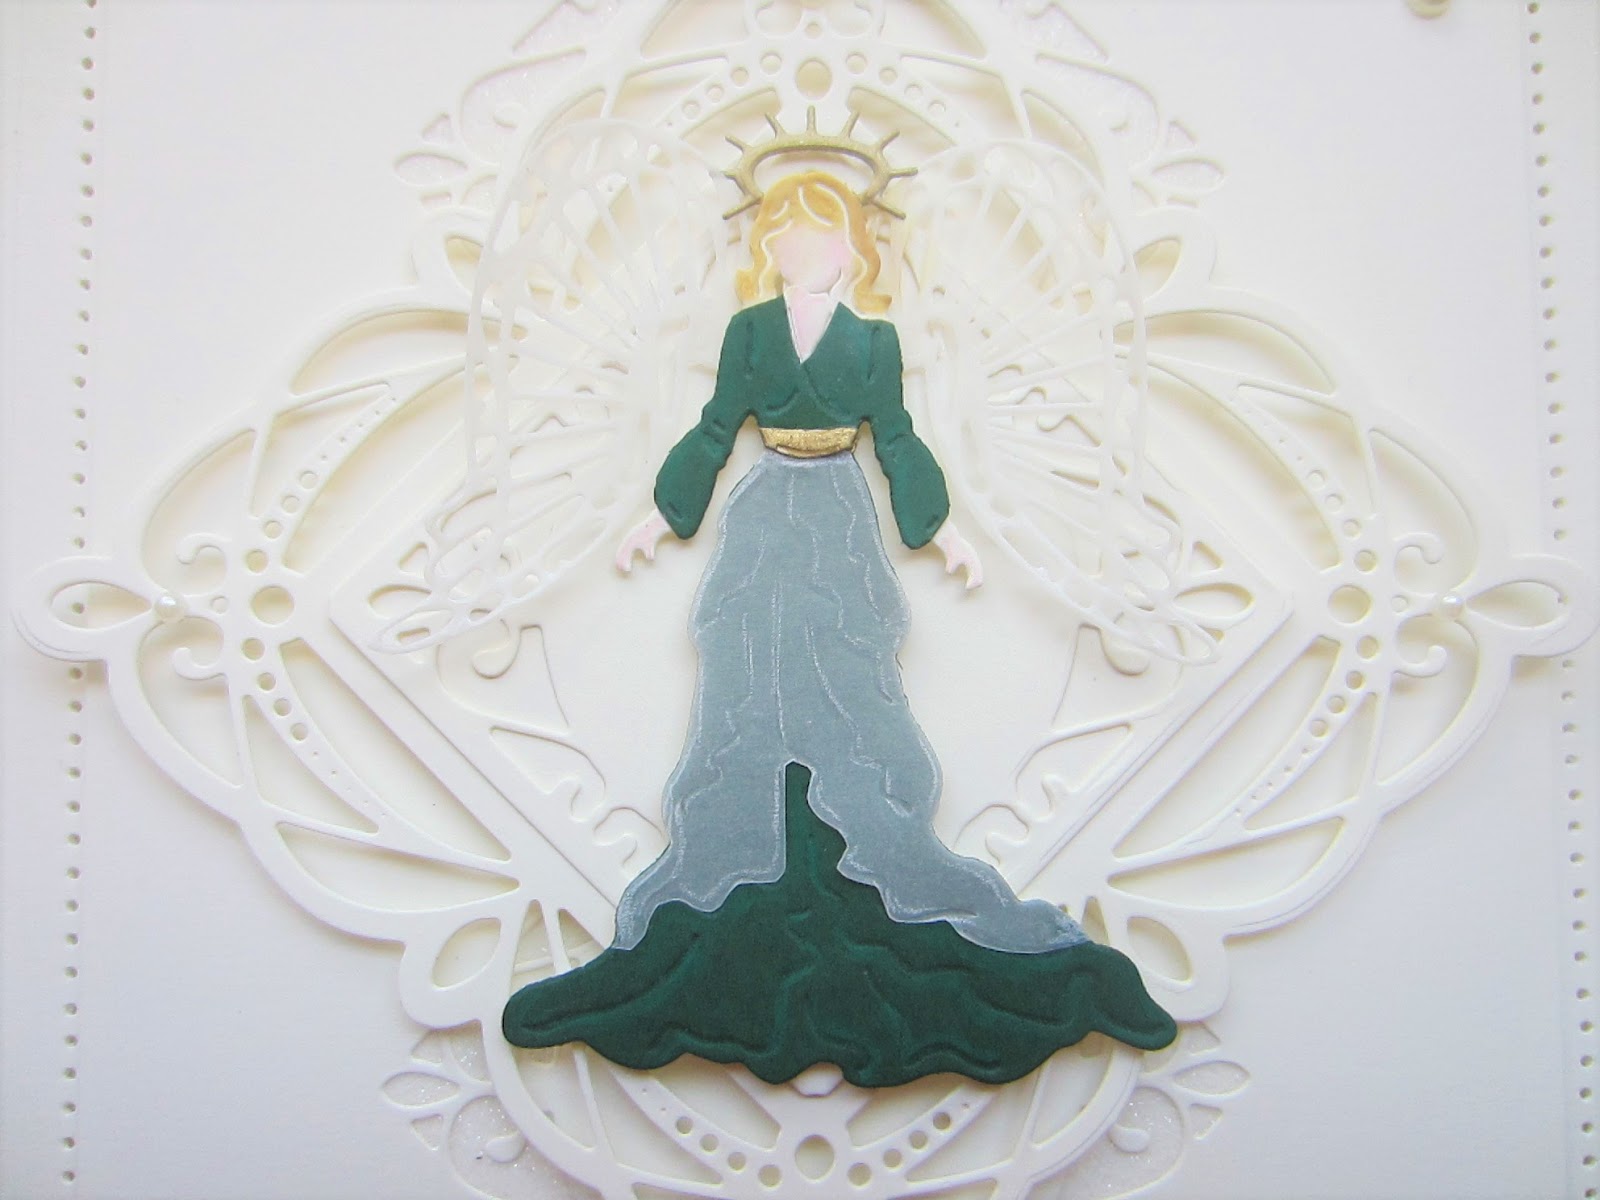
Hello there my crafty friends! I thought I would share a pretty angel card with you today. This was one of the demos from my 4 day deal recently. I started with a piece of milk card and used the smaller decorative die from the
Denise die set. I cut it into the card in the centre top and bottom of the card. I attached it to another piece of milk card that I had a piece of sticky adhesive sheet adhered to. I put the two pieces together and rubbed
Frosted Sparkle Glitterbitz into the exposed adhesive areas. I cut the entire
Denise die in milk card then added a section with just the centre die cut from the set. I mounted it on foam and set it into the centre of the card on a diamond orientation. Next I cut the
Christmas Angel 2019 in both milk card and green card. I used a pink pencil to add some softness to the face and hands on the milk version. I coloured in the hair with a yellowish pencil. Next I cut the dress away from the angel on the green version and glued it onto the milk card angel. I cut the angel in
vellum and trimmed away the top area of her lower dress and glued it onto the green dress. I used a
gold paint pen to add her sash. I added her halo cut in gold and her wings cut out of vellum and attached her to the centre of the card. I used the
Seasons Greetings sentiment in gold on a milk shadow and split the sentiment into the top left corner and the lower right corner. The card was completed with milk mats and layers. The finished dimensions are 6 3/4" x 8 1/4" in size. All for now, Sue x


Follow my blog with Bloglovin


 The finished dimensions are 7 3/4" x 7 3/4" in size. All for now, Sue x
 Hi there my crafty friends! You may have seen this one on last week's shows, but I wanted to share it on the blog too! I started with the Ruffled Edge Frame and cut the outer most die as the base. I used the rectangle section from the set to create a frame for my angel. I cut the edge and backed it in black then cut the centre out. I added foam to raise it then attached it over the pierced section on the inside. I used a leftover piece of pixie powdered background behind it (midnight blue, purple violet and aqua lagoon colours). Next I cut the 2019 Christmas Angel in white and added her wings to her cut out of silver mirror card. I used the peace banner and glued it into her hands and added her halo. I attached her with foam to the centre of the card. The card was completed with white, black and silver mats and layers. The finished dimensions are 6 3/4" x 8" in size. I will be posting the winners for the Sept die release from the launch later today so don't forget to check back later this afternoon! All for now, Sue x


 Hello all! Think Powder Pink and milk card for today's sample. I started by cutting the Diagonal Background from the Filigree Artistry Collection out of vellum and attaching it to a piece of milk card for a tone on tone look. Next, I used the Double Stitched Ovals to make a multi-layered frame. I cut a larger base frame from milk card then added a thinner frame to the top cut out of Powder pink card. I attached it with mounting foam to the centre of the card. I cut the On Your Special Day sentiment out of pink a couple of times and stacked them up for dimension, then glued it into the top of the frame. I cut the Wedding Couple out of milk card and added them to the side of the frame with foam. I used the Blossom Patch die set to cut three small pink flowers and added them to the opposite side of the frame with small pearls for the centres. The card was completed with milk and powder pink mats and layers. The finished dimensions are 7" x 7" in size. All for now, Sue x


