
Hello bloggers! I strted today's card by covering a piece of card with
Vintage Violet Glitter Kiss (it is really a very pretty navy blue in real life) and allowing it to dry well. Next I embossed it with the new
Quilted Pillow 3D embossing folder for texture. I cut it into three equal parts and added them to a piece of white card with mounting foam. Next I cut the
Stella die in white. I cut the largest die as the backing then cut the decorative die and added it to the backing. I stamped my sentiment and cut it out with the circular die in the centre. I used
Salty Ocean distress oxide around the edge of it then munted it with foam in the centre of the die. I added the
Stella die to the background, then accented it with
Cosmos Flowers in opposite corners. I used
Salty Ocean ink on the edges of the petals then a tiny bit of
Black Soot ink after that on each petal. I assembled all the flowers, then cut a
Magnolia Corner that I nipped apart and used as leafy embellishments to the flowers. I added
three white flatback pearls on the opposite corners, then completed the card with white mats and layers. The finished dimensions are 7" x 8" in size. All for now Sue x

Follow my blog with Bloglovin


 Hello bloggers! I strted today's card by covering a piece of card with Vintage Violet Glitter Kiss (it is really a very pretty navy blue in real life) and allowing it to dry well. Next I embossed it with the new Quilted Pillow 3D embossing folder for texture. I cut it into three equal parts and added them to a piece of white card with mounting foam. Next I cut the Stella die in white. I cut the largest die as the backing then cut the decorative die and added it to the backing. I stamped my sentiment and cut it out with the circular die in the centre. I used Salty Ocean distress oxide around the edge of it then munted it with foam in the centre of the die. I added the Stella die to the background, then accented it with Cosmos Flowers in opposite corners. I used Salty Ocean ink on the edges of the petals then a tiny bit of Black Soot ink after that on each petal. I assembled all the flowers, then cut a Magnolia Corner that I nipped apart and used as leafy embellishments to the flowers. I added three white flatback pearls on the opposite corners, then completed the card with white mats and layers. The finished dimensions are 7" x 8" in size. All for now Sue x


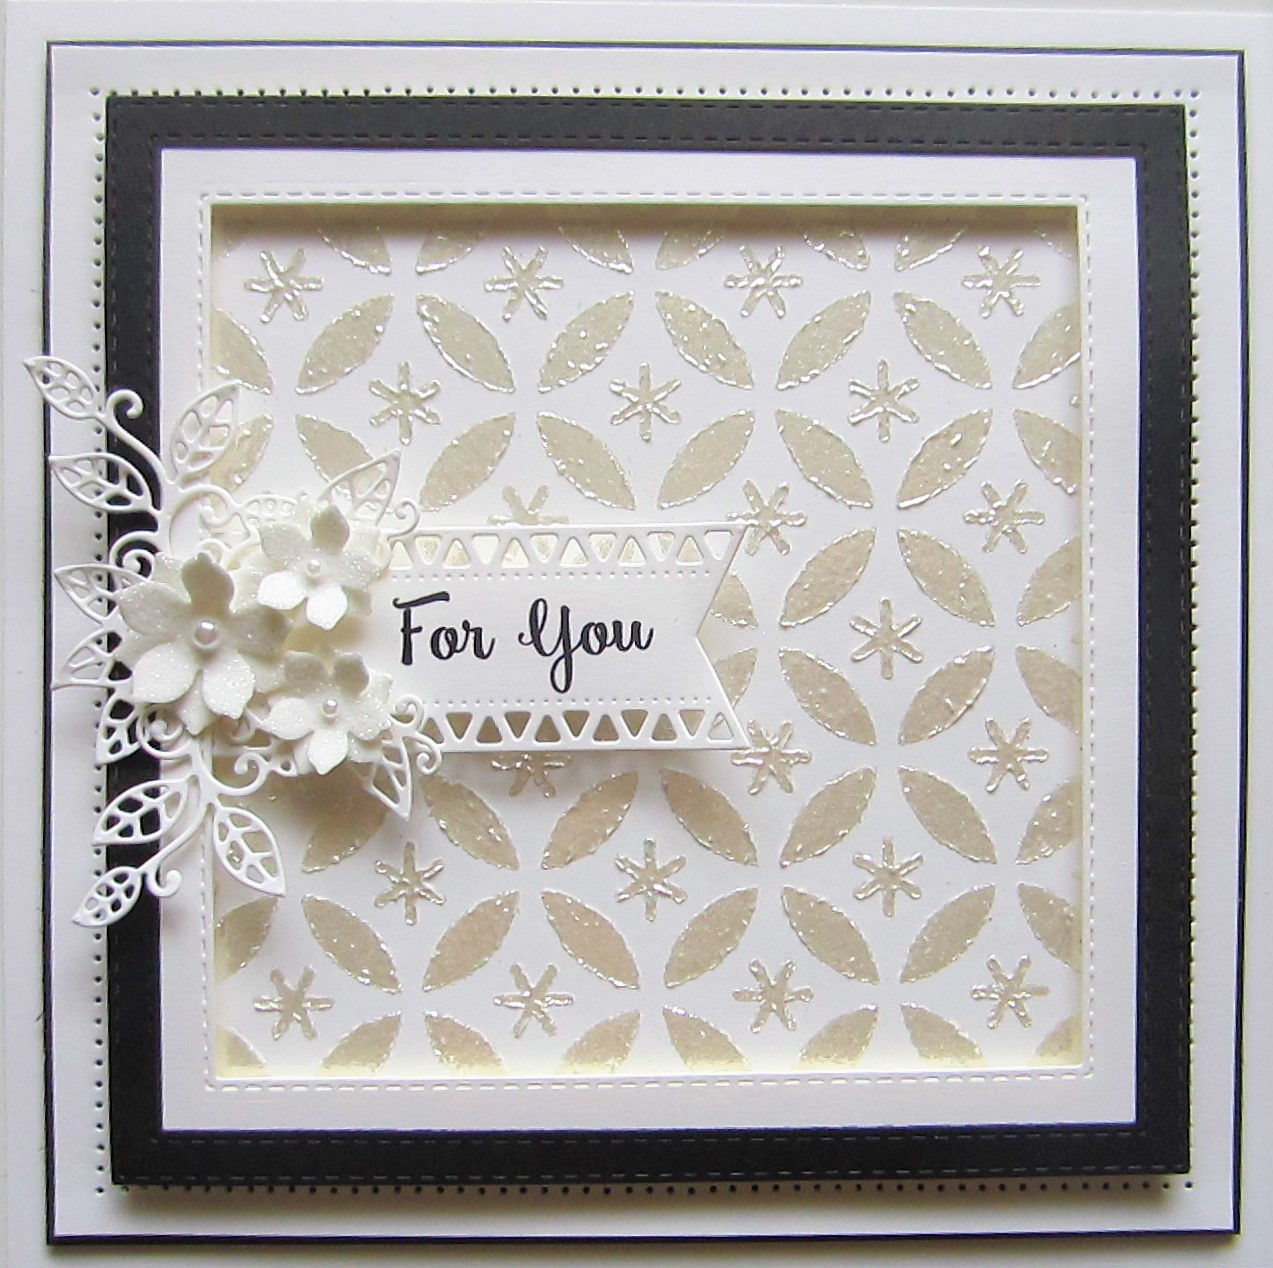
 Hi bloggers! This is one of my favourite samples of the All In One Collection. I started with a piece of Silver Sparkle Alcohol Ink Card from Ranger. I used Sunshine Yellow, Red Pepper and Sunset Orange alcohol inks on it and applied them in a sweeping rows of colour. Once dry, I cut the Martha Background in white and glued it on to the top of the background. I used the matching Martha Edger set and cut the two centre sections out of white and added them in place with foam. I stamped my sentiment and cut it with the Decorative Flag die set. I attached it with foam across the card. I used a piece of sticky adhesive sheet on white card and cut several of the Jasmine flowers. I peeled the backing off and coated them with Frosted Sparkle Glitterbitz then assembled them and added them to the end of the flag. I cut the Magnolia Corner die in white and nipped it apart to use as accents around the flowers. The background was matted with a thin black mat, then completed with white mats and layers. The finished dimensions are 6 1/4" x 7" in size. All for now. Sue x


