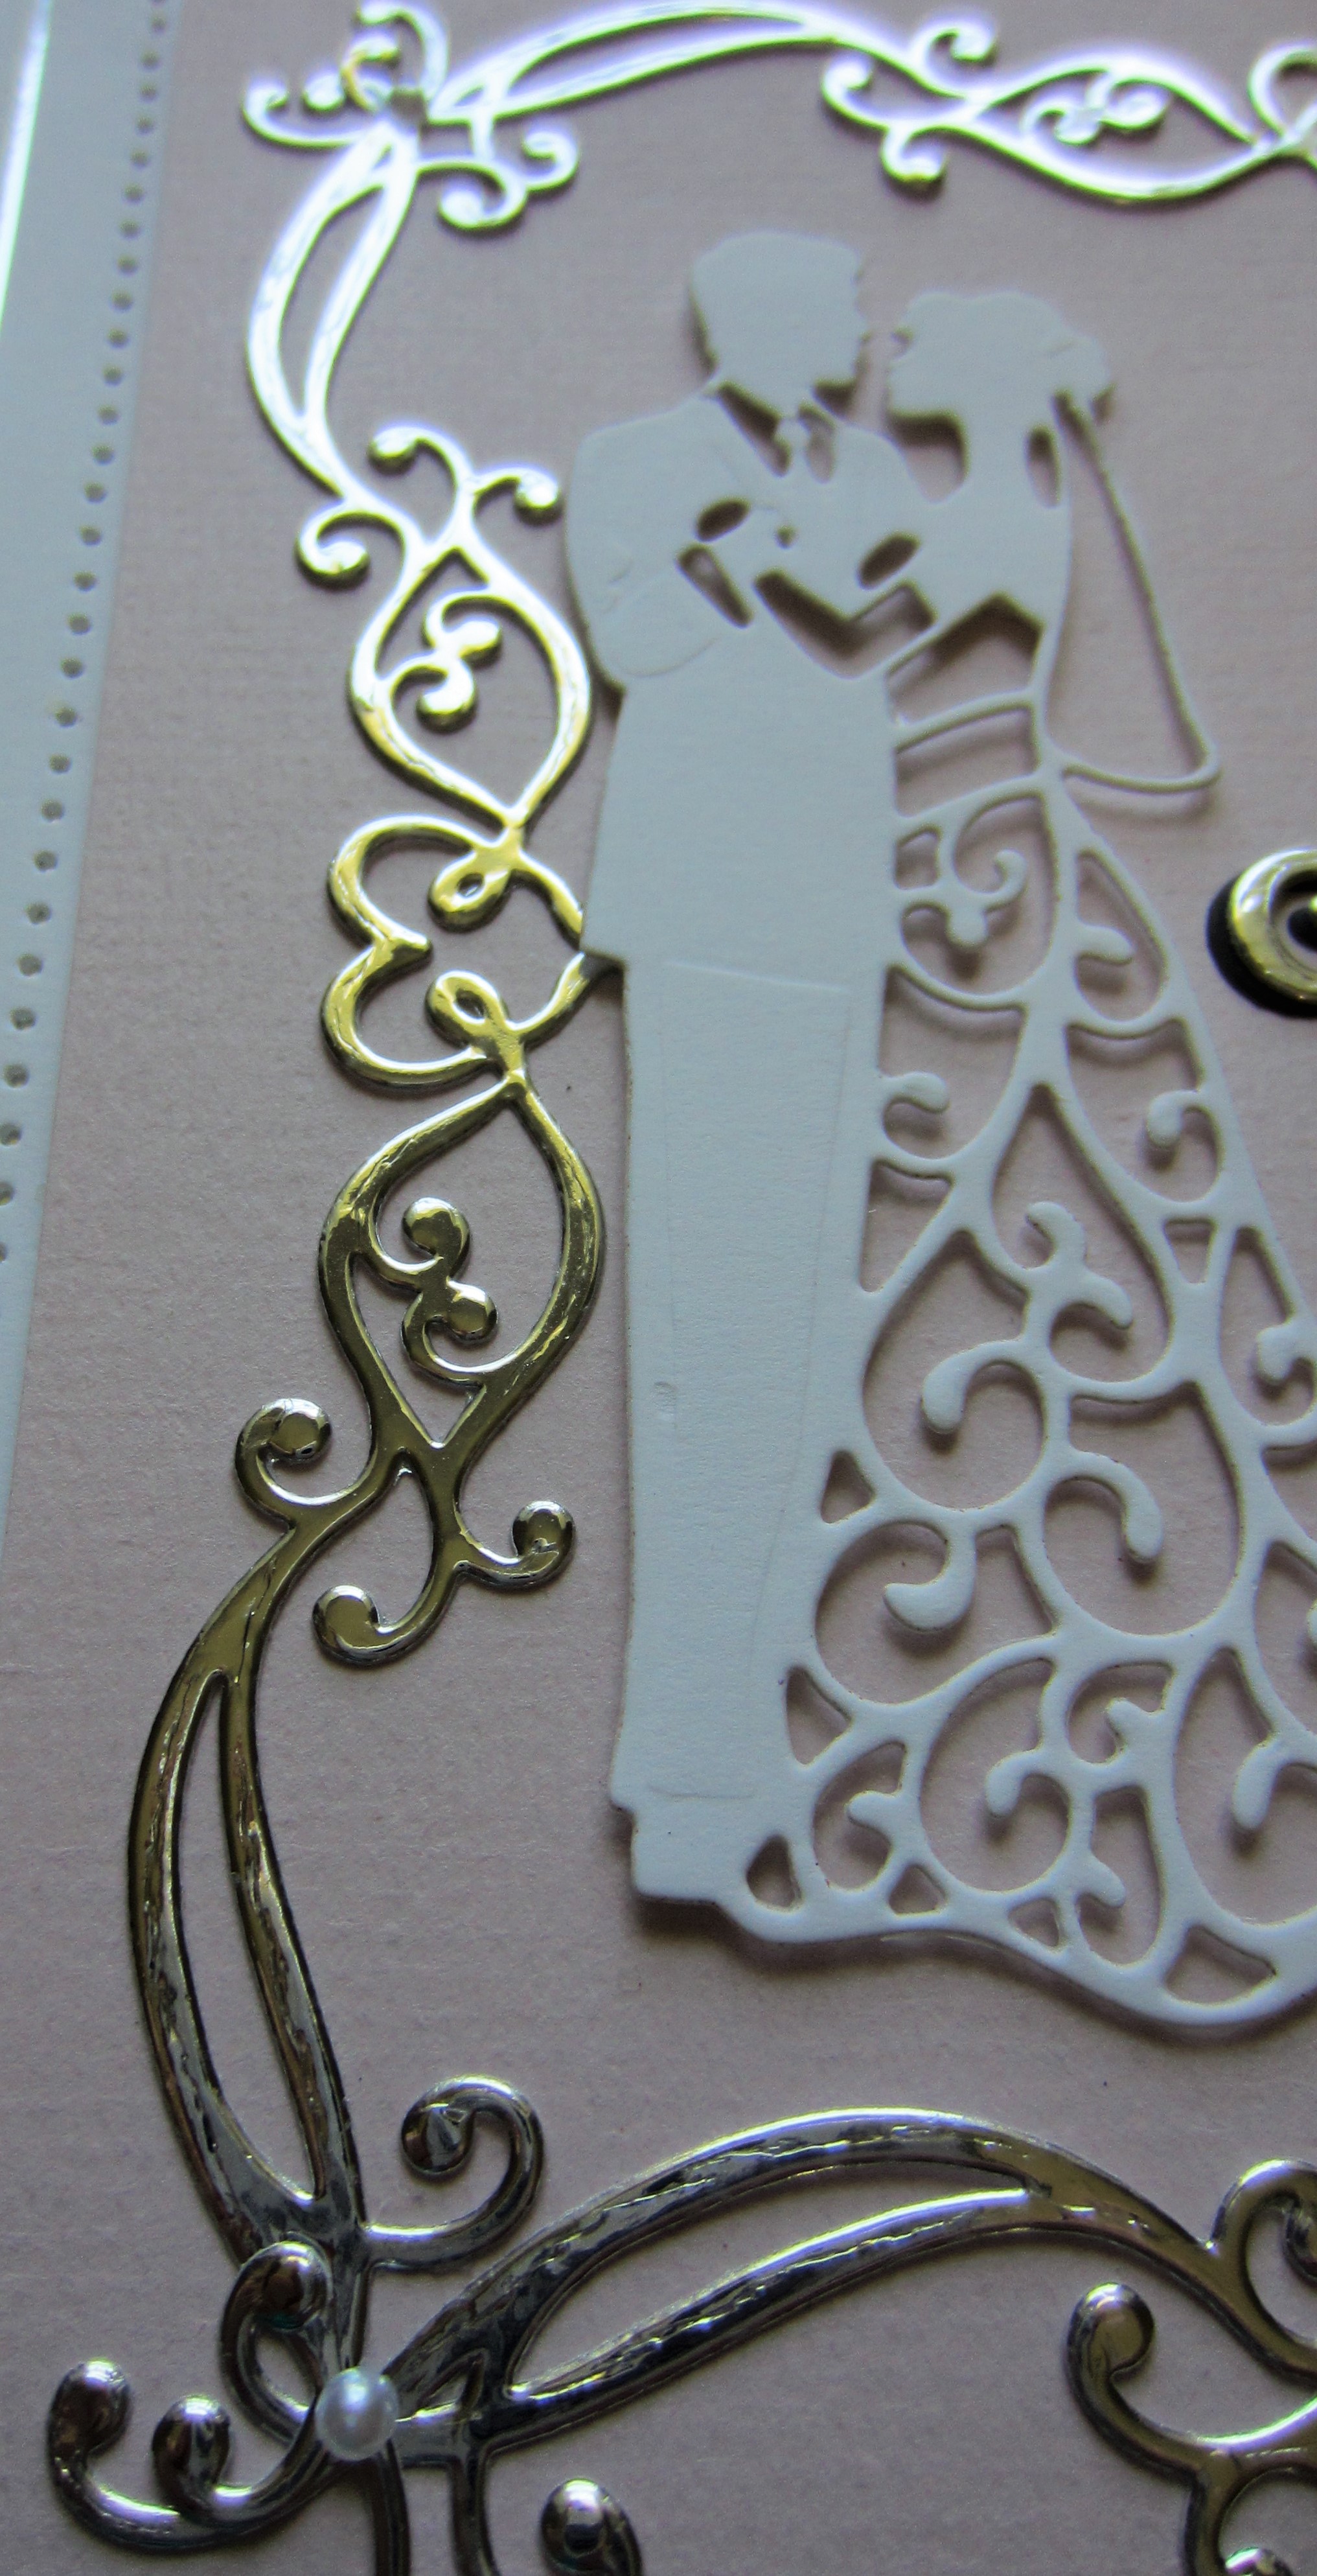
Hi bloggers! I have a very simple, but elegant card to share with you today. I selected a piece of blush card to use for the background. I cut the Heart Scroll Border four times out of silver mirror card (it looks sort of gold on my monitor, but its silver). I glued the borders around the edge of the card, interlocking the swirls at the corners. I cut the Happy Couple out of white and added them with mounting foam to the left side of the card. I cut the Best Wishes out of silver mirror card and black card. I used the black die cut as a shadow behind the silver die cut, then added the sentiment to the right side of the card. The card was completed with white and silver mirror card mats and layers. The finished dimensions are 7 1/2" x 7 1/2" in size. All for now, Sue x


Hello there my crafty friends! I started with a white background. I used the Double Stitched Circle dies and cut three white frames. I added mounting foam to the backs of each of the circles and attached them to different coloured piece of dotty paper from the Dots "N Stripes Paper Pad. I arranged them and added them on to the background. I used the Baby Woodland Animal dies and cut a deer, a bunny and a raccoon from the set. I added some colour with pencils and attached the three animals into the circle frames. I used the Noble Pierced Stars and cut them out of the dotty papers and added them randomly around the background. I cut the Bundle Of Joy sentiment out of blue dotty paper and glued the words to a white shadow backing and then added them to the lower right corner of the card. I added some clear water crystals as accents around the background. The card was completed with white mats and layers. The finished dimensions are 6 1/2" x 7 3/4" in size. All for now, Sue x
Hello bloggers! I selected a piece of pixied card from my stash to use as the background for today's card. I used Candy Pink and Burnt Orange Pixie Powders on a piece of white gloss card, then I covered it with scrunched up cling film to give the pattern some interesting detail. I used the Sea Garden Embossing folder and added some texture to the background. Next I used the Scalloped End Rectangle dies and cut a multi-layered frame. I used a wider black base and added the thinner white die cut to it. I inked the Iris Stampcut die with a water based black ink then ran it through the die cutting machine to cut and print it. I used alcohol ink markers to colour the image. I added it to the inside of the frame with mounting foam. I cut the You Are My Heart sentiment from the Love themed Wordie Sheets. I added it at the bottom of the floral element. The card was completed with white and black mats and layers. The finished dimensions are 6 3/4" x 8 1/2" in size. All for now, Sue x
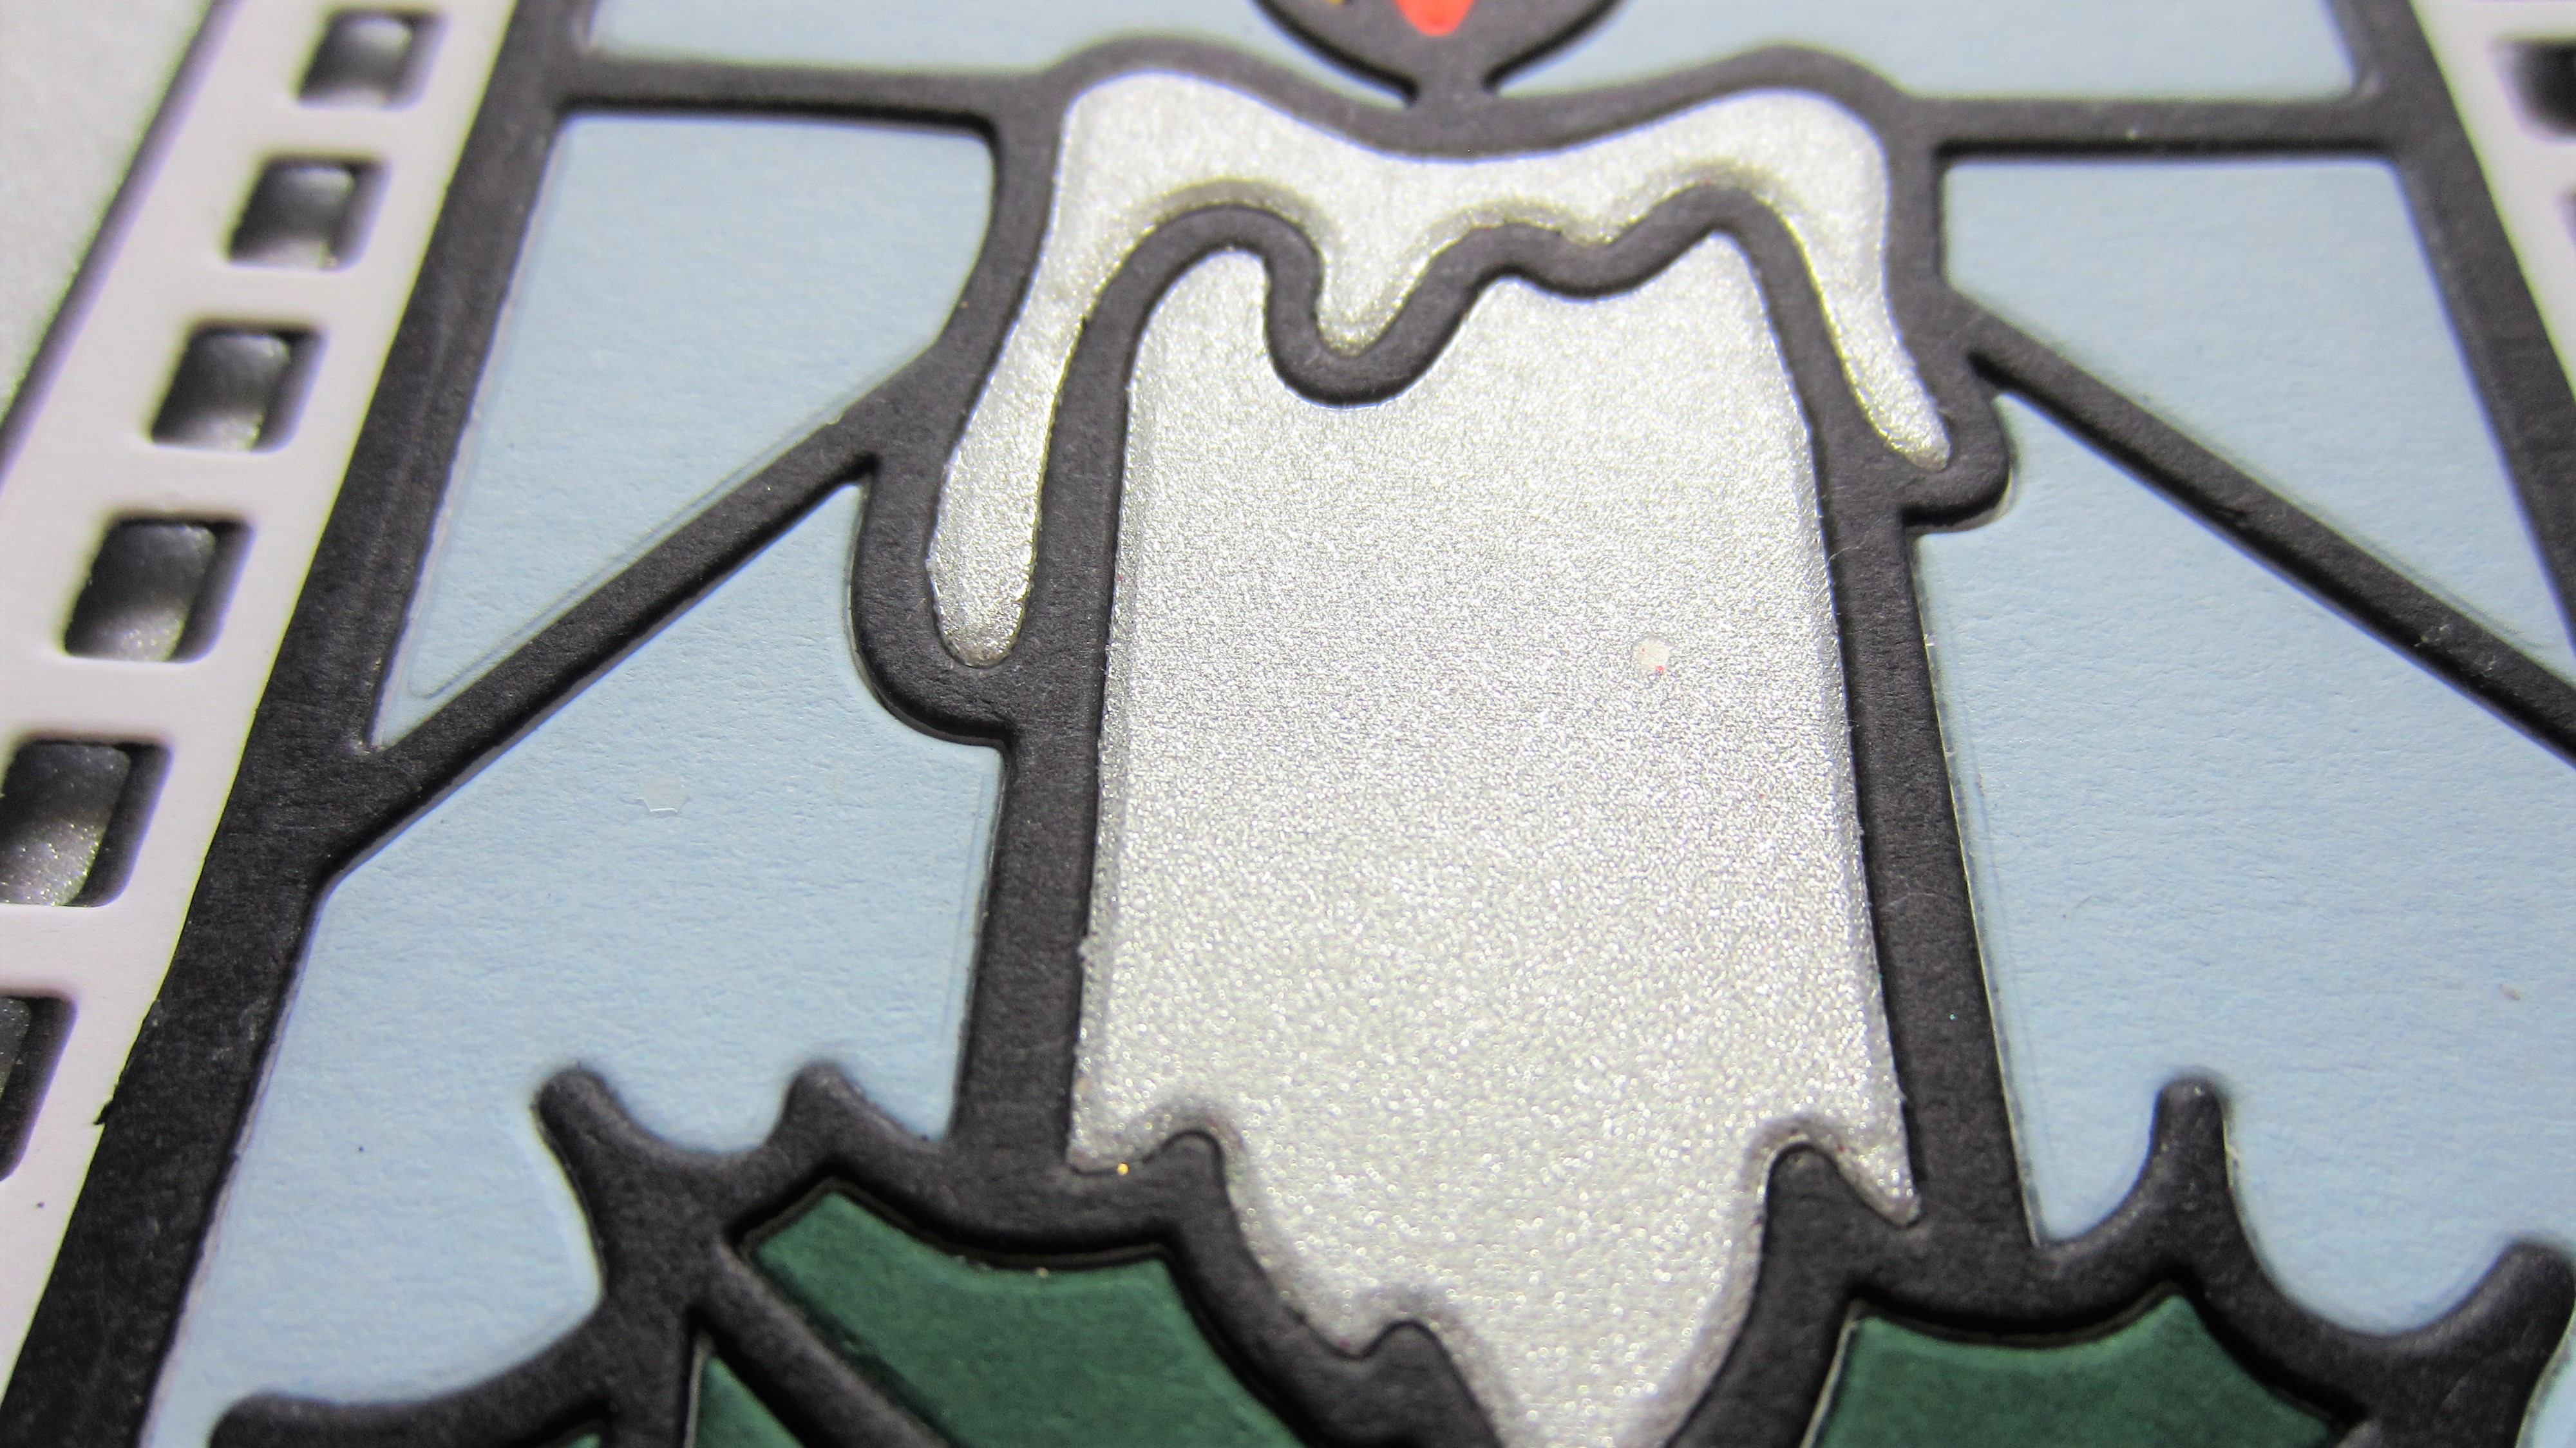
Hello crafters! I selected a piece of white card to use for the background. I cut two of the Jewelled Scalloped Border in white. I nipped away everything but the scrolly edges and glued them to each side of the card. I cut the outer die from the Stained Glass Songbird in white. I used Crushed Olive and Forest Moss Distress ink to colour it. I cut the middle die in white and added it to the outer die cut. I cut the Songbird die in black to use as the base, then I paper pieced it using green, deep red, sky blue, brown, red and white card. I layered up all the pieces then added it to the centre of the card. I cut the sentiment from the Christmas Wordie sheets. The card was completed with white mats and layers. The finished dimensions are 7 3/4" x 9" in size. All for now, Sue x
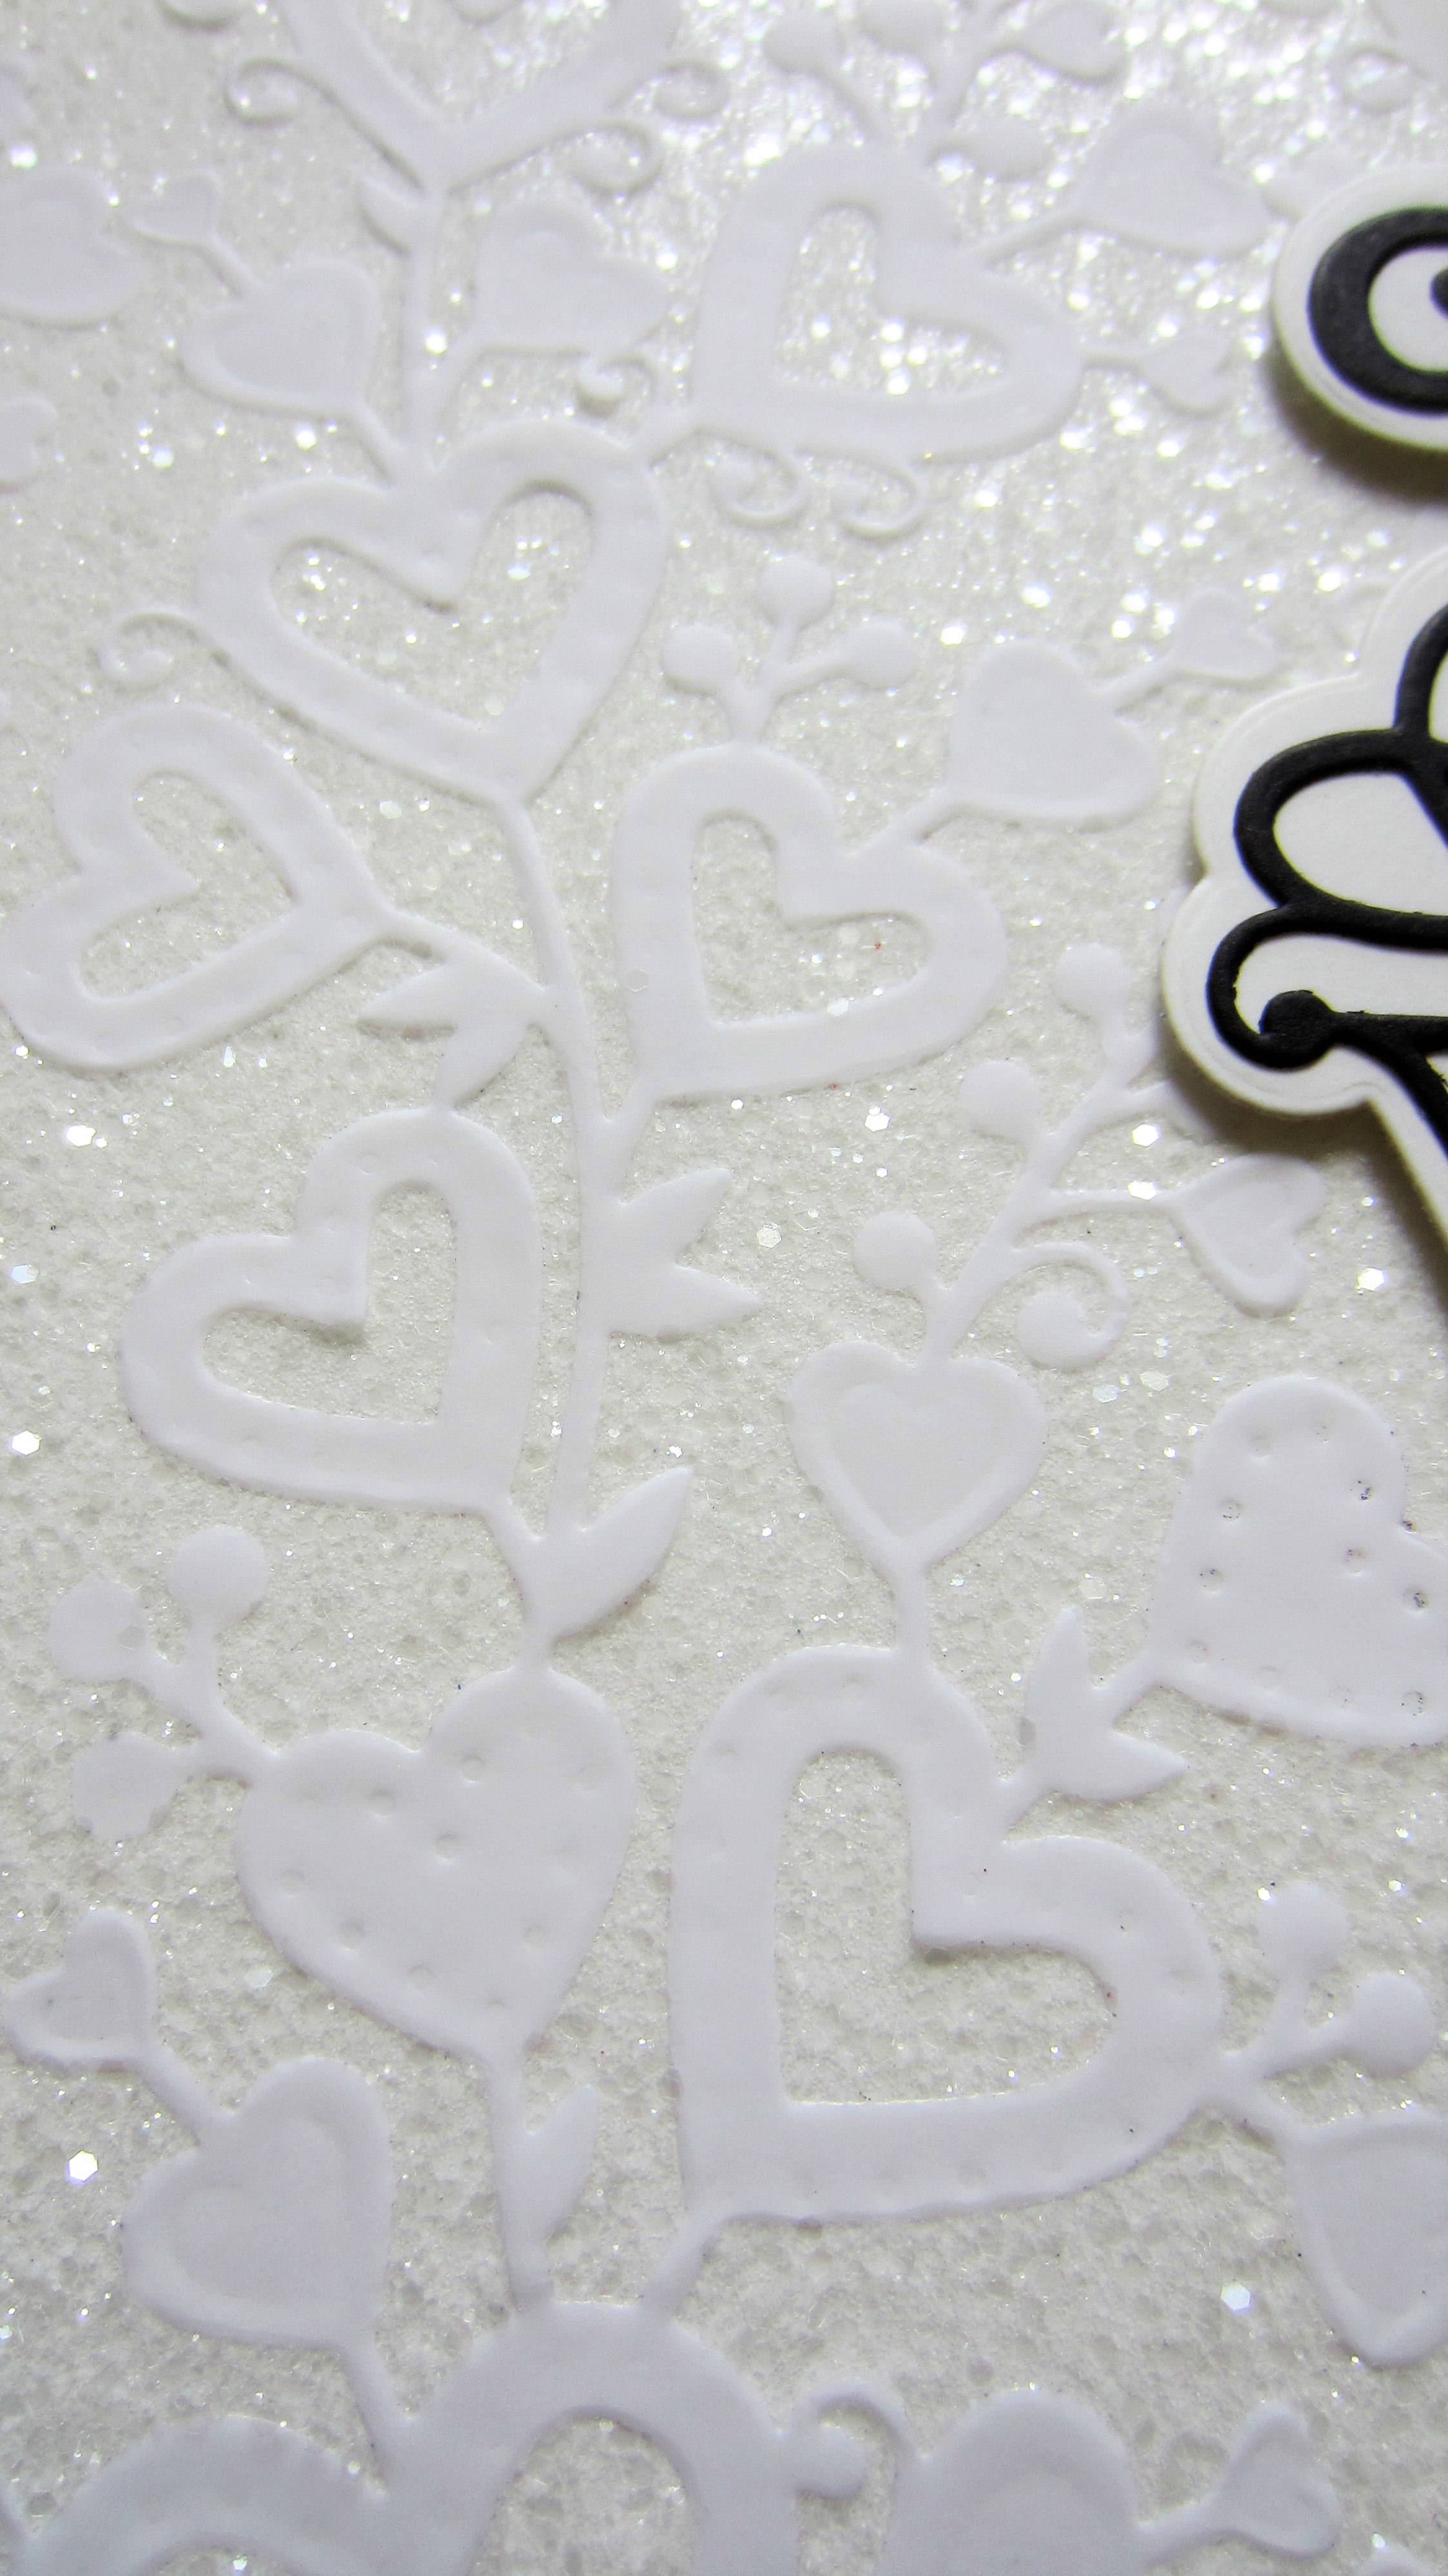
Good Sunday morning all! I started this card by covering a piece of white card with a piece of sticky adhesive sheet. I cut the Slimline Anniversary Hearts out of vellum several times. I peeled the backing paper off the sticky sheet and attached the Anniversary Hearts to it. I used one more and nipped it into pieces to fill in the open areas. I coated the remaining exposed adhesive areas with Frosted Sparkle Glitterbitz. I cut the Love Border in black and added it to a white shadow backing piece then attached it with mounting foam to the right side of the card. The card was completed with white and black mats and layers. The finished dimensions are 7" x 8" in size. All for now, Sue x


.JPG)