Friday 30 April 2021

Sweet Wishes

 Hi bloggers!  I started todays card by creating the background which uses Pixie Sparkles.  I used the Teal Marine Pixie Sparkle all over a piece of card and then spritzed it with water.  I used the Slimline Essential Frames and cut the centre out of the pixied background, then added a thin white frame around the aperture.  I added mounting foam to raise it then recessed the pixied centre into it.  I cut the Slimline Decorative Rectangle Aperture Trio in white and glued it into the recessed centre.  Using the Here's The Scoop and Treat Yourself Cupcakes die sets, I cut the cupcakes and cone out of tan card.  I used powder pink tops for all of the sweet treats, then added cherries on top of a couple of them.  I used mounting foam to add them to the top and bottom sections.  I used the Sweet Wishes sentiment cut in white and glued it to the centre section.  The card was completed with white mats and layers.  The finished dimensions are 4 3/4"  x  9 1/4" in size.  All for now, Sue x


                                                        Follow my blog with Bloglovin

Thursday 29 April 2021

Every Day Is A New Adventure

Hello bloggers!  I created this background by randomly cutting pieces of rust card to look like the spots on a giraffe.  I cut each one then inked around the edge with Vintage Photo distress ink, then laid them down on a piece of Press 'N Seal which is actually a food storage product that you can buy in the market.  It is very lightly tacky and it held all the pieces in place where I wanted them, then when I was ready to add them to the milk card, I just put glue on the pieces and flipped it over onto my milk card and gave them a press to stick, waited a minute for them to set and then peeled the Press 'N Seal off of it.  Next I stamped the Giraffe stamp and cut it out with the matching Giraffe die.  I coloured it with Distress Markers, then added a backing that I inked lightly with Tumbled Glass Distress ink.  I then added it with foam to a couple of the Double Stitched Rectangles that I stacked.  I stamped the sentiment from the Wild About You clear stamp set and cut it out and added it below the giraffe die cut.  The card was completed with milk and rust mats and layers.  The finished dimensions are 6 3/4"  x  9"  in size.  All for now,  Sue x


                                                         Follow my blog with Bloglovin

Wednesday 28 April 2021

A Hug For My Friend

 Hi crafters!  I started by tapping the Puerto Rico Blocks mask to a piece of white card.  I used the Honeydew Matt Chalk Polish through the mask.  Next I covered the background with a piece of sticky adhesive sheet, then peeled the backing paper off and coated it with Frosted Sparkle Glitterbitz.  Using the Double Stitched Square die set, I cut two thin frames out of Honeydew card and one slightly thicker frame out of white card.  I added the larger green frame to the top of the white frame, then added it over the background with mounting foam.  I added the thinner green frame inside of the larger frame.  From the Friend Die/Stamp Combo set, I stamped the sentiment on 
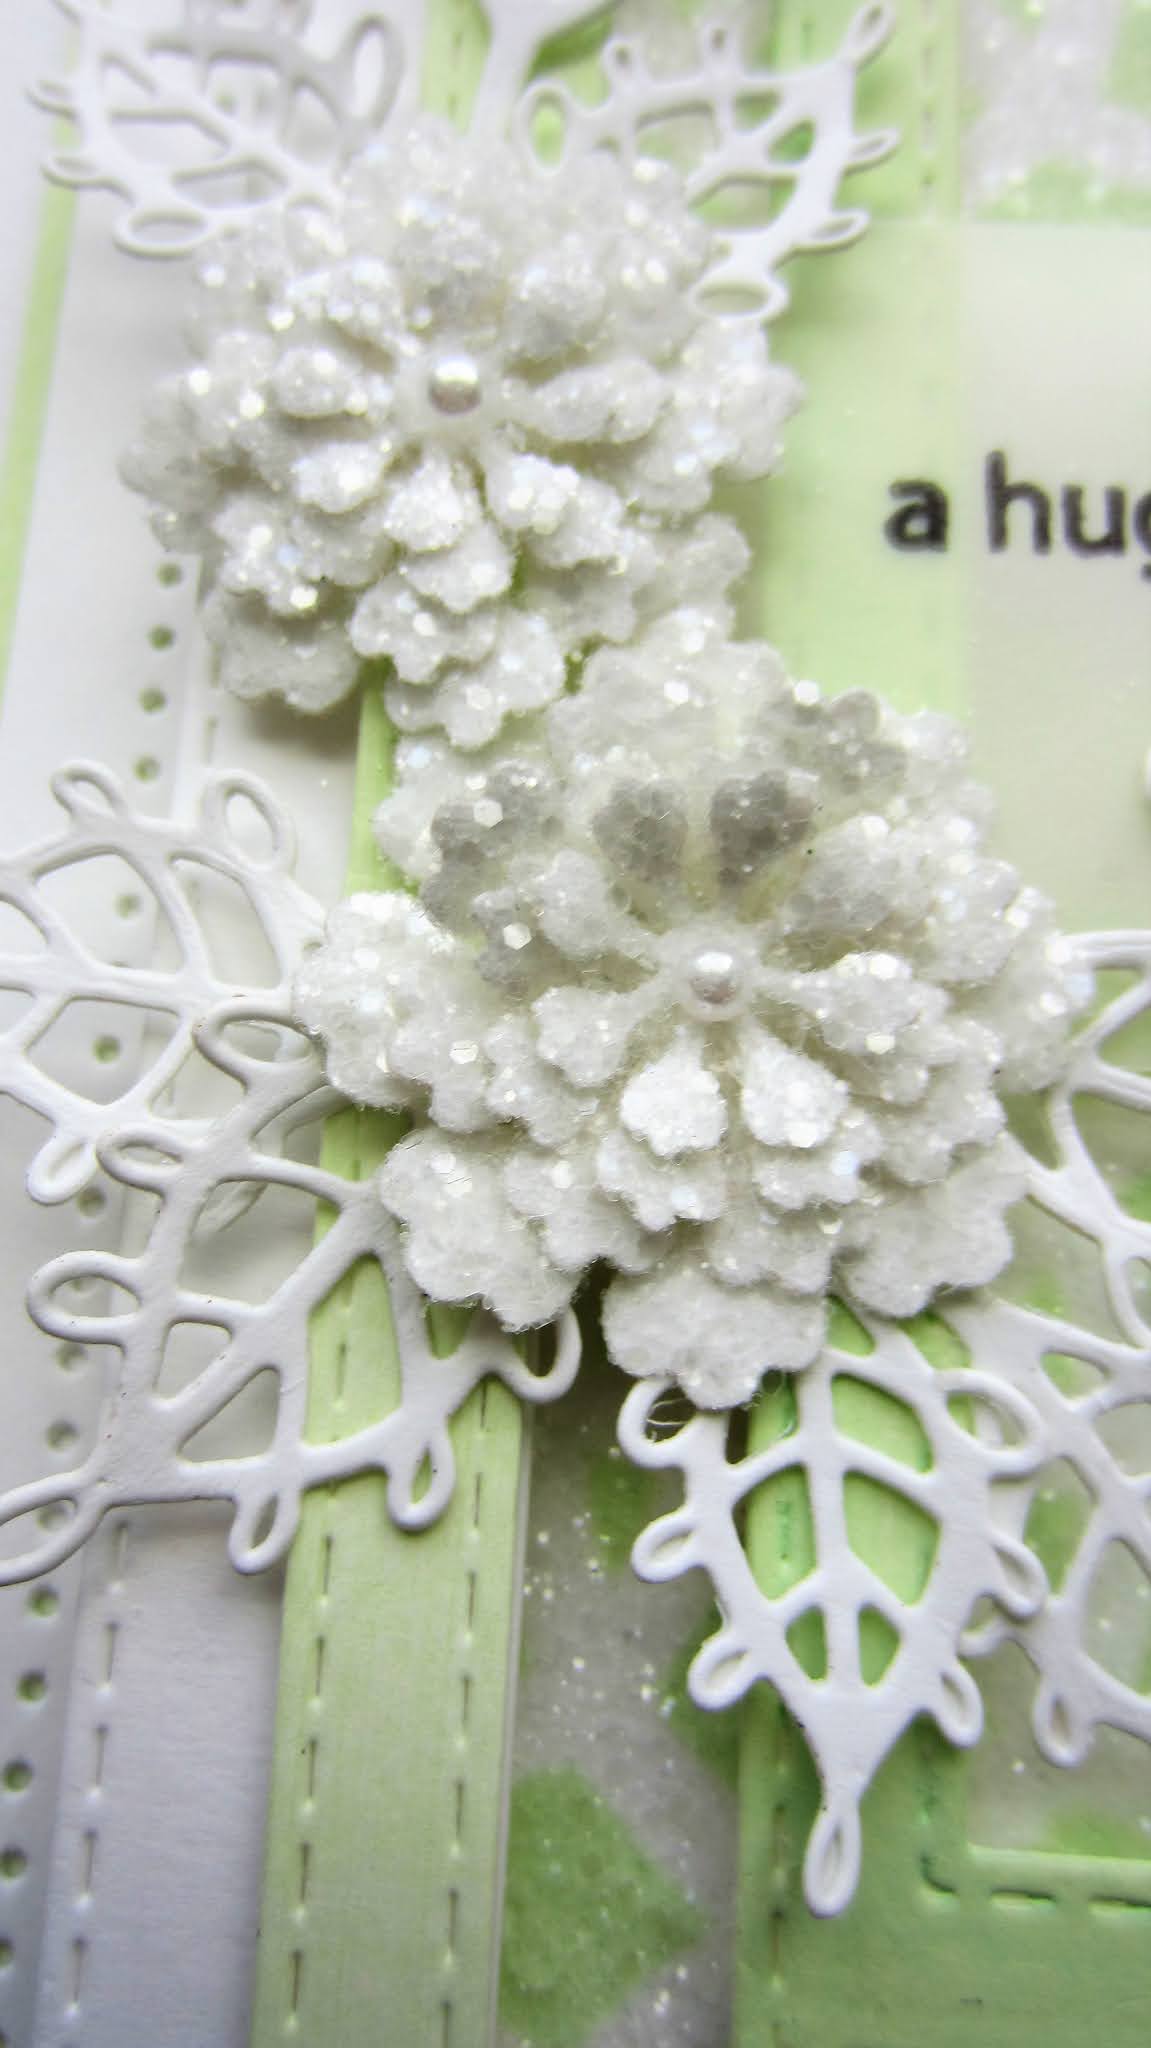
white vellum, then added the word Friend to it and attached it across the frame from edge to edge.  I made two glittered Button Flowers and added them to the left side of the vellum strip with Lace Edged Leaves as accents.  The card was completed with white and Honeydew card mats and layers.  The finished dimensions are 7 3/4"  x  7 3/4"  in size.  All for now, Sue x


                                                        Follow my blog with Bloglovin 

Tuesday 27 April 2021

To A Dear Friend

Hi bloggers!  I thought I would show off one of the new Stampcut dies today.  I started by embossing a piece of white card with the Stripes embossing folder.  Next I cut the Cut Corner Rectangles to make a wide white frame.  I cut another one in black and cut it in half, then used it as an outer edge shadow.  I added mounting foam to the back of the frame then added it to the embossed background.  I stamped and cut out two of the Wild Rose Cluster Stampcut die.  I decided to not go red or pink and instead tried a rusty sort of colour.  I used Distress Markers to colour the die cuts, then added foam to them and mounted them on the sides of the frame.  I cut the To A Dear Friend sentiment in black and glued it inside the frame.  The card was completed with white and black mats and layers.  The finished dimensions are 6 3/4"  x  8 1/2"  in size.  All for now, Sue x 


                                                       Follow my blog with Bloglovin

Monday 26 April 2021

Elephant

Hello there my crafty friends!  Who doesn't love elephants!  I started this card by using the Pearlescent watercolours on a piece of white card.  I used the Golden Sunrise  and the Ray of Sunshine  Next I cut the trees and elephants from the African Animals die set and the African Adventure die set in black.  I glued the trees to the top of the card and elephants to the lower portion of the card.  Next, I stamped the Elephant stamp and cut it out with the matching Elephant die.  I used Distress Markers (weathered wood, rusty hinge and mustard seed)  to colour the elephant, then added it with mounting foam to the centre of the card.  I completed the card with white and black mats and layers.  The finished dimension are 8"  x  9 1/2" in size.  All for now, Sue x


                                                          Follow my blog with Bloglovin

Sunday 25 April 2021

Sweet Wishes

Good Sunday morning all!  I started today's card by using a couple of different Matt Chalk Polishes on a piece of white card randomly.  I used Aqua and Wisteria Matt Chalk polishes. I used the Stripes embossing folder to add texture to the background.  I cut the Maggie die in white and added a wisteria card backing to it.  I used the Sweet Wishes sentiment cut in both wisteria and black.  I shadowed the sentiment then glued it to the centre of the die.   I cut one more Maggie die in white and nipped it in half, then attached the halves to the background with some width between them and added the wisteria Maggie die in the middle with foam.  I cut the Cosmos Flower solid dies out of a piece of white card with sticky adhesive sheet added to it.  I cut the matching outlines for each of the flowers.  I peeled the backing off of the solid die cuts, added the outline to them, then glittered them with Frosted Sparkle Glitterbitz.  I did this to each of the flowers, then assembled them and added them to the card in opposite corners, then accented them with Mosaic Leaves.  The card was completed with white mats and layers.   The finished dimensions are    6 3/4"  x  8 1/2" in size.  All for now, Sue x


                                                         Follow my blog with Bloglovin