Thursday 31 May 2018

Textured Frame Card


Hi bloggers!  The Isobel die set is a completely different type of die.  IT is more of an overlay and was designed to add beautiful texture and dimension by stacking.  Today's video shows off the die in a beautiful way, just the vision that I had for this design.


The finished dimensions are 7 3/4" x  7 3/4" in size.  All for now, Sue x
                                                      Follow my blog with Bloglovin

Wednesday 30 May 2018

Thank You

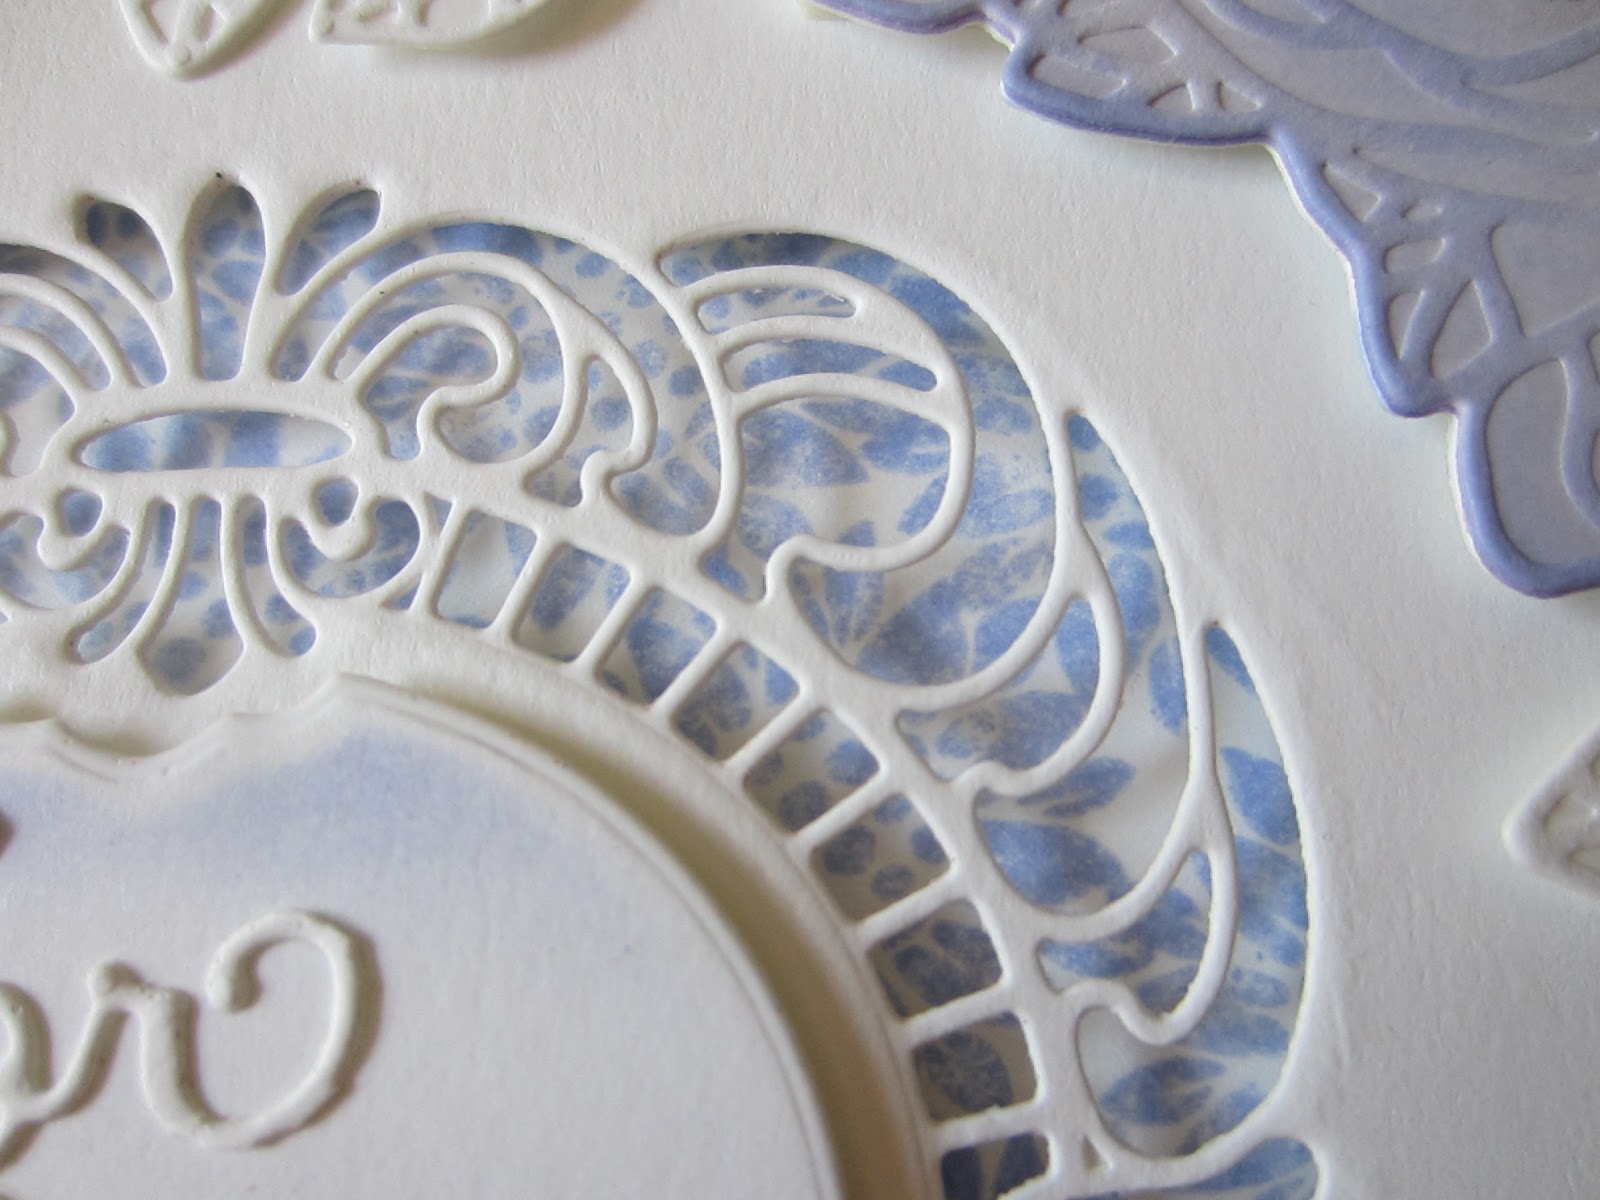
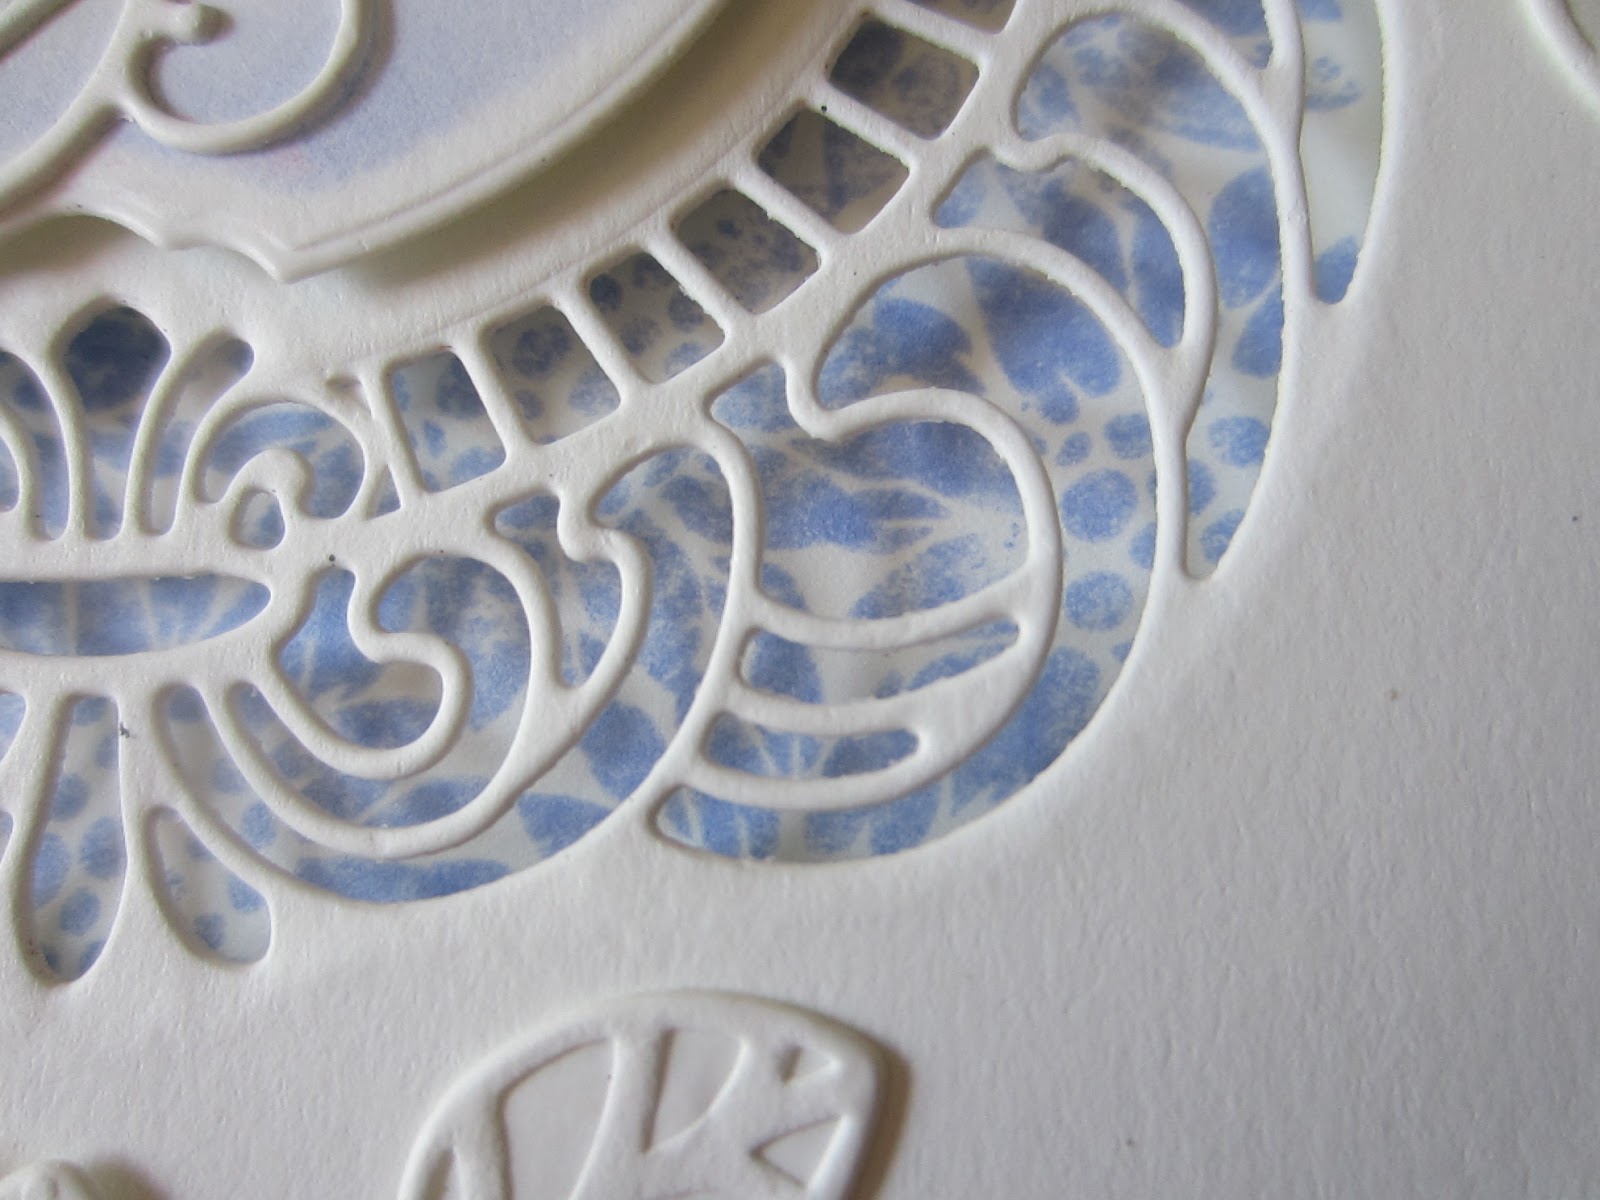
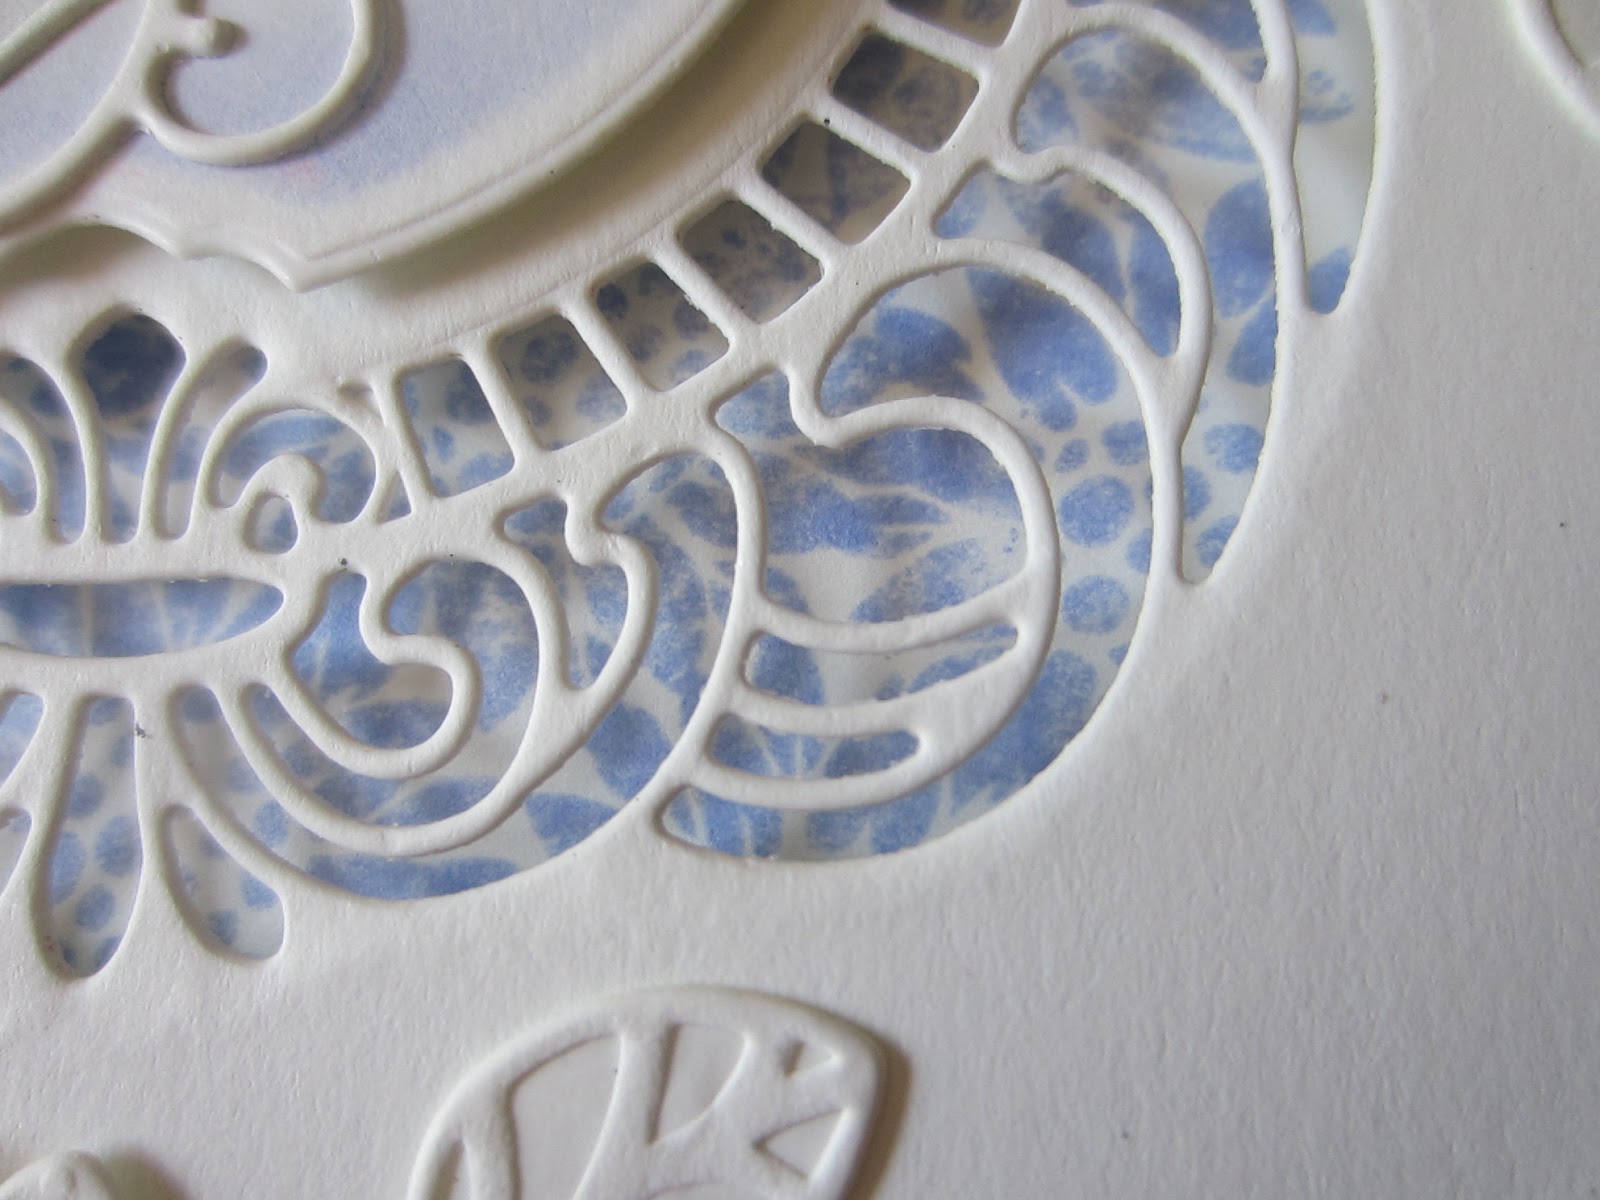
Hello crafters!  Today's offering is a Noble card, so it's big one!  I started with the background,by embossing a piece of coconut white card with the Aztec Flower embossing folder.  I added small white pearls at the junctions around the focal element.  Next I cut the Classic Adorned Octagon for the outer section in Cobalt blue.  I switched and used the decorative dies from the Lavish Accented Octagon.  I used the Double Stitched Noble Octagons to add frames around both sections, with the inner section raised with mounting foam.  I seated it over the smaller white decorative section which was also cut from the Lavish Accented Octagon set.  I cut a centre blue octagon and added the Thank You mini expression to it cut in white.  The Passion Flower die set was used to create a couple of flowers to accent opposite corners.  I seated the larger flower on a satin bow and added leaf accents to both.  White on white mats were used to complete the card.  The finished dimensions are 8 1/4" x
8 1/4" in size.  All for now, Sue x


                                                      Follow my blog with Bloglovin

Tuesday 29 May 2018

Beautiful Hydrangea Card


Hi crafters!  Today's video explains how to use the Beautiful Hydrangea die.  There is also an easy but very pretty background technique too.  Hope you enjoy it!


The finished dimensions are 7 1/4" x  7 1/4" in size.  All for now, Sue x
                                                      Follow my blog with Bloglovin

Monday 28 May 2018

For You

Hi crafters!  I have a pretty little number in lilac and white for today's offering.  I started by cutting the Michelle decorative die without the outer cutting edge.into the centre of a piece of coconut white card.  Next I used one of the flower stamps from the Floral Happiness clear stamp set and stamped it on to another piece of coconut white card using Shaded Lilac ink.  I got the flowers as close together as possible without overlapping them.  I added mounting foam to the back of the decorative cut out card and placed it over the stamped piece so they showed through.  In the corners of the top piece, I used the Summer Rose frame to create two corners.  I cut the frame twice out of white card and twice out of wisteria card.  I nipped away the larger corner on both white pieces and added them to the corners with mounting foam.  I cut away just the large roses out of the wisteria card and glued them on top in place on the white corners.  I lightly inked them with Shaded Lilac ink too.  I cut the sentiment from the Rose frame and used it for the centre of the card, seating it on the inside die from the Michelle die set.  I inked it lightly with Shaded Lilac as well.  The card was completed with white on white mats and layers.  The finished dimensions are 8" x  8" in size.  All for now, Sue x


                                                       Follow my blog with Bloglovin

Sunday 27 May 2018

Best Husband

Good Sunday morning all!  With Father's Day right around the corner (in both the UK and the US, perhaps even Canada, Australia and others), I thought I would share a super simple card for you.  I started with a piece of tan card and used the Stitched Pegboard die set to create a Faux Pegboard background for my card.  I used the stitched dies in the set to add a multi layer frame of tan and Antique silver card for interest.  I layered them up with mounting foam.  From the In The Tool Box die set, I cut all the various tool dies and added silver paint pen for the metallic look on them.  I glued them all to the pegboard background as if they were from a neat an organised garage (who are they kidding!LOL)  Finally I added the Best Husband sentiment stacked a few times to it, but you could easily adapt for Father's Day or birthdays too!  I completed the card with white, tan and silver mats and layers.  The finished dimensions are 7 1/4" x  7 1/4" in size.  All for now, Sue x


                                                    Follow my blog with Bloglovin

Saturday 26 May 2018

Chocolate Topped Ice Cream Sundae Card


Hi there my crafty friends!  I think you can easily send an ice cream sundae for almost any occasion, who wouldn't love it!  Don't forget the Creative Expressions choco brown PVA glue to use as your "chocolate" sauce on top!


The finished dimensions are 6 1/2" x  7 1/2" in size.  All for now, Sue x
                                                       Follow my blog with Bloglovin