Thursday, 7 March 2024

For A Special Friend

 Hello crafters!  I selected white, mauve and soft lavender card for today's offering.  I embossed the white card with the Tidal Sands embossing folder.  I cut the Soft Lavender card on the diagonal and glued it to the white, embossed card.  I added a thin strip of mauve card across the diagonal join.  Using the Layered Hydrangea die set, I made a multi-head flower using Mauve and soft lavender card.  I cut the leaves and stems in two shades of green card.  I assembled the flowers and added them in the bottom corner of the card.  I cut the For A Special Friend sentiment in both mauve and black.  I shadowed the die cut with the black die cut and added it to a white shadow backing piece.  I added it with mounting foam at the top of the card and cut a white Bauble branch as an accent and added it across the top of the card. The card was completed with white and mauve mats and layers.  The finished dimensions are 7"  x  8"  in size.  


All for now, Sue x


                                                       Follow my blog with Bloglovin

Wednesday, 6 March 2024

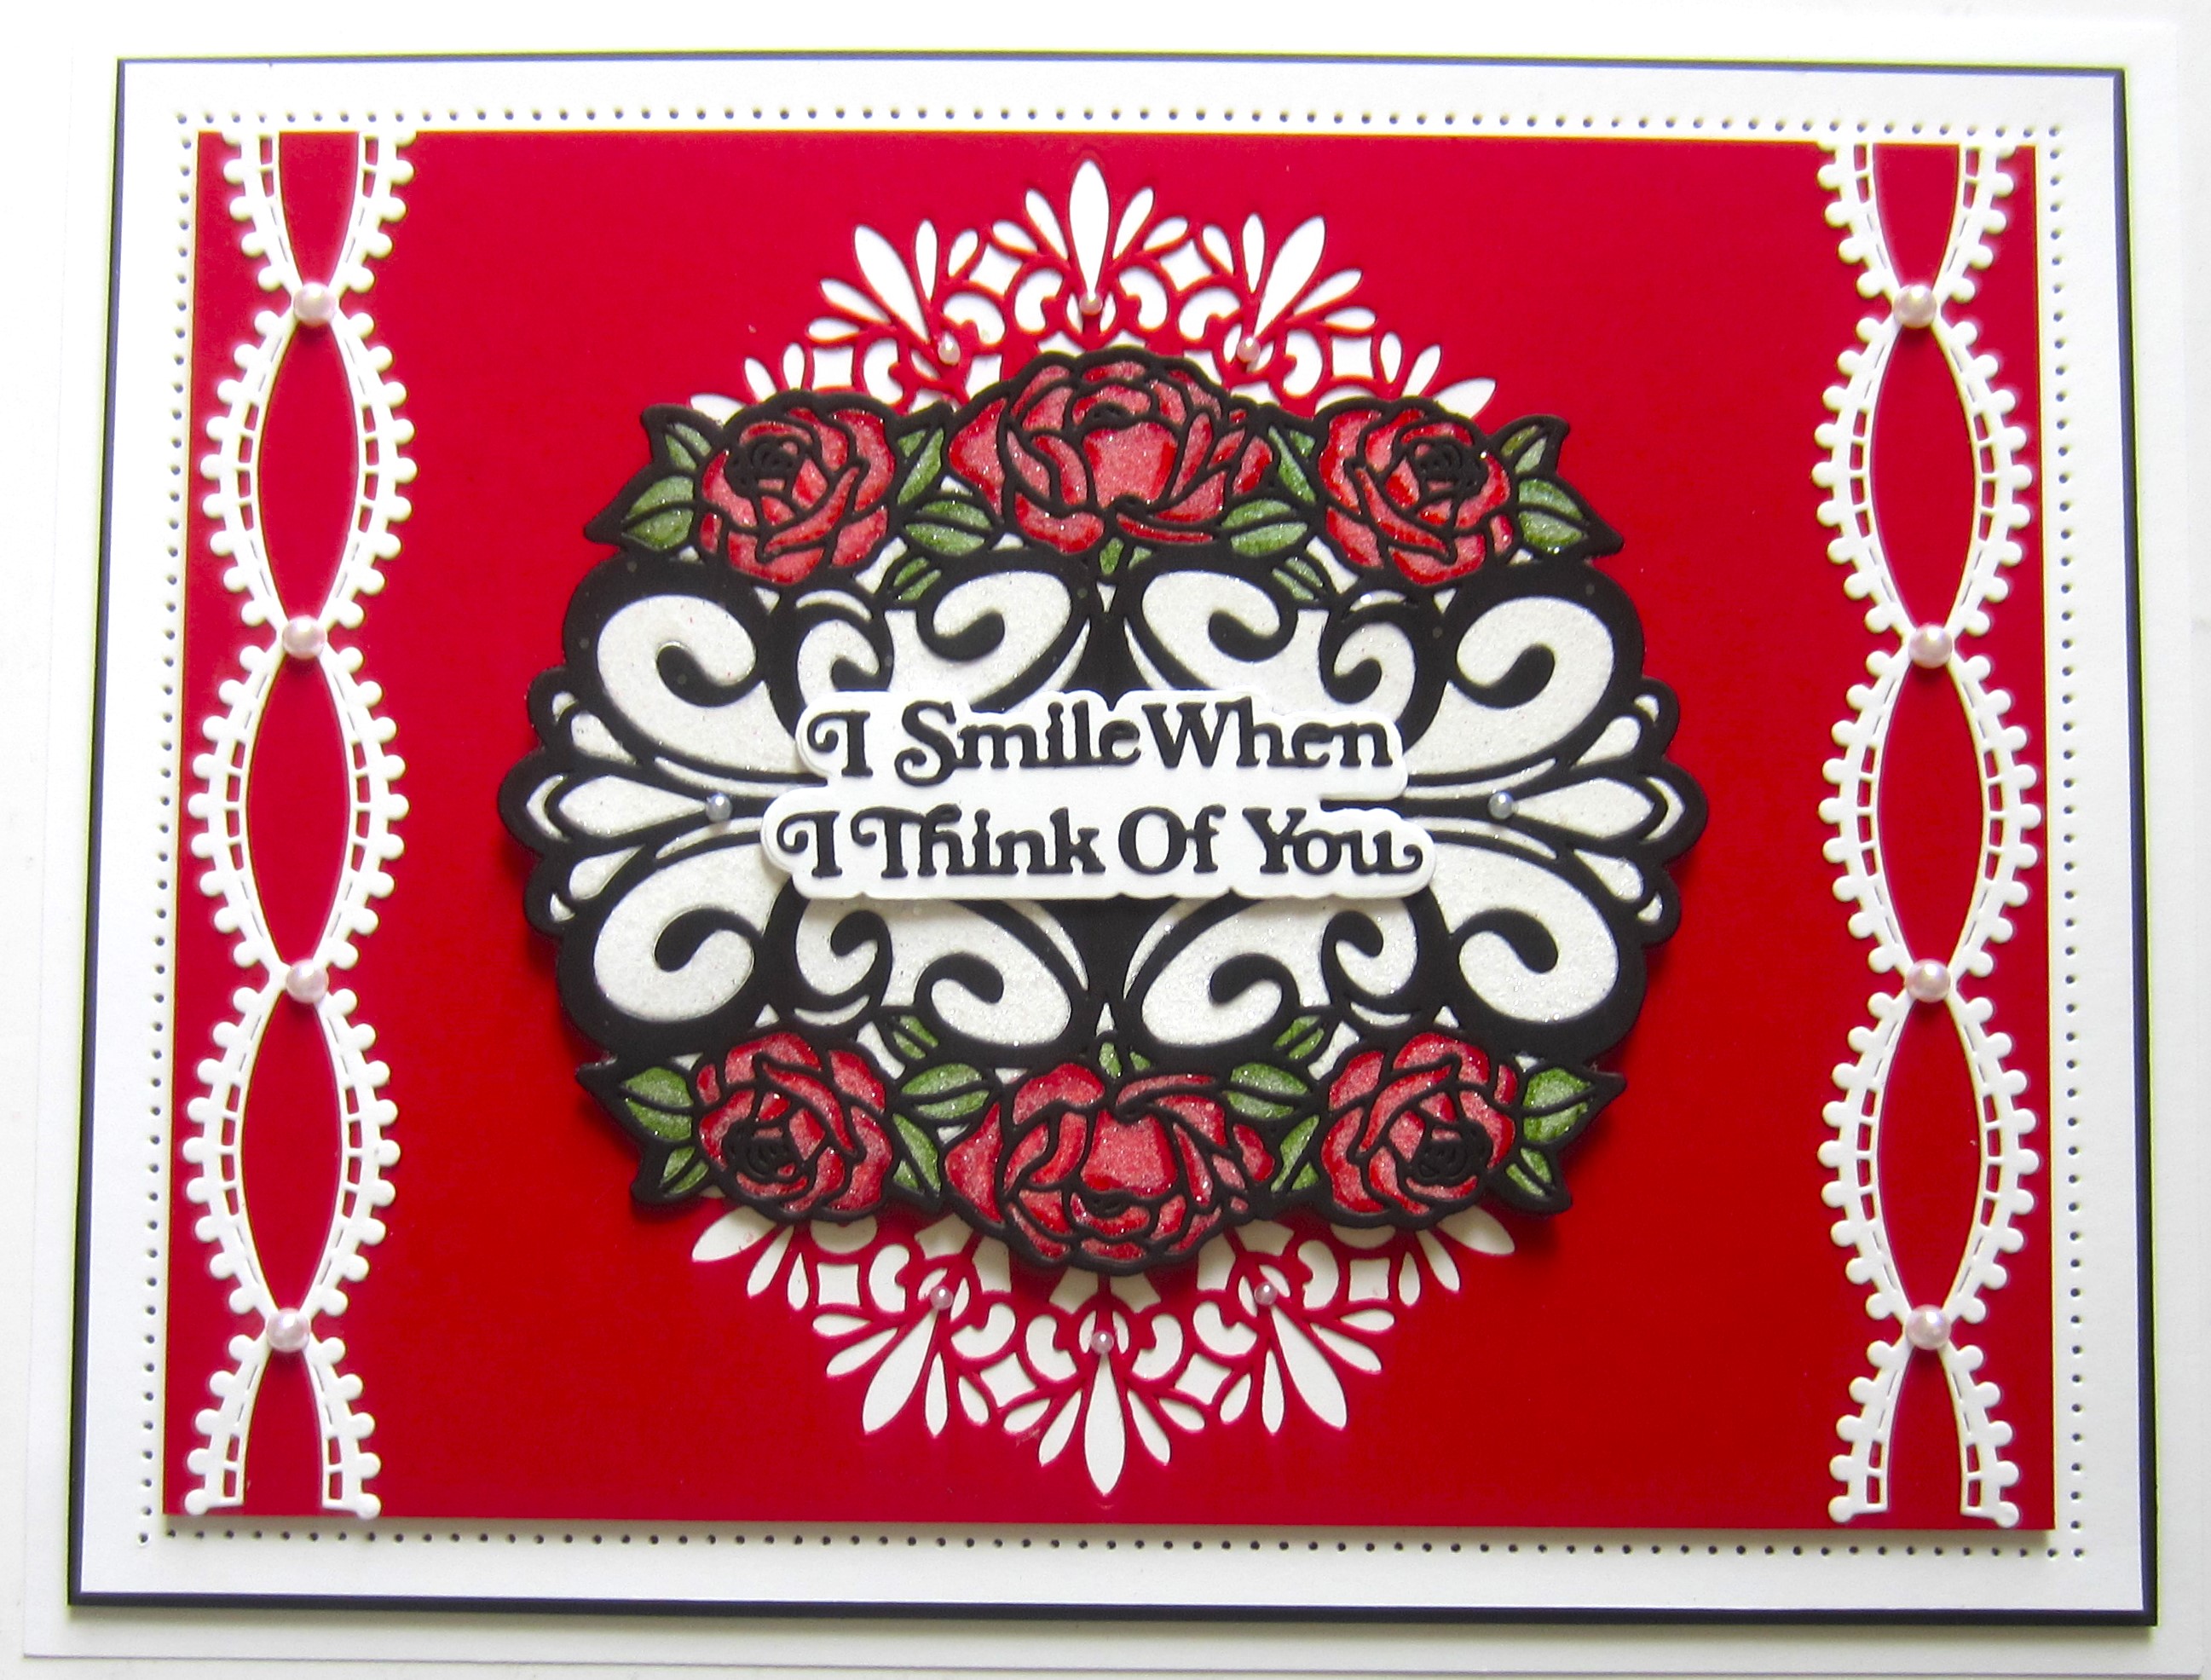
I Smile When I Think Of You

 Hello bloggers! I selected a piece of Ruby Red card for the background.  I used the Alice die and cut it into the card.  I backed it with a piece of white card.   Using the Lace Coronet Border, I cut it four times in white and glued them in pairs to the edges of the card.  I cut the Gloria die with a piece of black card on top of a piece of white card.  I coloured the white embossed copy with alcohol ink markers, then covered the piece with a sticky adhesive sheet and added the black die cut on top.  I trimmed away the excess adhesive sheet.  I sprinkled Frosted Sparkle Glitterbitz on top.  I added the die cut to the centre of the card with mounting foam.  I cut the I Smile When I Think Of You sentiment in black and added it to a  shadow backing die.  I added the sentiment across the middle of the die.  The card was completed with white and black mats and layers.  The finished dimensions are 7 1/2"  x  9 1/2" in size. 


 All for now, Sue x


                                                         Follow my blog with Bloglovin

Tuesday, 5 March 2024

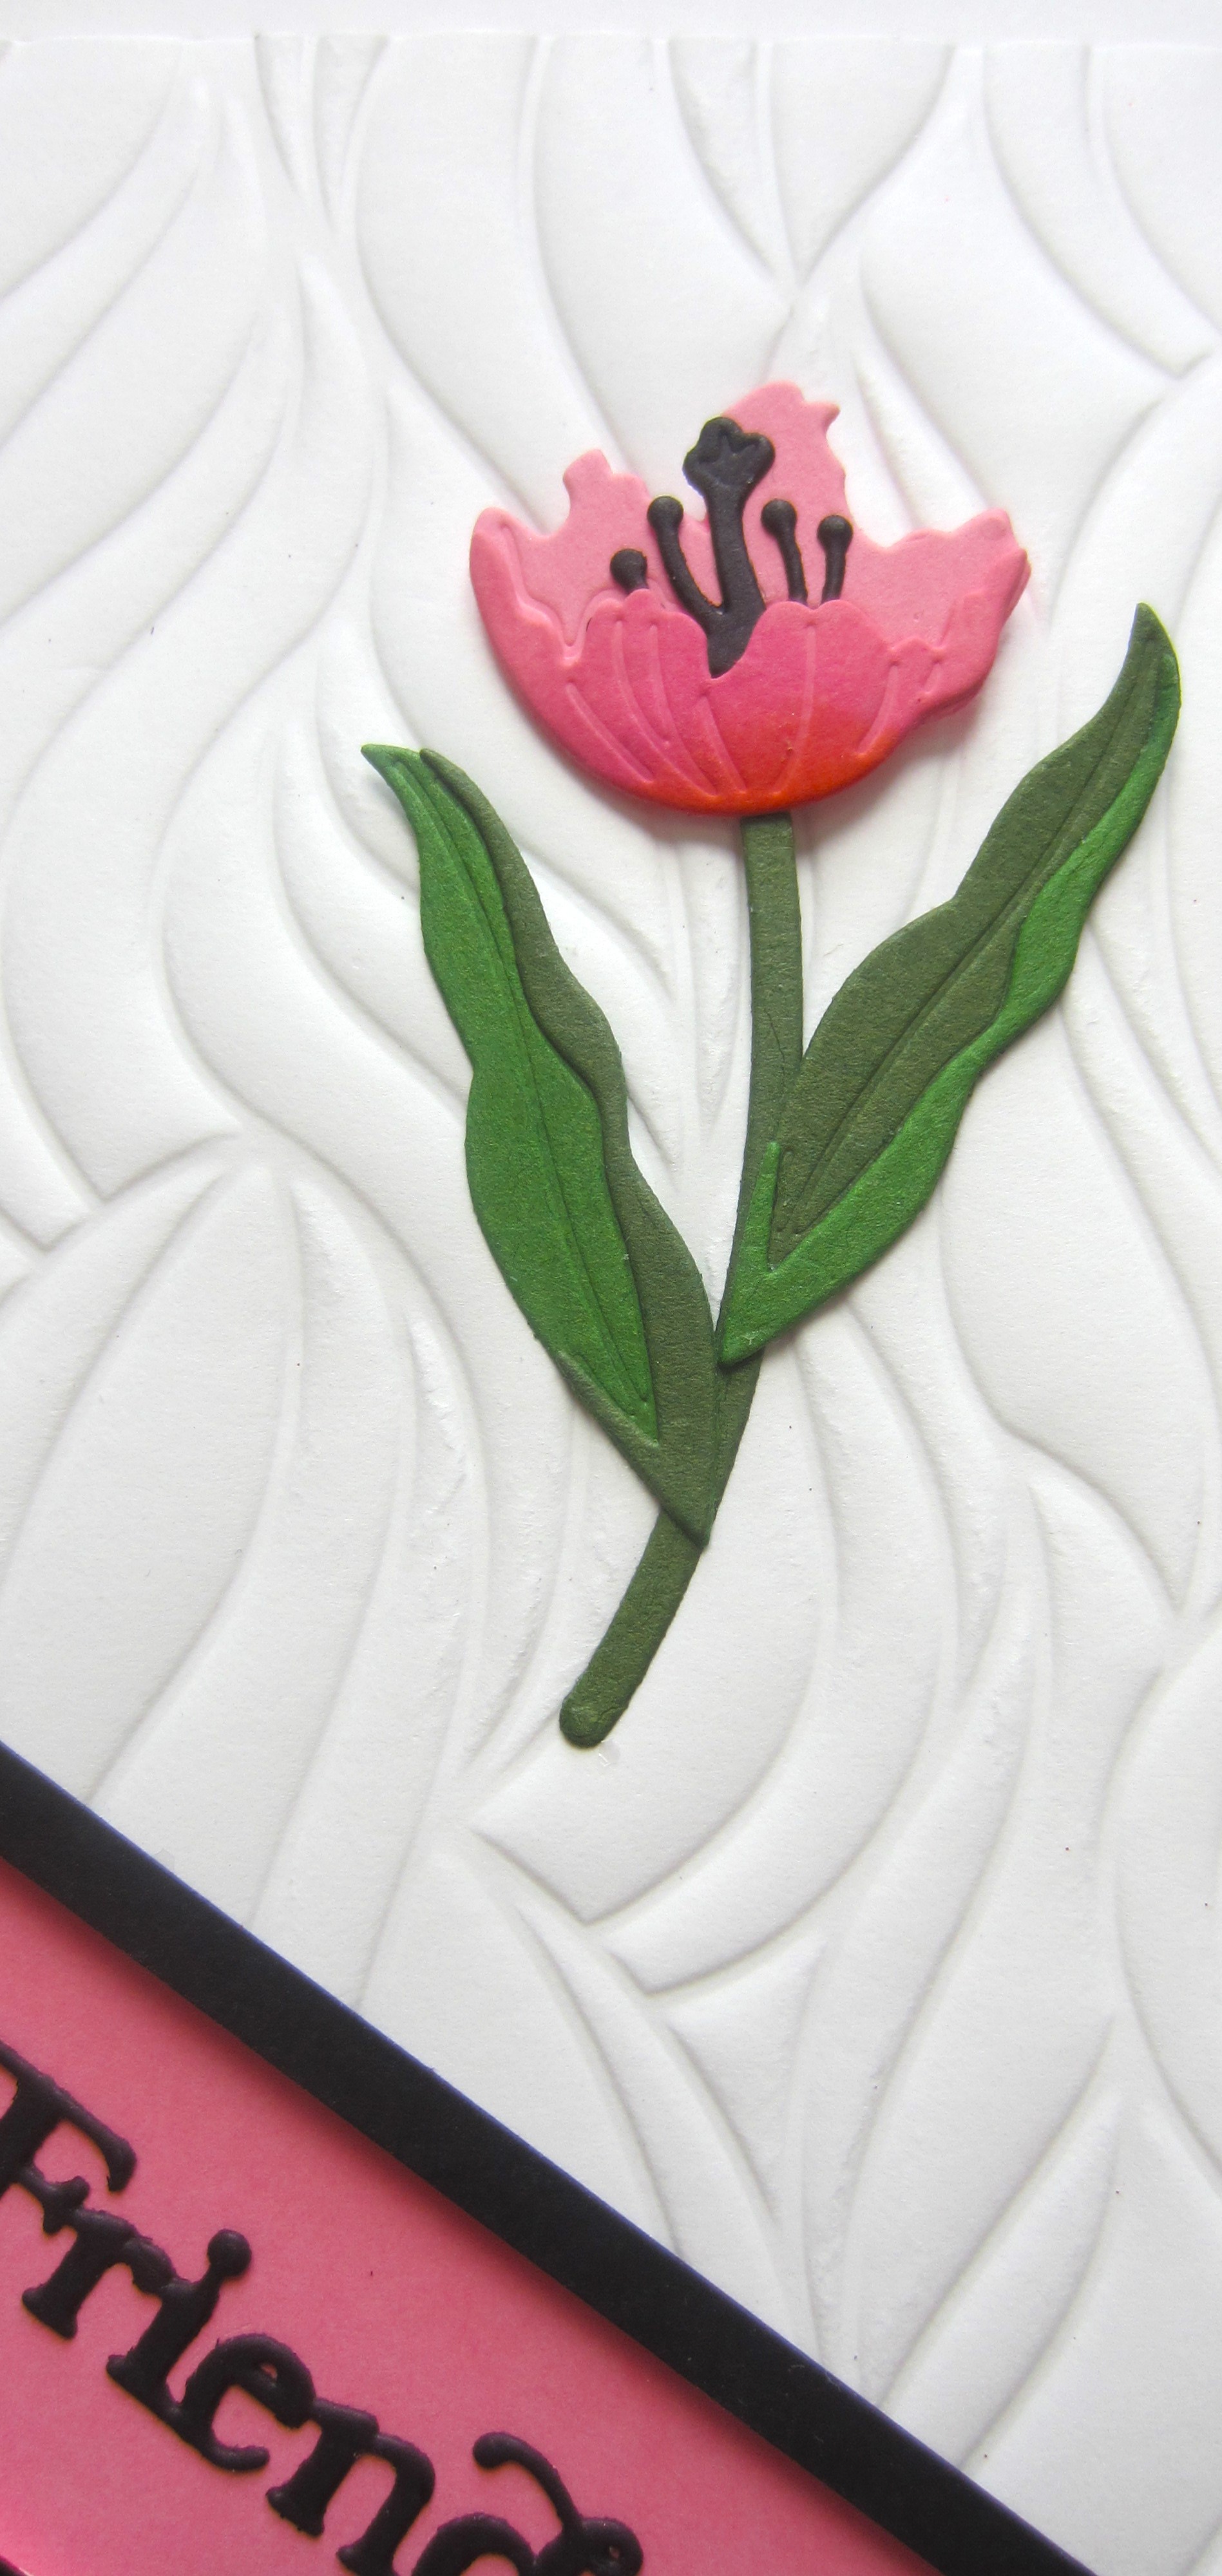
For A Special Friend

 Hello crafters!  I embossed a piece of white card with the Tidal Sands embossing folder.  Next I cut it on the diagonal and added mounting foam to both halves.  I added the two embossed pieces to a piece of Pink Cotton card.  I added two thin strips of black card to the cut edges of the embossed piece.  Using the Layered Tulips, I cut three flowers out of pink cotton card and inked them lightly with Picked Raspberry distress ink.  I cut the stems and leaves out of two shades of green card and assembled the flowers.  I glued a double flower to the lower portion of the card and I glued the single tulip to the top of the card.  I cut the For A Special Friend sentiment in black and glued it diagonally down the middle of the embossed card.  The card was completed with white and black mats and layers.  The finished dimensions are 8"  x  8 3/4"  in size.  


All for now, Sue x


                                                        Follow my blog with Bloglovin

Monday, 4 March 2024

For My Friend

 Hello bloggers!  I cut the Della die with a piece of black card and a piece of white card underneath it.  I used the white copy that had the image embossed into it to colour with alcohol ink markers.  I attached the black die cut on top of it and cut the die down the centre.  Using the Round Corner Squares, I made a multi-layered frame with a wider Mauve base and a thinner black frame on top.  I added mounting foam to the back of the frame and attached the two cut edges of the die to it.  I added it to a piece of white card.  I cut the For My Friend sentiment in black and glued it to the inside of the frame.  The card was completed with white, mauve and black mats and layers.   The finished dimensions are 8"  x  8" in size.  


All for now. Sue x


                                                       Follow my blog with Bloglovin

Sunday, 3 March 2024

Best Wishes


 Good Sunday morning all!  I embossed a piece of black card with the Peony Blooms 3D embossing folder.  I used a white pigment ink pad and rubbed it over the top of the flowers to highlight them a bit.  I cut the Layered Asters in shades of yellow and assembled the flowers and glued them to the stems and leaves and attached them to the centre of the card.  I added brown centres to the full flowers covered with micro beads.I cut the Best Wishes sentiment in yellow and added an orange shadow backing die, then glued it below the flowers.  The card was matted in yellow and orange the added to a piece of white card with Frosted Sparkle Glitterbitz added around the edge.  The card was completed with white mats and layers.  The finished dimensions are 8 1/4"  x  8 1/4"  in size. 


 All for now, Sue x


                                                         Follow my blog with Bloglovin

Saturday, 2 March 2024

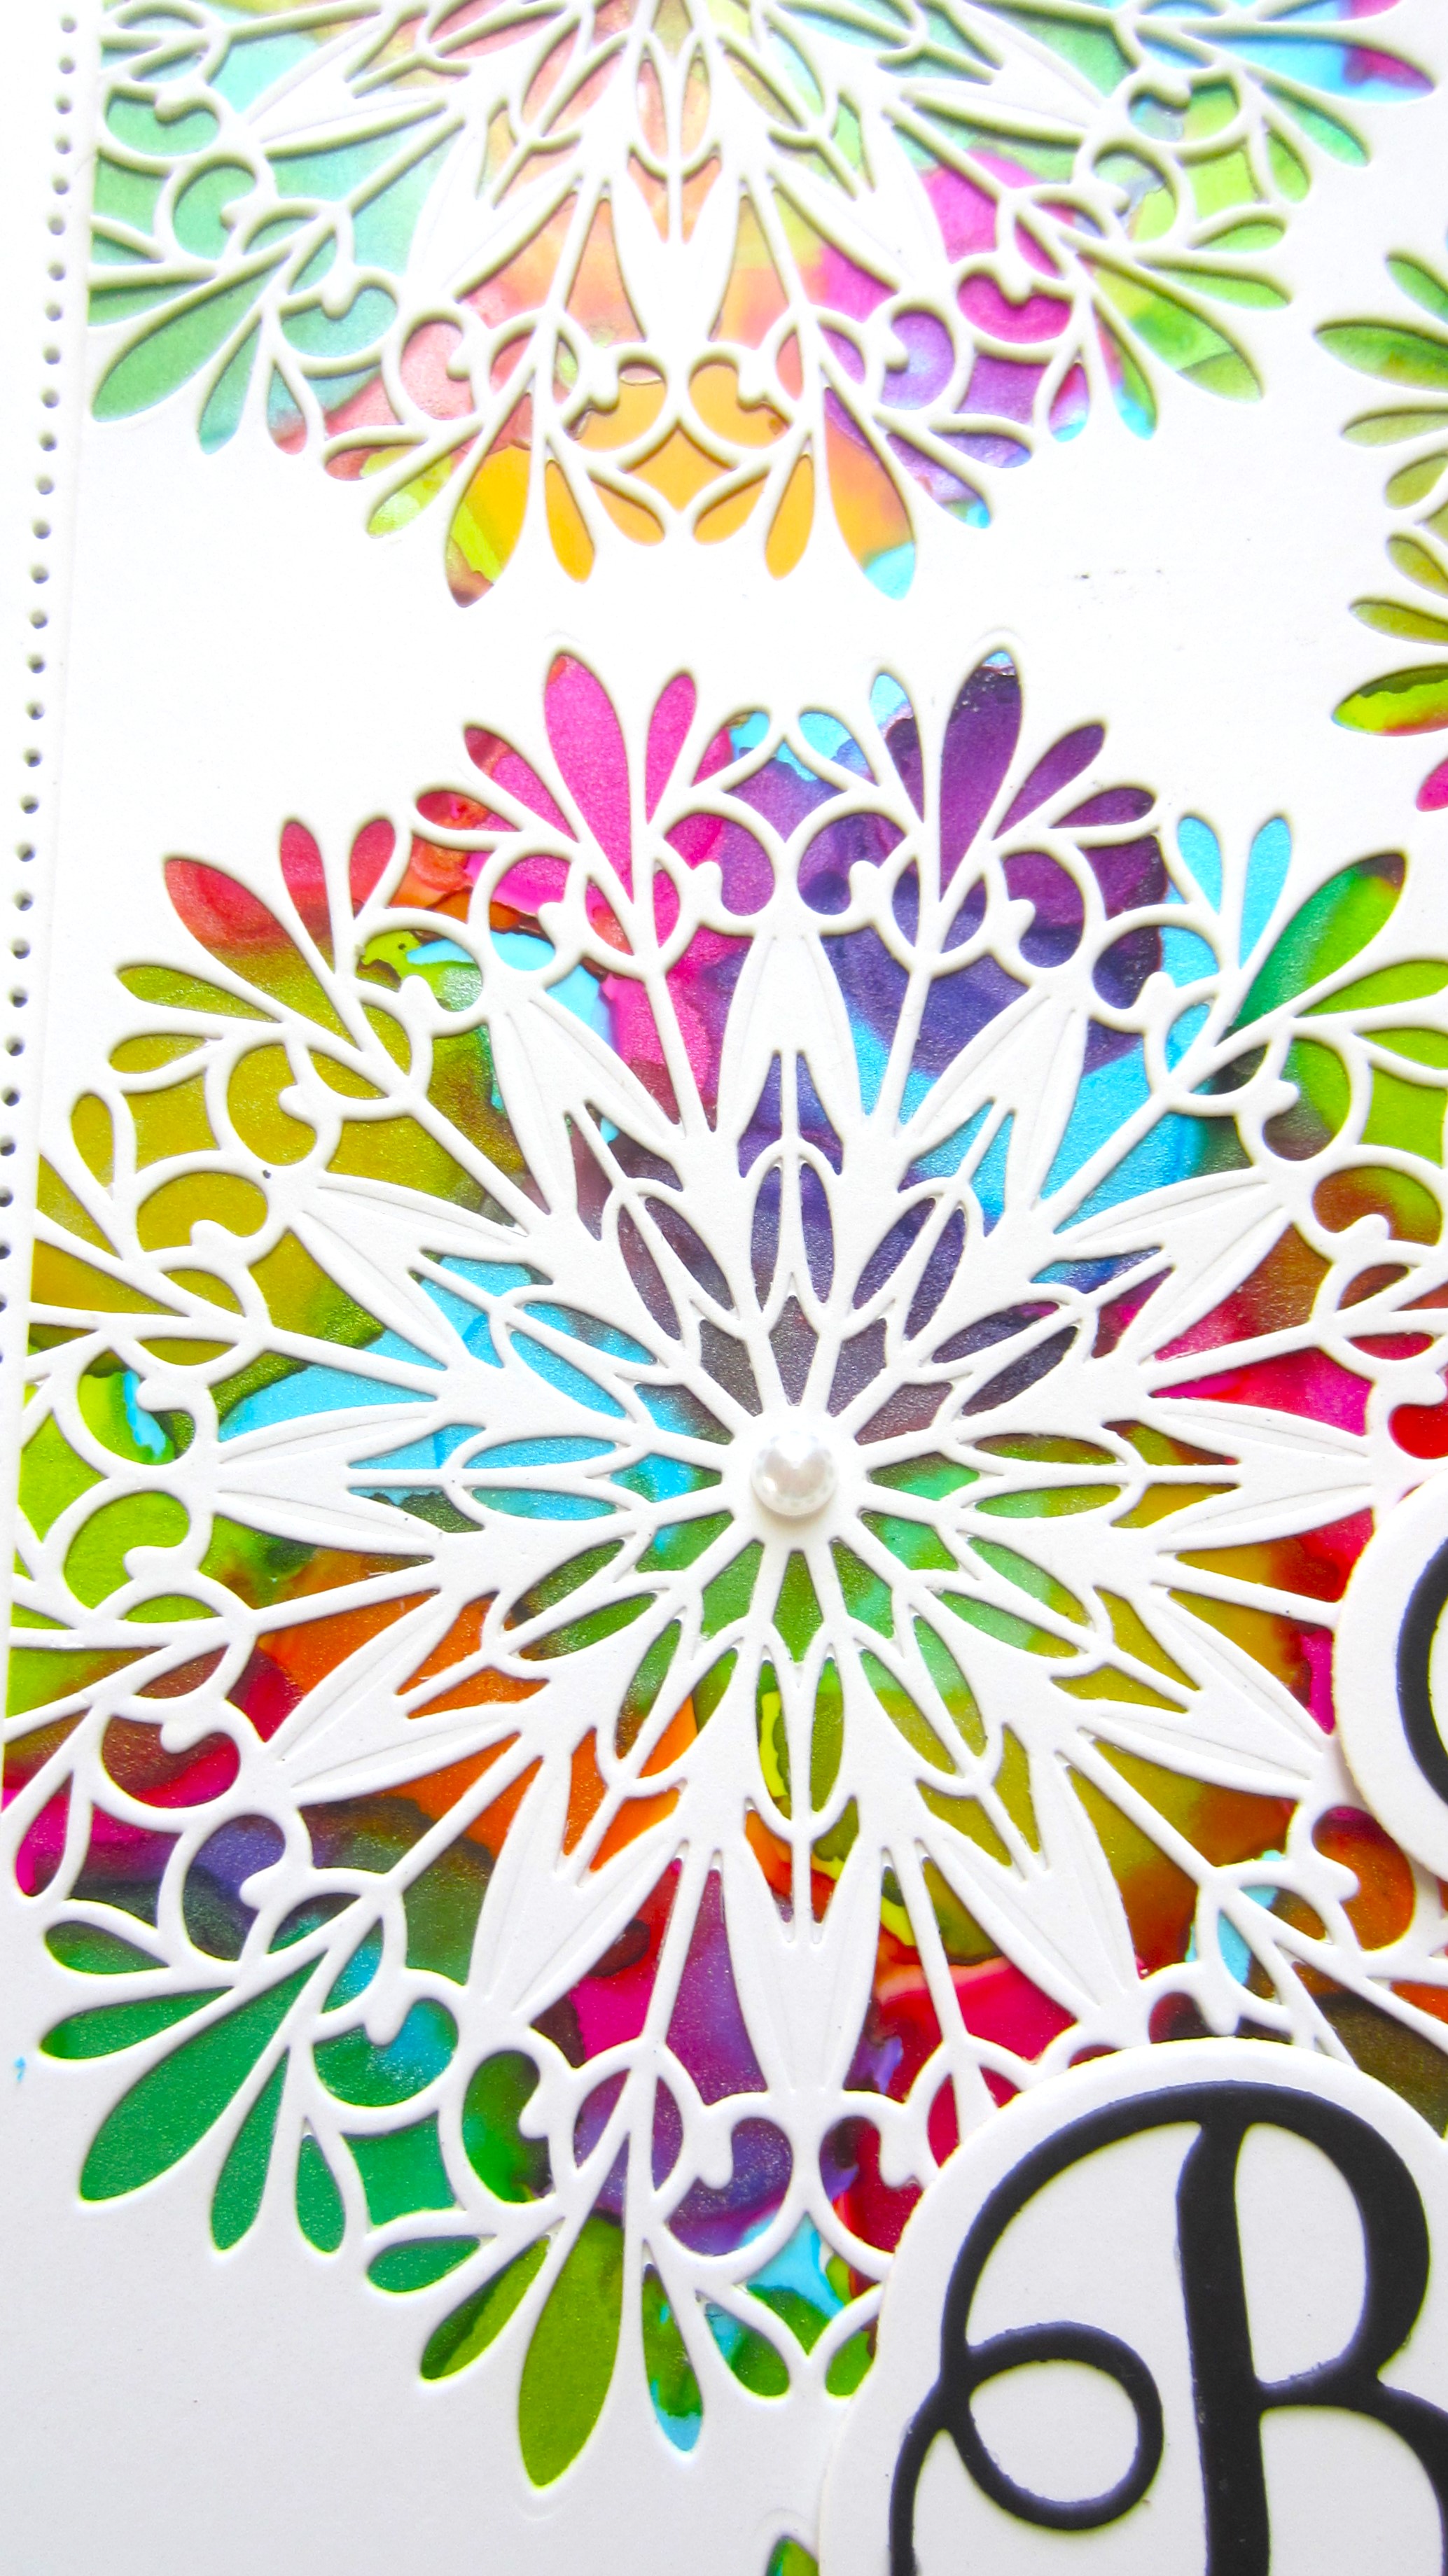
Just Because

 Hi bloggers!  I started with a large piece of Yupo card for the background.  I used an assortment of alcohol inks randomly all over it.  I used Sailboat Blue, Sunshine Yellow, Amethyst, Intrique, Sublime and Deception Alcohol inks.  Next I used the Alice die to cut it randomly into a piece of white card.  I glued them together so the alcohol inks showed through the die cut areas.  I cut the Just Because sentiment in black and added it to a white shadow backing piece and attached it at the bottom of the card.  The card was completed with white and black mats and layers.  The finished dimensions are 8 1/4"  x  9 1/4" in size.  


All for now, Sue x


                                                        Follow my blog with Bloglovin

Friday, 1 March 2024

Just For You

Hello crafters! I selected a piece from my background stash to use for today's card.  I made this piece using the Groovy Grape and Flirty Sky Pixie Sparkles and set it aside to dry.  Next I cut a smaller piece of white card and matted it with Mauve card and black card.  I cut the Layered Coneflowers in shades of Mauve and Soft Lavender card.  I cut the Leaves and stems in shades of green.  I assembled the flowers and added them to their stems and arranged them across the card.  I cut the Just For You sentiment in black and added it to a white shadow backing piece, then attached it to the top of the white card.  The card was completed with white and black mats and layers.  The finished dimensions are 6 1/4"  x  8"  in size.


  All for now Sue x                                                                                                    


                                                       Follow my blog with Bloglovin