Tuesday, 25 August 2020

Merriest Christmas Wishes

Hi bloggers!  I just love this Polar Bear set!  The idea for this card came from watching a video by Sandy Allnock on how to make a frozen lake.  She is an amazing crafter with some brilliant ideas if you have some time to check out her videos.  Here is the video for the frozen lake:
 https://sandyallnock.com/color-an-ice-fishing-pond/?mc_cid=9f6328af71&mc_eid=bc94a8400a
I was pretty pleased with my first attempt using what I had on hand so I decided to make it into a card.  After I finished the lake, I cut the Polar Bears from the Polar Bear Playtime die set and added aqua neck scarfs and added them to the card with foam.  I used the North Pole sign and igloo from the Penguin Palace die set.  I shaded the polar bears and igloo with a pale blue pencil then added some gray around the opening on the igloo.  I shaded a bit under where the igloo and the bears were placed on the card with the same blue pencil.  I used a fine liner black pen to trace the North Pole words in the sign before gluing it together and adding it to the card.  I cut the Merriest Christmas Wishes out of teal card and black card and glued it in the upper corner.  The card was completed with white mats and layers.  The finished dimensions are 6 1/2"  x  9" in size.  All for now,  Sue x


                                                   Follow my blog with Bloglovin

Monday, 24 August 2020

All The Best

Hi crafters!  I have selected this aqua and ocean card creation for today's offering, I just love these colours together!  I cut the Martha Background die in aqua and black card.  I used the black as a shadow behind the aqua die.  Next, I used the Martha Edgers to cut away the two sides.  I added a white backing to the side pieces and added mounting foam to raise them.  I attached the sides to a slightly larger piece of white card.  Next I added a strip of ocean card down the middle back section of the centre piece from the background.  I cut two white pieces from the Edger set and glued them atop the centre piece.  I glued the centre piece down onto the white card between the raised sides.  I cut a strip of card just long enough to go from side to side with a small bow to it.  I used the All The Best sentiment cut out of ocean card and black card.  I shadowed the sentiment and glued it to the strip.  Next I stamped and cut out enough flowers to make three different sized Jasmine flowers.  I seated the flowers around the sentiment strip and used pieces of the Magnolia Corner as accents.  The card was completed using white, aqua and ocean mats and layers.  The finished dimensions are 6 1/2"  x  7 1/4"  in size.  All for now, Sue x


                                                   Follow my blog with Bloglovin

Sunday, 23 August 2020

So Glad We're Friends

Good Sunday morning all!  I reached back and found this one in an older file and it uses the Maggie die!  I started with a piece of white card and sprinkled Plum Twist, Aubergine Dream and Rich Gold Pixie Powders all over it then spritzed it with water.  Once dry, I used the outer cutting edge from the Maggie die to cut an aperture in the centre.  I added mounting foam to the back to raise the back and attached it over a white piece of card.  I used the fall away from the aperture and recessed it down into the opening.  Next I cut the Maggie die in white and glued it into the recess.  I cut the So Glad We're Friends sentiment out of some of the extra pixied card.  I glued it to the centre of the Maggie die.  I used the flowers from the Magnolia Corner die set to cut flowers out of a piece of pixie powder card that was done out of Rich Gold Pixie Powder.  I also cut a small butterfly from the Delicate Garden Frame die set and glued it in the upper corner.  I seated the flowers in the opposite corner and added some Lace Edged Leaves as accents.  The card was completed with white mats and layers.  The finished dimensions are 6 1/4"  x  7 1/4" in size.  All for now. Sue x


                                                       Follow my blog with Bloglovin

Saturday, 22 August 2020

Get Well

Hello crafters!  I started today's card by embossing a piece of white card with the Coffee Bean Flower embossing folder.  I cut the card diagonally and glued it to another piece of white card.  Next I covered a piece of card with a sticky adhesive sheet, then coated it with Purple Dawn Aurora Flakes.  I used a piece of Rubit Scrubit Pad to refine and remove the excess flakes.  Using the Double Stitched Oval die set, I cut a wide oval frame out of the Aurora Flake piece.  I added mounting foam to the back to raise it, then seated it in the centre of the card.  I cut the Decorative Flag die in white and attached it across the centre of the frame.   I cut the Get Well sentiment out of the leftover Aurora Flake card and glued it to the flag die.  Using the Striped Nasturtiums die set, I created three different sized flowers using the just the striped dies in the set. I seated them around the oval and added leaves cut from the Lace Edged Leaves die set.  The card was completed with white mats and layers.  The finished dimensions are 6 1/2"  x  7 1/2" in size.  All for now, Sue x


                                                      Follow my blog with Bloglovin

Friday, 21 August 2020

Miss You

Hiya crafters!  For today's card, I pulled out the Penny Copper Glitter Kiss and coated a piece of card with it.  I allowed it to dry then cut a piece off for the background.  I used the cutting die from the Claire die set to cut an aperture in the centre of it.  Next I embossed the piece with the Quilted Pillow embossing folder (have I said how much I love this folder!)  I added mounting foam to the back of it and attached it over a piece of white card.  I recessed the Claire outline from the aperture down inside, then cut the Claire two more times using the decorative die, once in white and once in black.  I offset the black one behind then glued them into the recessed aperture.  I used the two outer dies from the Claire to cut a thin white frame which I glued around the outside of the aperture.  I cut a small frame using the Double Stitched Circles and added a hand embossed line between the dies before removing them.  I added mounting foam to raise it and added it to a white circle.   I cut the Miss You sentiment out of an extra piece of the Glitter Kiss card and added a black shadow to it, then glued it into the frame.  Using the Diagonal Floral Vine Embossing folder, I embossed a piece of white card.  I used my paper cutter to remove two of the longer rows of embossing.  I added a thin black mat then glued them to the edges of the card.  I love the way they frame the centre!  The card was completed with white and black mats and layers.  The finished dimensions are 6 3/4"  x  8" in size.  All for now, Sue x


                                                       Follow my blog with Bloglovin

Thursday, 20 August 2020

For You

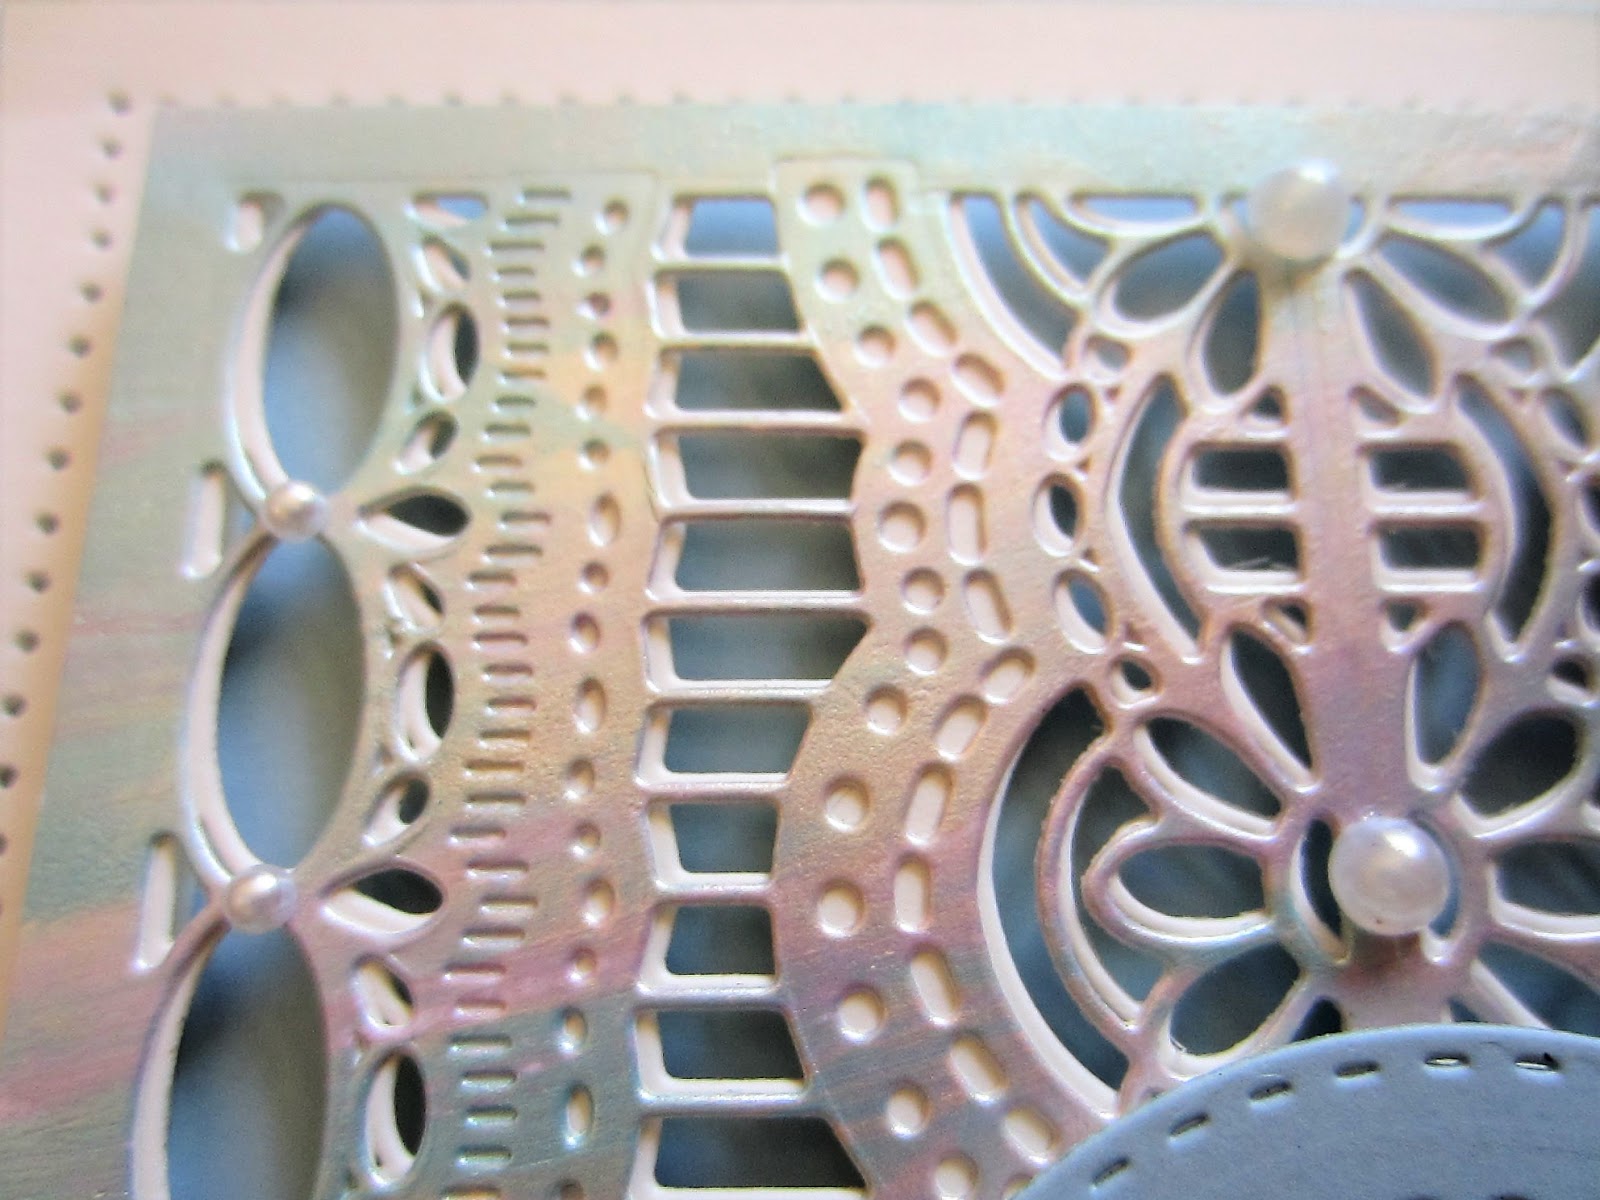
Hello there my crafty friends!  Gilding Polish and Endless Options, a pair made for each other I think!  I started with a piece of coconut white card and used the Blossom Gilding Polish, the Sky Blue Gilding Polish and a hint of Heather Gilding Polish randomly all over the card.  I allowed it to dry, then cut the Delilah Background out of it.  I cut one more out of white and used it as a soft offset shadow behind it.  I added mounting foam to the back and attached it to a piece of Sky Blue card.  I used the Double Stitched Circle die set and cut a small circular frame out of sky blue and added foam to the back.  I attached it over a piece of white card and glued it to the centre of the card.  I cut the For You sentiment out of the background polish card and glued it into the circular frame.  I added a few small flowers from the Blossom Patch set cut out of the same card.  The card was completed with white and sky blue mats and layers.  The finished dimensions are 6"  x  7 1/4" in size.  All for now. Sue x


                                                    Follow my blog with Bloglovin