Saturday, 25 August 2018

Glittery Ponsettia Background Card


Hello bloggers!  If you want to make a statement on this years Festive creations, then pull out the Red Glitter Kiss and the Lattice Poinsettia die set.  Today's video will show you how to add bling and dimension.


The finished dimensions are 6 3/4" x  8 1/4" in size.  All for now, Sue x
                                                      Follow my blog with Bloglovin

Friday, 24 August 2018

Happy Birthday Wishes

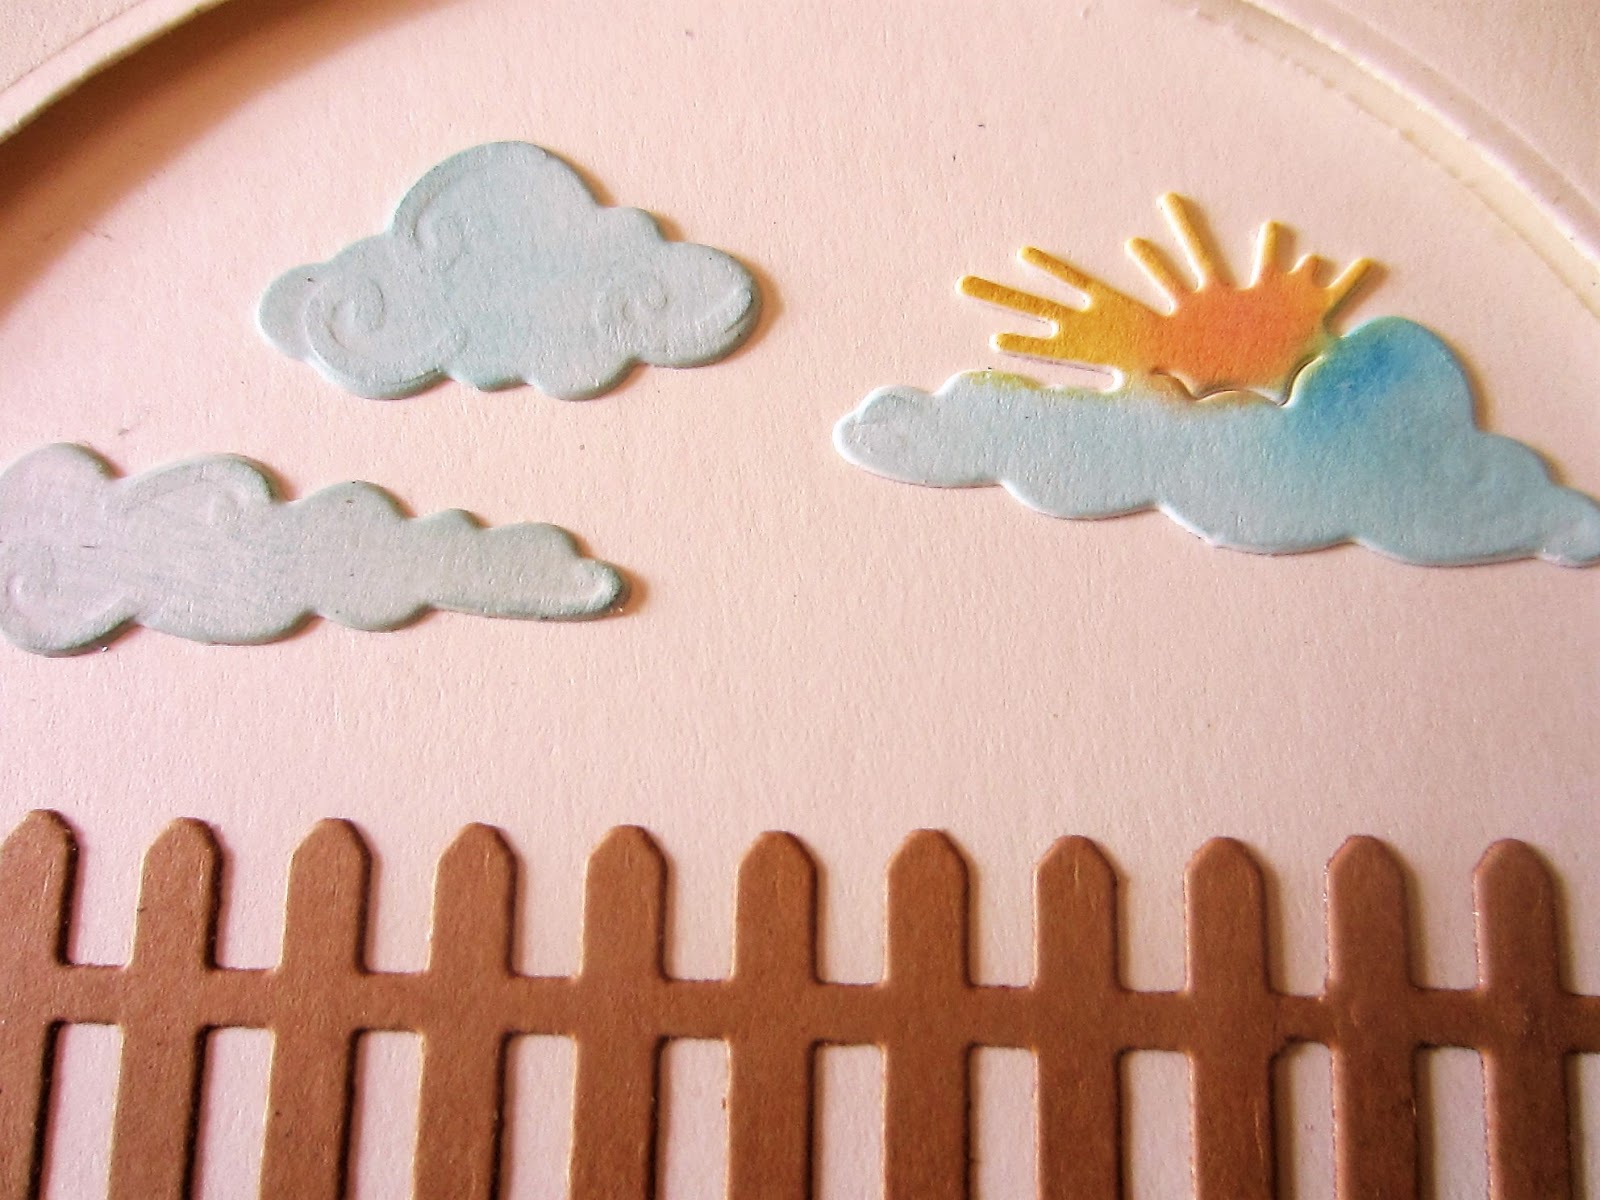
Hello there crafters!  I just love this scene card, hope you will too!  I started by cutting an aperture using the circle die from the Garden Circle Scene set in a piece of milk card.  I added mounting foam to the back to raise it.  I cut the border from the Treat Yourself Cupcake die set, extended it slightly and glued it to the top of the card.  On another piece of milk card, I began to build the scene.  I cut a fence out of tan card from the Garden Gate and fence die set and glued it on.  Next I cut the clouds and inked them with Tumbled Glass distress ink  (and Mustard seed for the sun)and glued them in the sky.  I laid down some green card for the base of the scene and added my grass (in other shades of green card), flowers, watering can and garden tools below the fence, making sure that they would all be visible through my circular opening.  I attached the aperture over the top of the scene.  I cut the Happy Mini Expression in black and stamped the rest of the sentiment (from the Big Ideas stamp set).  Milk and black mats were used to complete the card.  The finished dimensions are 7 1/2" x  8" in size.  All for now, Sue x


                                                        Follow my blog with Bloglovin

Thursday, 23 August 2018

Welcome Little One

Hi crafters!  Today's card is a sweet baby card that I have constructed from the Welcome Little One Frame.    I started by cutting the decorative die from the Caroline die set into a piece of coconut white card.  I backed it with Custard card to create the background for the card.  Next I cut the Welcome Little One Frame out of white card and inked through the die with Antique Linen Distress Oxide ink while it was still in the die.  I nipped the frame apart, taking the baby blocks together and the bottle and booties as another piece.  I cut the die again in black and nipped it apart in the same way and used that as a shadow.  I made a multi layered frame using the Double Stitched Rectangles with a wider white frame and a thin custard frame added on top.  I added the two separate pieces from the frame to either side with foam.  I cut the sentiment in both black and custard card, shadowed it and glued it into the centre of the Caroline die in the background.  The card was
completed with white, custard, and black mats and layers.  The finished dimensions are 6 1/2" x  7 3/4" in size.  All for now Sue x


                                                      Follow my blog with Bloglovin

Wednesday, 22 August 2018

Not Older, Just Better

Hi crafters!  I have a milk and black birthday card with a great sentiment to share today!  I started by cutting the Squared Square die out of black card and glued a milk backing which was covered with a sticky adhesive sheet.  I  coated it with Frosted Sparkle Glitterbitz for a bit of bling to the background.    The next layers was the smaller die in the set but cut in milk card and backed with black, then I used the Double Pierced Squares to cut it into a frame.  I added it with foam to the card.  I cut another one just like it but smaller.  I added foam to the back then seated it in a diamond orientation in the card.  I cut the smallest die and added it to the very centre.  I stamped my sentiment and cut it out with the Pierced Flag die and seated it across the centre of the card.  I used the Starlight Daisies to make three different sized flowers out of milk card.  I seated one at the end of the flag and the other two across from it.  Milk and black mats and layers were used to complete the card.  The finished dimensions are 8 1/4" x  8 1/4" in size.  All for now, Sue x


                                                       Follow my blog with Bloglovin

Tuesday, 21 August 2018

Sparkly Snowflake Card


Hi bloggers!  Today's video is showcasing the new Ultra Sparkle Texture paste.  IT makes a really beautiful background and is so easy to use through a mask.


The finished dimensions are 8" x  8" in size.  All for now, Sue x
                                                       Follow my blog with Bloglovin

Monday, 20 August 2018

Have A Beautiful Day

Hello there my crafty friends!  I haven't shown a Hydrangea card in awhile so I thought it was time!  I started with the background that I embossed with the 3D folder called Decadent Dots for some lovely texture.  Next, I used the border from the Treat Yourself die set and cut two blue ones and a white one.  I glued them on to create a wide border.  Next I cut the  Beautiful Hydrangea die in both green card and in pink card.  I cut the bloom off of the pink card and glued it on top of the green one.  I used a bit of Salty Ocean Distress Oxide on a smoothie to add a bit of colour to the bloom, then began popping up the blooms for dimension.  I cut a Double Stitched Rectangle and seated the flower on it.  The sentiment was cut in blue card and glued below the flower.  White, blue and pink layers were used to complete the card.  The finished dimensions are 7" x  7 1/2" in size.  All for now, Sue x


                                                      Follow my blog with Bloglovin

Sunday, 19 August 2018

Treat Yourself

Hi crafters!  I hope nobody is on a diet today! LOL  Ice cream is probably my biggest weakness so making a card with it is at least less calories!  I started by cutting the Squared Squares out of Blue Dusk card using two of the dies.  I added a tan card backing behind the inner row and a white card backing on the outer row.  I cut the Isobel die in white then cut it in half and added the sides to opposite corners for a little bit of detail.  I made a vanilla ice cream cone for the top of the card using the Here's The Scoop die set.  I added a chocolate sundae in the lower corner from the Ice Cream Sundae die set.  I used white PVA glue on the ice cream to look like marshmallow sauce and Choco Brown PVA glue on the sundae to look like chocolate sauce.  They work well, don't they!  I added the sentiment from the Treat Yourself Cupcakes die set which fit nicely in the centre of the card.  White, tan and blue mats and layers were used to complete the card.  The finished dimensions are 7 1/2" x  8 1/4" in size.

We have some winners from the Comment Game this week!

Owlish!!!
Diane King!!!
Maria Alder!!!

Congratulations all!  Please email me at americansue1gmail.com to confirm your address and claim your prize.   All for now, Sue x


                                                      Follow my blog with Bloglovin