Saturday, 23 November 2019

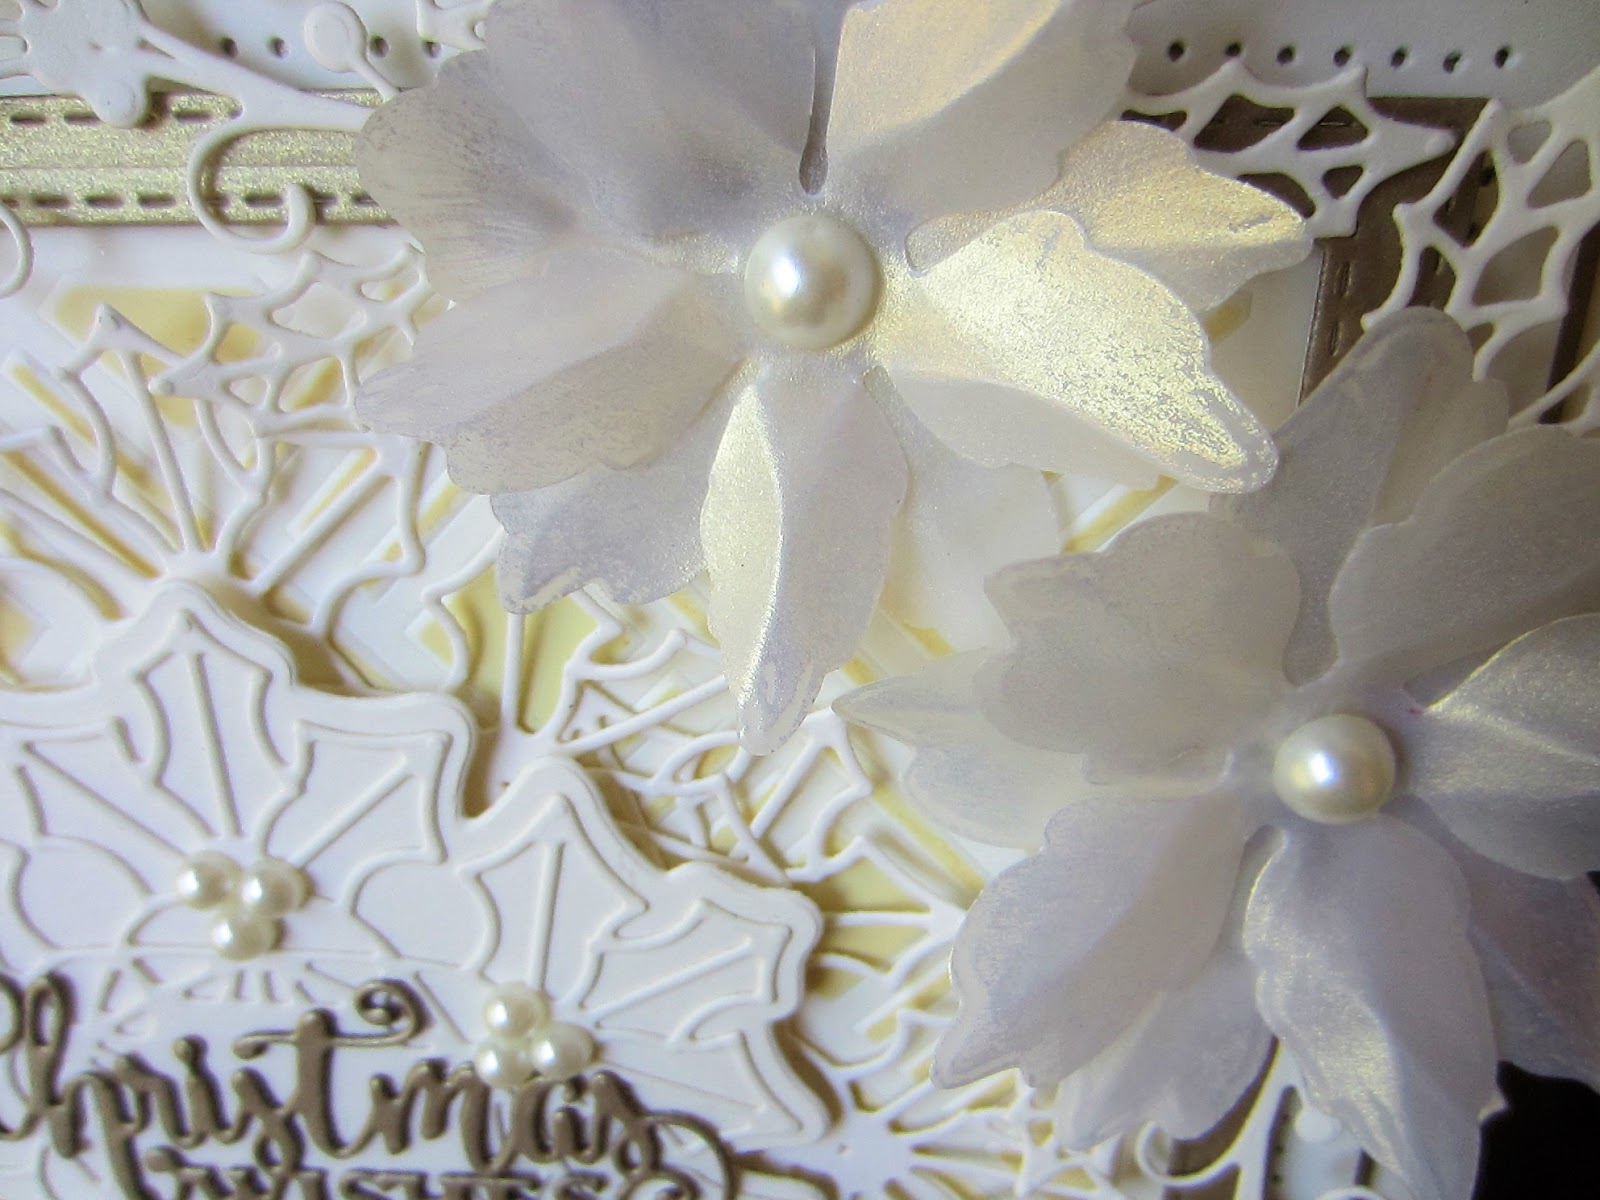
Stenciled Background Christmas Card


Hi bloggers!  Ever think about using a stencil to create the background for your Christmas cards?  It is very effective, quick and easy to do too!  What do you think?


 The finished dimensions are 7 3/4" x  7 3/4" in size.  All for now. Sue x
                                                      Follow my blog with Bloglovin

Friday, 22 November 2019

Most Wonderful Time Of The Year

Hello all! I started by embossing a piece of coconut white card using the Falling Snow embossing folder.  I cut a smaller piece of silver card and matted it with black, adding mounting foam to raise it and attached it in the middle of the card.  I cut the Felicity die in white.  I cut the Marie die in white and added an edge to it in silver and mounted it horizontally across the centre of the Felicity die.  I cut The Most Wonderful Time of the Year in silver card several times, stacked them then added it to the centre of the card.  I used the Triple Layer Poinsettias cut out of vellum.  I added silver dream gilding polish to the petals then assembled the flowers and added them in opposite corners.  I used white leaves as accents.  The card was completed with white, silver and black mats and layers.  The finished dimensions are 8" x  8" in size.  All for now. Sue x


                                                       Follow my blog with Bloglovin

Thursday, 21 November 2019

To A Dear Friend

Hi bloggers!  From bright colours yesterday to black and white today!  Just keeping you on your toes! LOL  I started with a piece of coconut white card and used the straight die from the Dotty Streamer die set along both of the side edges of the card.  In the centre, I used the outer decorative die from the Mallory die set.  I added black card behind it for contrast.  I cut the Mallory die in black and then added it with mounting foam.  I cut the To A Dear Friend sentiment in both white and black.  I shadowed it and then glued it to the rectangle centre die from the Mallory and added it to the card.  Using the Cosmos Flower die set, I cut the solid part in white and added a black outline on top.  I added three flowers around the focal element, then accented the, with white leaves.  The card was completed with white and black mats and layers.  The finished dimensions are 6 1/2" x  9" in size.  All for now, Sue x


                                                        Follow my blog with Bloglovin

Wednesday, 20 November 2019

Happy Birthday

Hi crafters!  This is one of my personal favourites from the Sept. release, I just love the pop of bright colour on it!  I started with a piece of White gloss card and used Alcohol inks on it.  I started in lines with sunshine yellow, pink sherbet, raspberry, amethyst, mermaid and citrus.  I allowed it to dry, then cut the Noble Happy Birthday out of it, placing it at an angle across the colours.  I cut the curved Dotty Streamers out of Gloss White card and glued the, all over a piece of coconut white card.  I added mounting foam to the Happy Birthday and added it to the centre of the card for a clean and simple look.  The card was completed with white on white mats and layers.  The finished dimensions are 6 3/4" x  8 1/4" in size.  All for now, Sue x


                                                       Follow my blog with Bloglovin

Tuesday, 19 November 2019

Owl Always Be There For You

Hello crafters!  I have been playing with the new Wise Old Owl die set.  I started by using the Stitched Cloud die and cutting it to use as a stencil.  I lightly inked the white card around the cloud stencil with Tumbled Glass and Spun Sugar Distress inks.  Next I cut the large branch out of tan card.  I used the left over card with the shape cut from it as a stencil on a piece of white card.  I used Forest Moss and Peeled Paint in the leaves and Tea Dye distress oxides in the branches.  Next I added the cut branch across the card and coloured in the leaves with the distress oxides.  Next, I used the Double Stitched Rectangles and cut into the centre to raise the rectangle up with mounting foam.  I cut the Owl out of tan card and lightly stencilled through the die with Tea Dye ink.  I added a chestnut brown backing to the owl and used a white pencil to add highlights to the feathers.  I cut the sentiment in arctic Blue and chestnut brown and shadowed it before gluing it to the card.  The card was completed with white mats and layers.  The finished dimensions are 7 3/4" x  8 3/4"in size.  All for now Sue x


                                                      Follow my blog with Bloglovin

Monday, 18 November 2019

Season's Greetings

Hello bloggers!  I started today's card by cutting the Ruffle Edged Frame out of antique silver card.  I used Old Rose card to cut the centre base section and layered it onto the larger piece with a white backing added.  Next I cut the Pretty Poinsettia Frame in white.   I added it to a piece of acetate that had a sticky adhesive sheet added.  I peeled the backing off and coated it with Iced Flake to give it a crystallised look.  I glued the Pretty Poinsettia frame to the top of it and paper pieced the flowers back into place from the fall away pieces.  I cut the Season's Greeting sentiment  in silver and added it to a white backing and glued them into the frame.  The card was completed with white, old rose and silver mats and layers.  The finished dimensions are 7" x  8 1/4"  in size.  All for now. Sue x


                                                       Follow my blog with Bloglovin