A daily papercrafting blog which features my handmade cards showcasing Creative Expression's products including my own line of cutting dies and embossing folders, Cosmic Shimmer, Ranger and more which use various techniques and ideas to hopefully inspire the creativity in you.
Tutorials
- Home
- My Ribbon Flower Tutorial
- Fancy Nestie
- Blossoms Five Flower Bud
- Blossoms Five Full Flower
- Easel Tutorial
- Wax Paper Embossing Folder Tutorial
- Caught In Crystal
- Shaving Foam Tutorial
- Quilt Card Tutorial
- Paved Pearl Technique
- Faux Leather Technique
- Plaited Ribbon Wreath Tutorial
- Paper Rose Tutorial
Tuesday, 5 January 2021
Just A Note To Say...
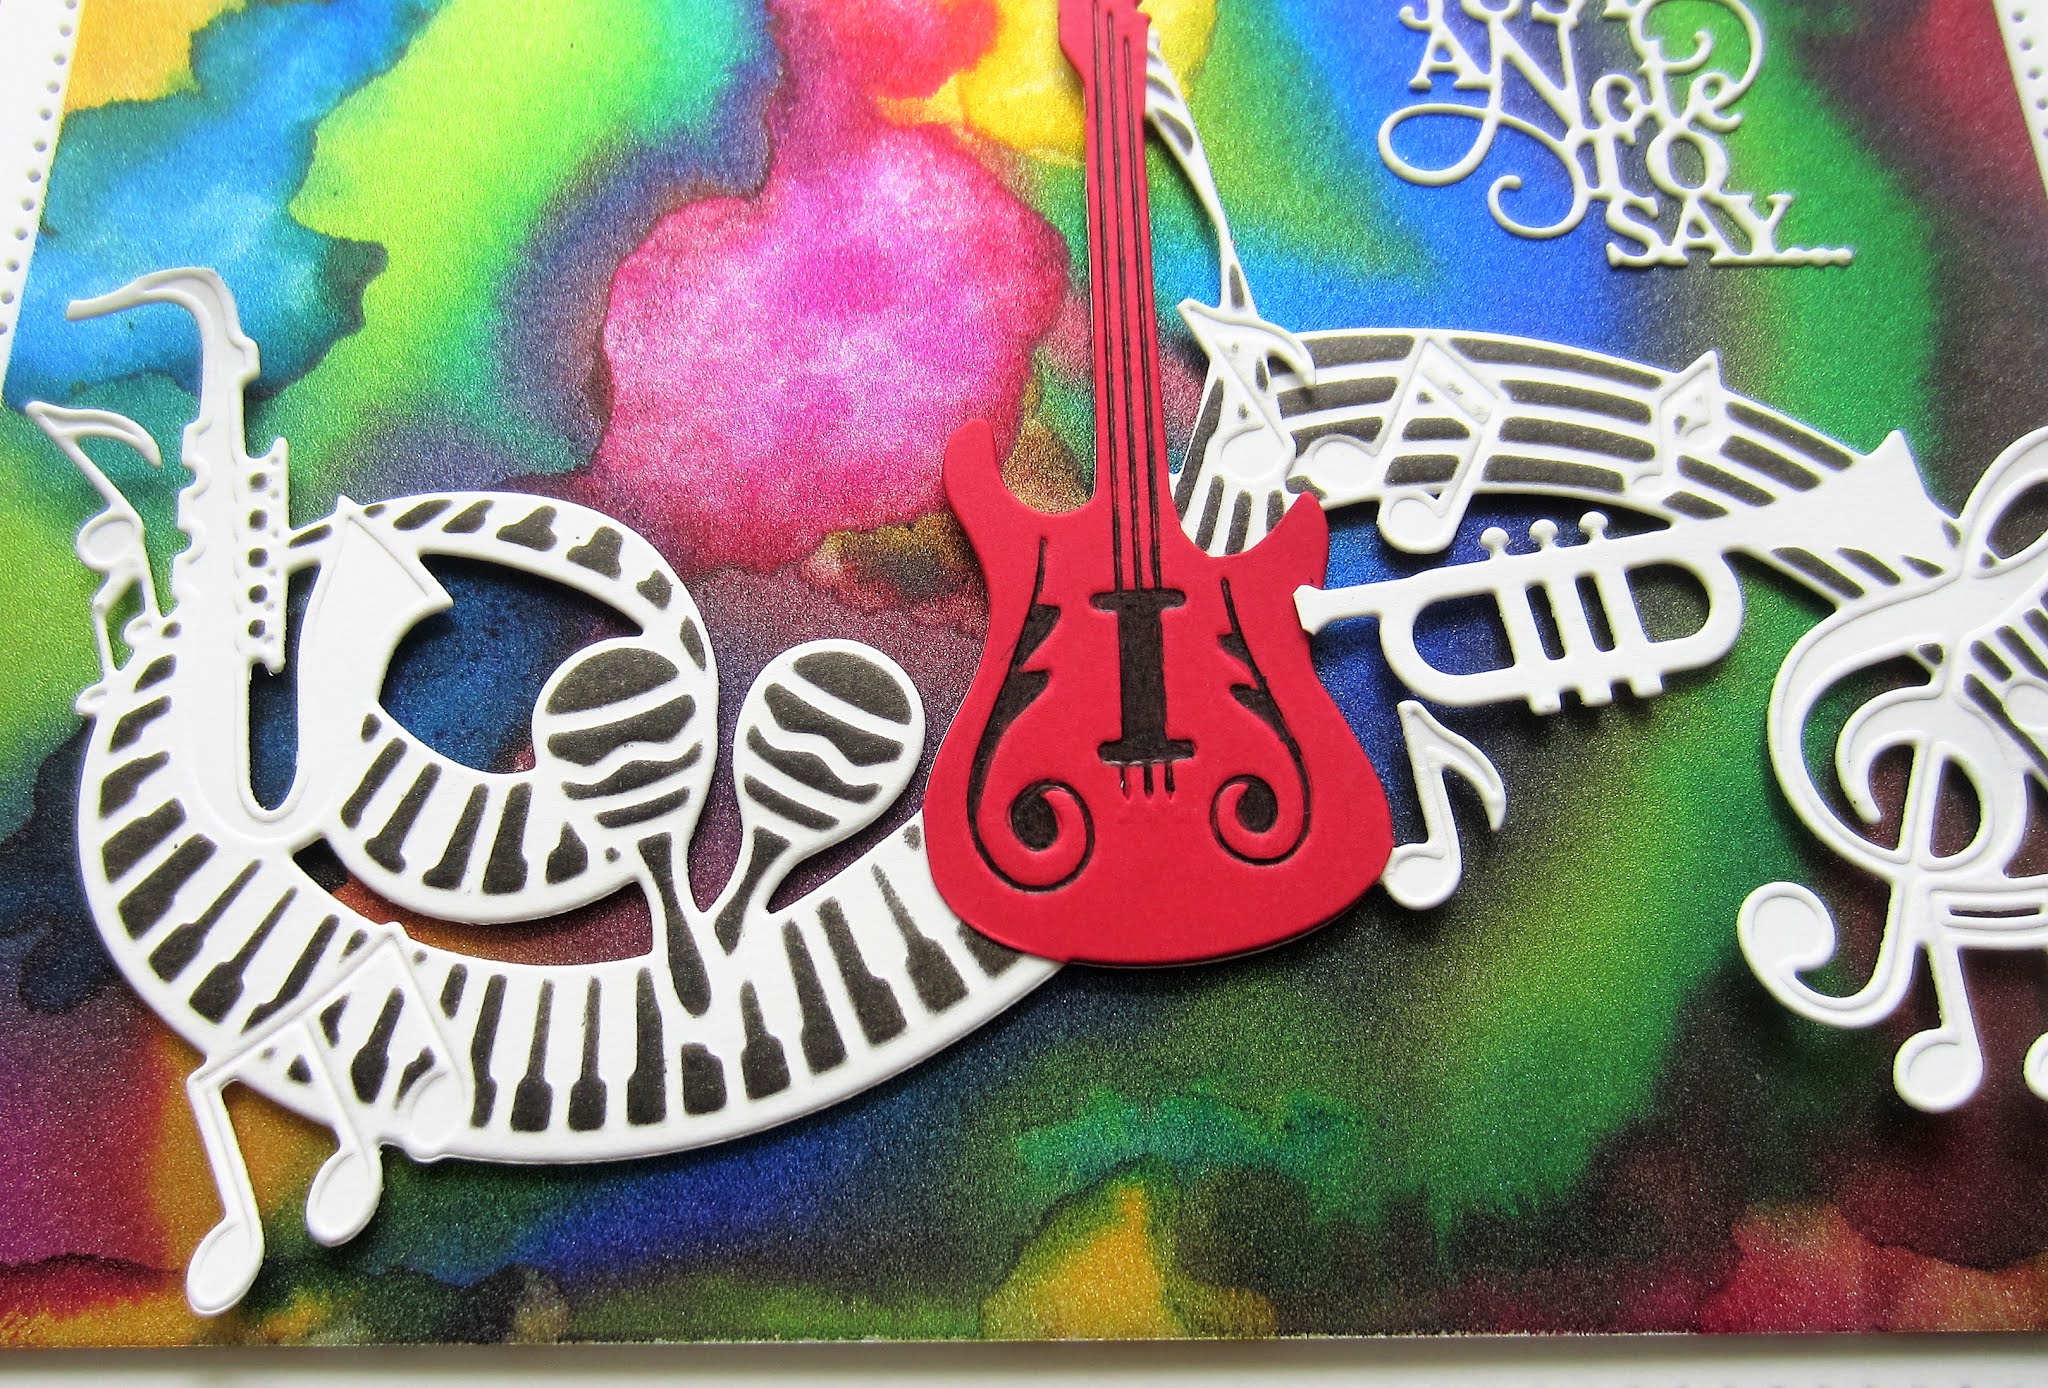
Hello crafters! I found this one I made ages ago that never had a day on the blog! I started with a piece of Silver Sparkle Yupo card and used alcohol inks all over it. I used Sunshine Yellow, Sailboat Blue, Citrus, and Red Pepper alcohol inks. Next I cut the Just A Note Frame in white, I inked through the die with Black Soot Oxide ink to add some detail before removing the die cut. Next I nipped it apart so I was able to put the pieces back together differently. I was going for a sort of swirl across the card and was pleasantly surprised how it came out! I cut the die again in red card and nipped away just the guitar and added it to the centre where two of the pieces met. I cut the sentiment in white and added it to the top right corner. The card was completed with white and black mats and layers. The finished dimensions are 6 1/2" X 8" in size. All for now. Sue x
Monday, 4 January 2021
Heartfelt Thanks
Hello there my crafty friends! Again, starting with a piece of Pixie Powdered card from my stash. I used Aqua Lagoon and Teal Wash for this one. I cut the Whitney Background out of both white and black card. I used the Whitney Edger with all the dots to cut into the centre of the white die cut background. I used the Whitney Edgers to cut both the white and black backgrounds into three parts. I added a black backing to the centre decorative area. I used the two sides of the black die cut to shadow the white sides. I glued the parts to the pixied background, leaving a gap between them. I used a bit of the leftover pixied card and cut the Heartfelt Thanks sentiment, the Whirligig Flowers and the Butterfly. I shadowed the sentiment with one cut in black and seated it on a Decorative Flag die, cut in white. I used spray glue on the flower parts then glittered them with Frosted Sparkle Glitterbitz and assembled it. I seated the flower at the end of the flag die and added Trailing Ivy cut in white as an accent. I added the butterfly in the upper corner. The card was completed with white and black mats and layers. The finished dimensions are 7" x 8 3/4" in size. All for now. Sue x
Sunday, 3 January 2021
Hello Dear Friend
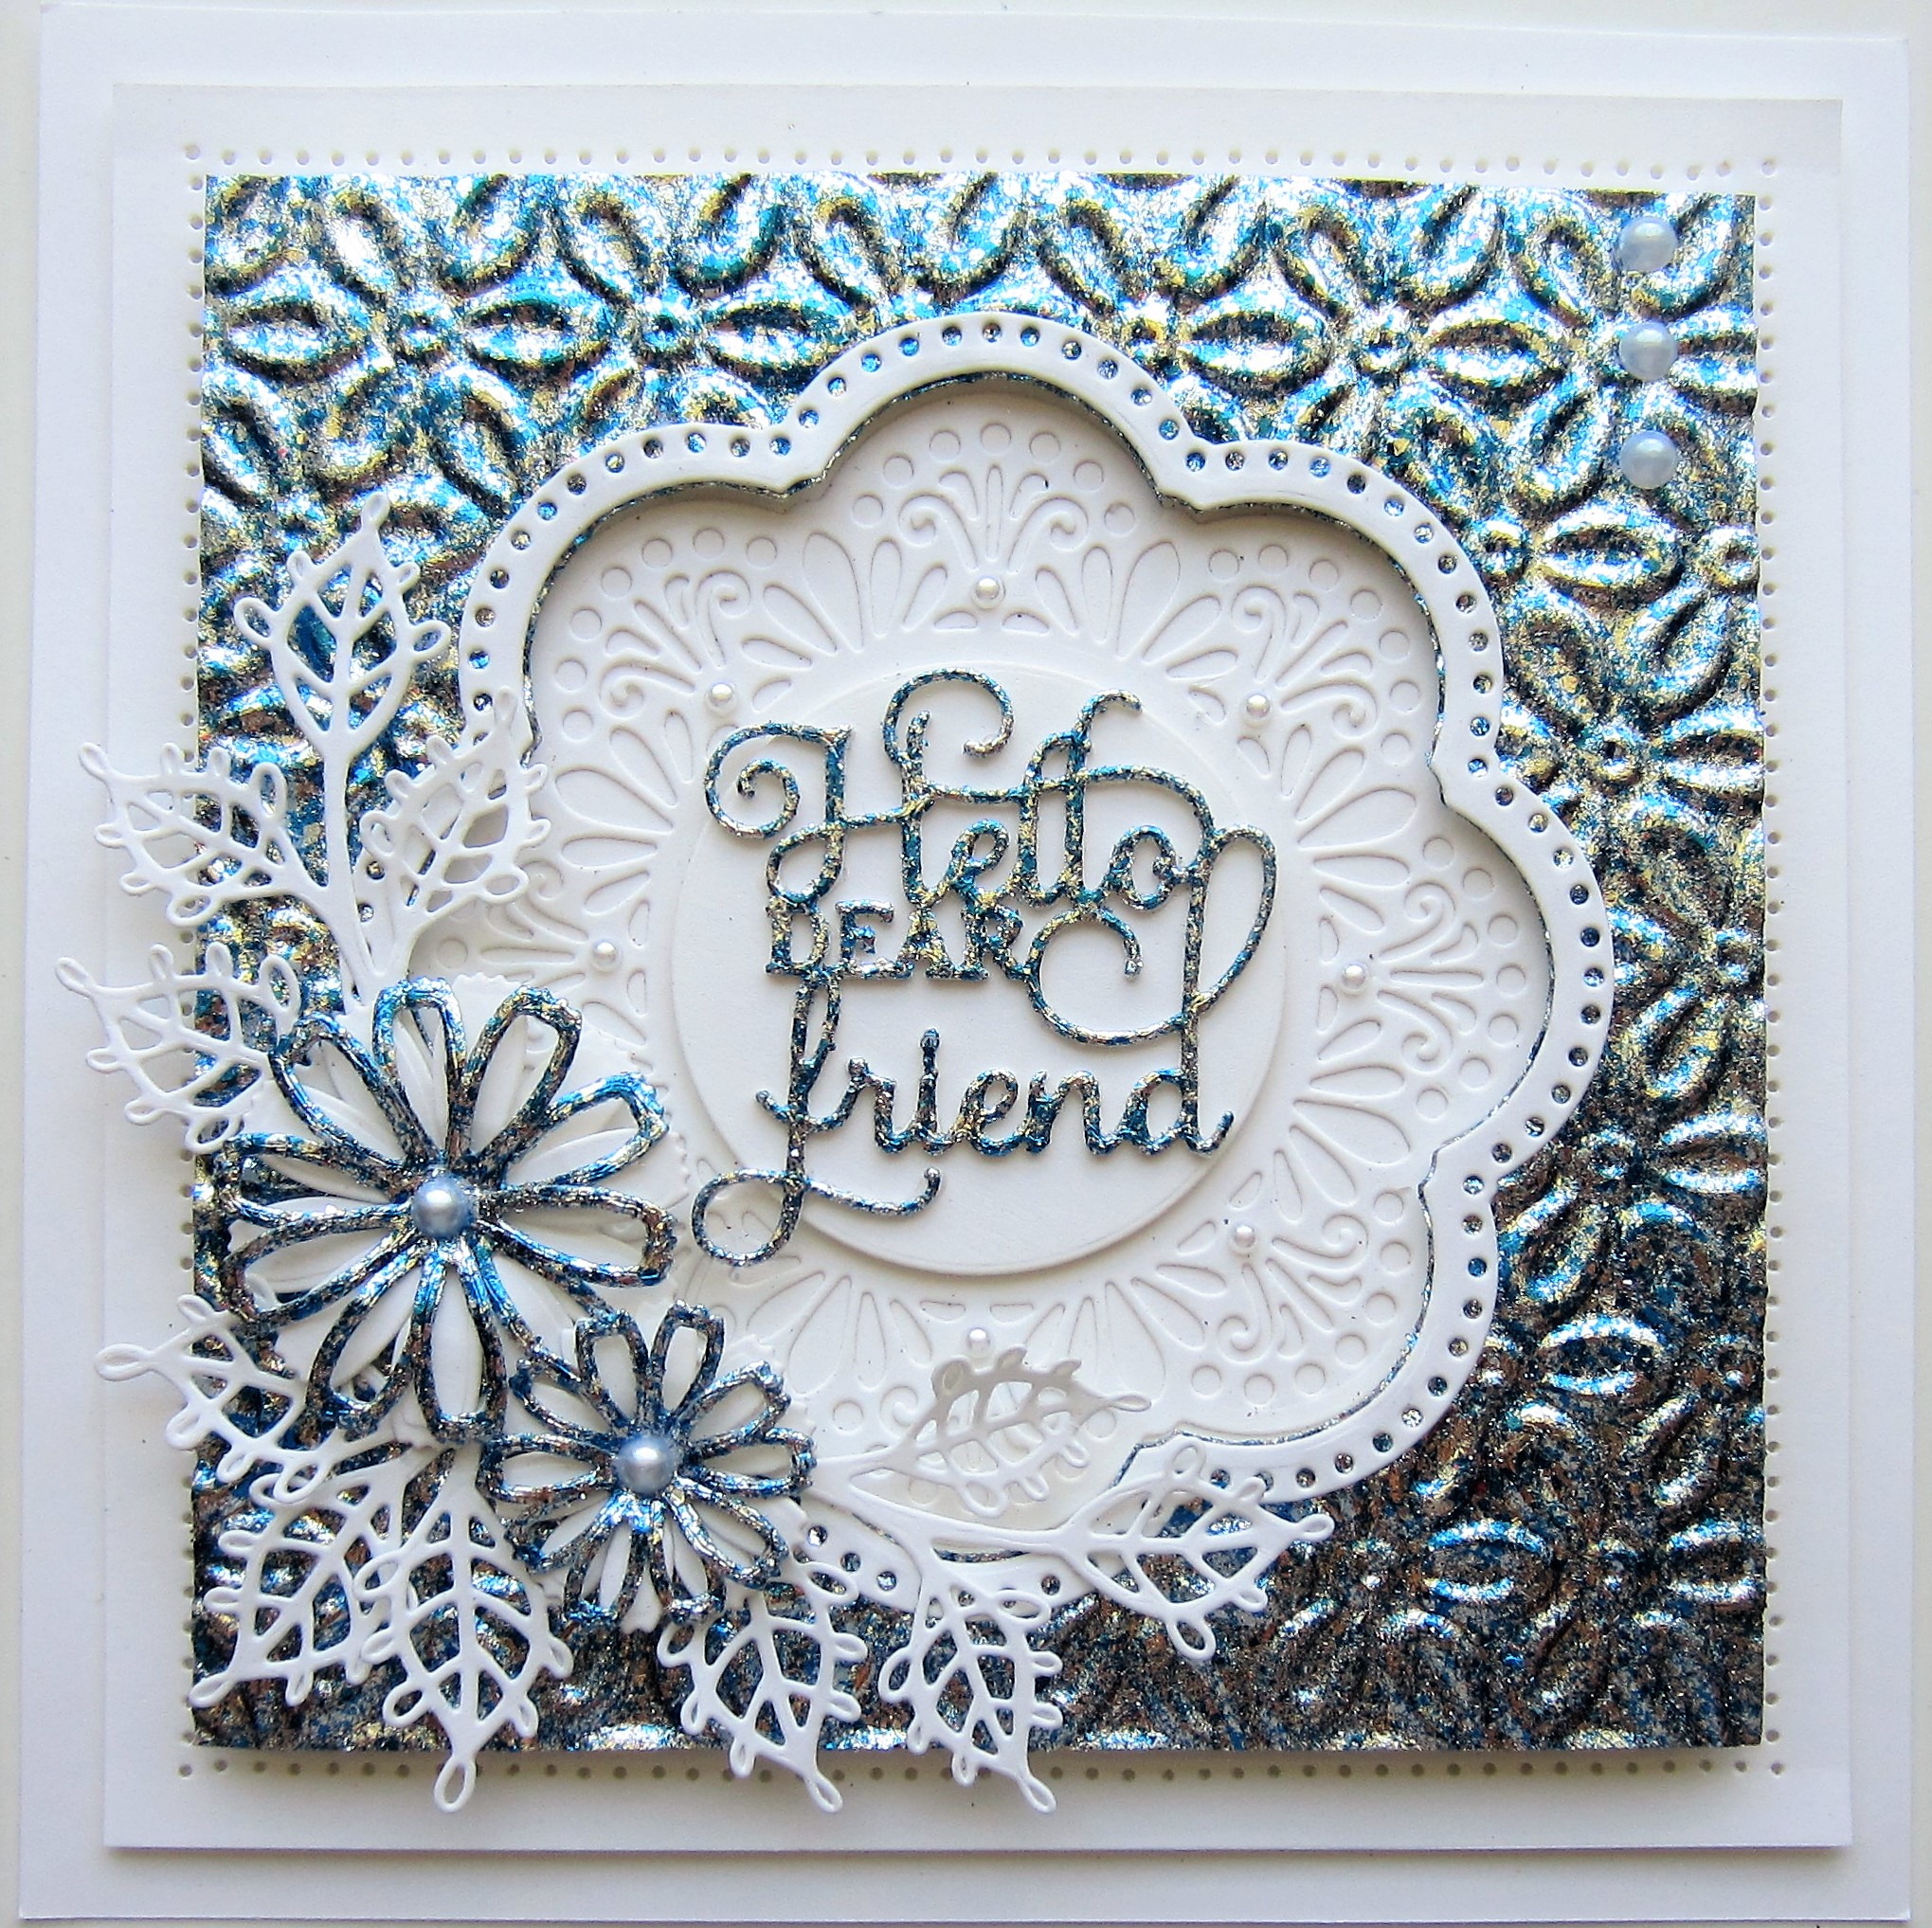
Good Sunday morning all! I covered a piece of white card with a sticky adhesive sheet. I peeled the backing paper off and sprinkle Blue Ice Aurora Flakes all over it. I used a rubitscrubit pad to move the flakes around, then to refine and remove the excess flakes. It is interesting that the Aurora flake combination is blue and silver, but several of the pics make it look rather gold, but it's not in real life. I used the Claire die to cut an aperture in the centre of the card. I embossed the background with the Coffee Bean Flower embossing folder. I added mounting foam to the back and attached it to a piece of white card. I used the two outer cutting dies and made a thin frame and glued to the outside of the aperture. I cut the Claire die out of white card and recessed it down into the aperture. I added a circle die cut and seated the Hello Dear Friend sentiment on it which I cut out of a piece of the flaked card. I used the Cosmos Flower die set to make two flowers. I used a white base and the outline flowers were cut out of the flaked card. I seated them in the lower corner and used Lace Edged Leaves as accents. The card was completed with white mats and layers. The finished dimensions are 6 3/4" x 6 3/4" in size. All for now. Sue x
Saturday, 2 January 2021
You're Never More Than A Thought Away
Hello there my crafty friends! Anyone have any New Years resolutions? Today's card is a pretty All In One design in shades of yellow! I started by cutting the You're Never More Than A Thought Away out of custard card on the top with a piece of straw card underneath. The top custard card cut all the way though while the straw card didn't. I used the impression on the straw card and cut around the flowers and colour the leaves green then glued them to the back of the custard card. I added a white backing card behind the whole die cut. Next, I cut the die again out of both straw and black card. I nipped away the sentiment in both of them. I used some spray glue on the straw coloured sentiment then glittered it with Frosted Sparkle Glitterbitz. I added the black version as a shadow behind, then glued it on top of the original die cut. I made a -triple layered frame using a wider custard card on the bottom, a medium black frame and a thin straw coloured frame on top. I added it over the die cut with foam. The card was completed with white, straw and black mats and layers. The finished dimensions are 7" x 8" in size. All for now. Sue x
Friday, 1 January 2021
My Favourite Cards of 2020
Happy New Year everyone! As my usual tradition I put my favourite card samples from the past year on my blog for the 1st of Jan. post. They are in no special order and I don't include any Christmas cards (I did say I wouldn't post any until June! LOL) I hope you see some of your favourites in the list too! If not, I would love to know which cards were you most loved from the year. Here's to wishing and hoping that 2021 is a great year! Let's face it, it won't be too hard to be better than 2020 will it! I wish you a safe and healthy Happy New Year! Happy crafting! All for now. Sue x
Follow my blog with Bloglovin
Subscribe to:
Posts (Atom)