Thursday, 24 December 2020

More Christmas Cards

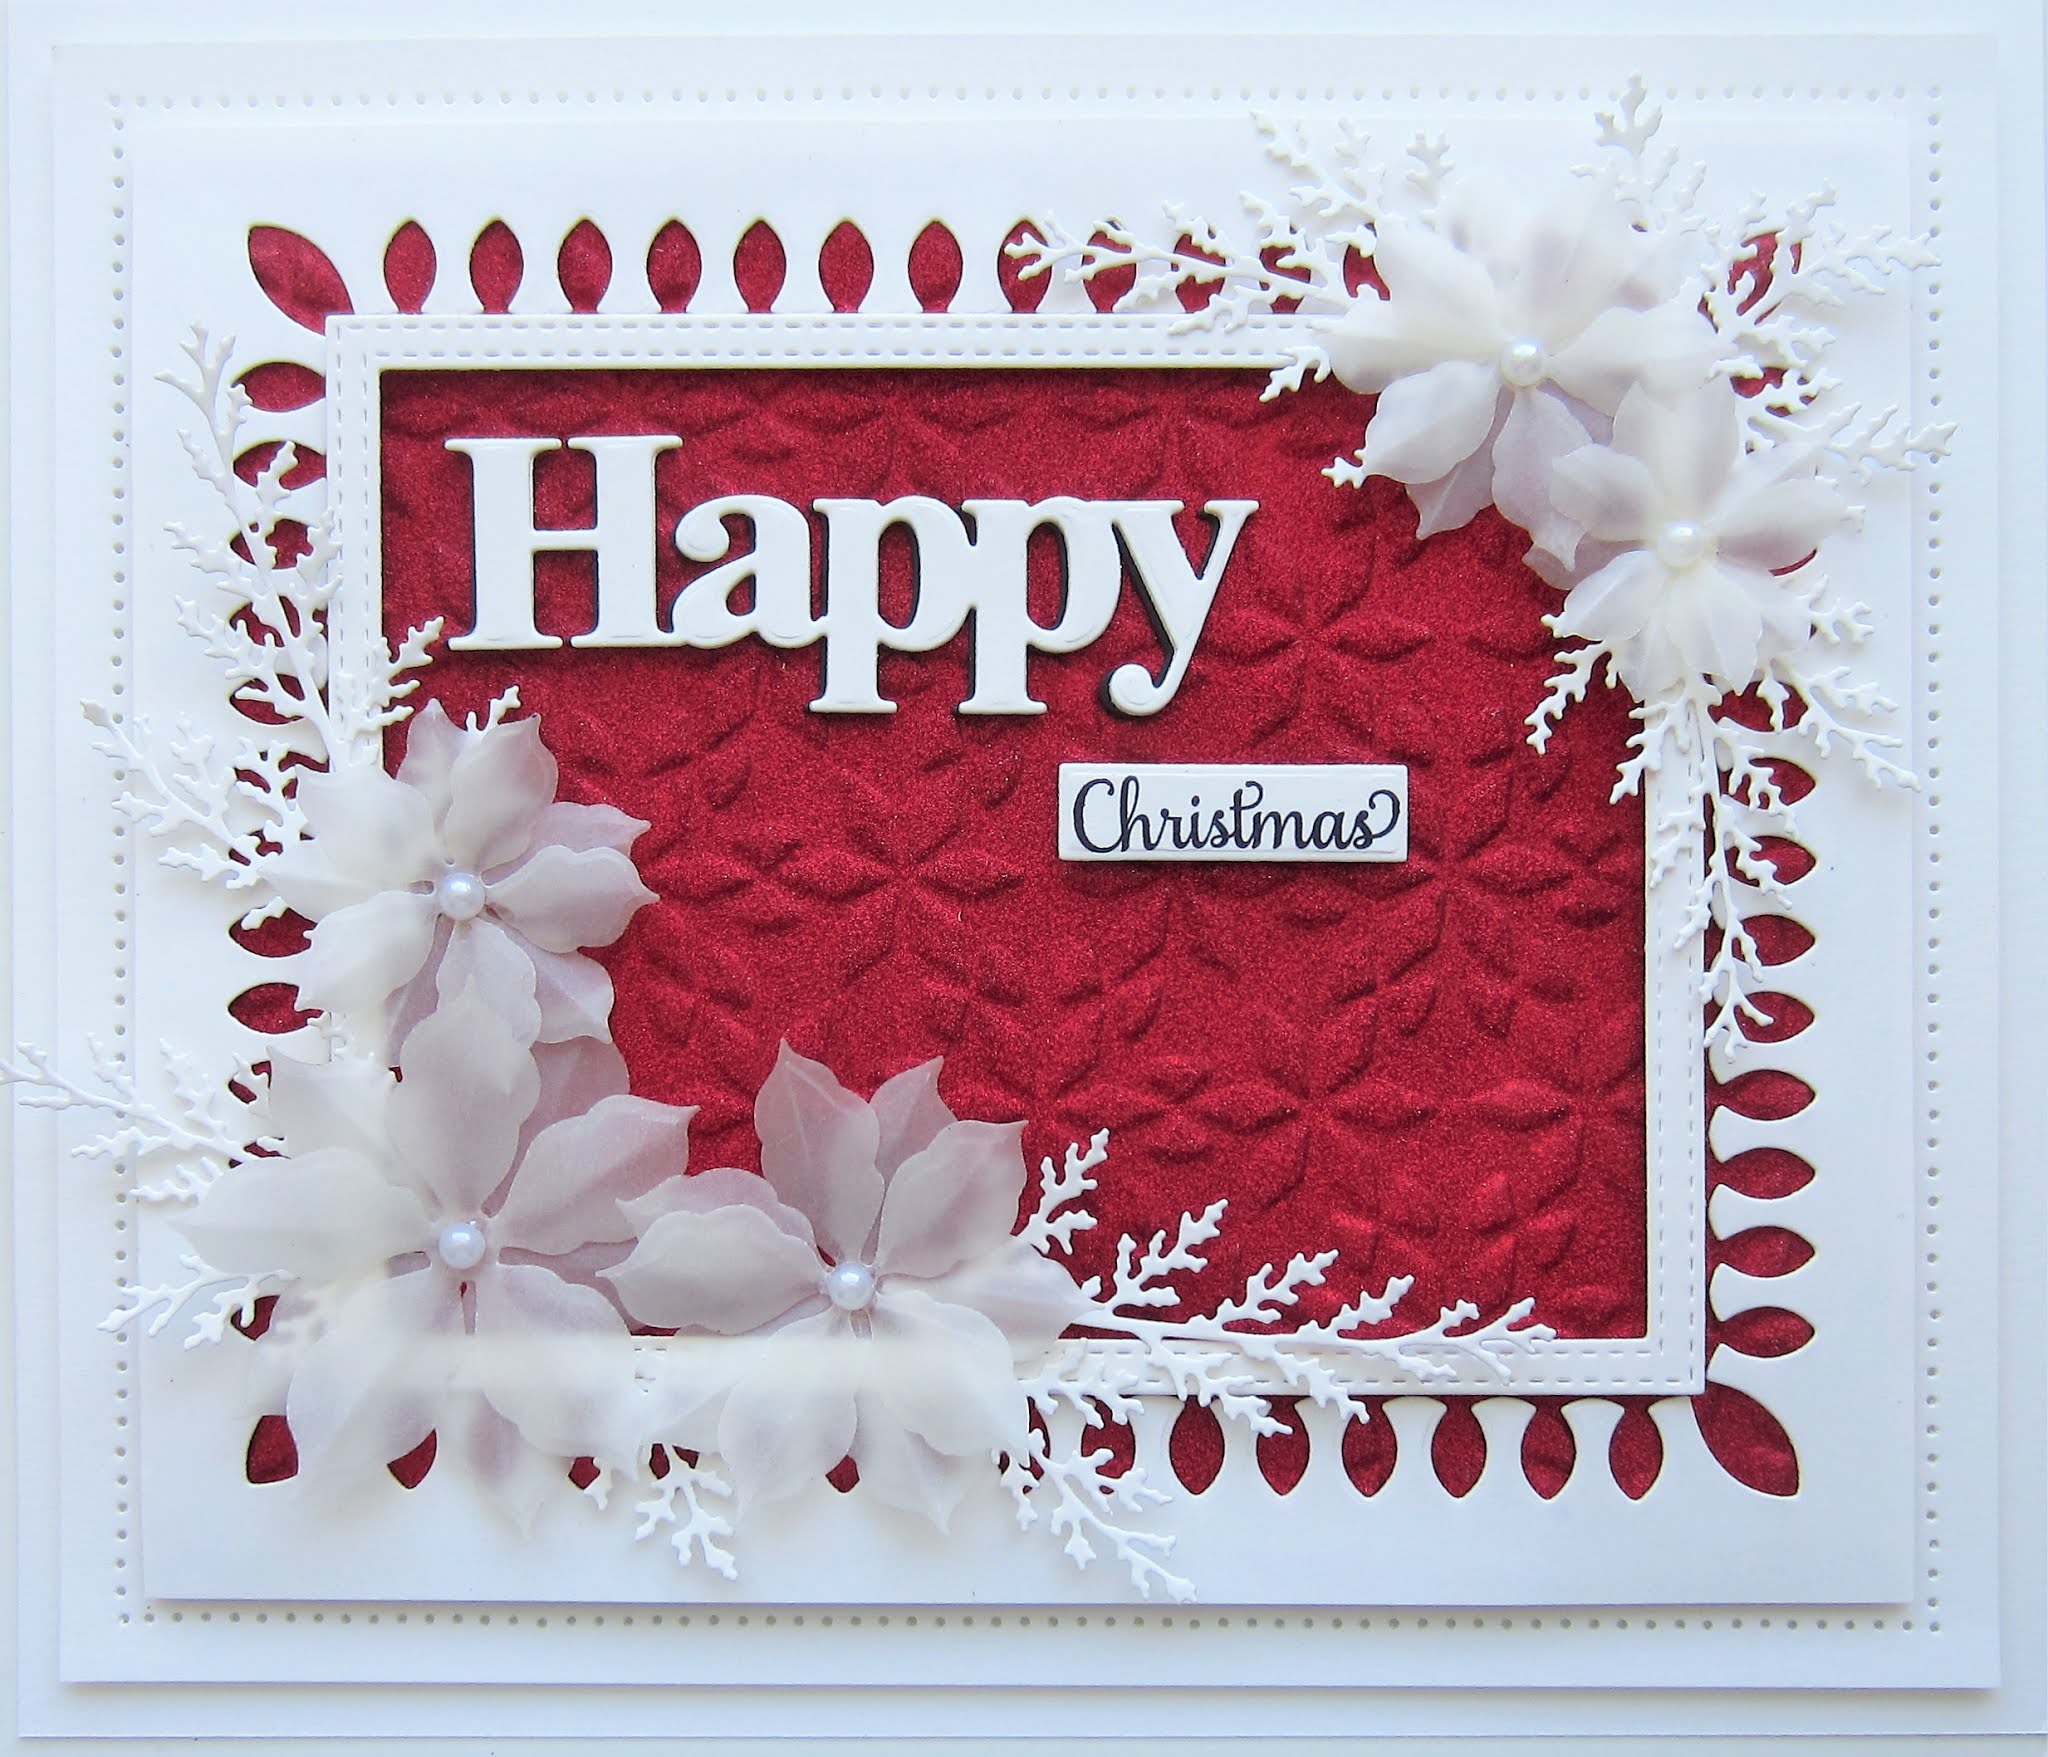
Happy Christmas Eve!   We have another day of just some of the leftover Christmas cards that never found their day on the blog.   I appreciate that everyone is really busy getting last minutes things done before the big day, but if you are reading this, thank you for taking a few minutes to visit the blog, it means the world to me.  If you have any questions about the cards on the blog, feel free to drop me an email and I will answer them for you.  All for now, Sue x                                      


                                                    Follow my blog with Bloglovin

Wednesday, 23 December 2020

Just Christmas Cards

Hello bloggers!  On the countdown to Christmas, for the next several days, I am just going to be posting the remaining Christmas cards that did not get their day on the blog.  I am not doing step by steps for each of them, but if you have any questions about them, feel free to email me about them and I will be happy to explain them.  I hope you enjoy them!  All for now,  Sue x


                                     Follow my blog with Bloglovin

Tuesday, 22 December 2020

Greetings Of The Season

Hello my crafty friends!  I started by embossing a piece of Old Rose card with the Falling Snow embossing folder.  Next I cut the Snowflake Adjustable frame four times using the largest piece.  I added backing pieces that had sticky adhesive attached to them.  I peeled the backing paper off, attached the decorative snowflake pieces then coated the exposed adhesive with Frosted Sparkle Glitterbitz.  I added the four piece with foam to a piece of card that I coated with Moonlit Pink Luna Paste.  I added the piece to the embossed background with foam.  I cut the Greetings Of The Season out of Old Rose card and added it to the matching shadow which I cut in white, then glued the sentiment into the centre o the frame.  I cut the poinsettias from the Decorative Holly Accents set out of Old Rose card.  I made three flowers, then seated them in the corner.  I added the holly pieces around the flowers as accents.  The card was completed with white mats and layers.  The finished dimensions are 8"  x  8"  in size.  All for now. Sue x


                                                     Follow my blog with Bloglovin

Monday, 21 December 2020

Wishing You Brighter Days

 Hi bloggers!  I started by embossing the background using the Graduated Dots embossing folder.  Next I cut the Wishing You Brighter Days out of white card with another piece of Arctic Blue card behind it.  It cut the top piece completely through but only cut the outer shape on the bottom piece of card.  I used Distress Markers to colour the flowers and leaves.  I sprayed the blue card with spray glue, then lined up the white die cut on top of it.  Using Frosted Sparkle Glitterbitz, I coated the exposed adhesive.  I added a blue scalloped backing and attached it to the background with foam.  I cut the Magnolia Corner in white several times and used the extra floral die to make flowers to match the coloured flowers in the All In One die.  I assembled the flowers and attached them in opposite corners then added the Magnolia Corner pieces around them as accents.  The card was completed with white mats and layers.  The finished dimensions are 7"  x  8"  in size.  All for now. Sue x


                                                      Follow my blog with Bloglovin

Sunday, 20 December 2020

Birthday Party

Good Sunday Morning all!  How about a carousel card using the elephant!  I started by embossing a piece of white card with the Zigzag Squares embossing folder.  I added red strips of card to the top and bottom of the background.  Next I cut the Carousel out of a piece of card I used some Silver Glitter Kiss on and allowed it to dry.  I stamped the elephant and cut it out with the matching die.  I coloured the elephant using Distress Markers, then added it to the carousel and mounted it in the centre of the card.  I used the Carousel Alphabet and cut out the word "Party" and glued it to the bottom of the card.  I used one of the stamps from the Happy die/stamp combo and cut it out with the tag die.  I added it with foam to the top of the card.  The card was completed with white and red mats and layers.  The finished dimensions are 7"  x  8 3/4"   in size.  All for now. Sue x


                                                         Follow my blog with Bloglovin

Saturday, 19 December 2020

Especially For You

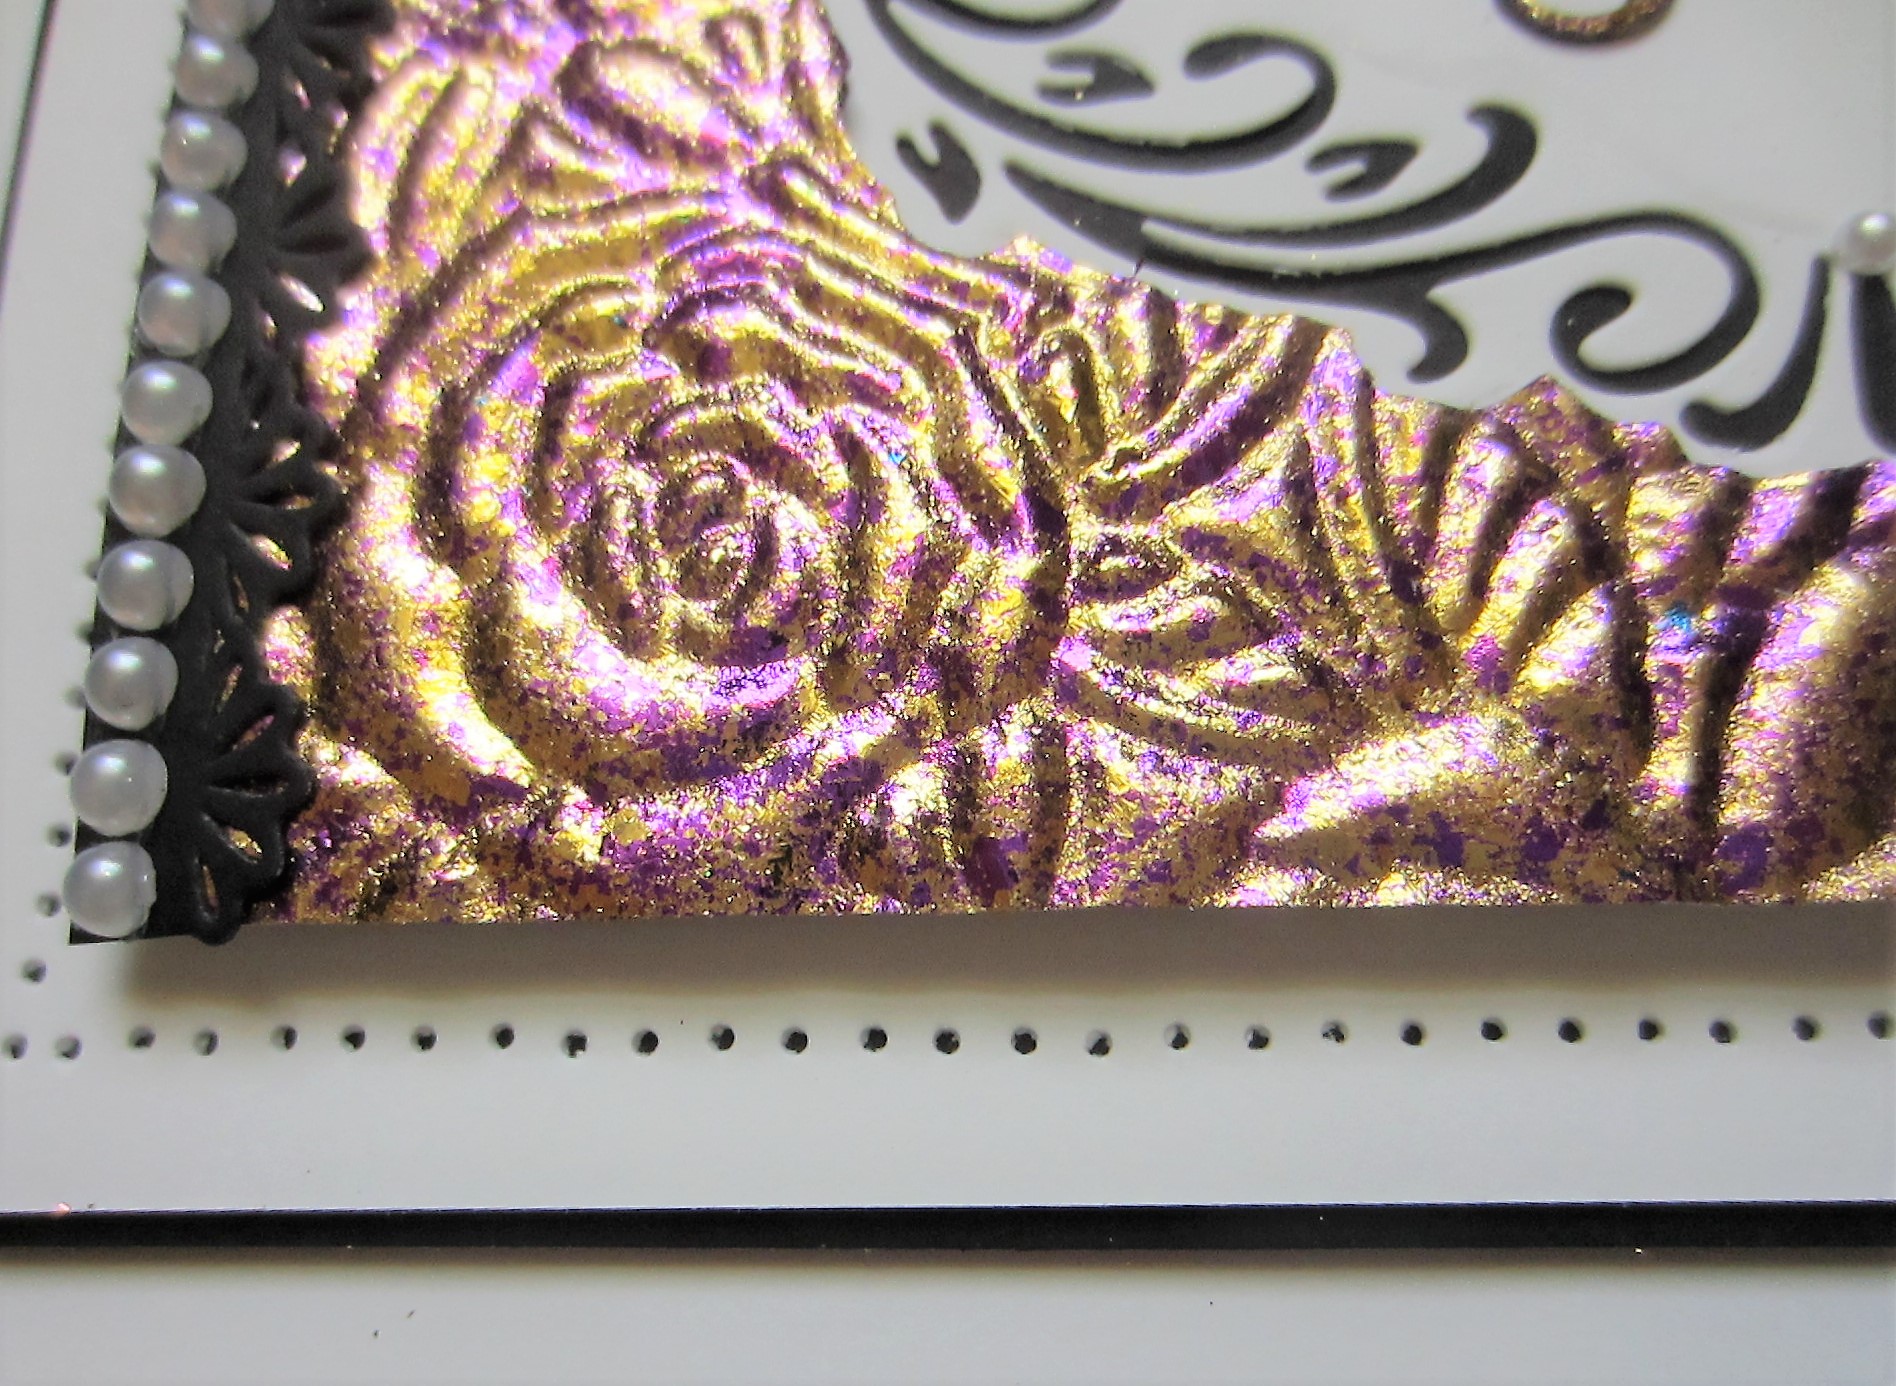
 Hello crafters!  I pulled out the Aurora Flakes for today’s offering.  I covered a piece of white card with a sticky adhesive sheet.  I peeled the backing off and sprinkled Golden Rose Aurora Flakes over the sticky sheet.  I used a small piece of rub it scrub it pad to move the flakes around, then refine and remove the excess flakes.  I used the largest cutting die from the Avery die set and cut an aperture in the centre.  Next, I embossed the background with the Rose Bed embossing folder for texture.  I added mounting foam to the back and added it over a piece of black card.  I cut the Avery die in white and recessed it into the aperture.  Using a piece of leftover flake card, I cut the Especially For You sentiment and three small flowers.  I added a black shadow to the sentiment and glued it to the middle of the card, along with the three flowers.  Using the Trellis Edger set, I cut two side borders out of black card and glued them to the edges of the card.  I cut the double strip of pearls into two single strips and glued the to the side borders.  The card was completed with white and black mats and layers.  The finished dimensions are 6 1/2” x  7 1/2” In size.  All for now, Sue x


                                                             Follow my blog with Bloglovin