A daily papercrafting blog which features my handmade cards showcasing Creative Expression's products including my own line of cutting dies and embossing folders, Cosmic Shimmer, Ranger and more which use various techniques and ideas to hopefully inspire the creativity in you.
Tutorials
- Home
- My Ribbon Flower Tutorial
- Fancy Nestie
- Blossoms Five Flower Bud
- Blossoms Five Full Flower
- Easel Tutorial
- Wax Paper Embossing Folder Tutorial
- Caught In Crystal
- Shaving Foam Tutorial
- Quilt Card Tutorial
- Paved Pearl Technique
- Faux Leather Technique
- Plaited Ribbon Wreath Tutorial
- Paper Rose Tutorial
Wednesday, 12 May 2021
Elegant Arrangements
Hi crafters! For this post we are showcasing the other die set in this theme, that is the Elegant Arrangements. This set has a whopping 22 dies in it so there are plenty of flowers, foliage, pots, vases and accents to make just about any sort of floral arrangement you want! Both the Elegant Arrangements and the Beautiful Blossoms set can be mixed and matched for even greater results too! I decided to share this simple card that does not even use any of the flowers to illustrate the many different looks you can achieve with it. This one works great for masculine cards too so it is even more versatile. If this set is singing your name, why not just leave a comment on the post to get your name entered into the drawing to win it! If you have never done it, there are full directions on the right hand side of the blog. It is really easy, just don't forget to leave your name in a memorable fashion! The next post will be online here at 3pm today. Hope to see you then. All for now. Sue x
Beautiful Blossoms
Hello there my crafty friends! Welcome to day two and we are starting out with another new concept idea. We are showcasing the first of two sets from our Finishing Touches collection. Introducing the Beautiful Blossoms die set. These sets have been designed with a floral arranging them in mind. Have you ever cut flowers from your garden and brought them in to display them in a nice vase? Well in that same sort of manner, these dies give you all the flowers, the vases or baskets and the accent foliage to make lovely arrangements. Even if you have never been able to make your flowers look like a florist did them, these dies take all the work out of it for you! Shown here, you can see a modern look with a black gloss flat vase and it only takes a few different elements to make it work beautifully! Go ahead and add your name and comment to the post so you are sure to be entered into this drawing. I will return at noon for the next set to share with you. All for now. Sue x
Tuesday, 11 May 2021
Daisy Floral Panel Die Set
Hello bloggers! The final die in this collection is the Daisy Floral Panel die set. Shown here, the Daisy Floral Panel can be used vertically for a completely different look as can all of the four Floral Panel die sets! This just adds another layer of versatility to all of them! All four sets also come with an added addition of a butterfly (two sets have butterflies), dragonfly or bee to add to your floral creations as well. I just need to ask, what are you waiting for, add your comment to this post as I am sure you are going to want to be included in the drawing to win this set! I will be back here tomorrow morning at 6am with another new day of dies for you! All for now. Sue x
Flowering Dogwood Floral Panel
Hello there my crafty friends! The next set in this collection is the Flowering Dogwood Floral Panel. I have done this as another triptych panel but with the sides done in opposite directions to give a more flowing feeling. These panels can be used in either direction too, which really helps you create some spectacular cards and projects, from clean and simple to elegant elaborate designs. The panels from all of the sets can easily be mixed and matched together as well so they give you far more variety, the more sets you have! Don't forget to leave your comment on this post if the Dogwood is one of your favourite flowers too! I will be back here at 6pm for the final post of the day. All for now. Sue x
Peony Floral Panel Die Set
Hello crafters! The next die set that I would like to showcase is the Peony Floral Panel die set. Shown here, you can see how lovely it looks when done in a triptych manner. The peonies look lovely when decoupaged up for dimension too! All of the Floral Panel sets have separate outer cutting edges on the panels so you can either cut them into the card or cut them out of the card too. If this set is calling your name, then just pop a comment on this post and your name will be included in the drawing to win it, it is just that easy! I will be back at 3pm with the next die set in this collection. I hope you will be able to come back by then! All for now. Sue x
Follow my blog with Bloglovin
May Blog Launch/ Cosmos Floral Panel Die Set
Hello bloggers! Here we are with the May 2021 die release blog launch! We have some beautiful new concept dies to share with you this release, I am very excited about them! Before we get into the actual release, I need to give you the usual info. We will be giving away one set of each of the dies this release. The giveaway will be based on drawings done from each of the comments left on the posts, so if you would like to get your name entered into any of the drawings, you only need to leave a comment. You can leave comments on each and every die post, but please only one comment per post. Since we only have one set to giveaway, I need to make sure that only the one winner claims it so please make you name memorable in some way. Please add an alias like Cathy the cat lady, or the name of the city where you live such as Barbara in Bradford or at least you last name or initial. I will do all the drawings and post the winners on the blog on the afternoon of May 18th so don't forget to check back then!
We are starting the blog with my new line of Floral Panel dies. Shown here is the Cosmos Floral Panel die set. These sets have so much versatility as you can use one panel, or the other panel or layer them on top of each other or cut and extend the panels, as I have done here. If you like this concept, then just leave a comment on this post to be entered into the drawing to win this set. I will be back at 12 noon today with the next die set for your perusal. All for now, Sue x
Monday, 10 May 2021
You Are The Best
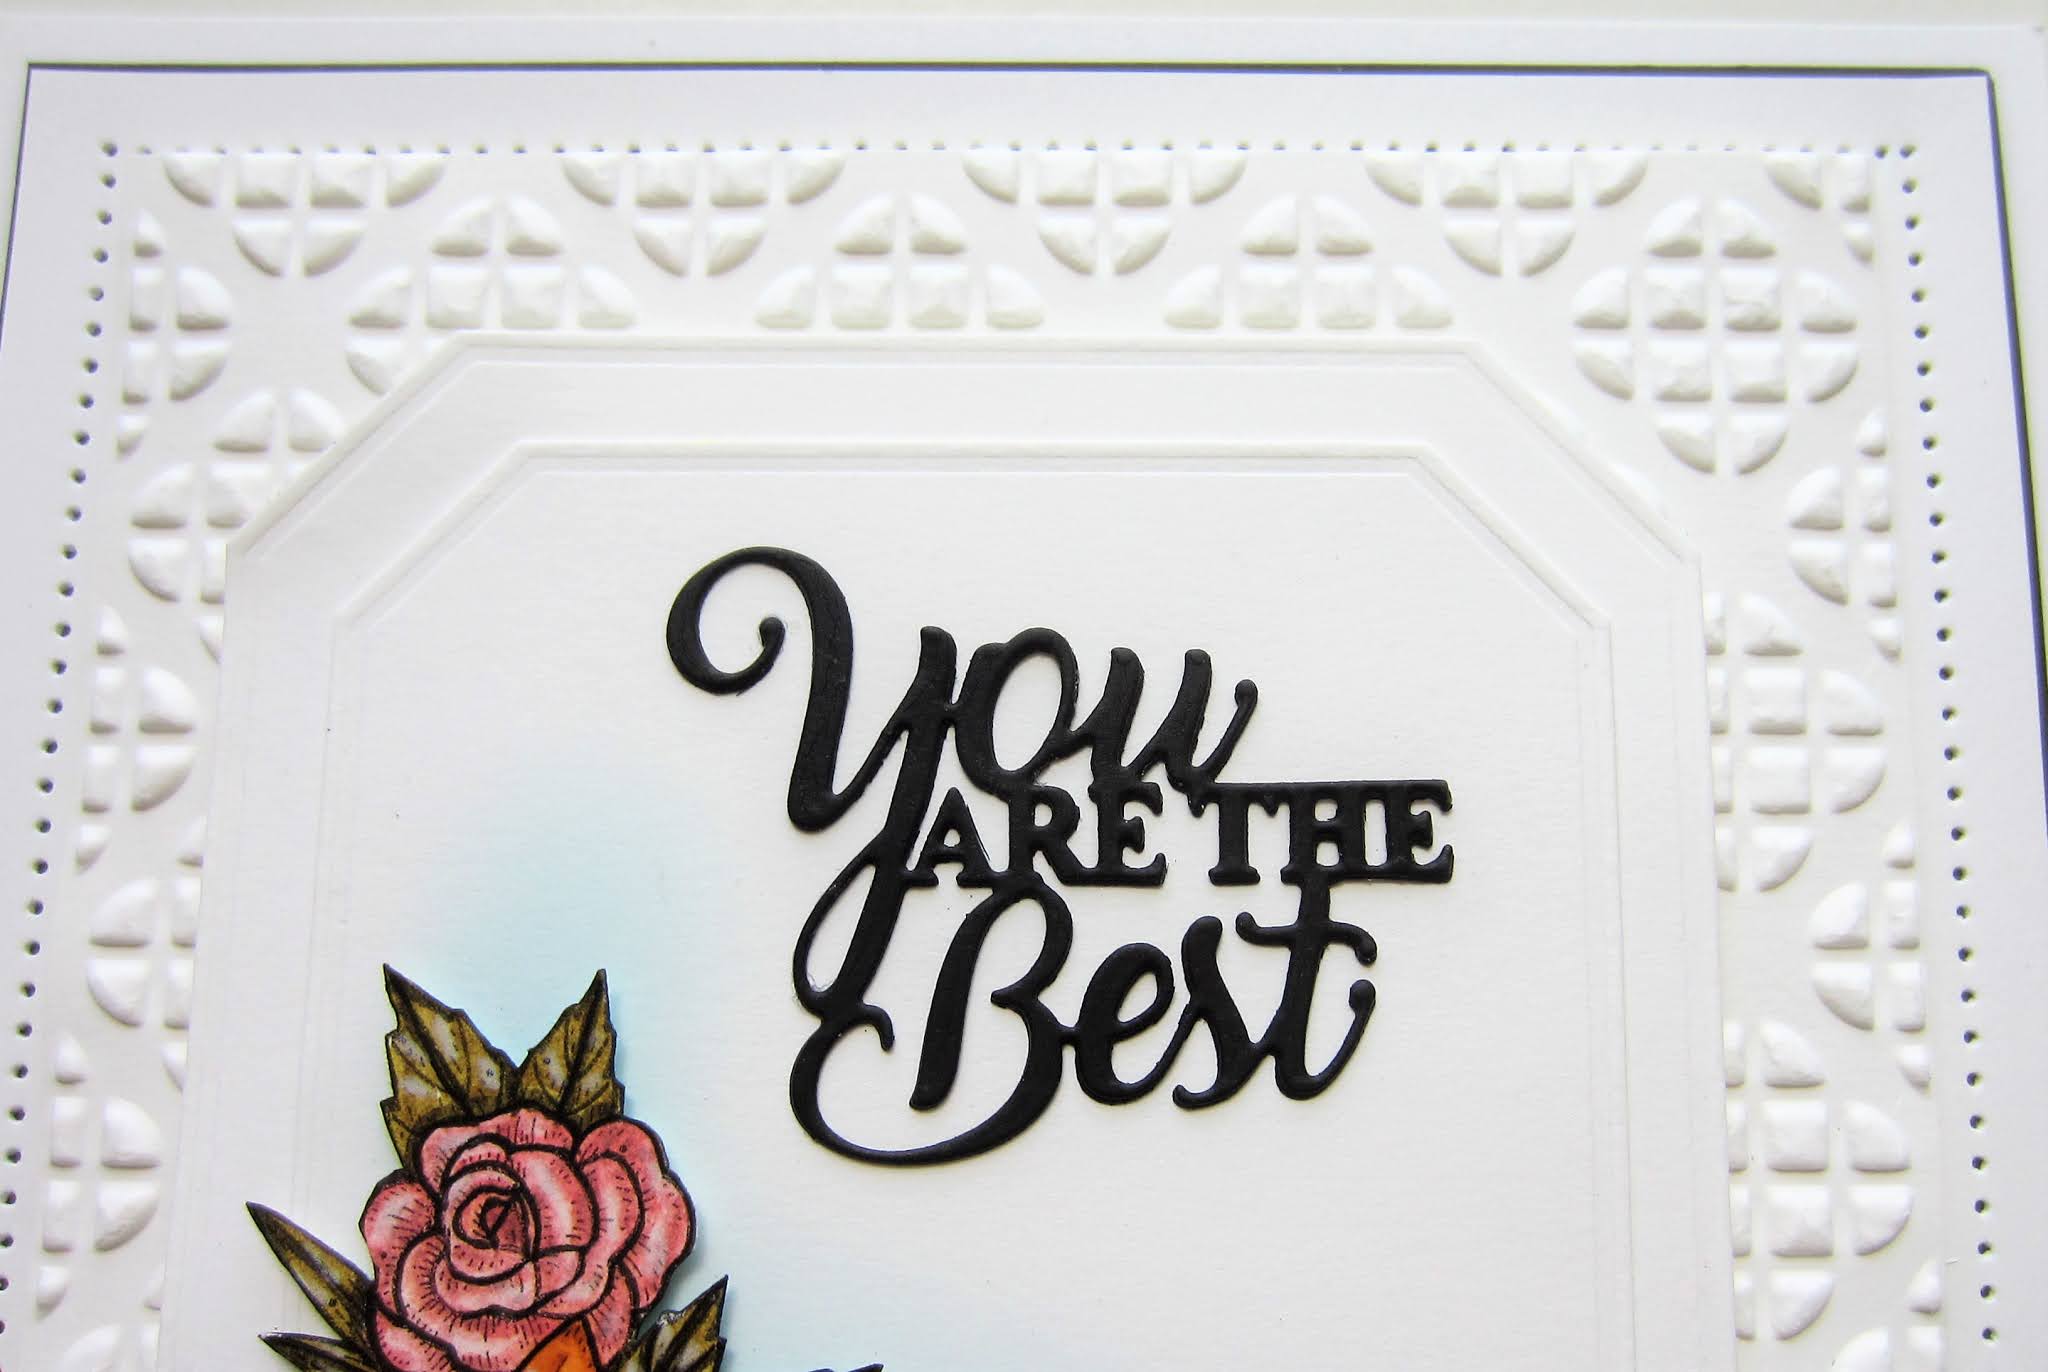
Hello bloggers! I just love the simplicity of this card as well as the pop of colour from the Stampcut die! I started with the background and embossed a piece of white card with the new Geo Trellis embossing folder. Next I inked and cut the Spring Roses and Daffodils Stampcut. I used a Black Archival ink pad to stamp it with and coloured it with Distress markers of various colour shades. Next I cut two of the Cut Corner Rectangles and latted them together. I attached them with mounting foam to the background. I used some Tumbled Glass distress ink on a smoothie to add a soft shadow for the die cut to sit in, then glued the Stampcut die cut into the corner. I cut the You Are The Best sentiment out of black card twice, then stacked them and glued it into the upper part of the card. The card was completed with white and black mats and layers. The finished dimensions are 6 1/2" x 8 1/2" in size.
I completely forgot to mention that we are having the May die release blog launch starting tomorrow morning! It seems like everyday is blursday anymore, I completely lost track of the date! LOL All for now. Sue x
Sunday, 9 May 2021
Get Well
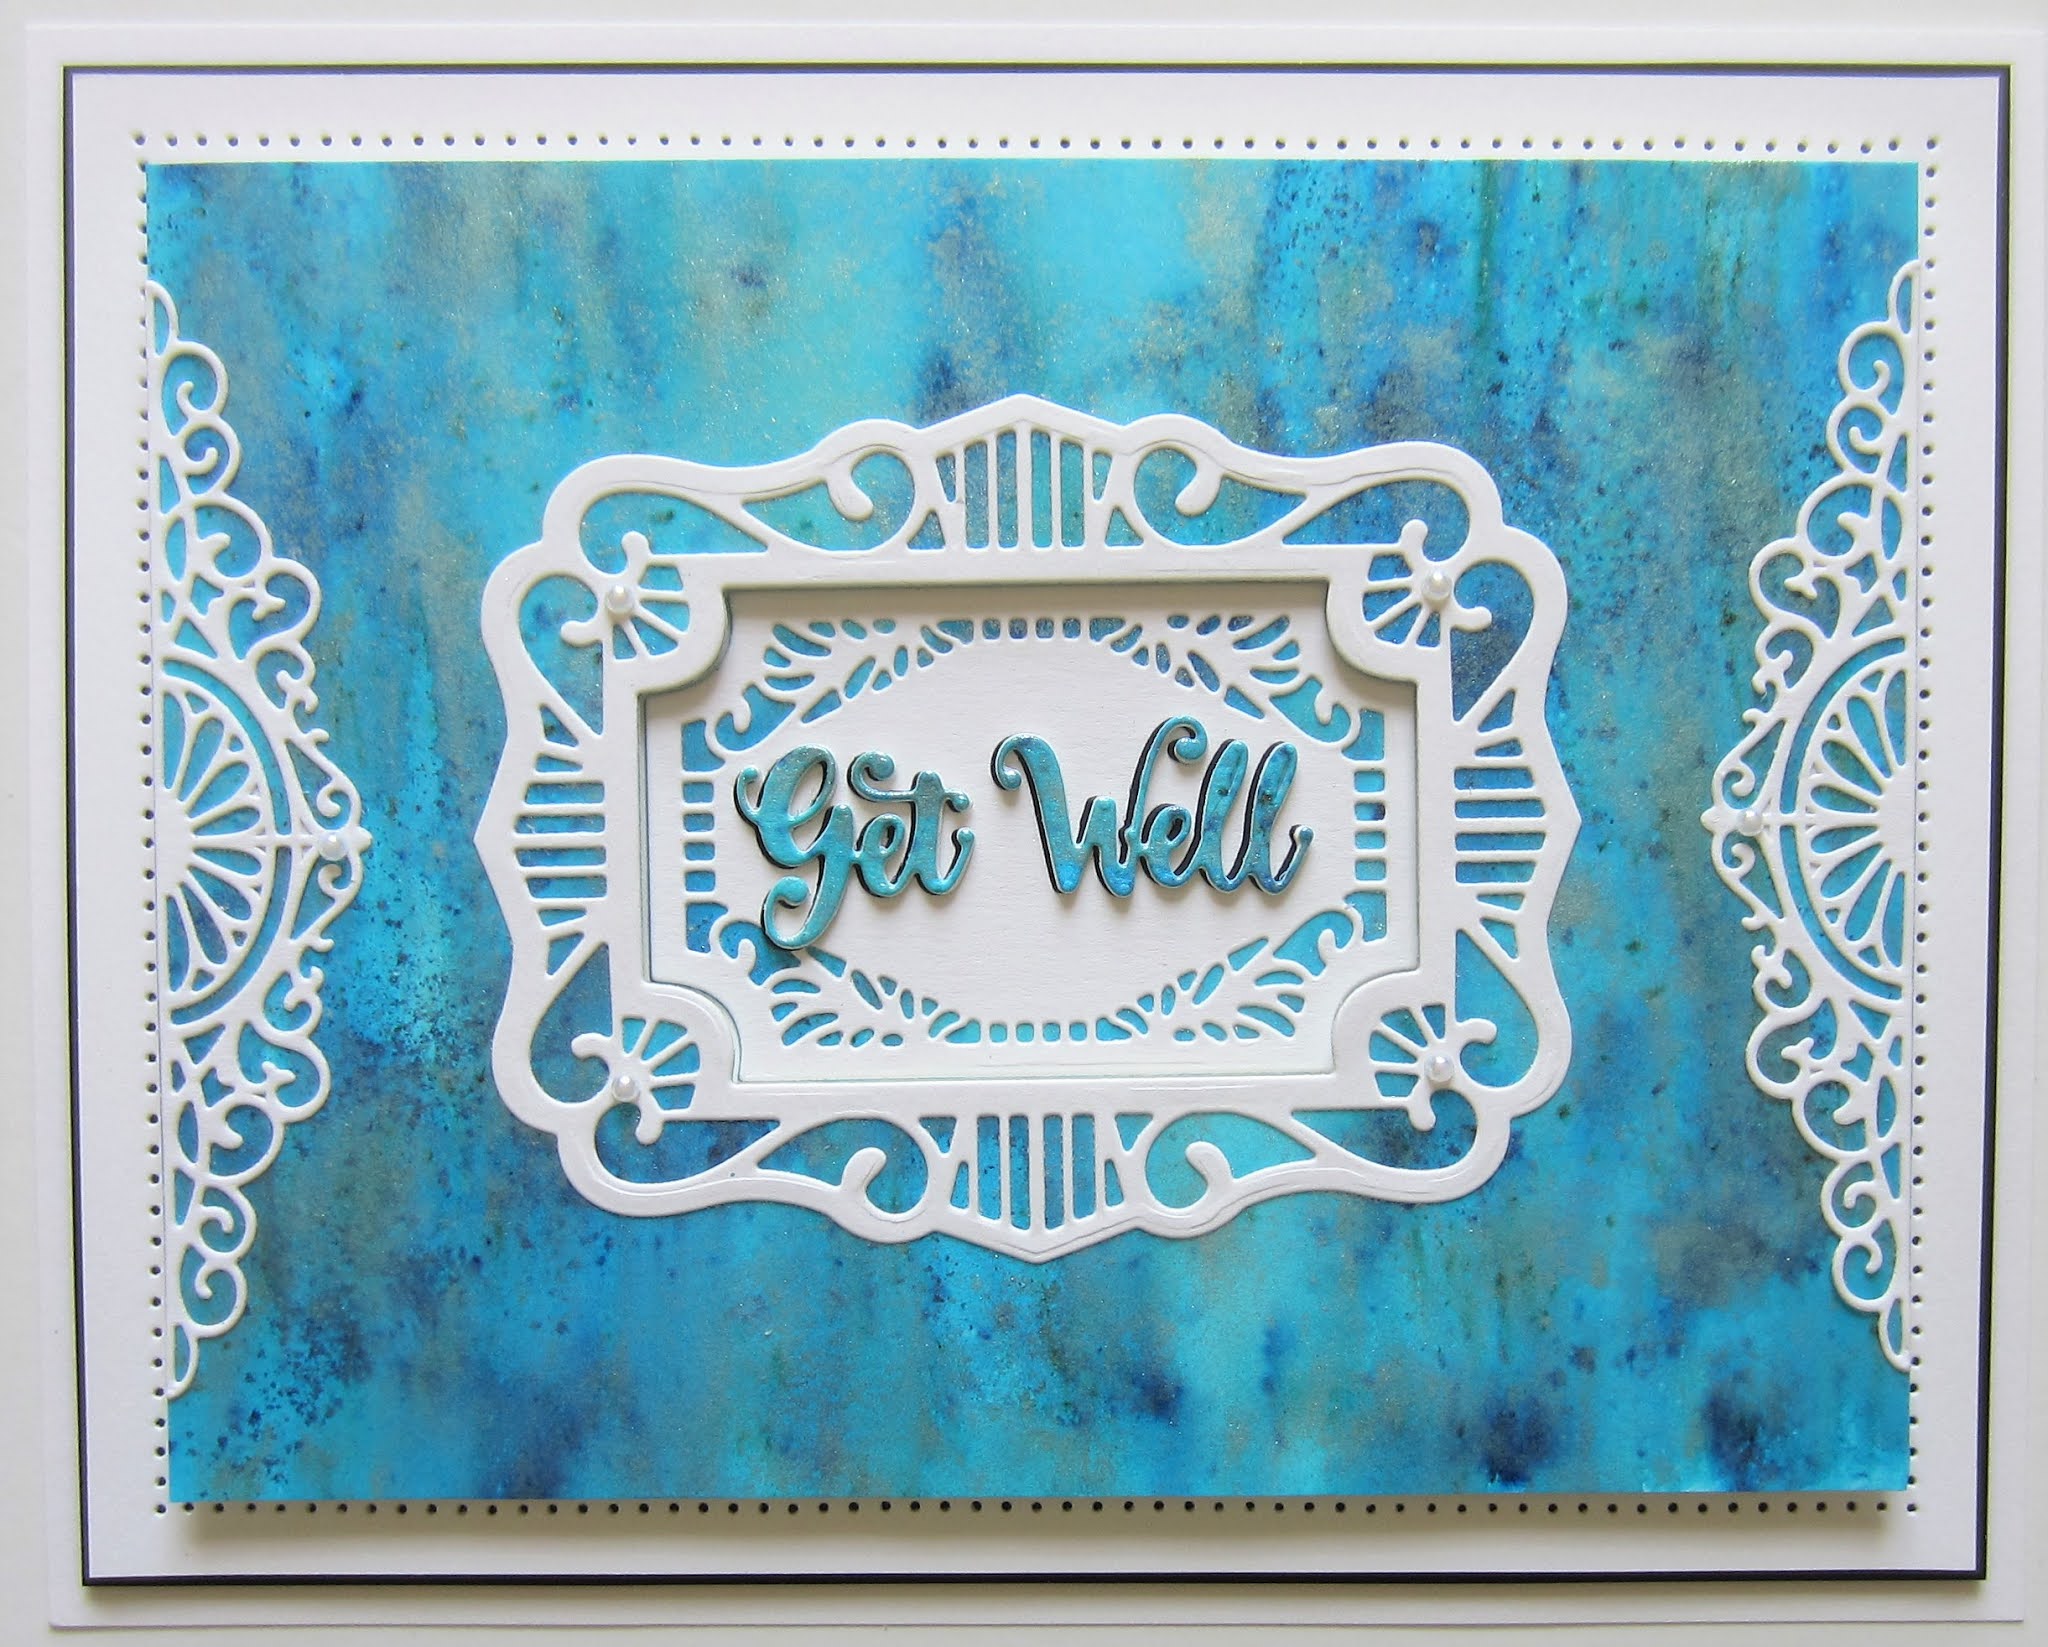
Good Sunday morning all! Here's a simple Pixie Sparkle card for you today. I started with a piece of white card and sprinkled Beyond Blue Pixie Sparkles all over the card. Once dry, I cut the Charming Lace Trim die in white and glued them to the sides of the background. I used the centre of the Maldives die and cut an aperture in the middle of the card. I added mounting foam to the back of the background then attached it to a piece of white card. I cut the Maldives die in white using the outer portion around the outside of the aperture, then gluing the centre to the leftover piece from the aperture, and recessing it into the centre. I cut the Get Well sentiment from a leftover piece of the background, then shadowed it with a black die cut and glued it to the middle of the aperture. The card was completed with white and black mats and layers. The finished dimensions are 6 1/2" x 8 1/4" in size. All for now,. Sue x
Saturday, 8 May 2021
You Are The Best
Hello there my crafty friends! I thought I would show off another card that uses one of the Slimline stencils! I started with a piece of white card and taped the Chevron stencil to it. I used Custard Matt Chalk Polish through it. The polish dries very quickly so I was able to use it immediately. I trimmed around the stenciled area then added it to a wider piece of white card that I scored along the edge for a bit of detail. Next I cut the Dandelion Posies in both white and black. I used the black as a shadow behind and attached them along the line between the stencil and the white card. I added some dries clear glue to the tops of them, then sprinkled with Frosted Sparkle Glitterbitz for a bit of bling. I cut the You Are The Best sentiment several times, then stacked them and glued it onto the card. I completed the card with white and black mats and layers. The finished dimensions are 5" x 9 1/2" in size. All for now. Sue x
Friday, 7 May 2021
You Are So Special
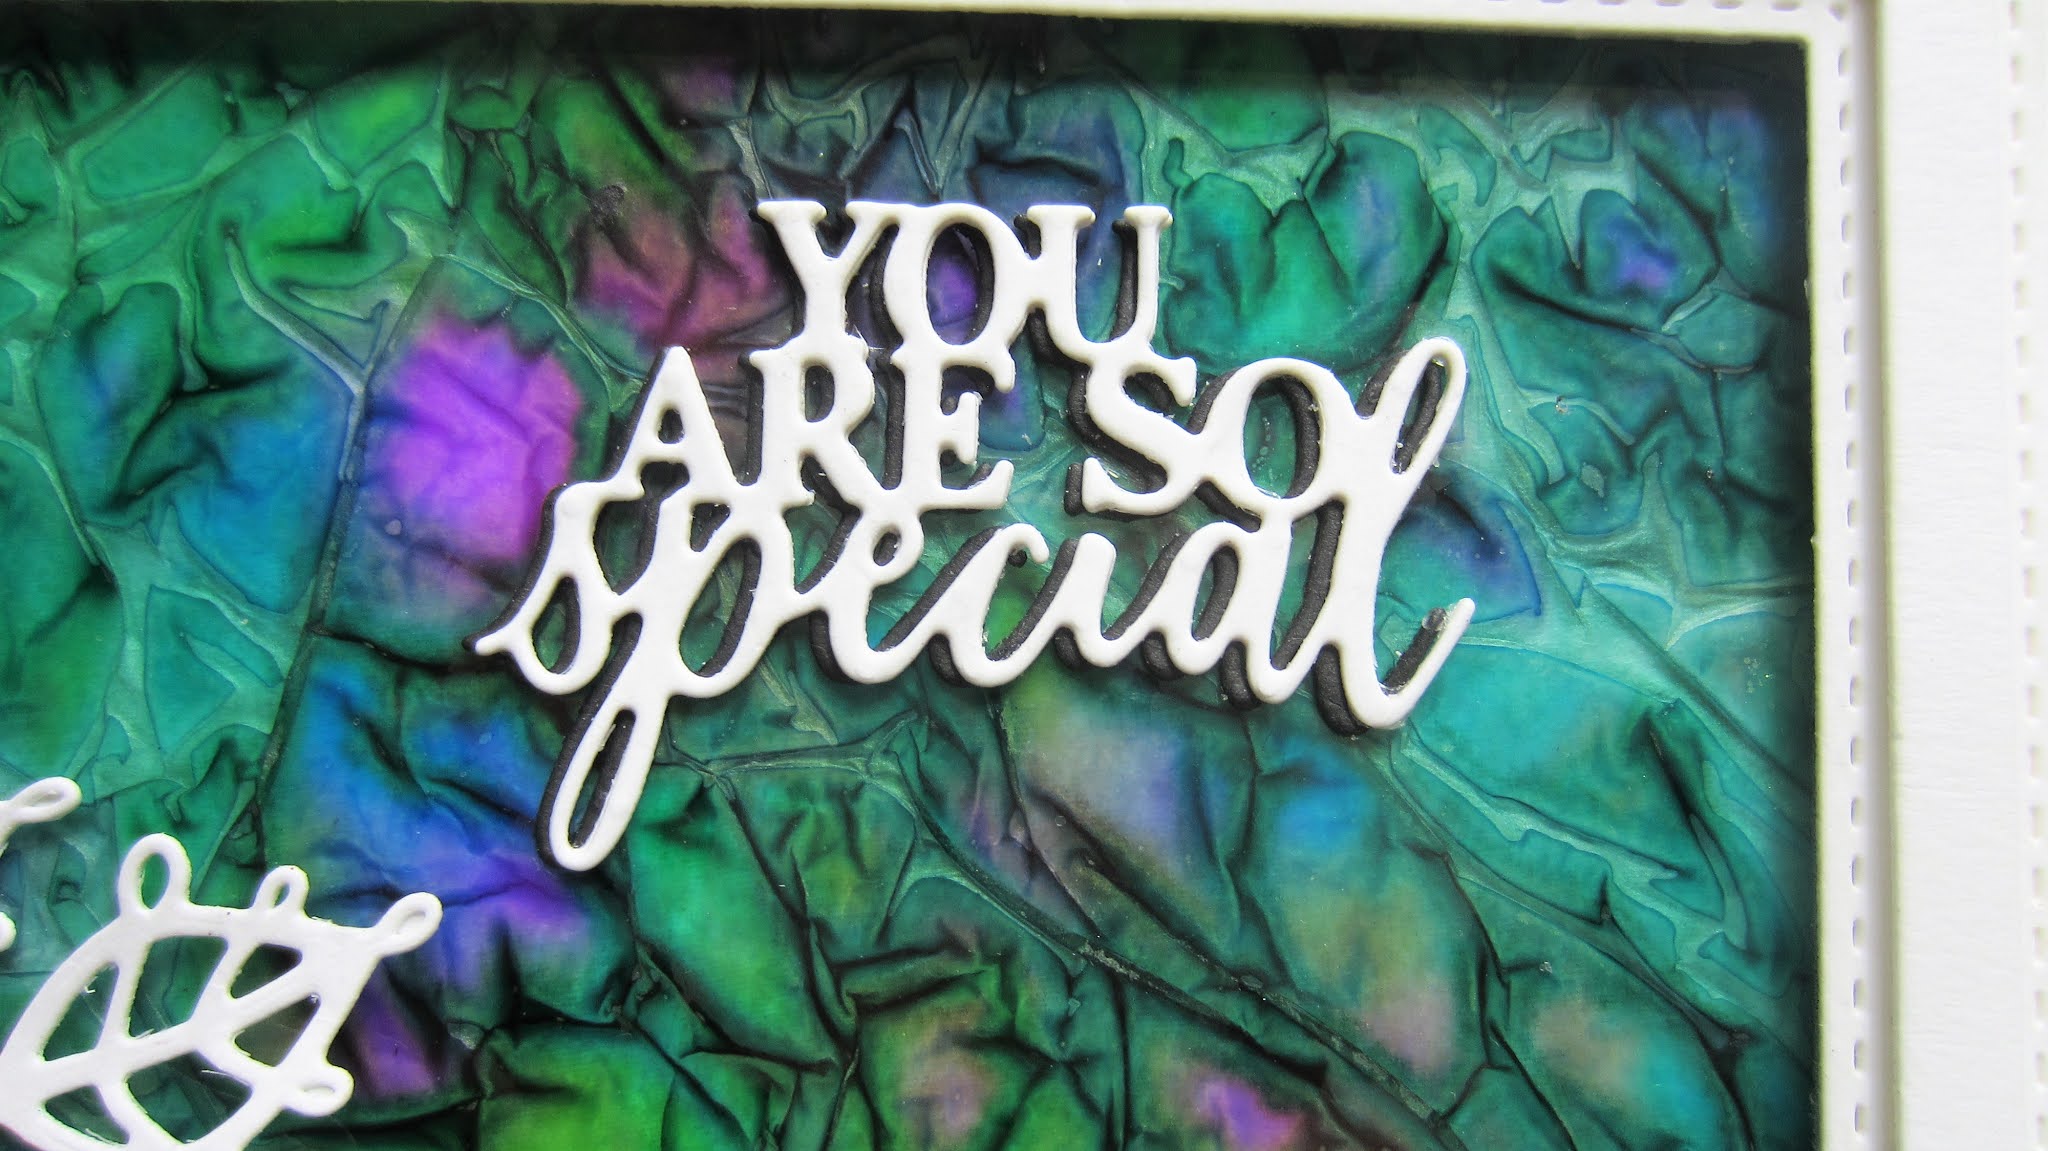
Hi crafters! I started by creating my caught in crystal background. I used Lime Peridot, Blue Aquamarine and Pure Amethyst Crystal Tints all over a piece of acetate. Next, I scrunched up a piece of white tissue paper and laid it on top and tamped it down. I set it aside to dry overnight. Once dry, I trimmed he edges wih a paper cutter and glued a piece of whie card to the back to help reflect the colours. I used the Slimline Essential Frames and added a double white frame around it. I cut the You Are So Special sentiment in white and glued it inside the frame. Using the Cosmos Flower die set, I cut three different sized flowers from a piece of white card covered with a sticky adhesive sheet. I cut the matching outlines in white, then assembled the flowers. I used Frosted Sparkle Glitterbitz on the exposed adhesive on the flowers before assembling them. I added them in a cluster then accented them wih Lace Edged Leaves in white. The card was completed with white mats and layers. The finished dimensions are 4 1/2" x 9" in size. All for now. Sue x
Subscribe to:
Posts (Atom)