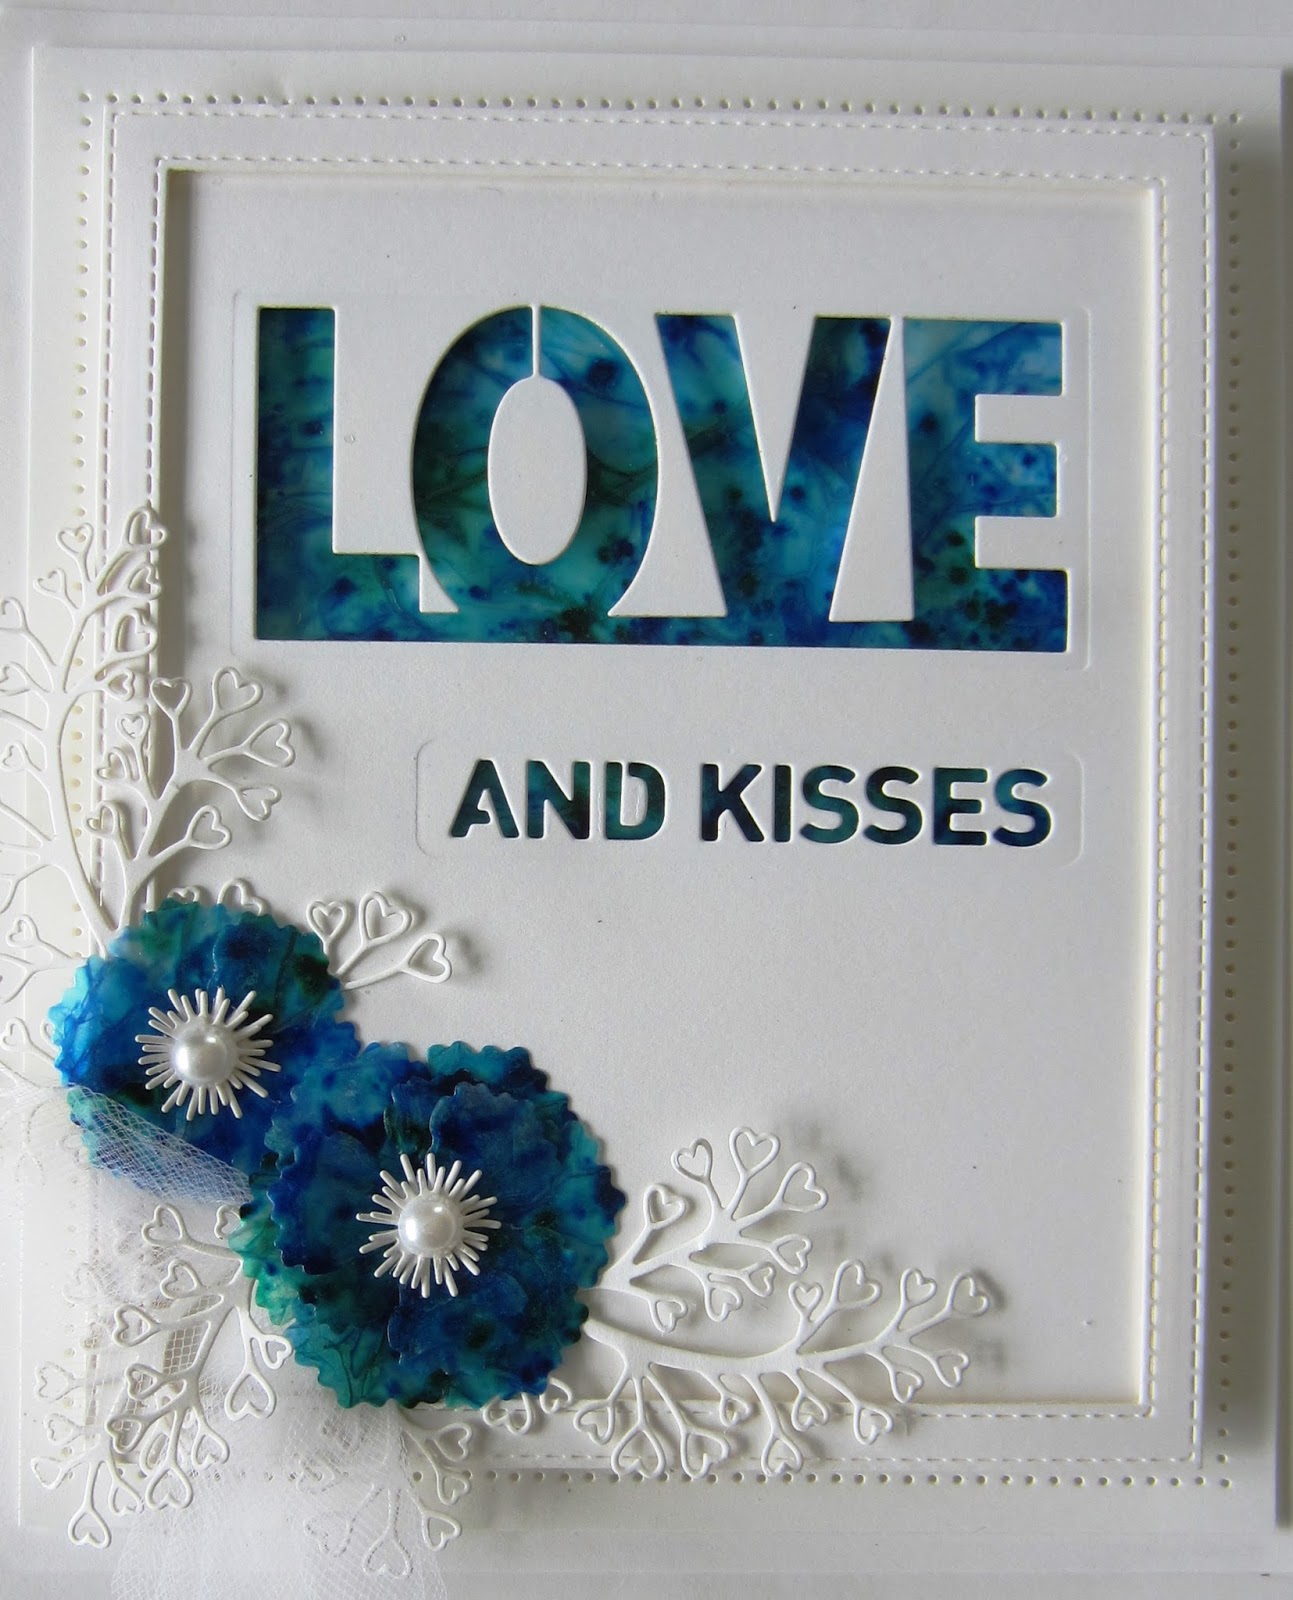
Good Sunday morning all! I am starting to finally get caught up on all the extra cards that I had to post! The pickings are getting slimmer for cards using the same dies but today's card posts both show the
Heart Spray in action though. I used the
Love Perspective die to cut an aperture in a piece of coconut white card. I used the smaller plaque to cut the "and kisses" below it. I made a piece of Caught in Crystal using
Pixie Powders to show through the cut out areas on the card. Using a piece of
acetate, I poured
Cosmic Lacquer on it and sprinkled
Midnight Blue, Peacock Green and Aqua Lagoon Pixies on it then added a piece of scrunched up white tissue paper over it and set it aside to dry over night. I used part of it behind the cut out areas and then cut the
Exquisite Poppies out of the rest of the piece. I added a thin frame using the
Double Pierced Noble Rectangles dies, raised for dimension. I added the poppies in the lower corner and accented them with white heart sprays. The card was completed with a white on white mat. The finished dimensions are 6 3/4" x 8" in size. Scroll down for card number two.
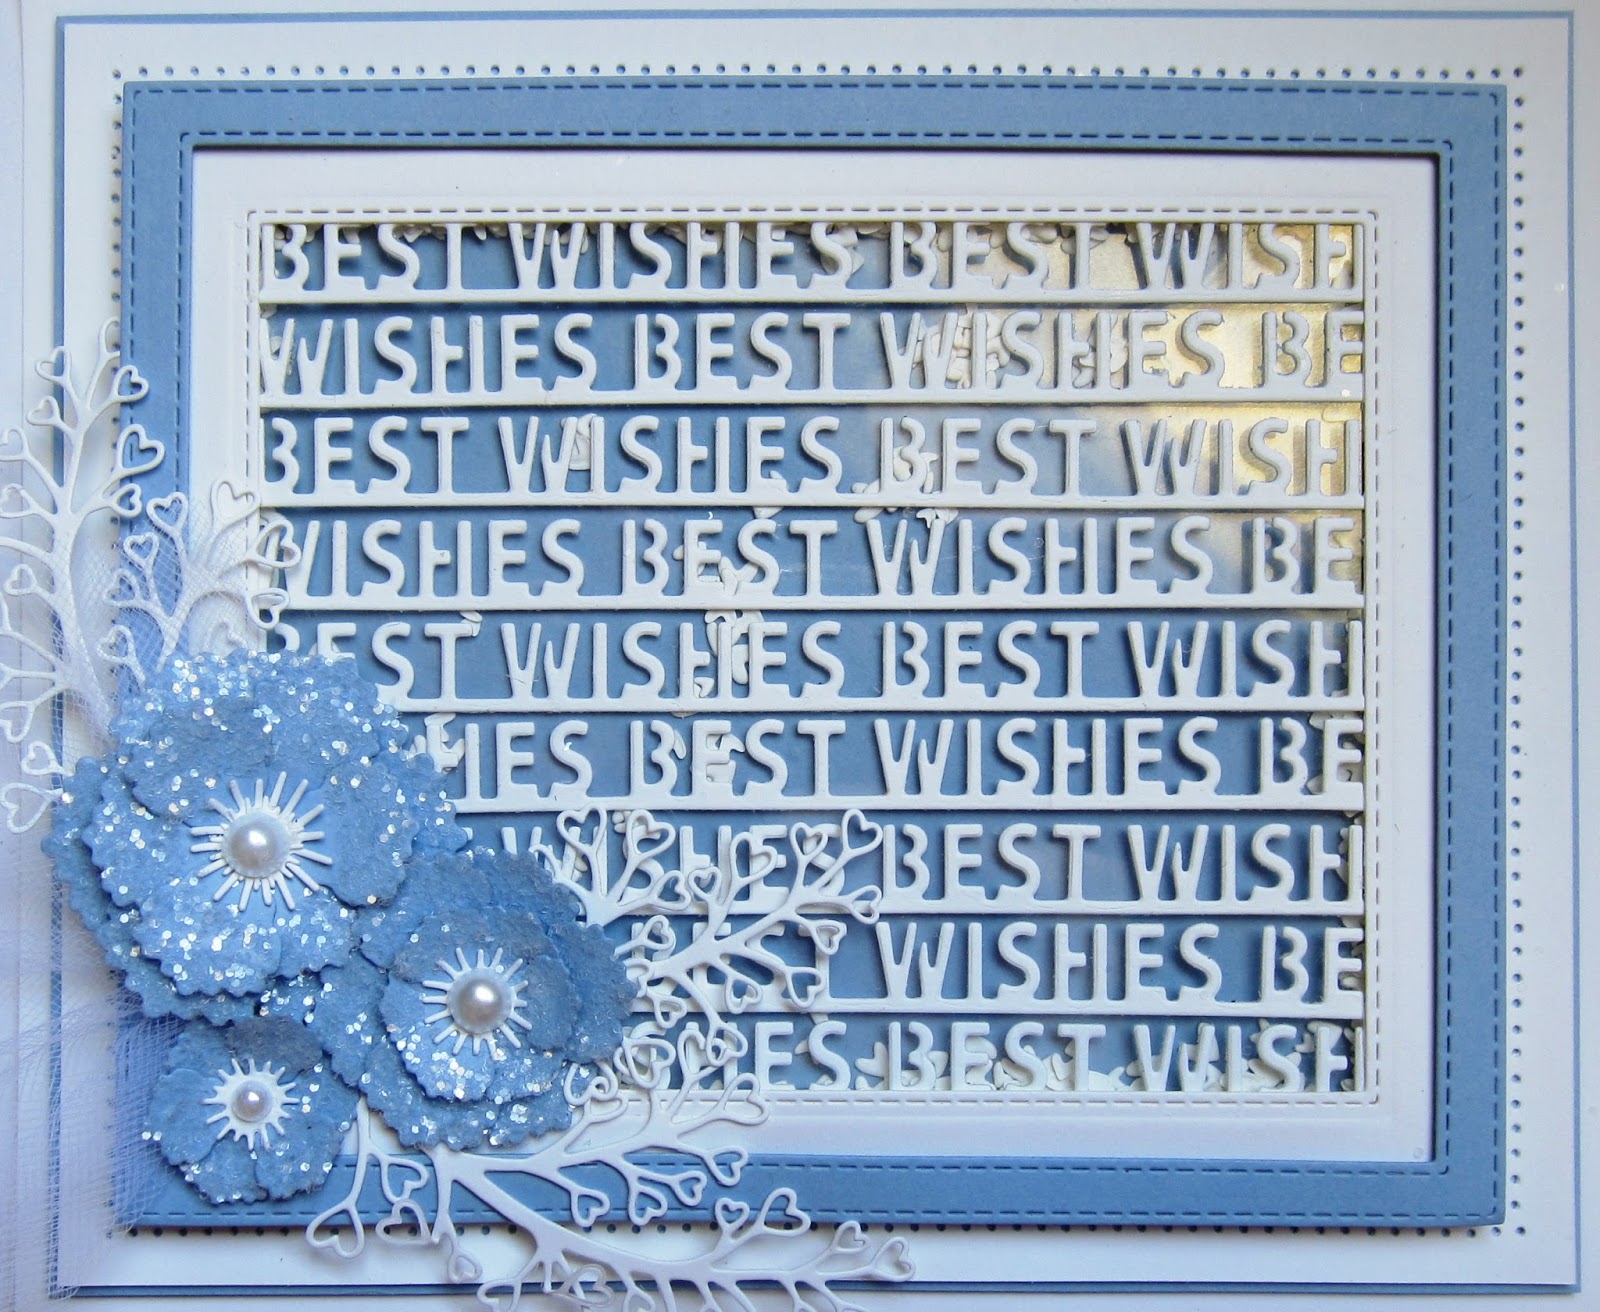
Card number two is a shaker card which uses the fall away pieces from the
Heart Spray (so all of those from the card above did not go to waste!) I cut the
Triple Line Best Wishes three times out of a piece of
coconut white card. I glued each of the lines to a piece of clear acetate. I added mounting foam to the back edges of the acetate to raise it, I added all the hearts to the acetate and then place a piece of blue dusk card over the back to seal them in. I used the
Double Pierced Noble Rectangles to make a multi layer frame out of white and blue dusk card and added it to the front. I accented with
Poppies again, but this time they were cut from
Blue Dusk card covered with
sticky adhesive sheet and glittered with
Iced Snow. I accented the with white
Heart Sprays. Blue and white mats and layers were used to complete the card. The finished dimensions are 7" x 8" in size.
The winners of this week's Comment Game are:
Stitchingranny!!
Pam!!!
Dawn Malpass!!!
Congratulations all! Please email me at americansue1@gmail.com to confirm your address and claim your prize. All for now, Sue x
Follow my blog with Bloglovin






 Hi crafters! I have a shadow box card for you up first today. I started by cutting the Christmas Shadow Box out of vintage silver card. I added mounting foam to raise it and create all the cubby hole areas. I embossed a piece of coconut white card with the Twinkle Twinkle embossing folder and added it to the back to show through the boxes. I added a row of silver and gold ornaments to the top section. I cut the Rustic Twig Wreath out of gold card and glued it in the largest area slightly off set then added my die cut sentiment in silver over it. I cut the tree in gold and decided to mount it up over the long thin section on foam. I added small gold and silver ornaments to it. I cut a wide frame using the Stitched Lattice Frames out of white card covered with a self adhesive sticky sheet. I peeled the backing paper off and coated it with Iced Snow for a frosty feel. I completed the card with white mats and thin gold and silver ones in between. The finished dimensions are 7 1/4" x 8 1/4" in size. Scroll down for card number two.


 The second card was a bit of a lark as I finished the card above, I noticed that the fallaway pieces sort of looked like they ,might make a nice door! I embossed the background using the Wild Poinsettia embossing folder to give it some texture. Next I used the fallaway bits from the Shadow box die, but cut it several more times to get a few more bits to stack up so it looked like a door with panels to it. I cut the Rustic Twig Wreath for the top of the door and added a small holly to it (from the Shadow Box die). I added a sentiment to the bottom part of the door (it is still a card afterall! LOL). I cut one of the ornaments from the shadow box and nipped off the top to use as a doorknob. The card was completed with white and vintage gold mats for a very clean and simple look. The finished dimensions are 6 1/4" x 8 1/4" in size. All for now, Sue x


