Sunday, 20 September 2015

Just Wanted To Say Hello

Good Sunday morning to all!  Just a quick reminder that I am still demonstrating at Ally Pally all day today so the drawings for the card giveaway and the comment game will not be posted until tomorrow!  For today's card, I have a very unisex sort of card.  I started with a piece of sand card and stamped the background with a swirl stamp inked with clear perfect medium.  I dusted it with Angel Gold mica powder for a soft shimmer.  For the next layer, I used the Beaded Fanfare embossing folder and embossed a piece of taupe card.  I used the negative side of the embossing and rubbed it with Snow Cap Adirondack pigment ink to lighten all the raised areas for a faux letterpress effect.  Next I cut a thin frame out of the larger cutting dies of the Classic Adorned Squares and the Ornate Pierced Squares out of taupe card.  I used the Classic Adorned Square die again to create an aperture.  I glued my thin frame to it, then cut the slightly larger edge on the paper cutter, squaring the corners to match.  I used a darker shade of tan and cut the decorative inside area of the Classic Adorned square and recessed it into the frame.  I stamped my sentiment and cut it in a diamond orientation and added a taupe mat behind it.  I completed the card by adding a pierced milk mat, a thin taupe mat and a final milk mat.  The finished dimensions are 8" x  8" in size.  Hope to see you at Ally Pally today!  All for now,  Sue x


                                                       Follow my blog with Bloglovin


Saturday, 19 September 2015

Letterpressed and Snowflakes

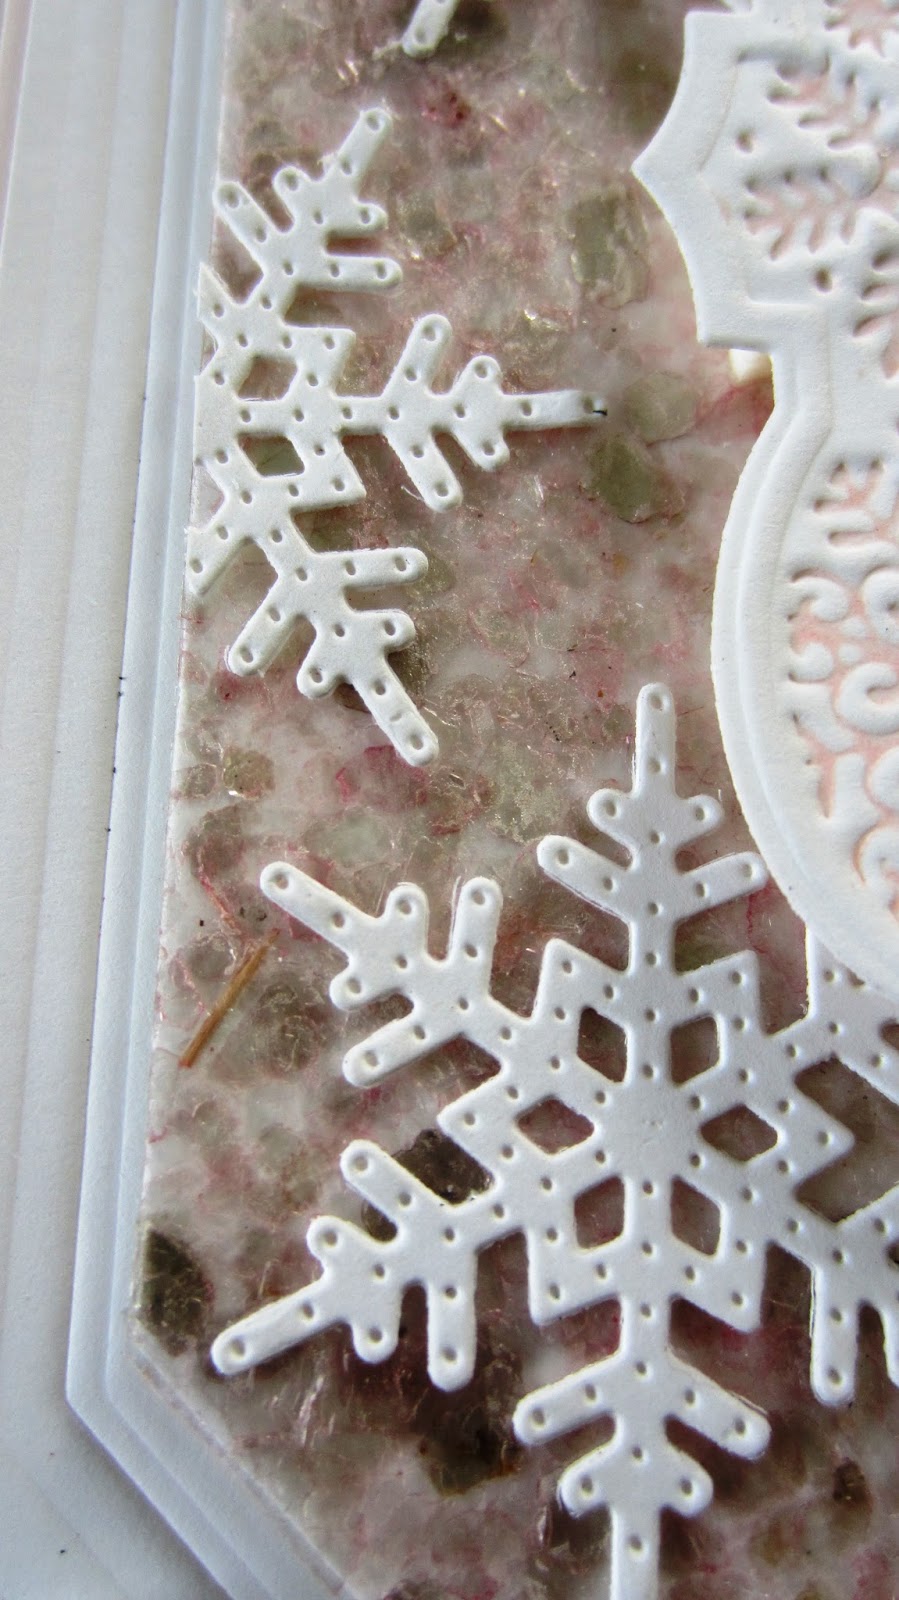
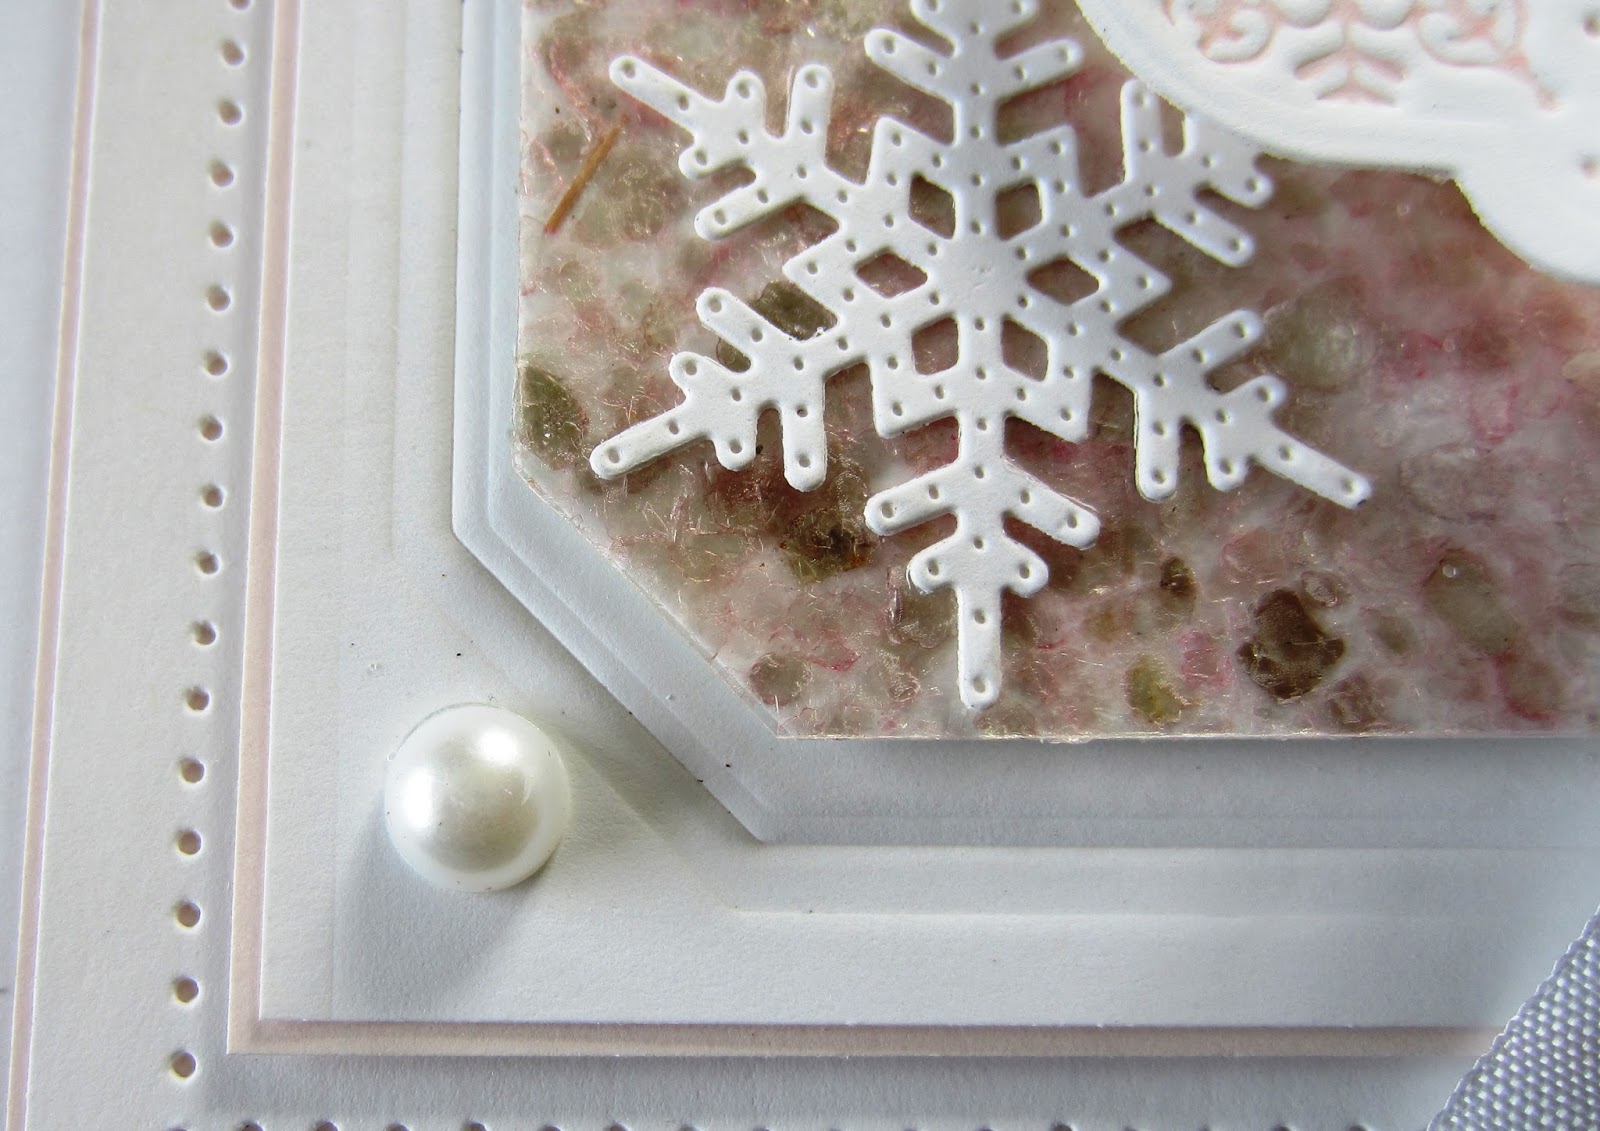
Hello there my crafty friends!  Like yesterday's card, I have used mica Flakes in today's card, but this time they are available (colour called Marshmallow).  At least you can see how they are added as it is the same method as the previous card too.

In case you happen to be in the area, I am demoing this weekend at the Big Crafting Show at Alexandra Palace in London.  It is a great day out, open both Saturday and Sunday, with so many demonstrations, great crafting products and loads of fellow crafters.  I would just love it if you stopped by and let me know that you are on my blog!


 The finished dimensions are 7 1/4" x  7 1/2"
 in size.  All for now, Sue x


                                                         Follow my blog with Bloglovin


Friday, 18 September 2015

Christmas Double Days

 Hi crafters!  I hope you aren't feeling bombarded by the Festive cards lately!  I just seem to have so many of them to show!  This first card up today started with the Star Swirl embossing folder on a piece of coconut white card to give some texture to the background.  I wanted to bling it up a bit so I sprayed it with my permanent spray adhesive then coated it with Diamond Sprinkles.  Next I cut the Frosty Mini Background die in coconut white card, leaving a thin border around it as a frame.  I covered a piece of clear acetate with a sticky adhesive sheet, peeled the backing off and sprinkled it with mica flake chips.  I do have to tell you however, this colour was a sort of experiment as I asked if they could be done in an aqua colour and this is what they sent me.  I personally wouldn't call these aqua, but I did rather like the colour nonetheless.  However, I am not certain whether they have been added to our mica flake line at Creative Expressions.  If you like them, let me know and I am sure we can get them! I backed it with a piece of white card so that they were encapsulated between and attached the Frosty Mini Background over the top of it.  I cut a frame from the Peeking Snowflake set and added it on top of the mini background with some mounting foam.  I cut two of the Winter trees, sprayed them then coated them with Silver Chrome polished silk glitter and added them to the side of the oval frame.  I stamped my sentiment, embossed it in silver and cut it out with the Pierced Flags and tucked the end under my trees.  I dyed a length of white seam binding using Evergreen Bough distress ink as it matched my mica flakes perfectly, tied a messy bow and scrunched it up to dry naturally before adding to the card.  I completed the card with a white pierced mat, and a slightly larger white mat.  The finished dimensions are 7 3/4" x  9" in size.  Scroll down for card number two.


                                                                           Card number two is a sort of vintage
 looking Christmas card I think.  I started with the Contemporary Poinsettia embossing folder and a piece of milk card.  Once embossed, I used a smoothie and added some Antique Linen distress ink and just a hint of Tattered Rose to warm it a bit.  On another piece of milk card, I stamped the Twas The Night Before Christmas Background (drawn by John Lockwood) and embossed it in gold.  I used my paper cutter to cut it on the inside of the lines, then backed it with a piece of dusty rose card where I had stamped it again so the outer lines would show and embossed it in gold as well.  I used Distress Markers to colour it (Tattered Rose and Victorian Velvet for the flowers, Crushed Olive and Forest Moss for the leaves).  I stamped it again and then cut out an extra poinsettia to add to the stamped image.  I used some thin antique white satin ribbon in the corner.  I cut out the Joy Wreath in both milk card and gold card and used it as a shadow behind the letters.  I mounted it diagonally down the centre of the card.  I added a Tattered Rose inking in the centre of the wreath and then added the outline over the top of it.  I finished the card with a pierced milk mat, a dusty rose mat (card from my stash) and a final milk mat.  The finished dimensions are 7" x  8 1/4" in size.  All for now, Sue x


                                                          Follow my blog with Bloglovin

Thursday, 17 September 2015

Sparkle and Shine


Hello crafters!  A frosty background and shiny poinsettias make for a lovely festive card for friends and family!  Today's video shows you exactly how to achieve this!

I almost forgot to mention that the voting is now open for the Crafts Beautiful Awards this year.  I have been nominated in two categories, Best Blog and Best Designer.  I am very excited to be nominated and would just love it if you would take a few minutes to vote.  Here is the address where to go for it.http://www.crafts-beautiful.com/awards/

I did post the winners to the die launch yesterday afternoon and they have not all been claimed yet.  Please scroll down to see if your name is on the list!


The finished dimensions are 6 1/2" x  8 1/2" in size.  All for now, Sue x
                                                       Follow my blog with Bloglovin

Wednesday, 16 September 2015

September Release Die Winners!

Hello bloggers,  As promised, here is the list of winners from this latest die release!  I just want to thank you for the wonderful reception and lovely comments that all of you left during the blog launch, I really appreciate all of your efforts so much!  Just a quick note, however, the dies will not be posted out to the winners until after Ally Pally this weekend is over!  It is a bit hectic at the moment to say the least!

The winners are:

Double Pierced Square Noble die:  Nancyd!!!

Double Pierced Rectangle Noble die: Kate's Cards!!!

Ara Gemini die:  Sandy Acland!!!

Vela Gemini die:  Linda Downs!!!

Lynx Gemini die: Lynne L (Havordfordwest)!!!

Butterflies In Flight Mini Striplet: Ruth Kidd!!!

Rose Garden Mini Striplet:  Sylvia Yates!!!

Ornate Oval Just For You die: Mrs. Duck!!!

Ornate Oval Special Day die: Serene Polly!!!

Congratulations die: Scottydog!!!

Thanks For Everything die:  Lesley Thomas!!!

Best of Luck die:  Susan Jane Morson!!!

Thinking Of You die: Sue From Wiltshire!!!

With Sympathy die: Susan P Kent!!!

Happy Birthday die: Jean Z!!!

You Are Special die: Heather Treble!!!

Heraldic Square die: Donna Sherman!!!

Delicate Garden Frame: Cathy in MN!!!

Graceful Lace trim: Welsh Dors (Dorianne)!!!

Charming Lace Trim:: Rosemary Strickland!!!

Corner Squares: Magpie (Karen)!!!

Teardrop Adornment: Kiraneries!!!

Scalloped Trellis Adornment: Deb E Isle of Wight!!!

Art Deco Adornment: Ecco of Sheffield!!!

Scribble Flowers: Linda Norris!!!

String Flowers: Samantha Dalton!!!

Laurel Leaves: Crafting Queen (Anesha)!!!

Apple Blossom: Lesley Cann!!!

Wild Rose:  Tracey Short!!!

Tranquil Poppy:  Carole Bennett!!!

Catkin Stems:  Pat L!!!

Classic Vase: Pearl Farrier!!!

Diagonal Foldover Flower: Josie B!!!

 Congratulations all!!!  Please email me at americansue1@gmail.com to confirm your address.  Please put the name of the die that you have won in the subject line of the email so it is easier for me to get the correct die to each of the winners!  All for now, Sue x

Wednesday Weekly Card Giveaway

Hello there bloggers!  I'm sure many of you heard me say that I would be giving away the demo cards from the Hochanda shows on my blog.  So what better way than to include them in the Wednesday weekly card giveaway.  First up is the Mini Poinsettia striplet card.  For this one, I started by embossing the coconut white card background with the new Contemporary Poinsettia embossing folder.  I really like this folder as it is just a lovely floral texture background for your festive cards and projects.  Next I cut two of the Mini Poinsettia Striplets in white card and glued them together with permanent spray glue and matted them a white backing card.  Using the Berry Sparkle PVA glue, I filled in all the poinsettias and the double thickness of the two striplets allowed a bit of a reservoir to do so. Don't forget that the Berry Sparkle PVA glue starts out in the bottle looking very pink, but dries a beautiful sparkly red.  I have taken extra pictures of it so hopefully it will show just how pretty it dries.   Don't worry about staying within the lines of the flowers either, just try not to allow the glue to go into the background areas around the flowers.  I decided to leave them empty to show off the dimension, but you could easily use another glue colour to fill those in as well if desired.  Allow to dry well (I leave them overnight usually to be sure), then cut another poinsettia striplet and glue over the top so the lines are placed back in place!  I added small pearls to the centres of each flowers as accents.  Using the Classic Poinsettia die, I cut several in Rich red card to make some flowers for the corner.  I seated them on some white tulle and a messy bow tied from white seam binding.  I also added some Bakers Twine on the original (I may have missed this on the demo card)  Also, not shown in this photo, I added some Star Sprays in white around my flowers during the actual demo and finished it off with a pearl swirl.  Next I paper pierced a white mat, added a thin mat of rich red card and a final white mat.  The finished dimensions are 7 1/2" x  7 3/4" in size.

 Please leave a comment if you would like to be included in the drawing for this card.  I am away at the Big Crafting Show at Ally Pally this weekend so the card winner and all of the comment game winners will be announced on Monday instead of their normal days.  I will however, be posting the winners of the latest die release later on today so don't forget to check back to see if your name has been drawn!!
On the right hand side of my blog, I have also added the show times for my next appearances on Hochanda.  It is a Friday night launch and all day Sat. this time around!   Phill Martin has a One Day Special today, though so be sure to tune in at 9am, 12pm, 4pm and 7pm to see his fabulous demos!  All for now, Sue x