A daily papercrafting blog which features my handmade cards showcasing Creative Expression's products including my own line of cutting dies and embossing folders, Cosmic Shimmer, Ranger and more which use various techniques and ideas to hopefully inspire the creativity in you.
Tutorials
- Home
- My Ribbon Flower Tutorial
- Fancy Nestie
- Blossoms Five Flower Bud
- Blossoms Five Full Flower
- Easel Tutorial
- Wax Paper Embossing Folder Tutorial
- Caught In Crystal
- Shaving Foam Tutorial
- Quilt Card Tutorial
- Paved Pearl Technique
- Faux Leather Technique
- Plaited Ribbon Wreath Tutorial
- Paper Rose Tutorial
Sunday, 25 October 2020
I'm Here For You
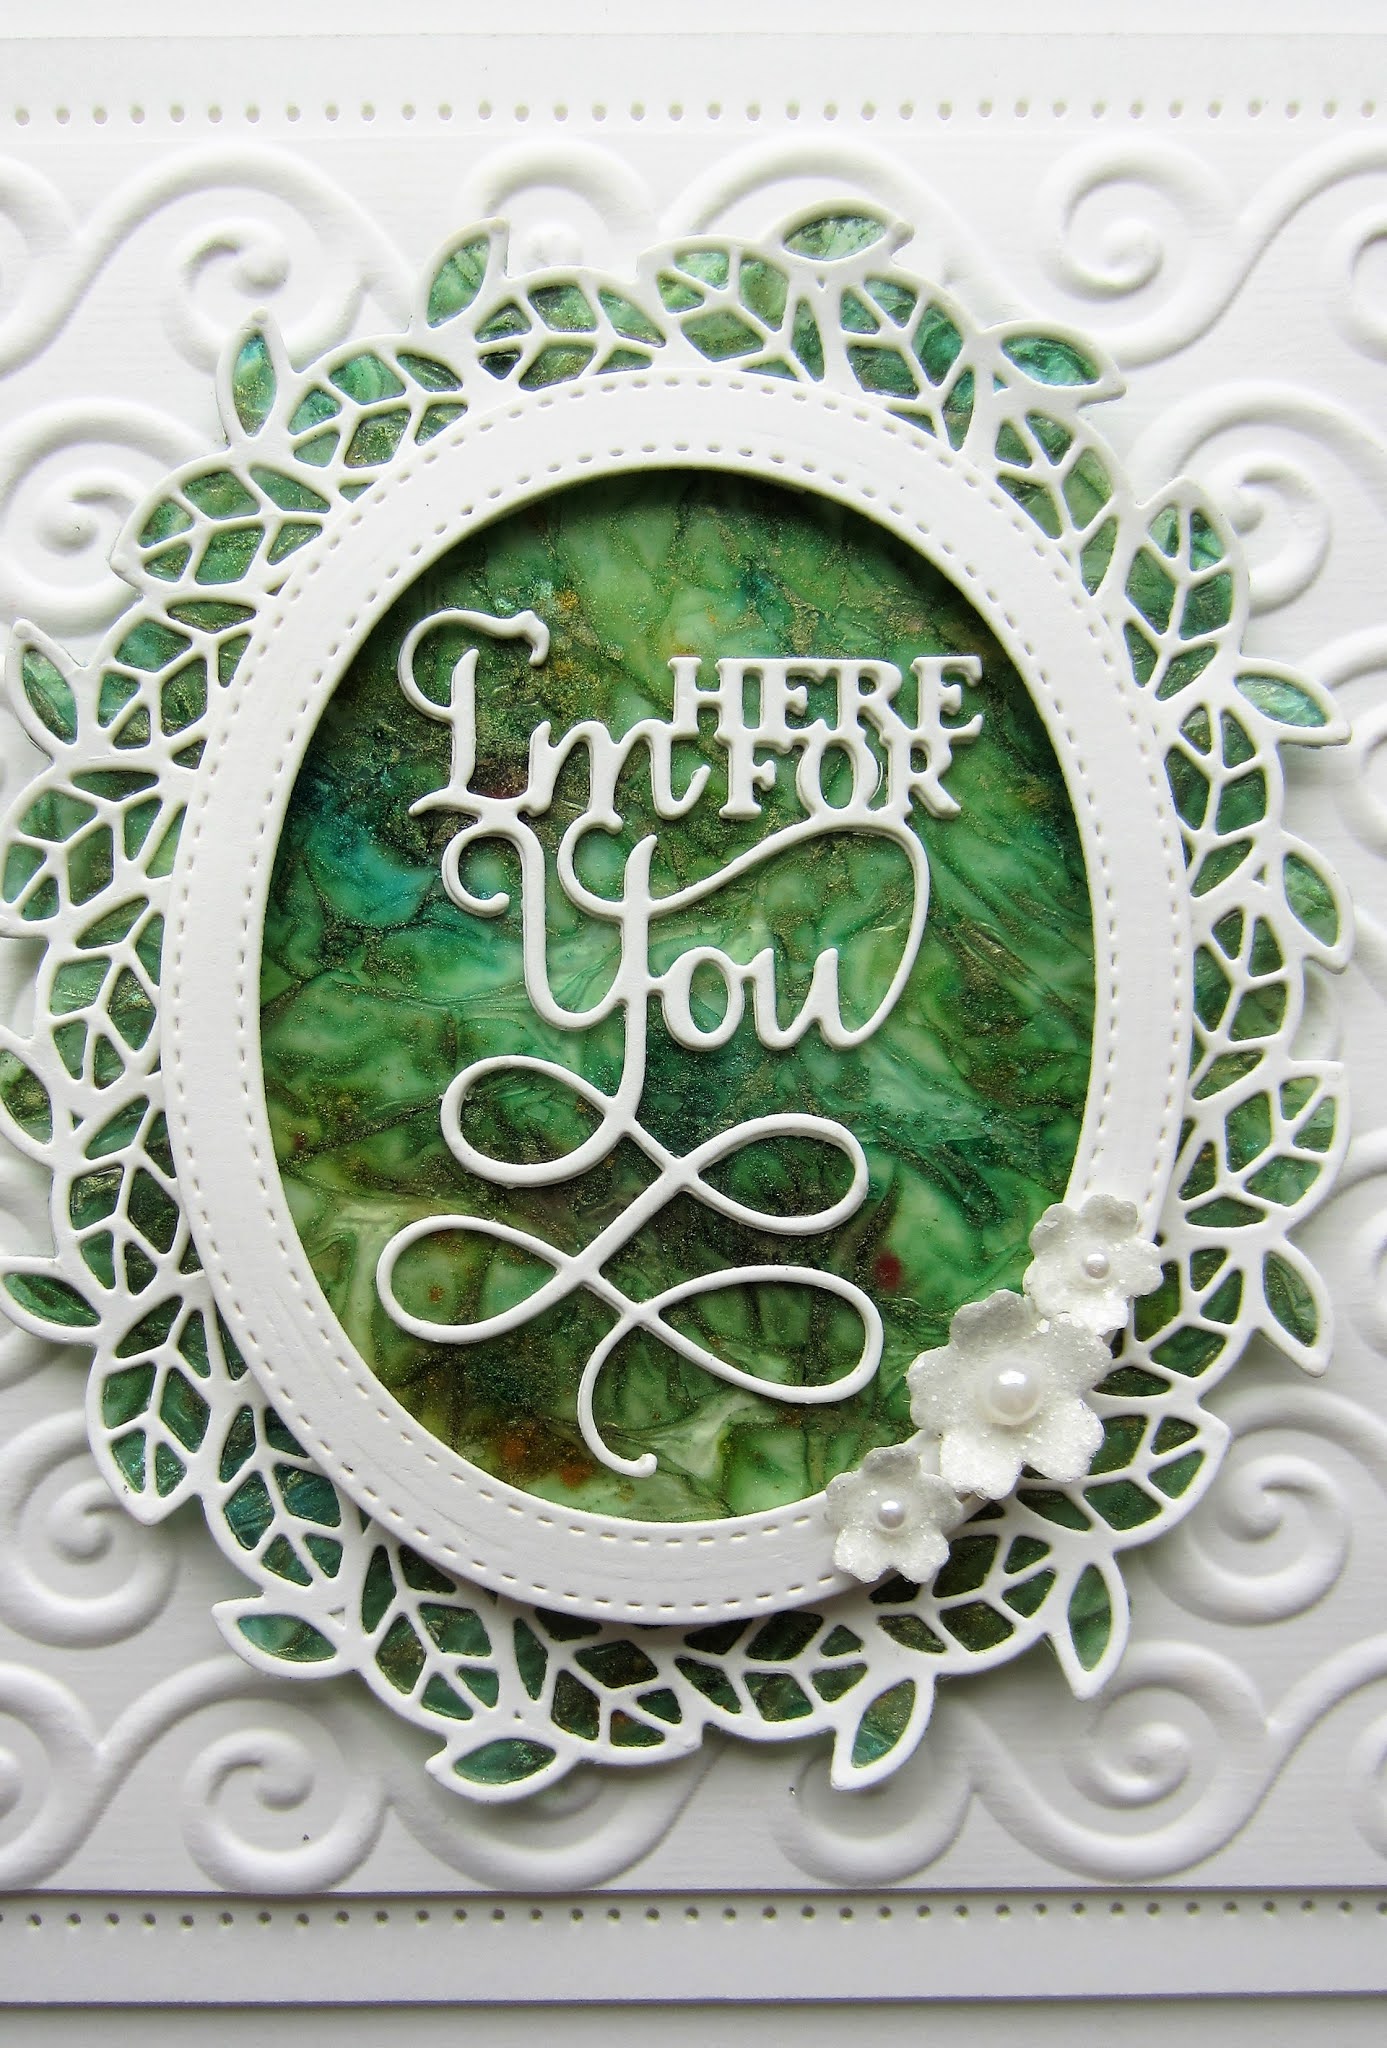
Good Sunday morning all! I liked this piece of Caught In Crystal acetate that I found in my background stash so I decided to use it! I started by embossing a piece of white card with the Elegant Swirls embossing folder for texture. Next I cut the Leafy Oval out of white card and I placed the Caught In Crystal acetate below the white card. It cut all the way through the white, but just the outline cut in the acetate. I used the acetate as a backing and glued the Leafy Oval to it. I added a raised oval frame using the Double Stitched Ovals. To create the acetate, I used Citrus, Clover and Meadow Alcohol inks with a scrunched up piece of tissue over the top. I had a bit leftover so I cut thin strips to add to the sides of the card. I cut the I'm Here For You sentiment in white twice, stacked them, then glued it into the centre of the frame. The card was completed with white mats and layers. The finished dimensions are 7" x 8 3/4" in size. All for now, Sue x
Saturday, 24 October 2020
You Are Simply The Best Ever
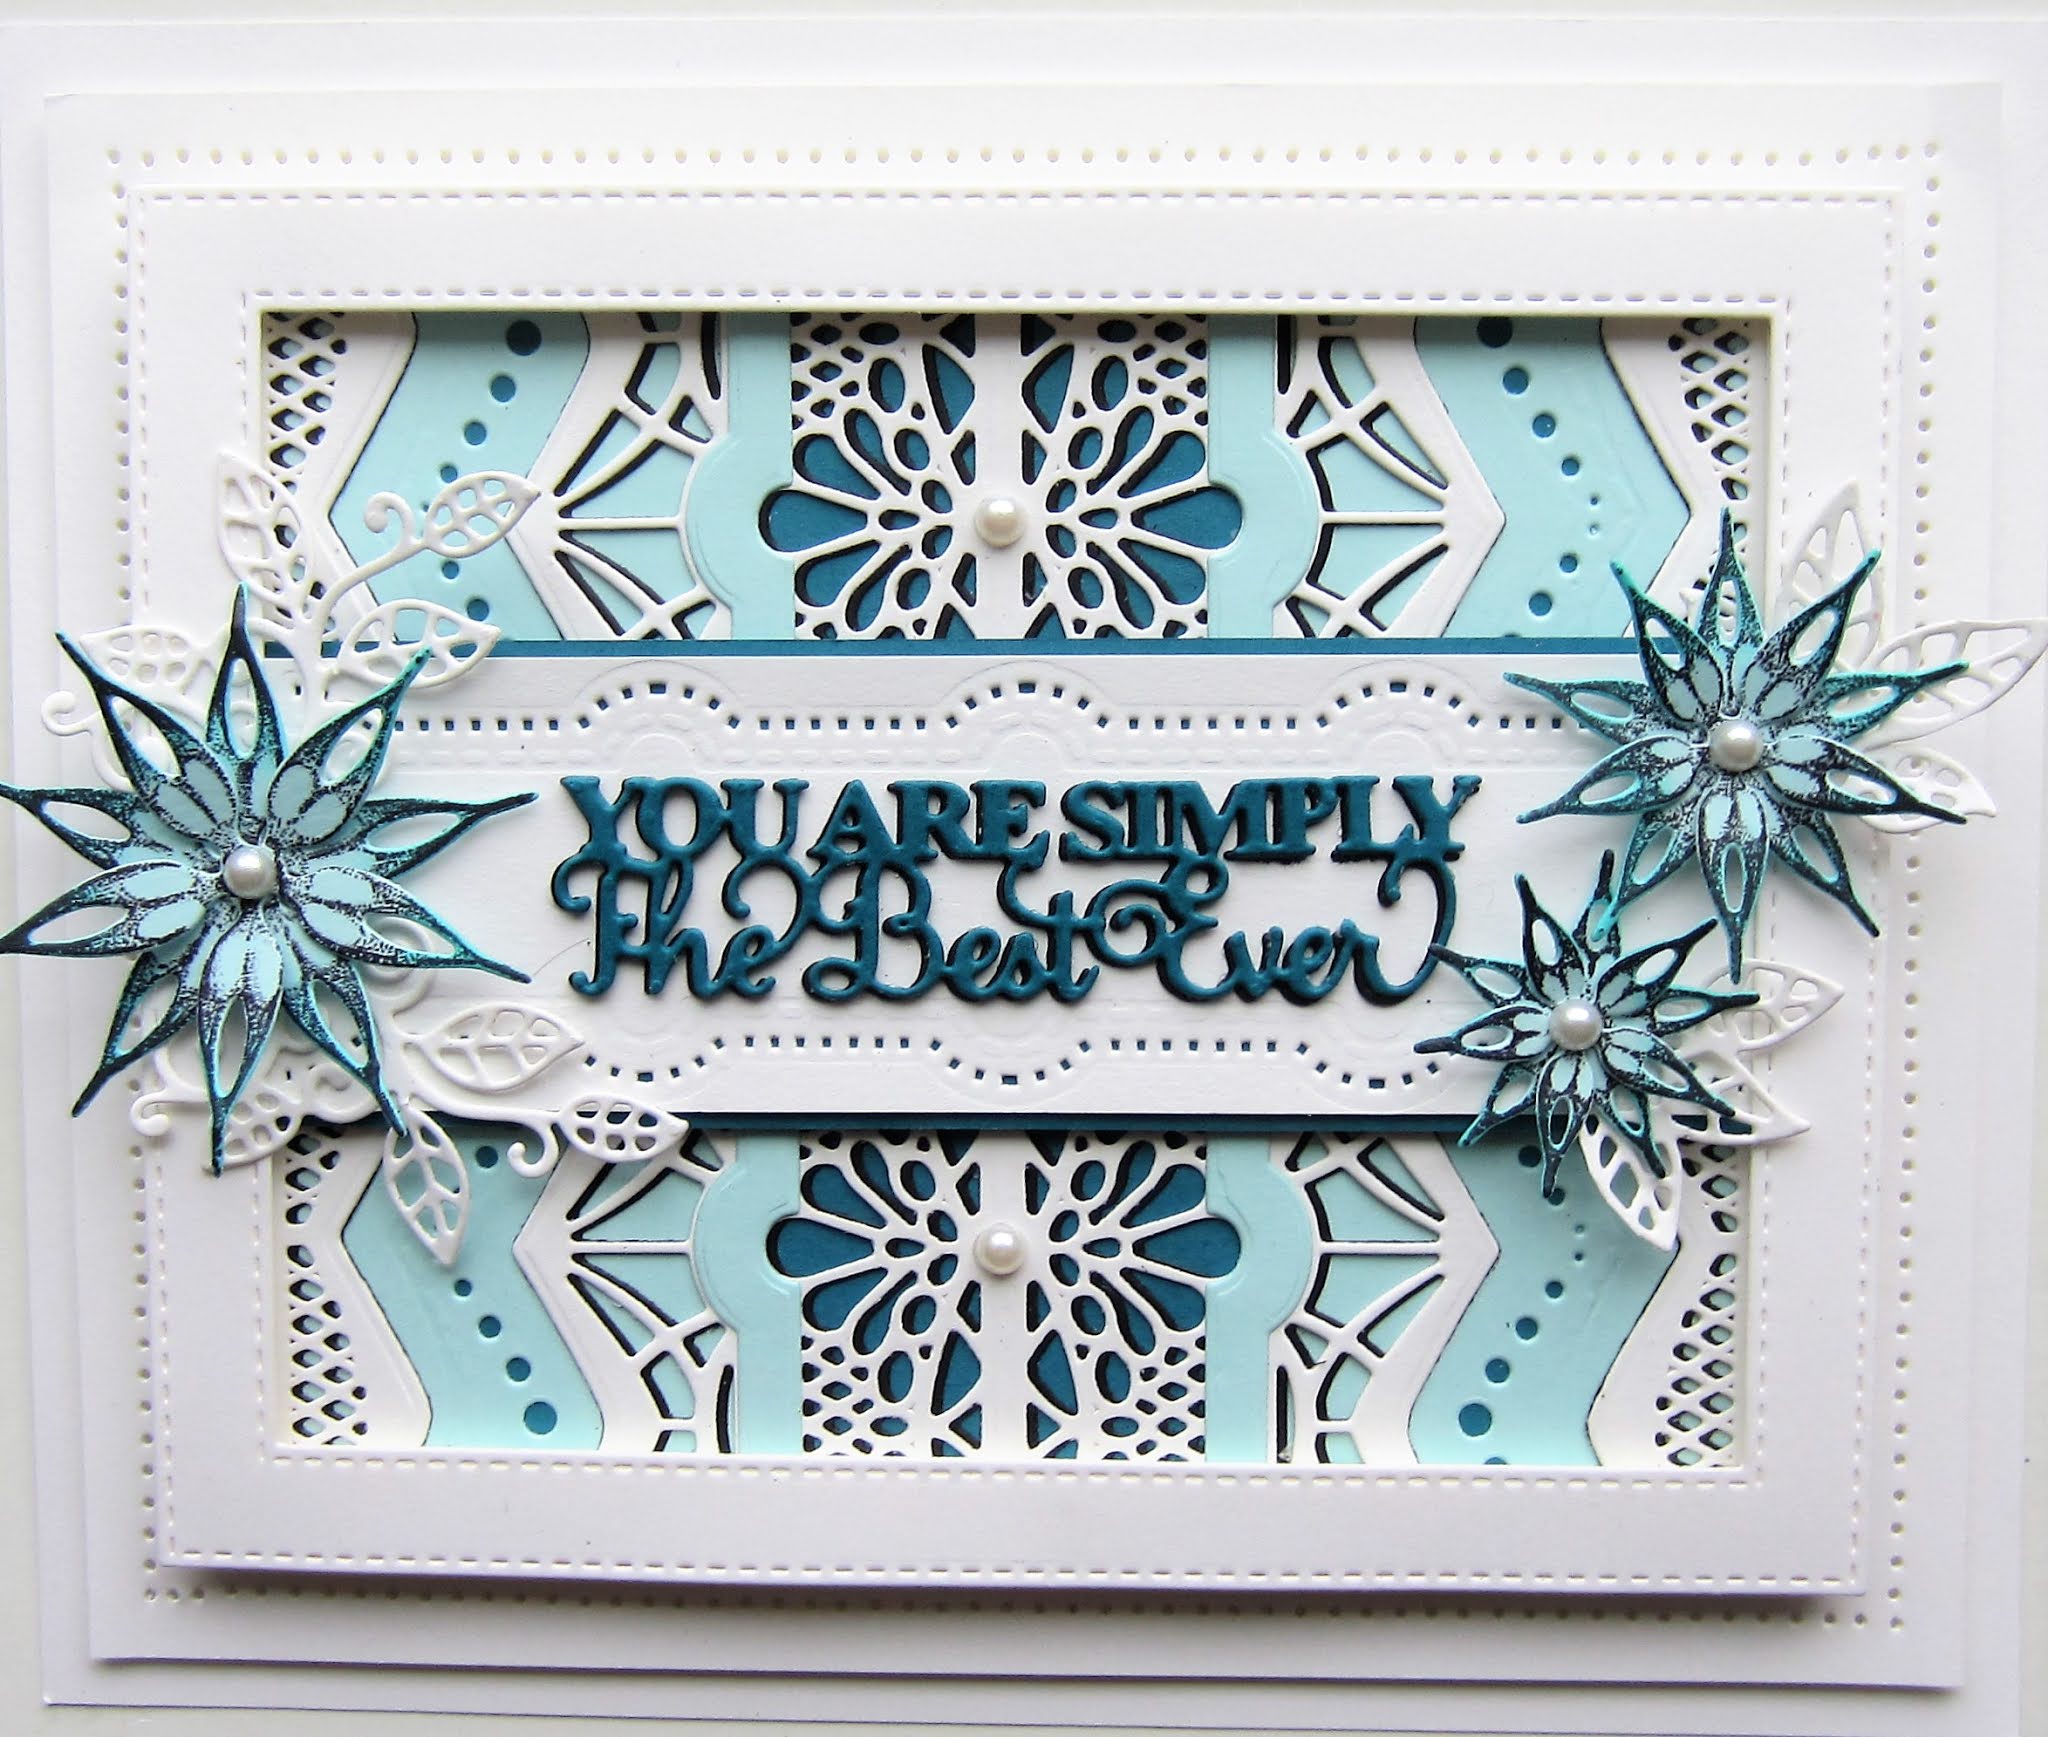
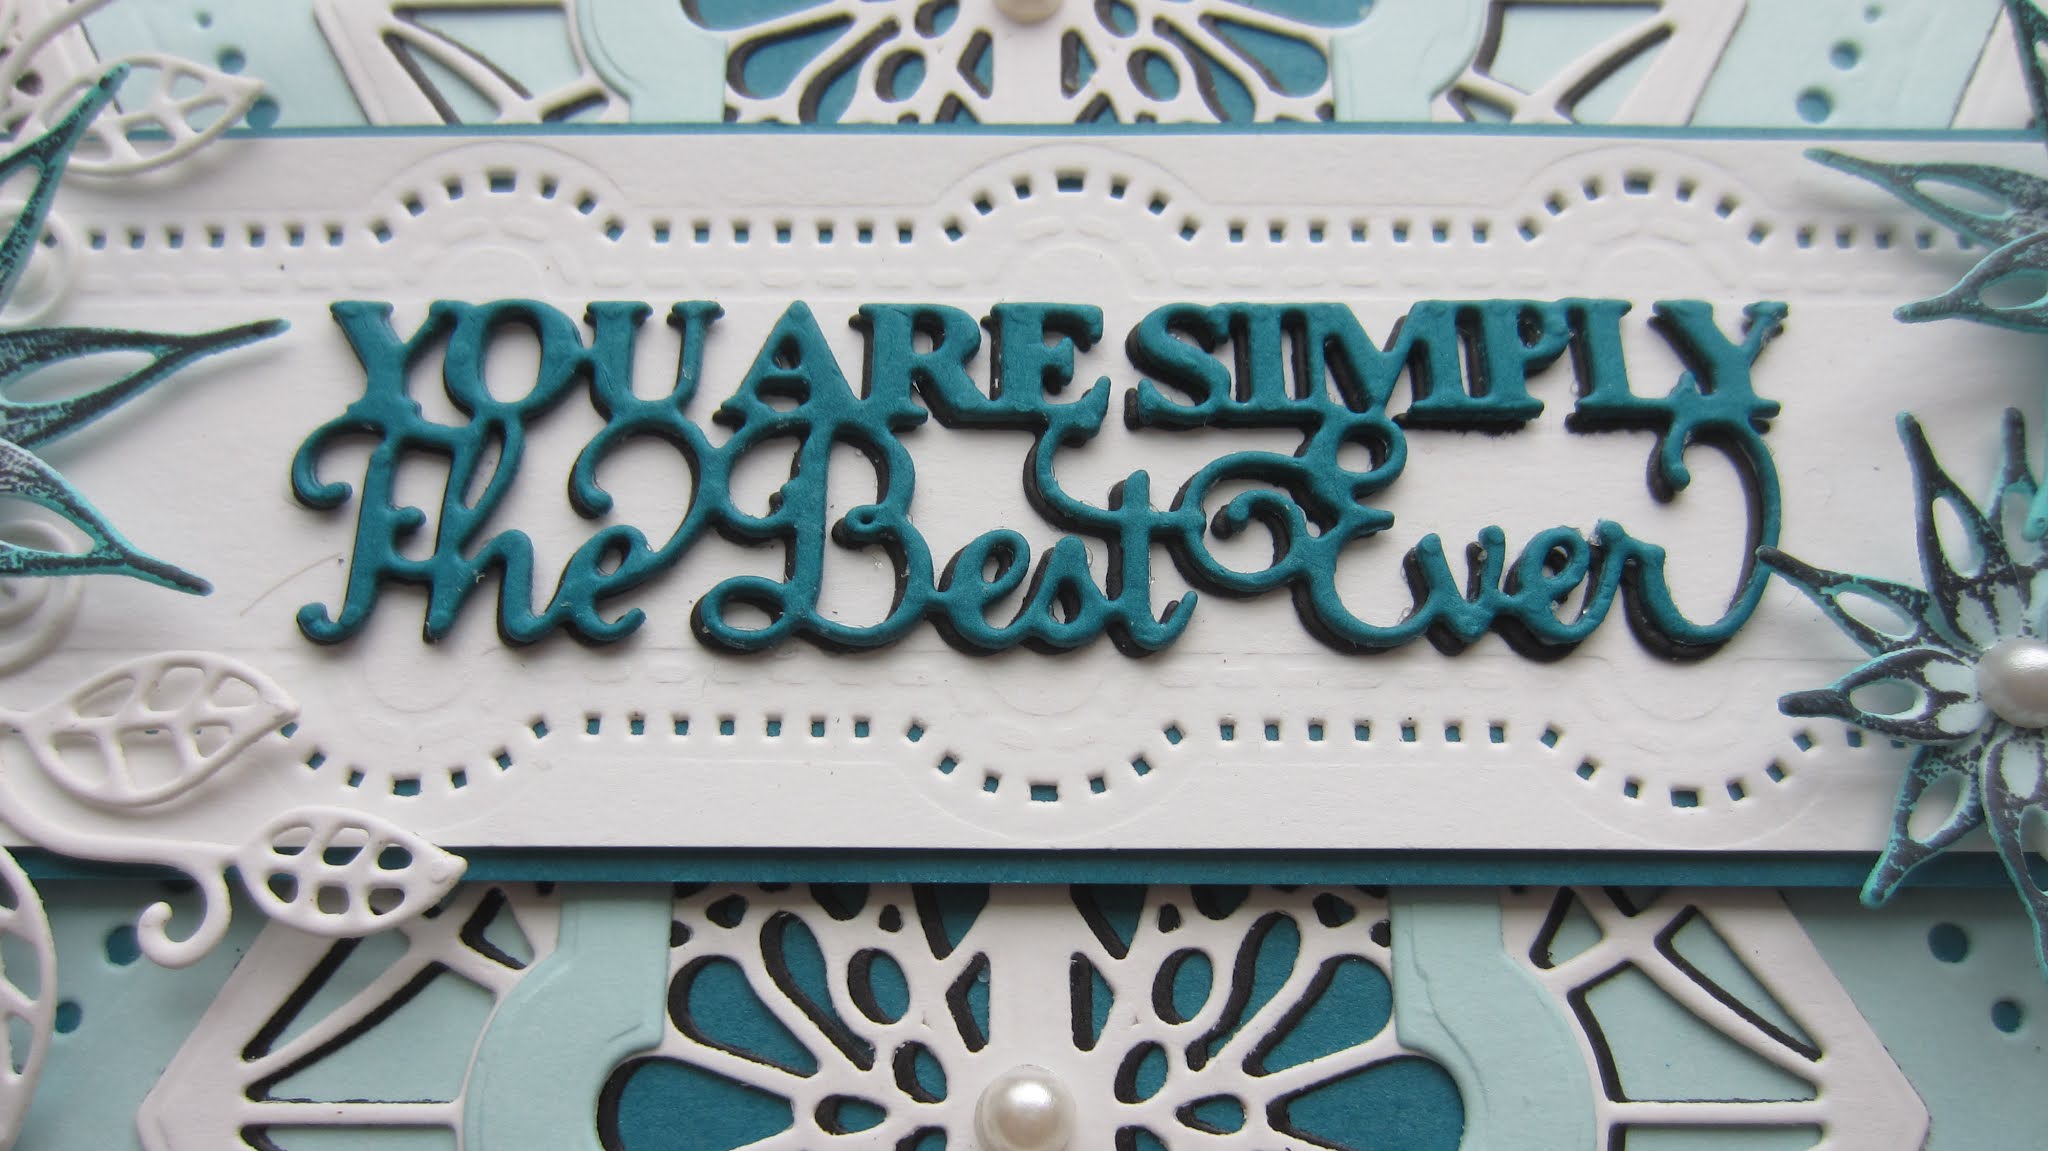
Hi crafters! I started this card by cutting the Martha Background out of a piece of white and black card. I used the black card as a shadow behind it. Using the Martha Edgers, I cut the background into three sections. I added a teal backing to the centre section, using the edgers to cut it to match. I added two border strips to the top of the section in aqua using the matching edgers. I added white backing pieces to the sides using the edgers to cut them to match. Next I used a piece of aqua card and laid out the sections spread apart a bit and lined up the dotty zigzag edger from the Matha Edger set to cut a decorative pattern into the area between the sections. Once cut, I glued all the segments into place and added a teal backing to show through the dotty edger. For the sentiment strip, I used one of the Martha Edgers to cut into the strip on the top and bottom. I added a teal backing to it. I cut the You Are Simply The Best Ever sentiment out of teal card and added a black shadow, then glued it onto the strip. I added the strip across the background with foam, then made a white frame using the Double Stitched Rectangles and hid the edges under edge of the frame. I stamped the Jasmine Flowers in black on to aqua card and cut them out with the matching Jasmine dies. I added Peacock Feathers Distress ink to the edges and added them to the ends of the sentiment strip. The Magnolia Corner die was cut in white and nipped apart and used as accents around the flowers. The card was completed with white mats and layers. The finished dimensions are 7" x 8 3/4" in size. All for now, Sue x
Friday, 23 October 2020
I See Your Birthday Has Come Around Again!
Hi bloggers! I thought I would share this cute carousel card as it shows all the matching stamps for the animals too! I started by embossing a piece of white card with the Zigzag Squares embossing folder. I extended the pattern since it lines up quite easily to make a larger piece. I stamped all of the carousel animals with the matching stamp set and cut them out with the matching dies. I used Distress Markers to colour the zebra, horse and elephant. I went for pretty, bright colours and just highlighted the animals a touch with blue. I added the animals to the background with foam. I cut the sentiment a couple of times and nipped them into two parts. I stacked two of each segment and then glued them above and below the animals. The card was completed with white and black mats and layers. The finished dimensions are 7" x 8 3/4" in size. All for now, Sue x
Thursday, 22 October 2020
Please Let It Snow
Hi bloggers! I used the Snowflake Flurry mask and taped it to a piece of white card. I used the Moonlit Silver Luna Paste and pulled it through the mask with a palette knife. I set it aside to dry thoroughly, then added a white frame using the Double Stitched Square die set. I added a strip of vellum across the bottom of the frame. Using the Snow die and stamp combo set, I cut the bold Snow sentiment out of silver card and added a silver mirror card shadow behind it. I glued it to the vellum strip. I stamped the "please let it" sentiment and cut it out with the matching tag die and added it with foam to the top corner of the frame. I cut the Snowflake & Swirls Background out of silver card and used the fall away snowflakes and glued them in the opposite corner. I added small pearls randomly to the background to give the feel of falling snow. The card was completed with white and silver mats and layers. The finished dimensions are 7 3/4" x 7 3/4" in size. All for now, Sue x
Wednesday, 21 October 2020
Thanks
Hello there my crafty friends! I just thought that the Theresa die and one of my Pixie Powder backgrounds were a marriage made in heaven! LOL I selected a piece that I made awhile ago that used Aubergine Dream and Midnight Blue Pixie Powders and cut the Theresa Background die into it. I cut another of the Theresa dies in Black and shadowed the Pixie powder one with it. Next I used the Theresa Edger set and cut the sides of the background with them. I cut a matching white backing piece for them, then added mounting foam to raise them. I glued the centre of the background onto a piece of white card and added the raised sides to it. I cut a Decorative Flag die in white and added it with foam across the lower portion of the card. The Bold Thanks sentiment was cut out of a bit of leftover pixied card as well as the Whirligig Flower pieces. I glued the sentiment onto the flag die and assembled the flower. The flower was added to the end of the flag and white Magnolia Corner pieces were nipped apart to use as accents. I added small pearls to the junctions in the lattice part of the die. The card was completed with white and black mats and layers. The finished dimensions are 7" x 7" in size. All for now. Sue x
Tuesday, 20 October 2020
Especially For You
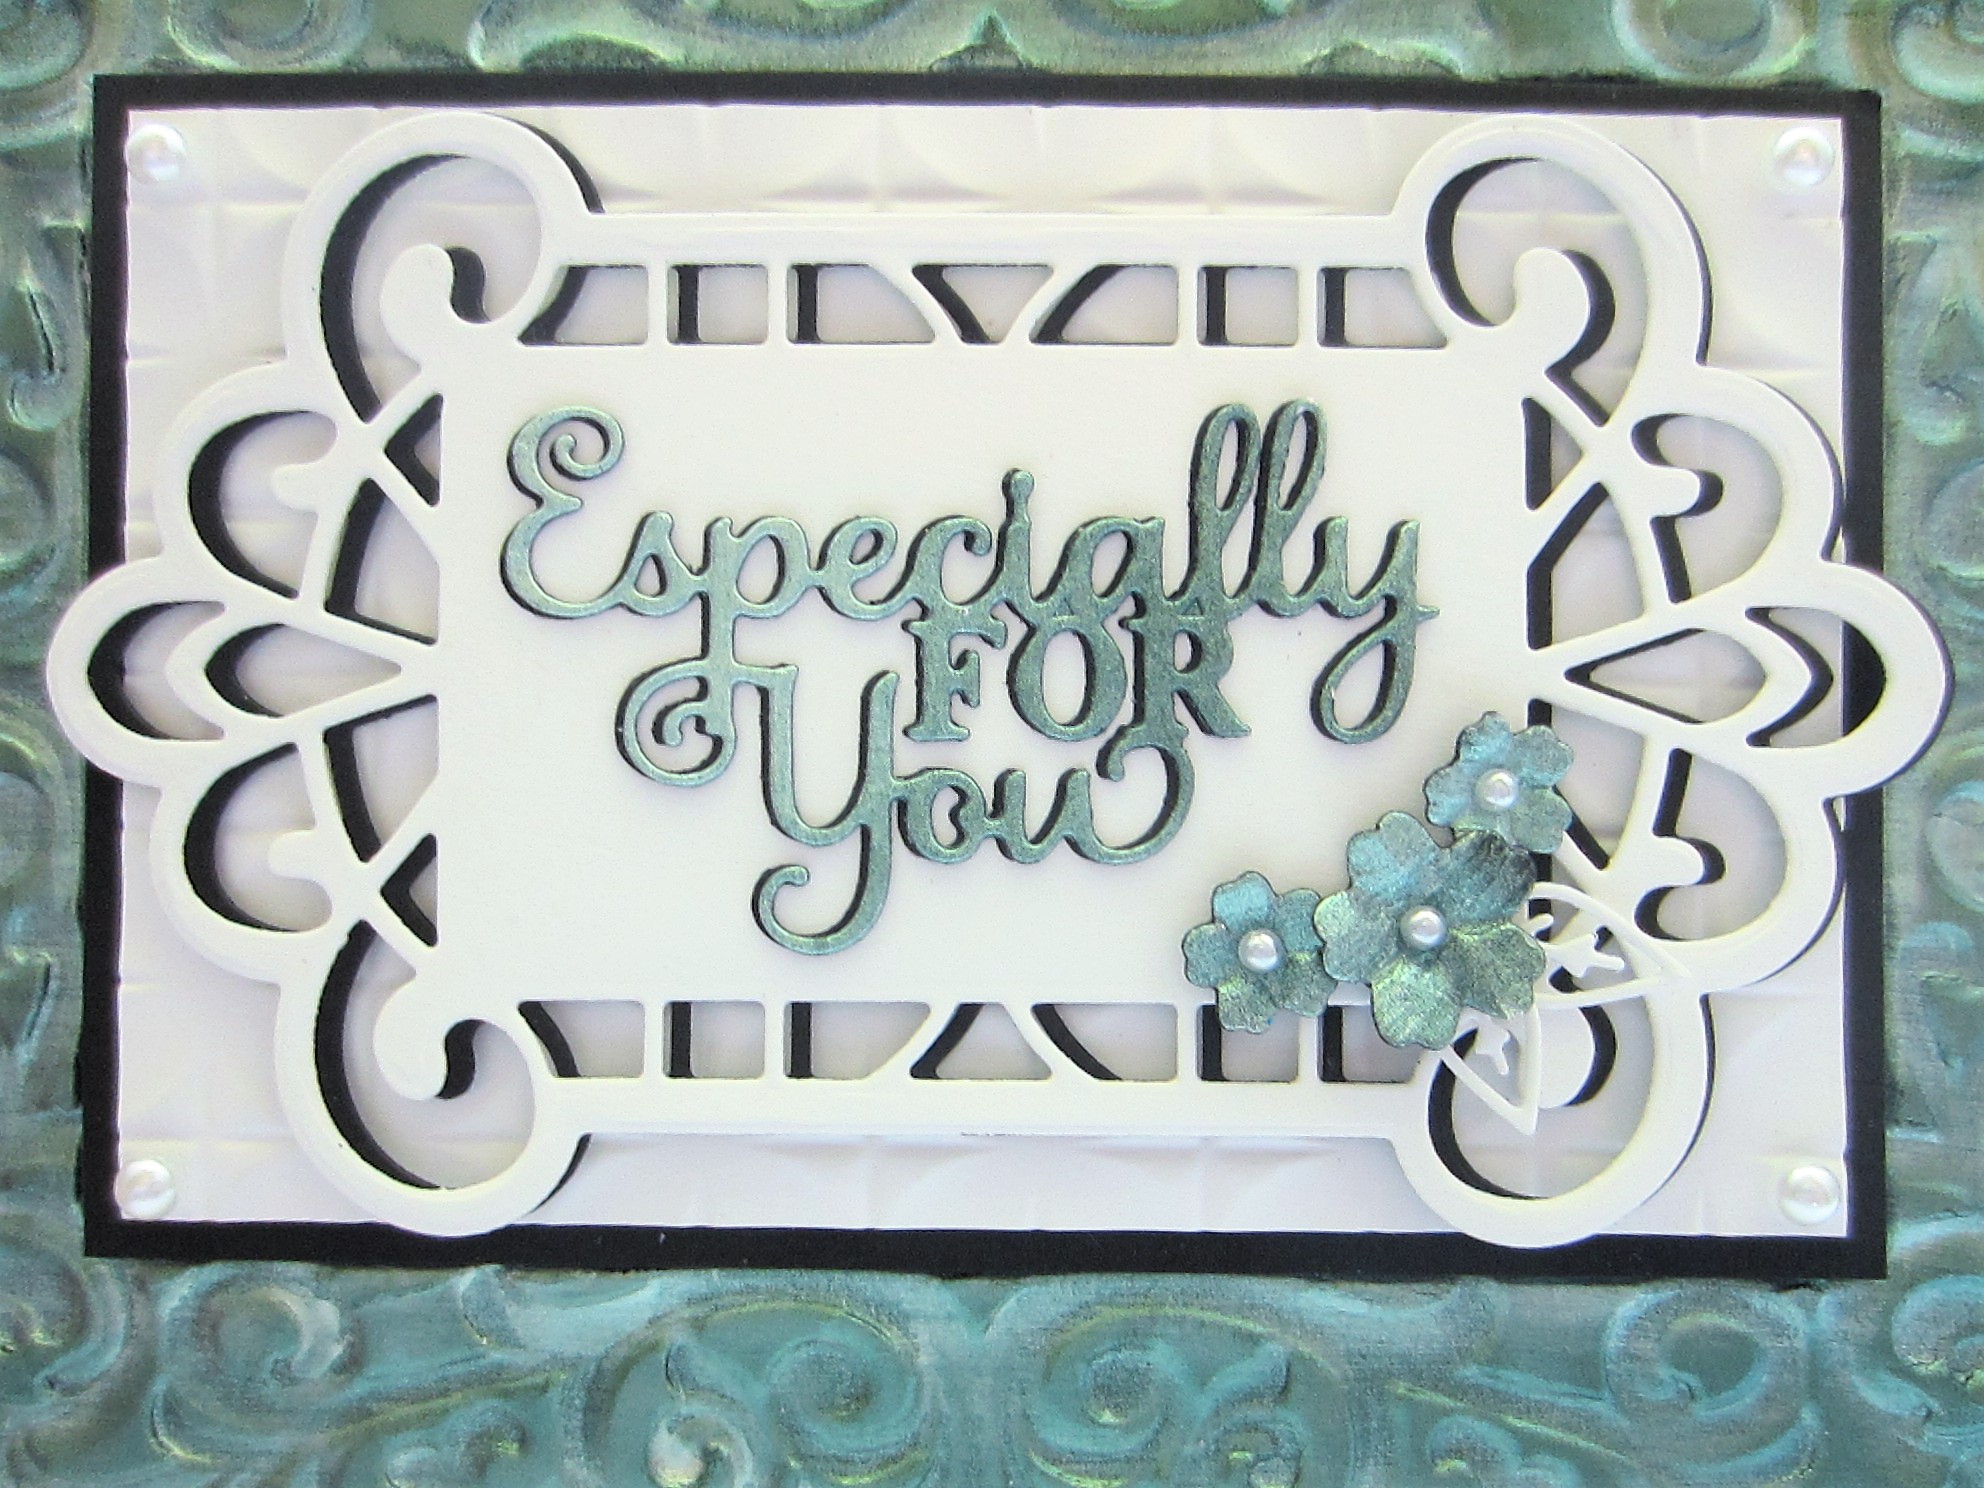
Hello crafters! I started with a black piece of card and used the Green Pearl Opal Polish all over it (it looks white in the jar, but the colour comes out when you use it on dark card!) Once dry, I embossed it with the 3D Flourish Border Frame embossing folder. I cut a small rectangle of white card and embossed it with the Quilted Pillow folder and matted it with black. I added it to the centre of the green background with foam. I cut the Mallory die in both white and black and shadowed it, then added it to the centre with foam. I cut the Especially For You sentiment out of a leftover bit of card from the Opal Polished card. I added a black shadow then glued it to the centre of the card. I cut three small flowers from the Cherry Blossom Frame out of the opal polish card and glued them to the corner under the sentiment. The card was completed with white and black mats and layers. The finished dimensions are 6 1/2" x 8 1/4" in size. All for now. Sue x
Monday, 19 October 2020
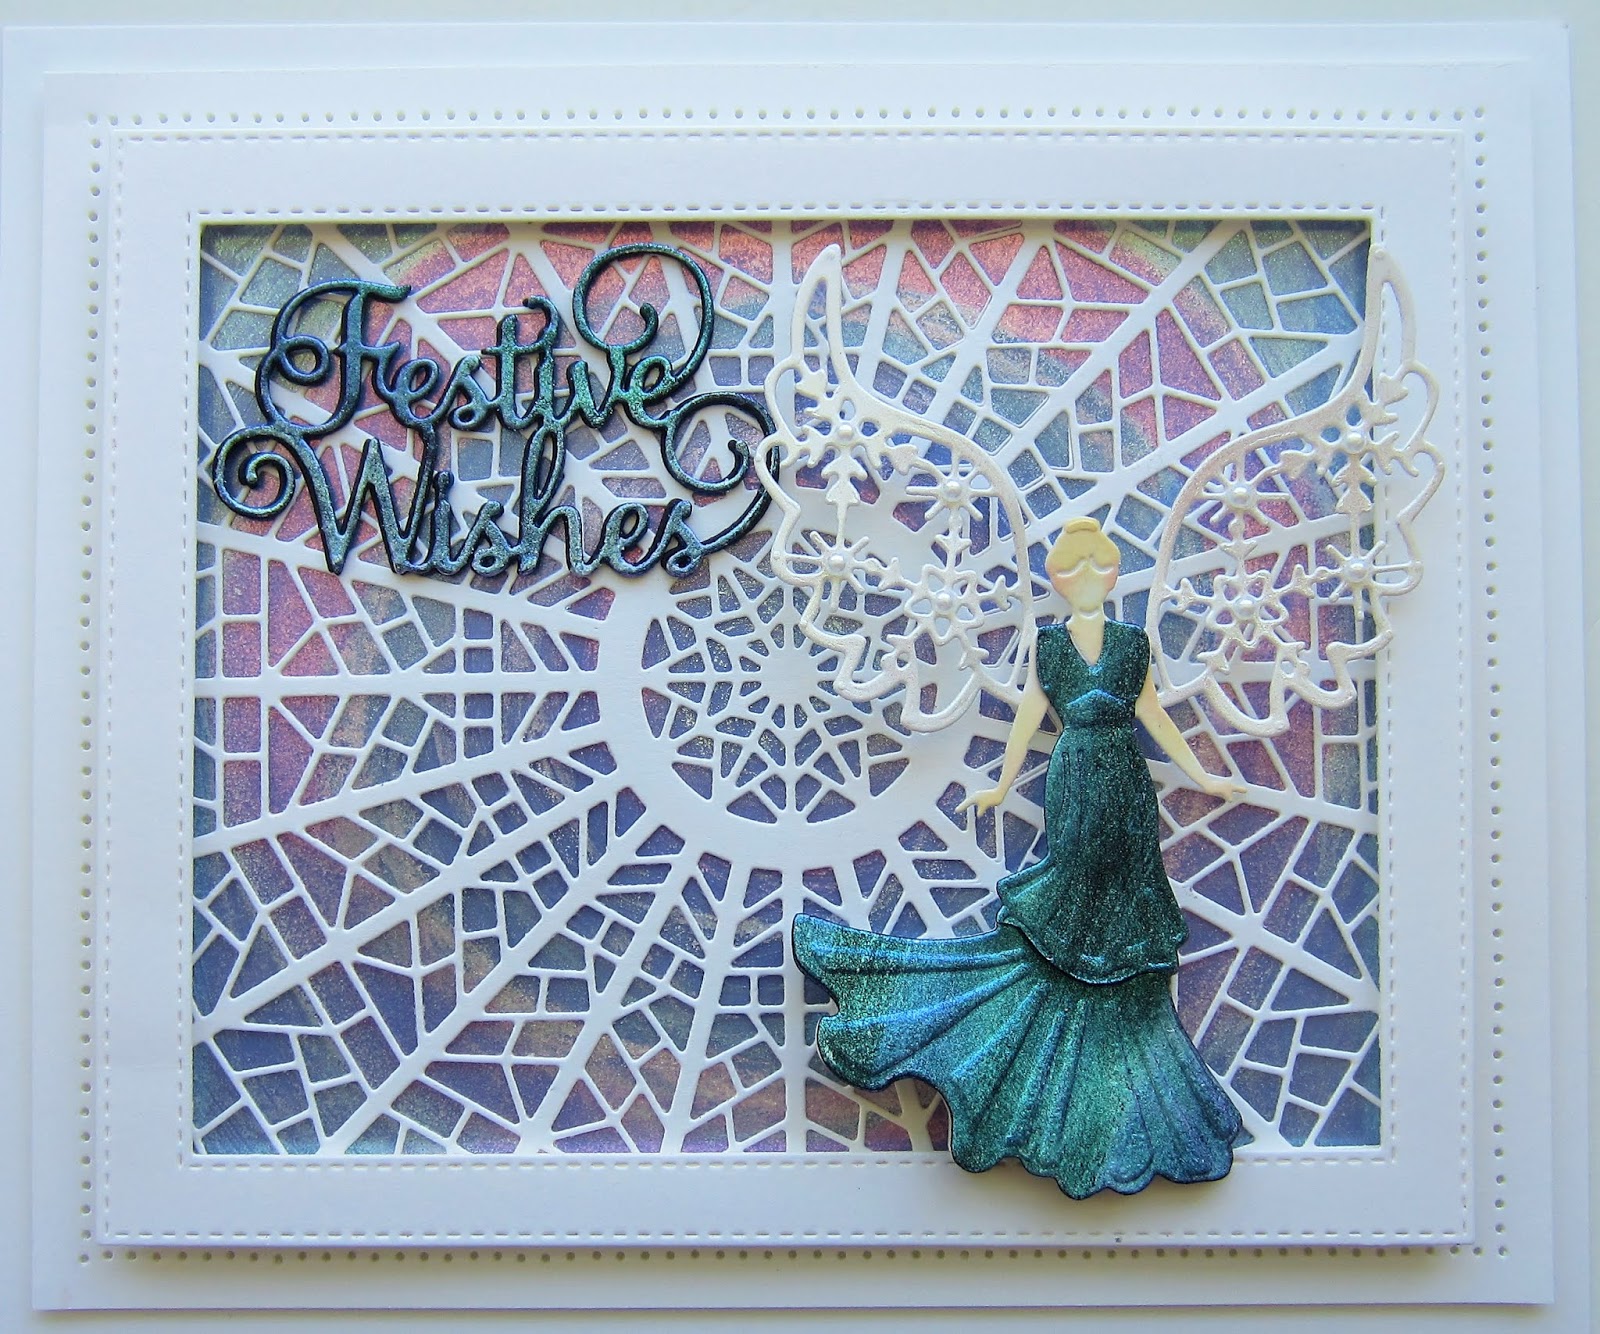
Festive Wishes
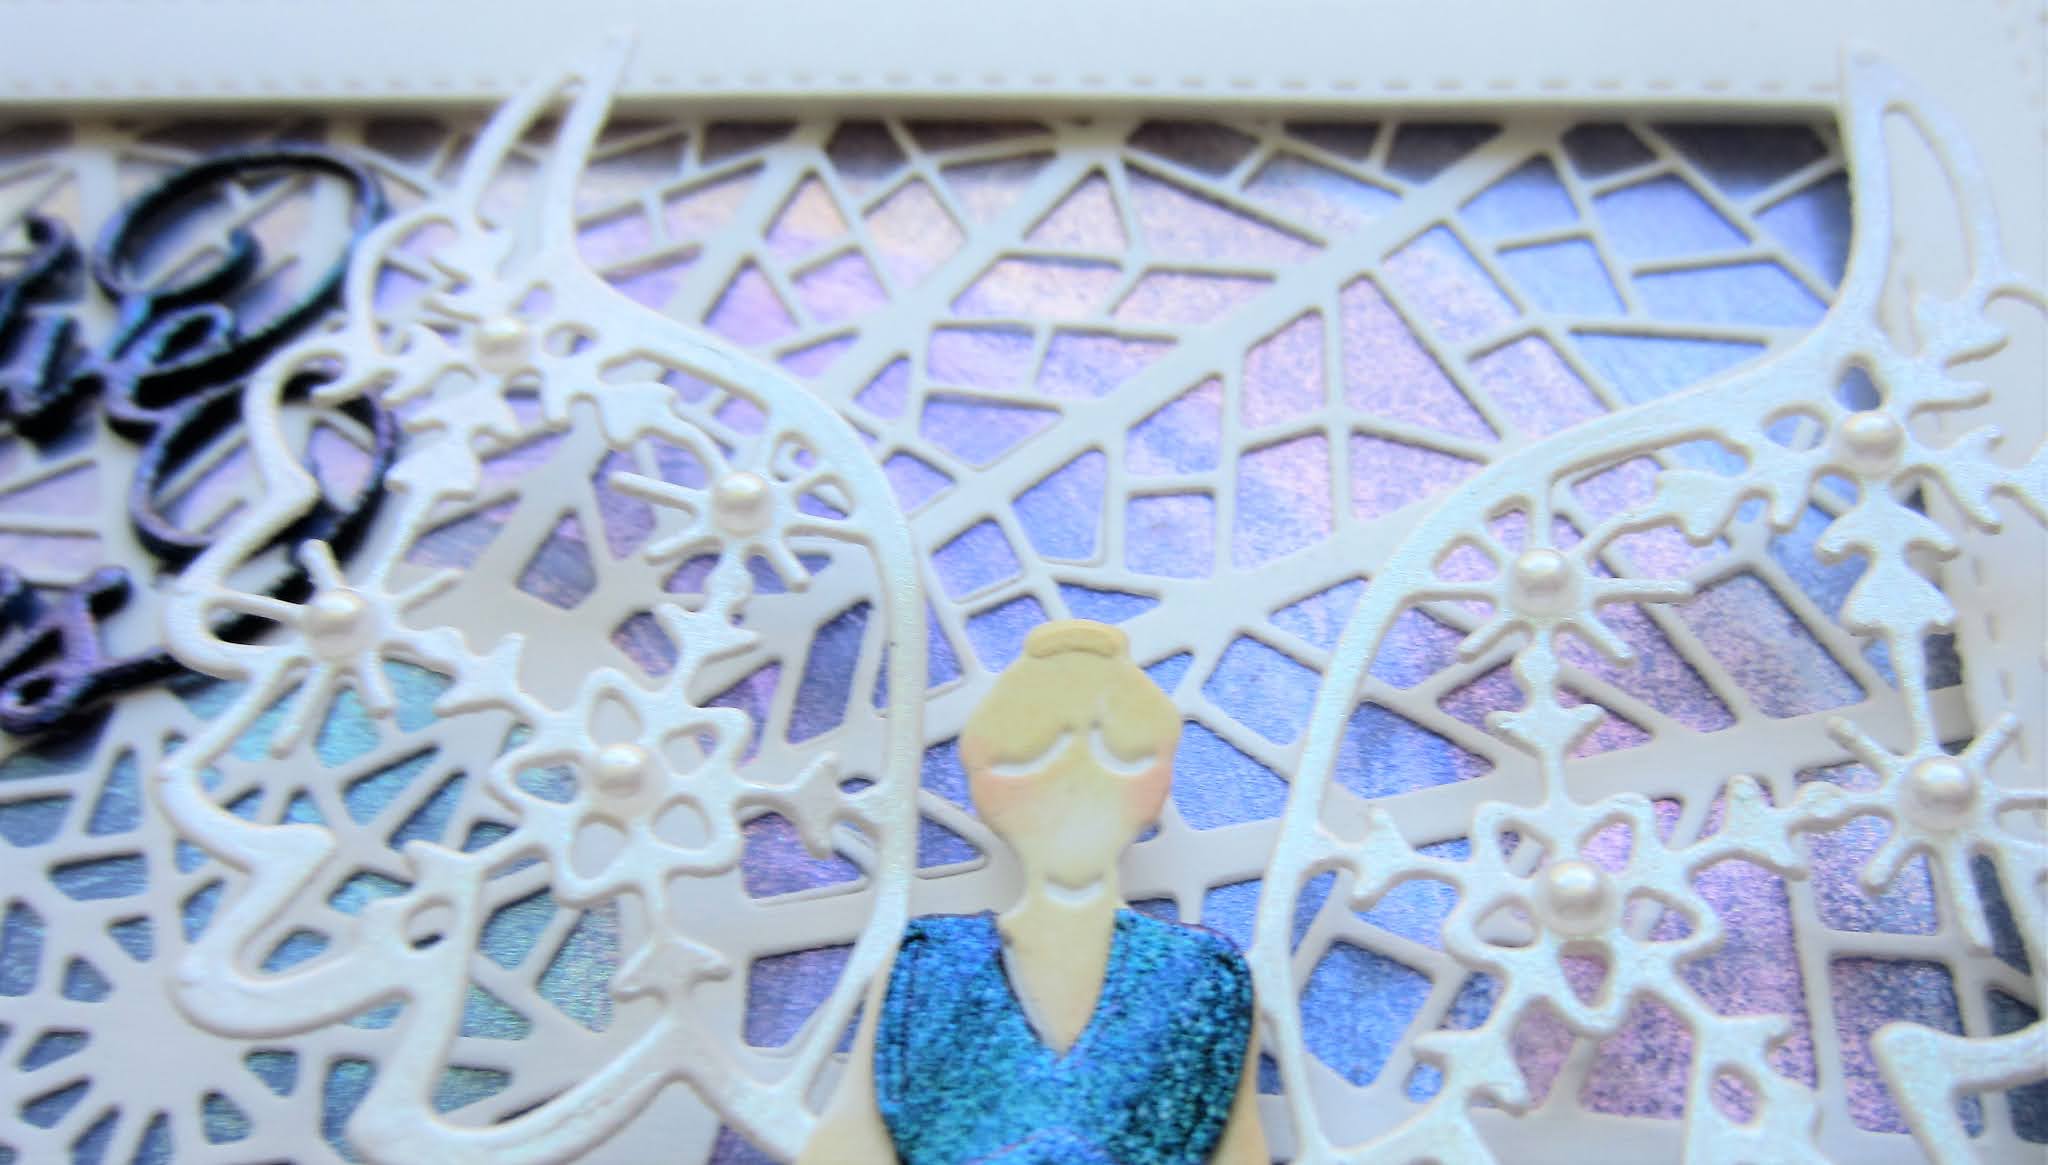
Hi bloggers! Another angel card but this time, it uses the new Opal Blaze products! I started with a piece of black card and used all seven of the Opal Blaze colours on it, applying them in a circle using my finger. What is very difficult to see is that the Opal Blaze products change colour as you move them around. I have tried to take as many pics as I can to try and show the differences, but it is really beautiful in person! Next I cut the Mosaic Ray background and I cut it once then moved the die around so the centre circle was centred in the middle rather than the top as it is in the die. I used the centre piece to cut the circle design too. I glued it over the Opal Blaze background, then added a frame using the Double Stitched Rectangles. I used a bit more of the Opal Blaze on a piece of black card, but this time, I only used the Teal Raspberry Opal Blaze colour. I cut the Christmas Angel 2020 out of it twice and also the Festive Wishes. I added a black shadow to the Festive Wishes sentiment then glued it in the upper corner of the frame. I cut the angel again out of milk card and highlighted her hair with Fossilized Amber Distress Oxide ink and Worn Lipstick and Antique Linen for her skin tones. I cut the dress out of the Opal Blaze card and glued it to the angel. I cut the dress again, but only the shorter version and added it on top of the full length dress. I cut the wings in white and added them to the angel then attached her with foam mounting tape to the inside of the frame. The card was completed with white mats and layers. The finished dimensions are 7" x 8 1/4" in size. All for now. Sue x
Subscribe to:
Posts (Atom)