A daily papercrafting blog which features my handmade cards showcasing Creative Expression's products including my own line of cutting dies and embossing folders, Cosmic Shimmer, Ranger and more which use various techniques and ideas to hopefully inspire the creativity in you.
Tutorials
- Home
- My Ribbon Flower Tutorial
- Fancy Nestie
- Blossoms Five Flower Bud
- Blossoms Five Full Flower
- Easel Tutorial
- Wax Paper Embossing Folder Tutorial
- Caught In Crystal
- Shaving Foam Tutorial
- Quilt Card Tutorial
- Paved Pearl Technique
- Faux Leather Technique
- Plaited Ribbon Wreath Tutorial
- Paper Rose Tutorial
Thursday, 7 April 2022
Sending Warm Wishes
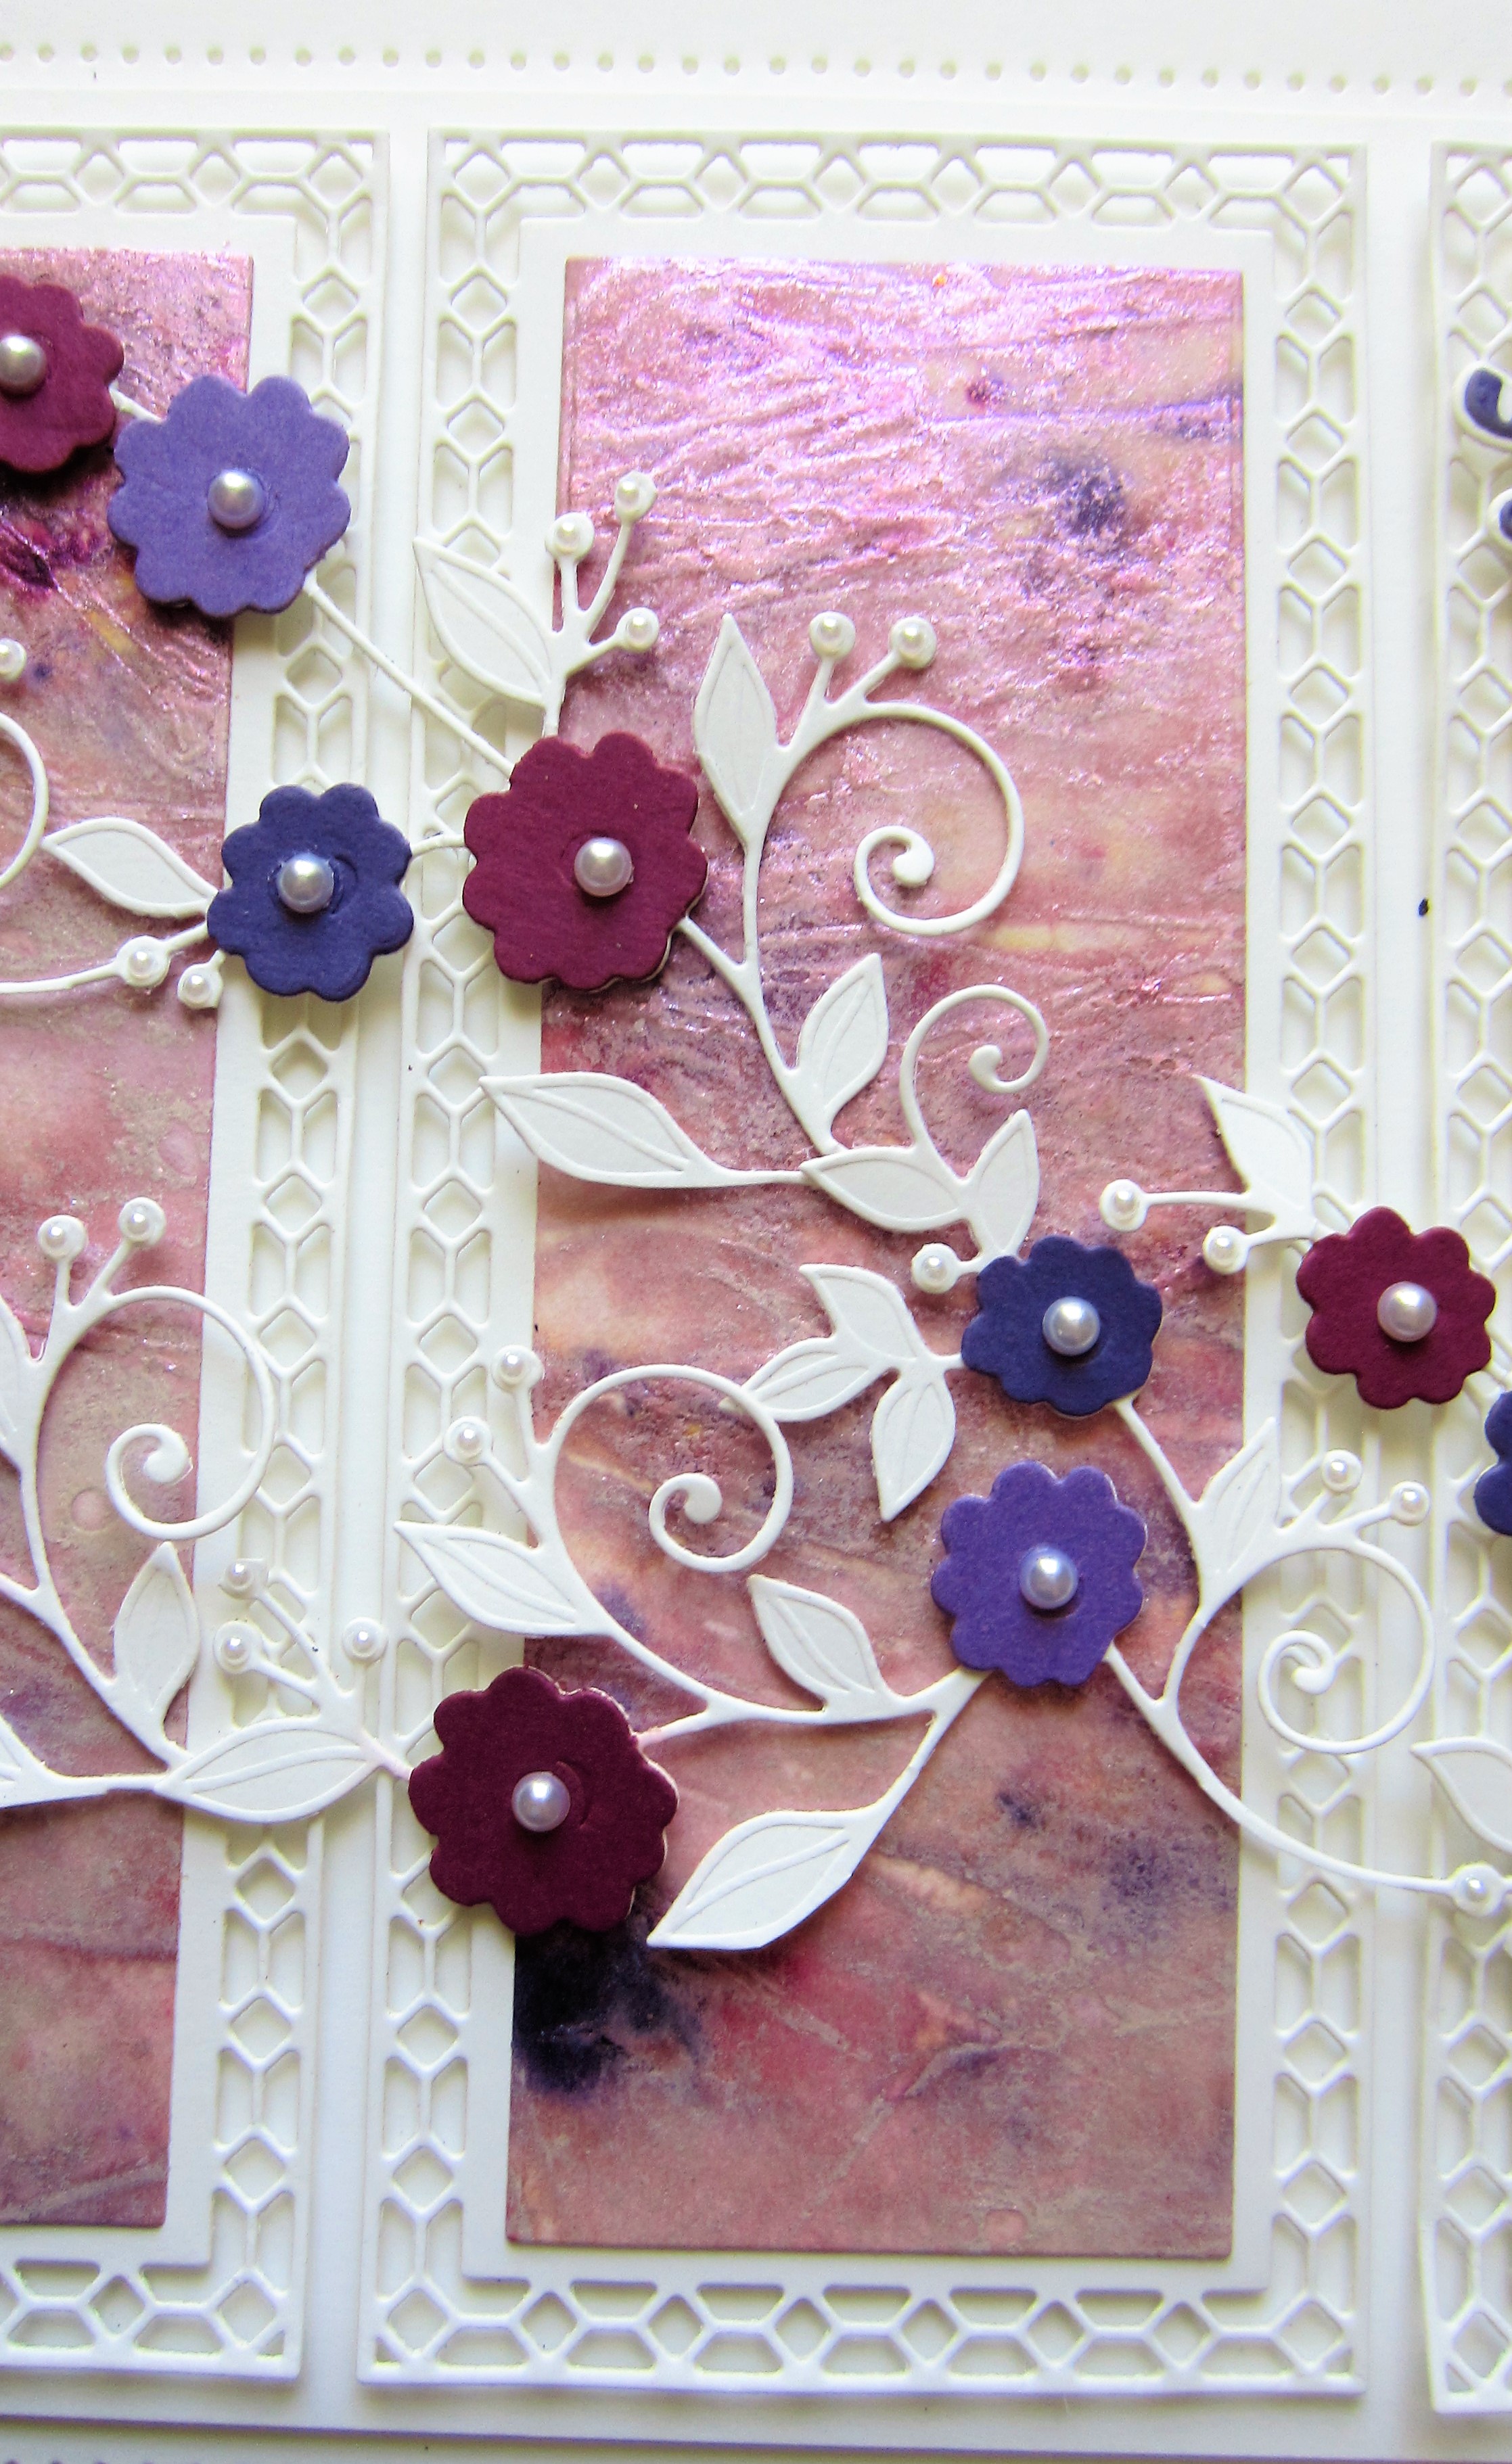
Hi bloggers! Back to the background stash to start today's card. I used Aubergine Dream, Plum Twist and Purple Violet Pixie Powders on it. I cut the outer frame from the Button Flower Floral Panel die set three times in white. I cut the pixied background three times using the inner cut line for the panels and glued them on to the frames. I added all three frames to another piece of white card and attached them with mounting foam. I cut the Button Flower panel several times in white. I nipped the design out of the frames and attached them across the three panels diagonally. I recut the panel in several shades of plum and purple and cut out the flowers and glued them onto the white die cuts. I added small pearls to all the flower centres. I used the Sending Warm Wishes sentiment cut out of purple card then added to a white shadow backing. I attached it in the upper right corner with mounting foam. The card was completed with white mats and layers. The finshed dimensions are 7 3/4" x 9 3/4" in size. All for now, Sue x
Wednesday, 6 April 2022
Hope Your Day Is Amazing
Hello bloggers! The background is compliments of Teal marine Pixie Sparkles. Next I cut two of the Noble Vintage Labels and layered them in the centre of the card. I used the foliage panel from the Buttercup Floral Panel die set and cut it in white. I nipped it apart and glued pieces into each of the corners. using the Mini Cosmos die set, I added pink, yellow and orange flowers to ech of the corners. I cut the Hope Your Day Is Amazing sentiment in black and glued it across the Vintage Labels die cuts. I made one of the larger flowers from the Mini Cosmos in pink and yellow and added some green leaves then accented the sentiment with it. The card was completed with white and black mats and layers. The finished dimensions are 6 1/2" x 8" in size. All for now, Sue x
Tuesday, 5 April 2022
Best Wishes
Hello there my crafty friends! I started this card with a trip to my background pile stash! I used Emerald Green and Zesty Lime Pixie Sparkles to create this background. Next I cut the Mallory die twice out of white card. I overlapped them slightly then taped them together. I cut the Buttercup Floral Panel in white and added a black backing frame to it. I added it on top of the two Mallory dies with mounting foam and attached it to the left side of the card. I cut the foliage panel from the Buttercup Floral Panel set in white vellum and glued it to the bottom right corner of the card as an accent. I used the Best Wishes sentiment cut in black and glued it across the foliage. I added two white butterflies at the top from the Butterfly Delights die set. The card was completed with white and black mats and layers. The finished dimensions are 8 1/4" x 9" in size. All for now, Sue x
Monday, 4 April 2022
Beach Sunset Stained Glass
Hello crafters! I started by creating a pixied background using the Sun Yellow, Burnt Orange and Lava Red Pixie Powders. I cut the background of the Beach Lighthouse out of both the pixied card and a piece of black card. I used the fall away pieces from the pixied card and paper pieced them back into place in the black die cut. Next I cut the centre die from the Beach Sailboat in white and layered it up. I cut the Beach Sunset Stained Glass die in black and added a circle of the pixied card behind it beofre layering it into the centre of the card. I cut a Decorative Square in white and added a black mat behind it. I seated the main focal element in the centre. The card was completed with white and black mats and layers. The finished dimensions are 7 1/2" x 7 1/2" in size. All for now, Sue x
Sunday, 3 April 2022
You Are A Great Friend
Good Sunday morning all! Using the Boulevard Lights, Golden Marble and Molten Gold Pixie Sparkles, I created the background for this card. I used the Noble Vintage Frames and cut three large frames in white and gued them to the background overlapping each other. I cut the You Are A Great Friend sentiment in both white and black and shadowed it, then glued it to the centre of the frames. I used the French Marigold die set to create three flowers out of Antique Gold card. I seated the flowers in opposite corners and added some leaves from th Pinwheel Floral die set as accents. The card was completed with white, black and antique gold card mats and layers. The finished dimenions are 8" x 8 1/2" in size. All for now, Sue x
Saturday, 2 April 2022
Just Because
Hello crafters! I made this quick card to show you that you can do some other things with the floral panel sets. I cut the foliage panel from the Moonflower Floral Panel die set a couple of times in white. I nipped away the leaves from the frame (easily done) and used them inside of an ival frame. I decided to leave the ends of the leaves unglued to add a little movement (like they are blowing in the wind). I cut a Stitched Flag in white and used the Just Because Shadowed sentiment across it. I cut it in black and added it to the white shadow backing then glued it onto the flag die across the lower part of the oval. I used the French Marigold die set and made a 3D flower in white. I glittered it with Frosted Sparkle Glitterbitz and added it to the end of the flag die with a couple of leaves from the set. I added the oval onto a piece of pixied card which was done using the Candy Pink colour. Pearls in the two right side corners were added as accents. The card was completed with white mats and layers. The finished dimensions are 6 3/4" x 7 3/4" in size. All for now, Sue x
Friday, 1 April 2022
Hope Your Day Is Amazing
Hello bloggers! I used the Circle Aperture as the starting point for today's card offering. I cut it into a piece of white card. Next I cut the Beach Waves Background in white and added a piece of Pixie Powdered card behind it. I used Emerald green and Golden Mint Pixie Powders on it. I added some mounting foam to the back of the Circle Aperture die cut then attached it to the Beach Waves and pixied card. I cut a piece of tan card to look like beach sand anf glued it to the bottom of the card. I added a palm tree from the Island Paradise die set and an adirondack chair and pina colada drink from the On The Beach die set to the left side. I added some sea creatures to three of the apertures from the Can't Wait To Sea You die sets and used the signpost and sand pail and shovel in the last aperture. I cut the Hope Your day Is Amazing sentiment in both white and black card and shadowed it, then glued it to the bottom of the card. I added the plane pulling a banner at the top and hand wrote "can't wait to sea you" on the banner. I added two seagulls in black uin the corner The card was completed with white mats and layers. The finished dimensions are 7 3/4" x 7 3/4" in size. All for now, Sue x
Subscribe to:
Posts (Atom)