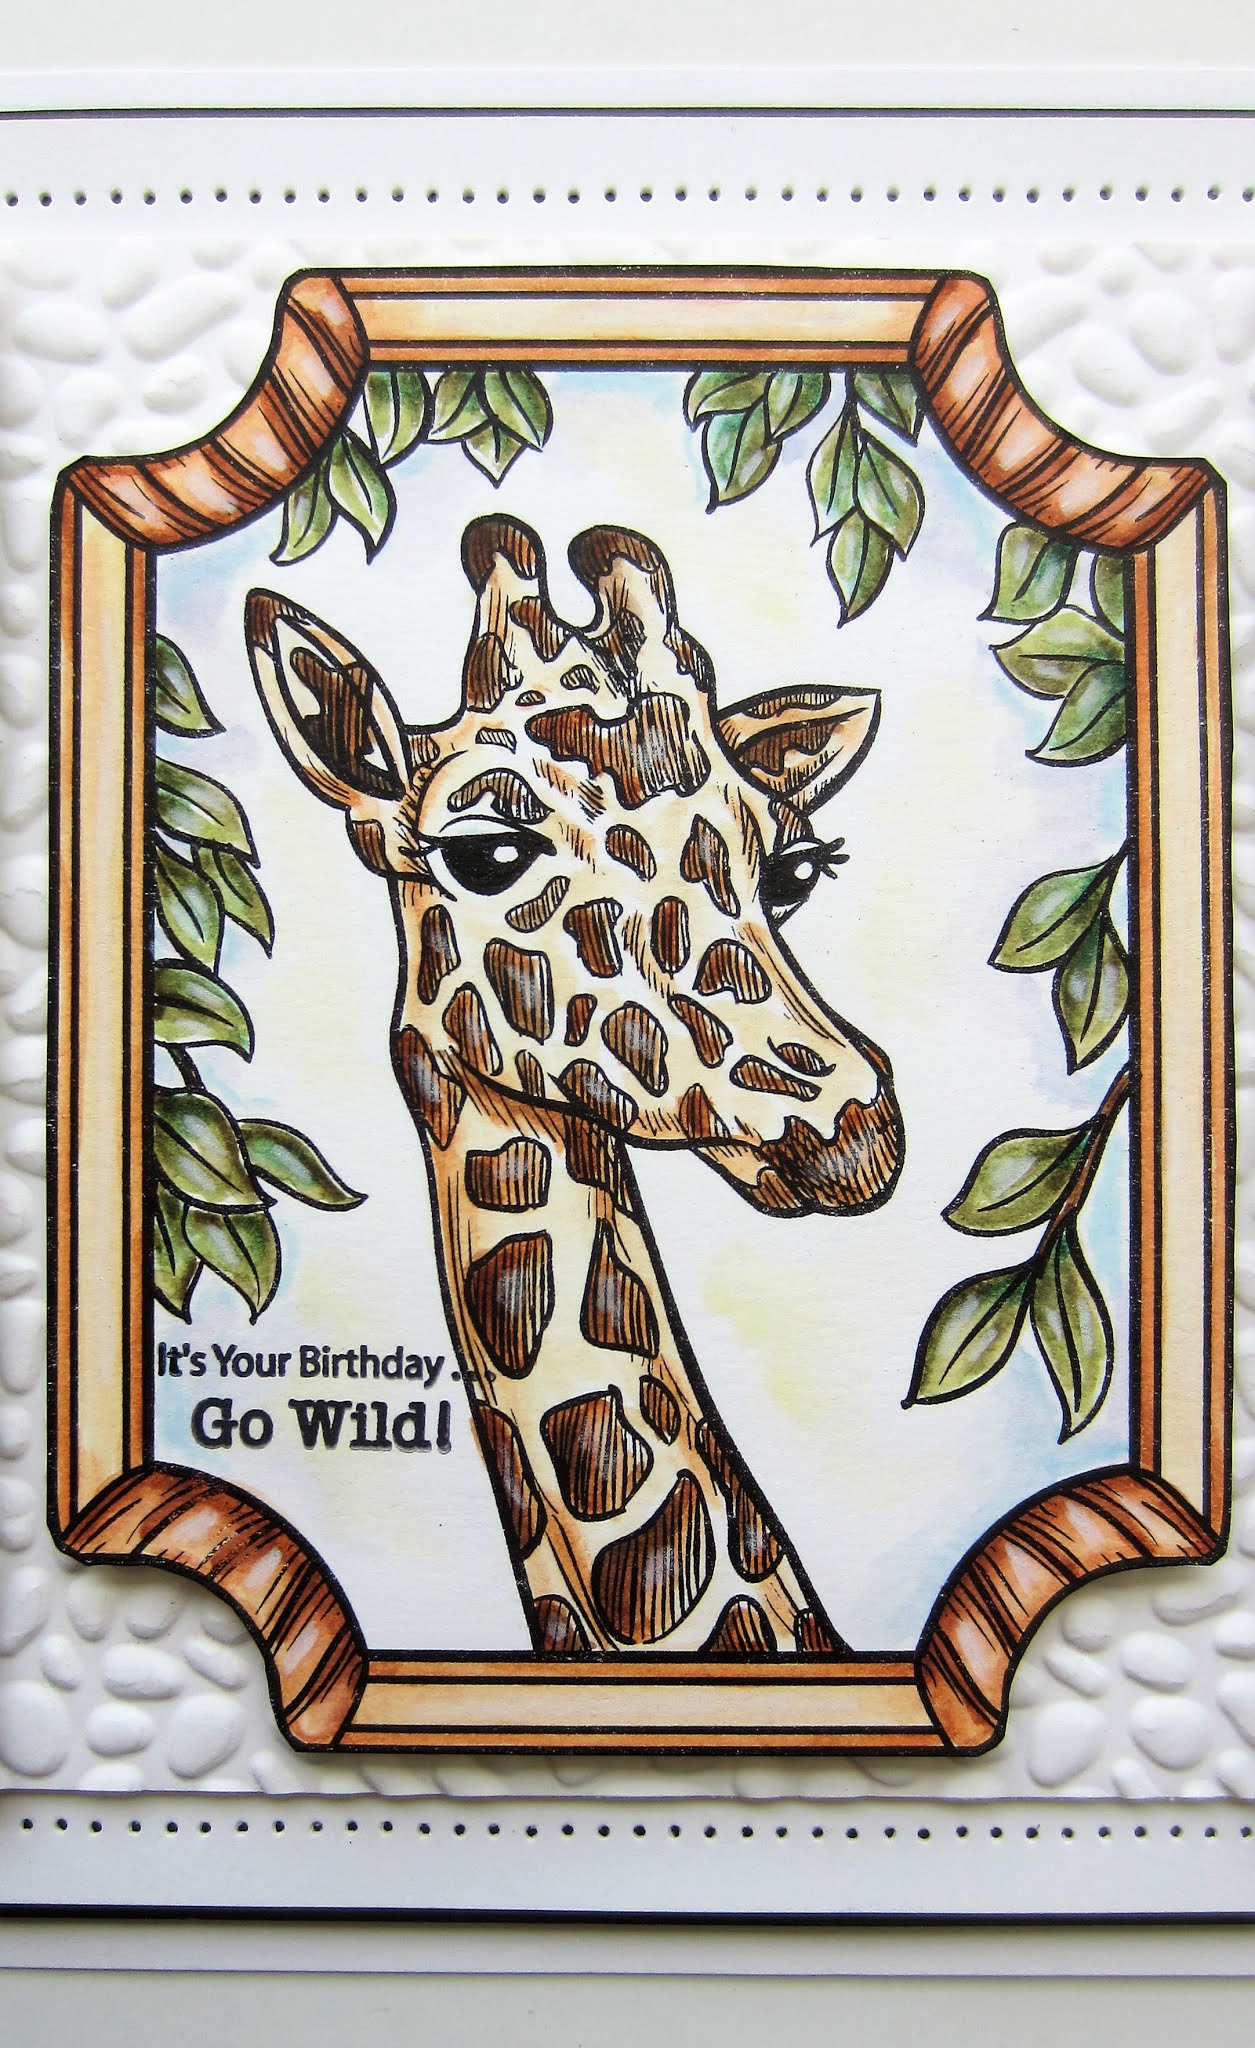
Hi bloggers! I started today's card by pulling out the Tina Layering die and the new Pebble Rush embossing folder. I embossed a white card using the Pebble Rush folder. Next I cut the Tina Layering die using a white top layer, a black card middle layer and a Gemstones gilding flake backing piece. I did two of these and attached them to the sides of the embossed background. I stamped the Giraffe stamp and cut it out with the matching Giraffe die. Using Distress Markers, I coloured in the giraffe. I stamped the sentiment from the Wild About You clear stamp set in black, then lightly sponged some blue, pink and yellow around it. I attached the to the giraffe so the sentiment was centered in the lower corner, then trimmed around it. I added the giraffe to the background with mounting foam. The card was completed with white and black mats and layers. The finished dimensions are 6 3/4" x 8 1/4" in size. All for now, Sue x
A daily papercrafting blog which features my handmade cards showcasing Creative Expression's products including my own line of cutting dies and embossing folders, Cosmic Shimmer, Ranger and more which use various techniques and ideas to hopefully inspire the creativity in you.
Tutorials
- Home
- My Ribbon Flower Tutorial
- Fancy Nestie
- Blossoms Five Flower Bud
- Blossoms Five Full Flower
- Easel Tutorial
- Wax Paper Embossing Folder Tutorial
- Caught In Crystal
- Shaving Foam Tutorial
- Quilt Card Tutorial
- Paved Pearl Technique
- Faux Leather Technique
- Plaited Ribbon Wreath Tutorial
- Paper Rose Tutorial
Tuesday, 6 April 2021
Monday, 5 April 2021
Celebrate
Hello crafters! I started today's card by embossing the Fanciful Flowers 3D embossing folder. I used the Ballet Slippers, Wisteria and the Honeydew Matt Chalk Polishes very lightly across the top of the embossed card. I tried to do the flowers in the pink and wisteria and the leaves in the green. I cut the Celebrate die out of a piece of white card that I had added a sticky adhesive sheet to then coated with Frosted Sparkle Glitterbitz. Once cut, I glued it onto the white backing shadow piece. Next I went in to my scrap box (these dies are so good for trimming down that box size I know we all have!) I selected powder pink, sky blue, aqua, honeydew, and wisteria card and cut it into 1 /2" wide strips. I attached them in diagonal rows to a piece of copy paper using a sticky adhesive sheet. I cut the Celebrate die and kept all of the fall away pieces, then paper pieced them back into the white outline die cut earlier. I attached it to the centre of the embossed card with mounting foam. The card was completed with white mats and layers. The finished dimensions are 7" x 8 1/2" in size. All for now. Sue x
Sunday, 4 April 2021
So Glad We're Friends
Good Sunday morning all and Happy Easter! I started by tapping the Slimline Lattice Swirl mask to a piece of white card. I used the Wisteria Matt Chalk polish through the mask. Next I horizontally scored a white strip of card and attached it vertically down the left side of the stencil. Using the Poppy Spray Stampcut die, I inked and cut it twice. I coloured the die cut with Distress Markers (Spun Sugar, Worn Lipstick, Tattered Rose, Forest Moss, Mustard Seed and Shaded Lilac). I mounted the Stampcut dies vertically along the edge of the white card, slightly overlapping them. I cut the So Glad We're Friends sentiment out of wisteria card and black card. I used the black die cut as a shadow behind, then glued it into the lower corner. I added glue to the centres of the poppies and sprinkled Frosted Sparkle Glitterbitz on them. The card was completed with white mats and layers. The finished dimensions are 5 1/4" x 9 1/2" in size. All for now, Sue x
Saturday, 3 April 2021
You Are The Best
Hello crafters! How's this for a quick and easy slimline card! I started by cutting the Slimline Decorative Oval Aperture Trio in white. I used the Bubble Burst embossing folder and embossed a white background to go behind the apertures. I cut the Delicate Daisies in Ocean, Cobalt and Olive Green card and inserted the stems into each of the three apertures. I stamped my sentiment in black and cut a slightly larger piece and added the apertures above it. The card was completed with white mats and layers. The finished dimensions are 5 1/4" x 9" in size. All for now. Sue x
Friday, 2 April 2021
Surprise
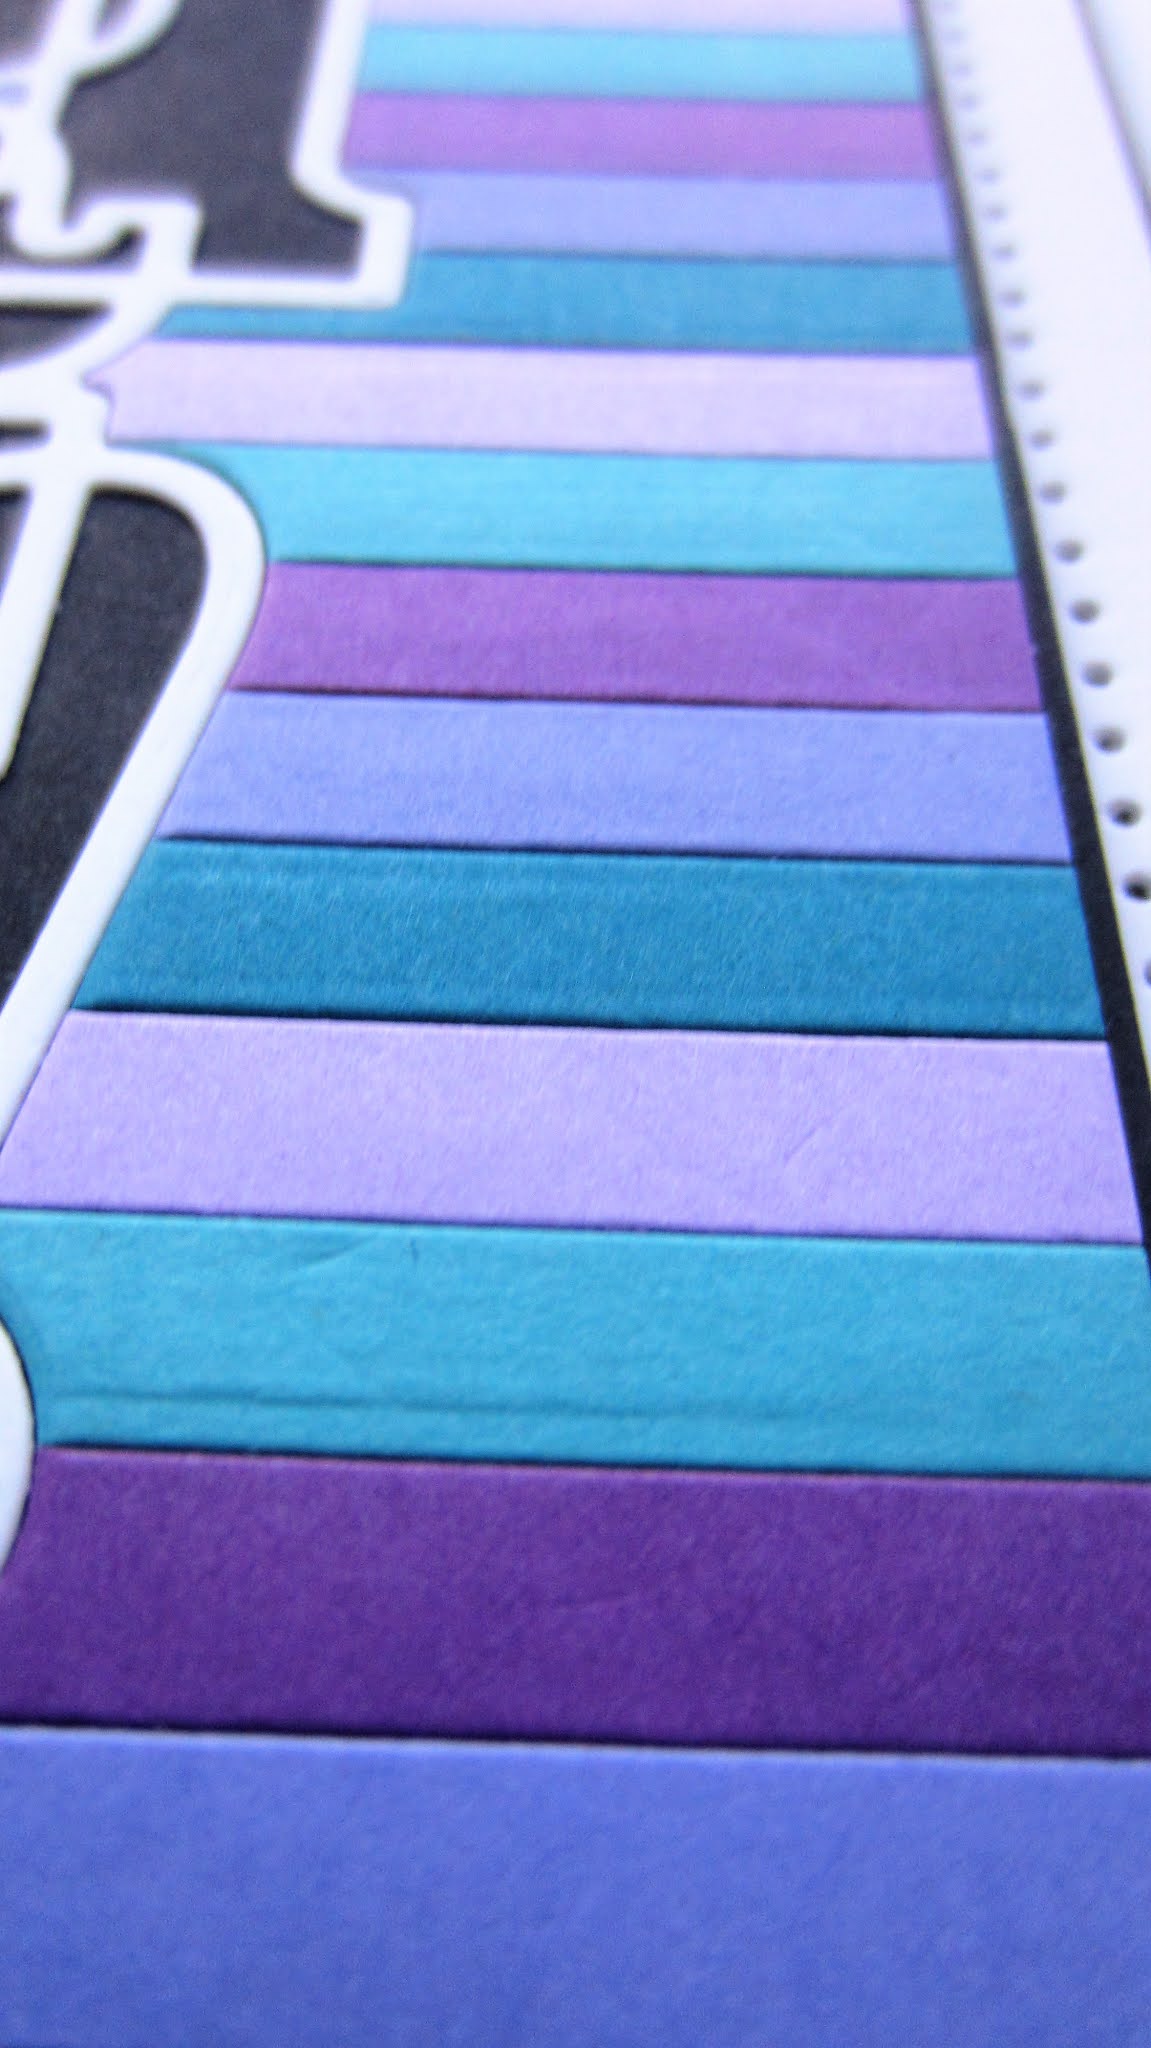
Hi bloggers! This card turned into a three-fer! I will post the other cards at the bottom of the post. I went back to my scrap box and pulled out some pieces that were wisteria, lilac, ocean, blue dusk and amethyst card and cut them into 1/2" strips. I used a piece of copy paper (to keep the thickness down a bit) and added a sticky adhesive sheet to it. I added the strips of card one by one alternating the colours as I went. Next I cut out the Surprise die two times; first in white, then out of the striped background. I kept all of the fall away pieces from the striped die cut in a separate pile to use on the second card. I glued the striped background to a piece of black card. I then glued the Surprise die outline in white into the striped background, leaving the inside of the letters black from the backing card. The card was completed with white and black mats and layers.
The second card made used the fall away pieces from the striped background and paper pieced it into a black outline and added it to the shadow die. The third card used the outline of the Surprise die that was cut from the striped card and had black letters paper pieced back in from the previous card. The finished dimensions for all three cards was 6 1/2" x 7 1/2" in size. All for now. Sue x
Thursday, 1 April 2021
I Love Hanging Out With You
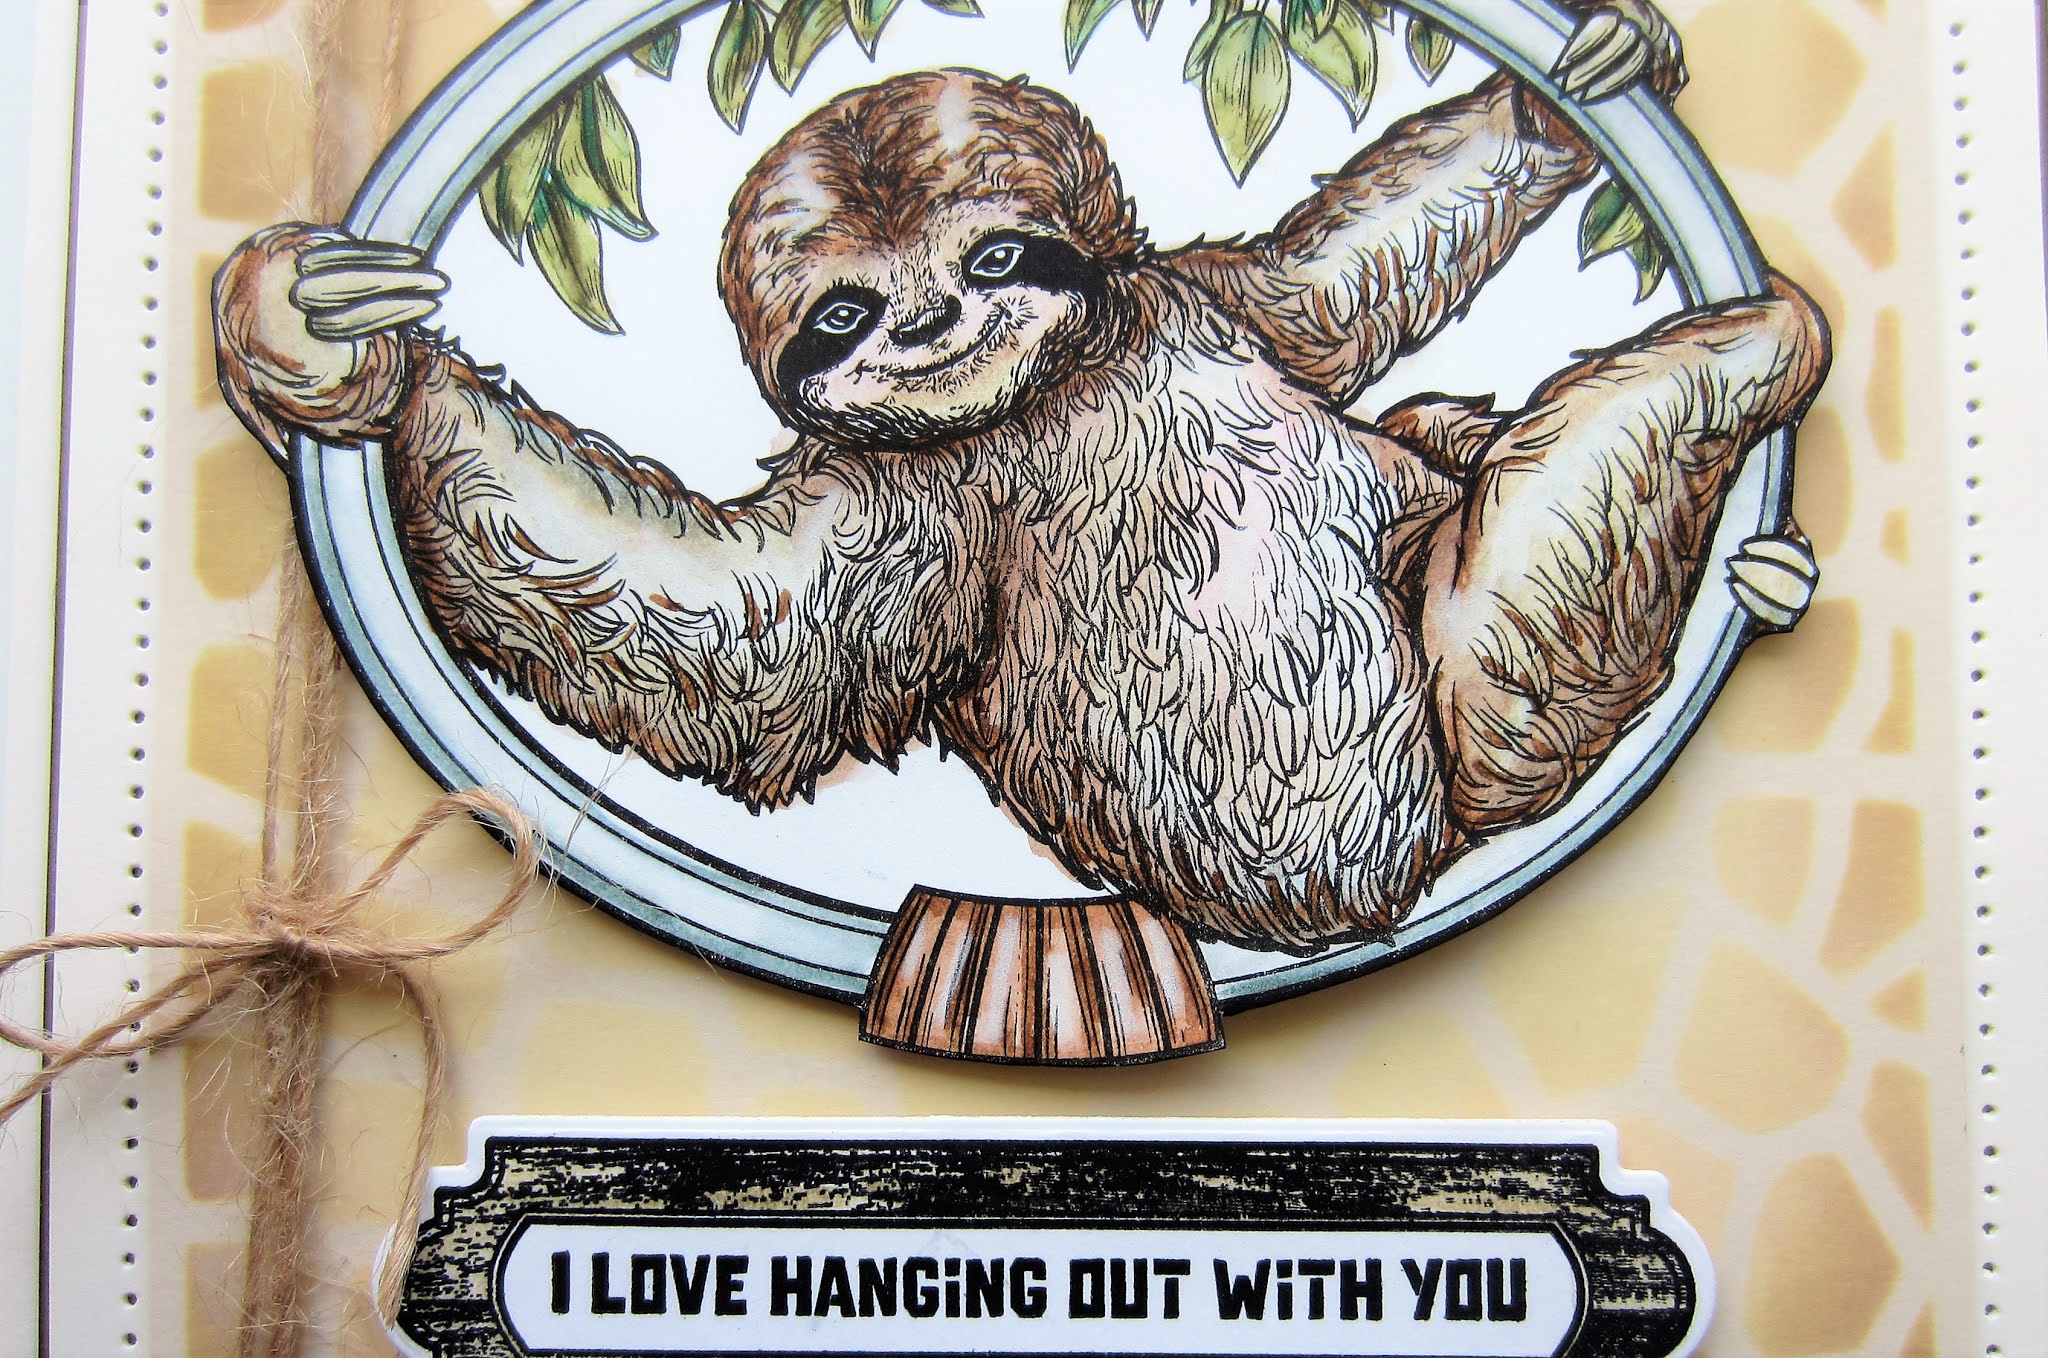
Hi crafters! I used the Crackle mask taped to a piece of milk card. I used Antique Linen Distress Oxide ink through the mask, then used Vintage Photo ink around the outer edge of it. I tied a piece of natural jute twine around the card vertically. I stamped the Sloth and then cut it out with the matching Sloth die. Using Distress markers, I coloured it in, then added it with foam mounting tape to the centre of the card. I stamped the tag and sentiment from the Wild About You clear stamp set and cut it out with the matching Safari Tags die set. I added it below the sloth with mounting foam. The card was completed with milk and nutmeg card mats and layers. The finished dimensions are 8" x 8" in size. All for now. Sue x
Subscribe to:
Posts (Atom)