Saturday, 7 March 2020

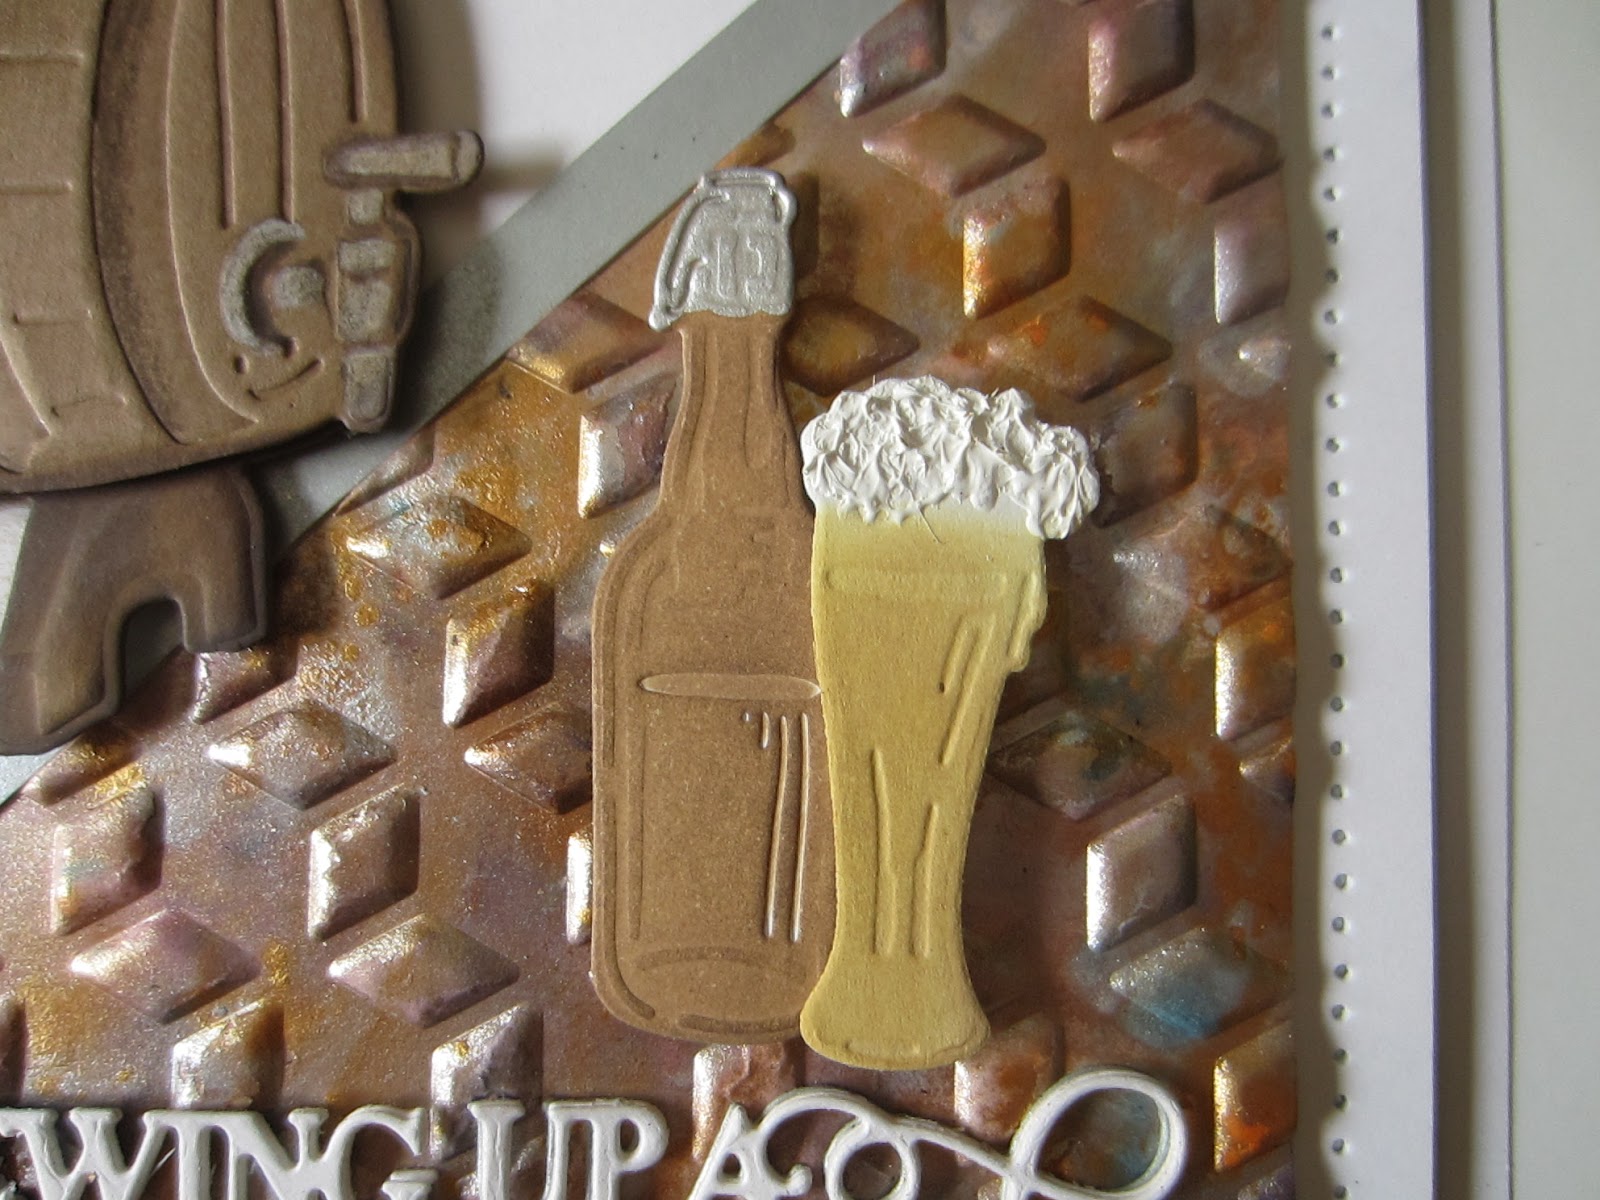
Beer On Draft Card


Hello bloggers!  I've got a fab card for those of you that are beer connoisseurs or those of you that know someone who is!    This card also works great for filling the bill for guy cards too!


 The finished dimensions are 6 3/4"  x  8" in size.  All for now. Sue x
                                                       Follow my blog with Bloglovin

Friday, 6 March 2020

Heartfelt Thanks

Hello bloggers!  Today's card is a very simple one using the Elegant Flower Trio.  I started with a piece of coconut white card and used one of the Double Stitched Circles and placed it on the side of the card, slightly off the edge of it to cut the aperture.  Next I found a lovely piece of Pixie Powdered card from my favourite stash pile (using Midnight Blue and Emerald Green pixie powders) and glued it behind the opening but even with the edge of the card.  I added a multi-layered frame of both a black base and a white top frame.  I glued them together then glued them around the aperture, trimming them even with the side of the card.  In white, I cut the tulip and Iris from the Elegant Flower Trio.  I glued them into the centre of the aperture.  I cut the Heartfelt Thanks out of black card and glued it into the lower corner of the card.  I completed the card with white and black mats and layers.  The finished dimensions are 6 1/2"  x  7 3/4" in size.  All for now, Sue x


                                                      Follow my blog with Bloglovin

Thursday, 5 March 2020

Friendship

Hello crafters!  One of my favourite new crafty items is the Ranger Silver Sparkle Alcohol ink card.  I have used it as a base for today's card and wait until you see how pretty it is in the close up pics!  I started by applying various shades of alcohol inks to it.  I used Mermaid, Citrus, Sailboat Blue and Patina.  I laid down the colours in diagonal stripes.  Next I cut the Outer die from the Friendship All in One out of the card.  I added the Friendship main die cut in white to the top of it.  I had a little extra of the backing card so I cut out just the larger flowers and added them on top of the original with pearls in the centres.  I added mounting foam to the back to raise it and added the whole thing to a slightly larger piece of white card.  I ran double sided tape around the edge of the card and coated it with Iced Snow for a bit of bling.  I completed the card with white mats and layers.  The finished dimensions are 6"  x  7" in size.  All for now., Sue x


                                                      Follow my blog with Bloglovin

Wednesday, 4 March 2020

Happy Birthday

Hi bloggers!  I started this card by cutting the round balloon from the Dotty Balloon die set out of six different colours of card.  I glued them onto a piece of coconut white card, slightly overlapping them.  Next I cut a square out of it.  Next I used the Noble Happy Birthday die and cut the word "Happy" out of the centre of the balloons.  I added a black shadow behind the word then added foam to the back.  I added a thin black mat to it to the square and added mounting  foam on the back to raise it.  I put it back into place with the same alignment and added the Happy word back into place as well.  I used a thin black felt tip and drew in the strings and then cut the word "Birthday" in black and added it below the balloons.  The card was completed with white and black mats and layers.  The finished dimensions are 7 1/4"  x  8 3/4"  in size.  All for now. Sue x


                                                       Follow my blog with Bloglovin

Tuesday, 3 March 2020

You Are The Best

Hi crafters!  I started this one by cutting the Priscella die out of Arctic Blue card.  Next, I cut two of the Priscella's Border out of white card.  I cut a multi layered frame out of white card for the base and Arctic Blue card for the thinner frame on top.  I added mounting foam to it then added the Priscella's Border to the underside edges of the frame.  I added a white backing behind the frame and seated the Priscella die in the centre.  I cut a white rectangle as a base for the You Are The Best sentiment, which I cut in white and added a black shadow behind it.    To the opposite corners, I made several Cosmos Flowers using the Arctic blue as the base, then adding a white outline with an offset black shadow to it.  I accented the flowers with white leaves from the set.   The card was completed with white. arctic blue and black mats and layers.  The finished dimensions are 7 1/4"  x  8 1/2" in size.  All for now. Sue x


                                                        Follow my blog with Bloglovin

Monday, 2 March 2020

Sweet Friend

Hi crafters!  I started out this one with one of the new colours of Opal Polish called  Blue Wisteria.  I coated a piece of card with it and once dry, I embossed it with the Rose Bed folder.  You can see the different shades of lavenders and blues that you get with the Opal Polish in all the pictures.  Next I cut the Joanie's Border in white and black, using it as a shadow behind.  I glued it to the left side of the card.  I cut the Friend Circle out of an extra piece of card that I also coated with Blue Wisteria polish.  I added a black shadow and seated it on the larger shadow outline cut in white.  I added it to the right side of the card.  I cut the Cosmos Flower outlines from the polished card, the also cut a black outline to use as a shadow. I added these to the Cosmos Flower solid dies cut in white.  I used the Magnolia Corner cut into pieces to accent the flowers.  The card was completed with white and black mats and layers.  The finished dimensions are 6 3/4"  x  7 1/2" in size.  All for now Sue x


                                                    Follow my blog with Bloglovin

Sunday, 1 March 2020

For You

Good Sunday Morning all!   I have a pretty gilding flake card to share today.  I started with a piece of card and covered it with a sticky adhesive sheet.  I peeled the backing paper off and added Sunlight Speckle Gilding Flakes to it.  I used a piece of Rubit Scrubit pad to move the flake all over the sticky area and then to refine and remove any excess flake.  Next I cut four of the Claire die in white.  I glued the dies to the card working from the centre outwards and trimmed away the excess even with the edge of the card.  I cut the centres of the Eliza die set four times in white and added those to the centres of the Claire dies and trimmed them even with the edge.  Next I cut the centre in Antique Silver and backed it in white and cut the centre out.  I added mounting foam and added it to a white backing piece then glued it in the centre of the card.  I gilding an extra small piece and cut the For You sentiment out of it, then glued it in the centre of the circle frame.  I added pearls and completed the card with white  and silver mats and layers.  The finished dimensions are 7"  x  7" in size.   All for now. Sue x


                                                       Follow my blog with Bloglovin