Follow my blog with Bloglovin
A daily papercrafting blog which features my handmade cards showcasing Creative Expression's products including my own line of cutting dies and embossing folders, Cosmic Shimmer, Ranger and more which use various techniques and ideas to hopefully inspire the creativity in you.
Tutorials
- Home
- My Ribbon Flower Tutorial
- Fancy Nestie
- Blossoms Five Flower Bud
- Blossoms Five Full Flower
- Easel Tutorial
- Wax Paper Embossing Folder Tutorial
- Caught In Crystal
- Shaving Foam Tutorial
- Quilt Card Tutorial
- Paved Pearl Technique
- Faux Leather Technique
- Plaited Ribbon Wreath Tutorial
- Paper Rose Tutorial
Friday, 21 December 2018
Lots of Snowman Cards
Follow my blog with Bloglovin
Thursday, 20 December 2018
Happy Birthday
Hello crafters! I have a pretty card that is more than suitable for a December birthday. I started by cutting a wide Octagon frame out of coconut white card, using the Double Stitched Noble Octagon die set. Next I cut a dusty rose inner frame using the next smaller shape in the Octagon set and stack the two with mounting foam to create a multi-layered frame. I added the frame over a piece of coconut white card cut from the Octagon die set. Using the Happy Birthday Mini Expression die, I cut two out of dusty rose card, glue them together and attach inside the frame in a stacked orientation. There were 5mm white flat back pearls that I added below as accents. Next I cut two of the Poinsettia Garland die out of coconut white card. Cut the Poinsettia from the same set out of dusty rose card. I used Pink Sapphire Glitter kiss over the poinsettia, then glue into place on the garland, adding an 8mm white pearl in the centres. Add the two Poinsettia Garlands to the sides of the frame with glue. Cut a larger piece of coconut white card that is approx. 5 ½” x 5 ½” in size. Emboss it using the Falling Snow embossing folder. Seat the frame in the middle of it. Cut another piece of coconut white card that is 6 ½” x 6 ½” in size. Attach strips of double sided tape across each of the edges and trim the excess at the edge of the card and apply Frosted Sparkle Glitterbitz to the tape. Seat the frame section on top with mounting foam. Complete the card with a white paper pierced mat and another white mat layer. The finished dimensions are 7 ¾” x 7 ¾” in size. All fr now, Sue x
Follow my blog with Bloglovin
Wednesday, 19 December 2018
For Someone Special
Hello everyone! Today's card offering is a pretty mix of aqua and white with a touch of black. I started by embossing the background with the Brambled Rose embossing folder for texture. Next I cut the Hexgonal Border twice out of aqua and twice out of black card. I used the black as an offset shadow then glued the borders diagonally across opposite corners and trimmed the end even with the background. Next I cut the Avery die in white. I added an aqua edge and a black backing to show through thee cut out areas. I seated that in the centre with foam. I cut the For Someone Special sentiment out of both aqua and black and shadowed it before gluing it to the smaller Avery die cut base. I added three small pearls below it as an accent. I completed the card with the Carnation die using the matching Shaded stamps. I inked the edges with aqua ink before assembling then made three flowers to add around the focal element with a satin bow and white leaves. The card was finished with white, aqua and black mats and layers. The finished dimensions are 7 1/2" x 9" in size. All for now. Sue x
Follow my blog with Bloglovin
Tuesday, 18 December 2018
Believe
Hi there fellow crafters! Sneaking in another Christmas card before the big day! I started this one with a piece of coconut white card and cut two of the Frosty Snowflake Borders out of antique gold card and glued them to the top and bottom edge of the card. For the focal element, I cut the Eve die in white for the base layer. Next, I added the faith die cut in white. I cut a gold frame for the very centre using the inner dies from the Natalie. I added a Pierced Flag with the Believe sentiment from the Snowball Frame die set cut in gold. Two vellum poinsettias were added to the left side as accents. I used some Enchanted Gold Gilding polish on them to add a bit of gold detail to the flowers. White and Antique Gold card mats and layers were used to complete the card. The finished dimensions are 7 1/2" x 8 1/2" in size. All for now,
Sue x
Sue x
Follow my blog with Bloglovin
Monday, 17 December 2018
Daffodil Flower Square
Hi bloggers! I have a sunny Daffodil card to share with you today. I started by cutting the Daffodil Flower Square out of black card and gluing it to a piece of acetate. I used Yellow Citrine, Emerald Green and Teal Tourmaline Crystal Tints to fill in all the areas. I put a thin layer of each of the colours down first and allowed it to dry (about 30 minutes), then added a second layer to get the colour more intense. I set that aside to dry overnight. I cut another of the Daffodil die in white and used it slightly offset from the black one. I added a white backing behind it to make the colour pop. I glued it onto a piece of black card then cut three thin white frames out of the Double Stitched Squares. I added mounting foam to them and then attached them around the flower. The black and white is quite striking against the bright yellow of the flower. I completed the card with white and black mats and layers. The finished dimensions are 7 1/2" x 7 1/2 " in size. All for now, Sue x
Follow my blog with Bloglovin
Sunday, 16 December 2018
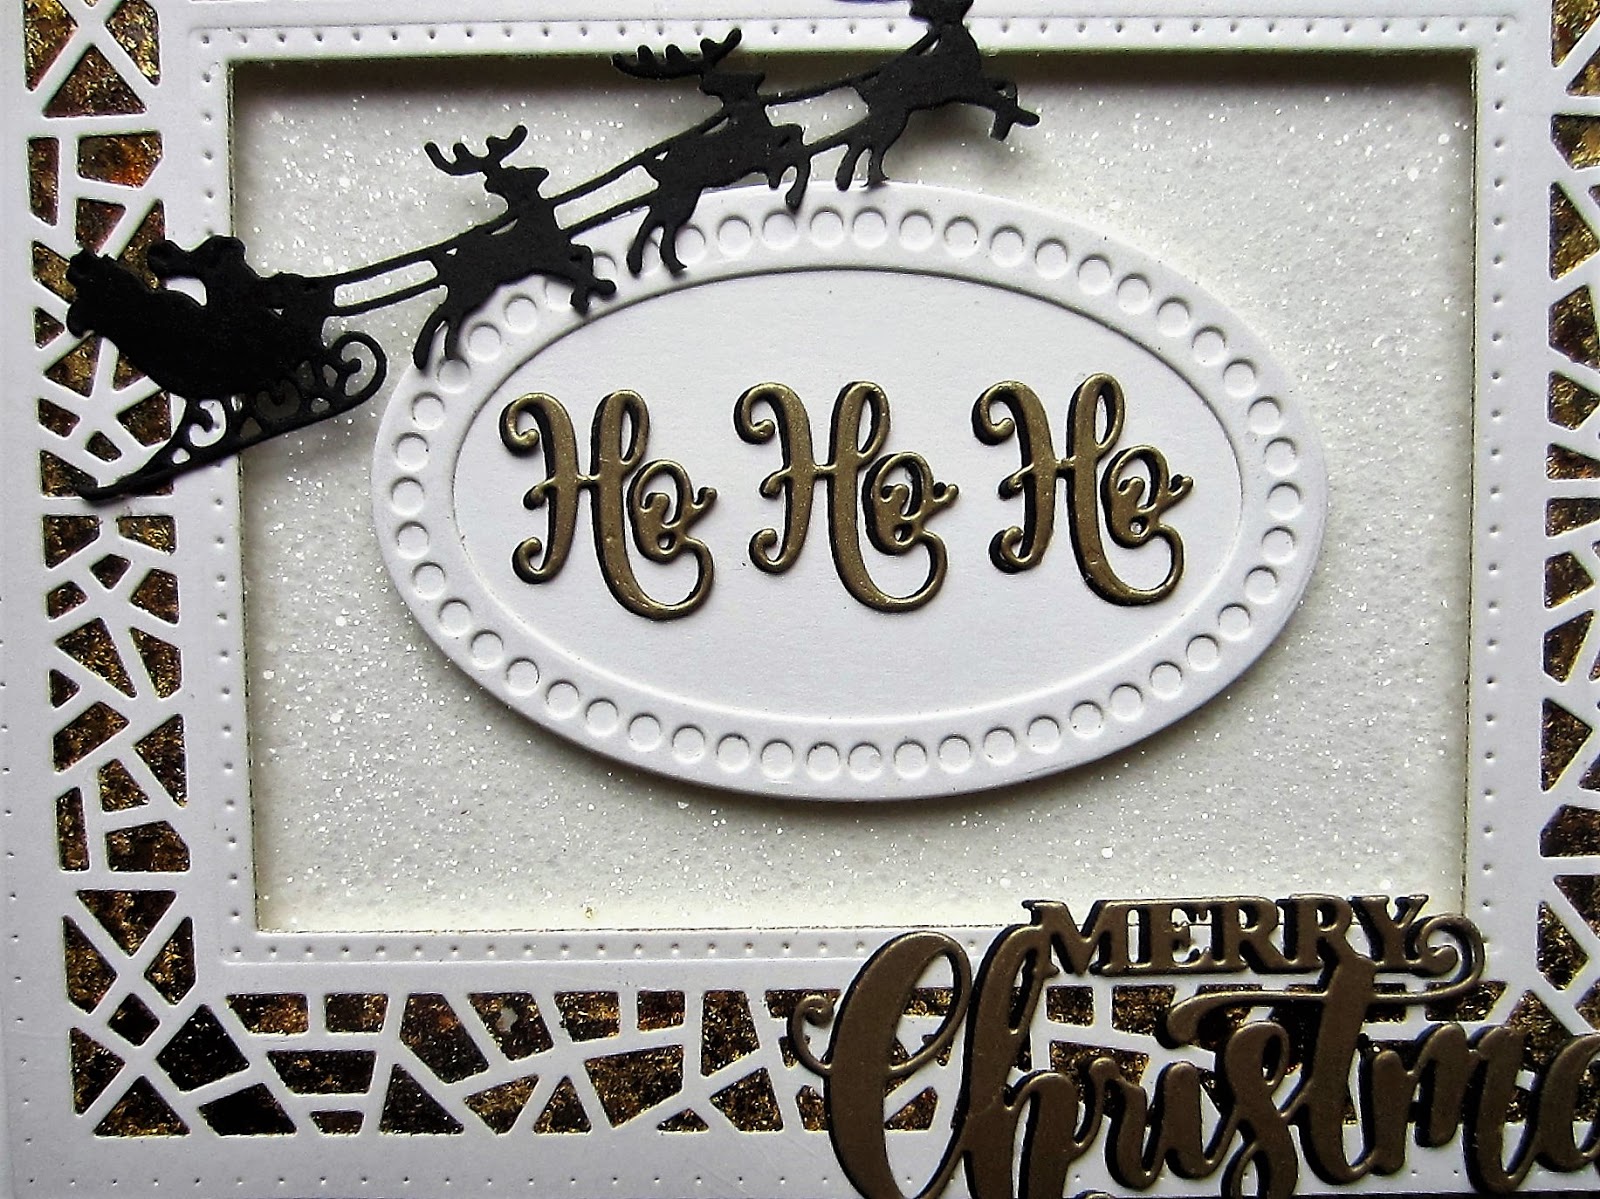
Ho Ho Ho
Saturday, 15 December 2018
Steampunk Wreath Card
Hi bloggers! Pull out your Glitter Kiss and your Gilding Polish for this one! We are making a glittery, shimmery Steampunk Christmas card!
The finished dimensions are 6 1/4" x 6 1/4" in size. All for now. Sue x
Subscribe to:
Posts (Atom)