Hello there my crafty friends! We are really getting close now to the big day! This is gong to be the last official double day before Christmas I think! For the first card, I embossed a piece of milk card with the Opulent Frame 3D embossing folder. For the focal element, I cut the Natalie die in white. I popped the Faith die cut out in white on top of it. I cut the Christmas Bell in antique gold card twice. I backed both of them with vellum and attached them together in the centre. I cut the bow out of gold and added some twigs as accents. The card was completed with white and gold mats and layers. The finished dimensions are 7" x 9" in size. Scroll down for the second card.


I selected a completely different looking card for the second offering. I started with a Royal Blue card background and cut the Snowfall Background die into the card. I backed it with a piece of silver mirror card. I cut four of the corners from the set out of silver card and glued them in place on the background. I cut the Overlay and Ornament die in white three times, stacked them and glued them into the middle of the card. I cut the ornament from the set out of silver mirror card and glued it to the inside of the Overlay. I added a few pearls as accents, then completed the card with Royal Blue, Silver mirror card and white mats and layers. The finished dimensions are 7" x 7" in size. All for now, Sue x
Follow my blog with Bloglovin
A daily papercrafting blog which features my handmade cards showcasing Creative Expression's products including my own line of cutting dies and embossing folders, Cosmic Shimmer, Ranger and more which use various techniques and ideas to hopefully inspire the creativity in you.
Tutorials
- Home
- My Ribbon Flower Tutorial
- Fancy Nestie
- Blossoms Five Flower Bud
- Blossoms Five Full Flower
- Easel Tutorial
- Wax Paper Embossing Folder Tutorial
- Caught In Crystal
- Shaving Foam Tutorial
- Quilt Card Tutorial
- Paved Pearl Technique
- Faux Leather Technique
- Plaited Ribbon Wreath Tutorial
- Paper Rose Tutorial
Friday, 14 December 2018
Thursday, 13 December 2018
Sailboat Stained Glass
Follow my blog with Bloglovin
Wednesday, 12 December 2018
Best Friend
Hi crafters! How about a pretty card for a best friend! I started by stamping the Stamp To Die For called Claire's Sweet Garden Vine in black on a piece of coconut white card. I cut it out with the matching Claire die and coloured it with Distress markers. I used a bit of glue on the main flowers then added some Frosted Sparkle Glitterbitz glitter to them to add a bit of bling. I cut out the Claire die in black as a backing but added in the larger outer cutting edge with the dots in it for a more decorative backing I attached it to a piece of peach card to use as my background. I made a multi layered frame using the Double Stitched Squares starting with a wider white frame and a thinner peach frame on top. Next I cut the Claire die again in both black and peach card. I just cut the outer decorative edge out of the peach, but kept the black die cut as the full size. I cut it into four sections as well as the peach outline and glued them together and added them into the corners from behind the edge of the square frame. I attached the frame over the die cut, centring it in the middle. I cut the Shadowed Best Friend die out of black with a peach shadow, assembled it then attached it with foam in the centre of the card. The card was completed with white, peach and black mats and layers. The finished dimensions are 8" x 8" in size. All for now. Sue x
Follow my blog with Bloglovin
Tuesday, 11 December 2018
Tis The Season
Hi crafters! Still more Christmas cards to share on the run up to the big day, but I really liked this Fire and Ice sample. I started by cutting the frame from the Mosaic Bauble die set in black. I covered the front of it with a piece of sticky adhesive sheet, then turned it over and gilding the back with Summer Meadow Gilding Flakes. I used a piece of Rubit Scrubit pad to refine the flakes and remove the excess. Next I peeled the other side of the backing paper off of the front of the card and sprinkled it with Iced Snow, then trimmed away the excess. I added mounting foam to the back to raise it. Next I cut the Poinsettia Lattice Background out of white card. I backed it with white card then seated the frame over it. I cut one more of the Lattice Poinsettia die in white and hand cut the five poinsettias out. I used spray glue on them , then glittered them with Frosted Sparkle Glitterbitz and added them back over the originals in the background after forming them and adding pearls to the centres. I cut the Tis The Season sentiment in black and glued it to the centre of the card. The card was completed with White and black mats and layers. The finished dimensions are 6 3/4" x 8" in size. All for now, Sue x
Monday, 10 December 2018
Happy Birthday Wild Thing
Sunday, 9 December 2018
Best Brother
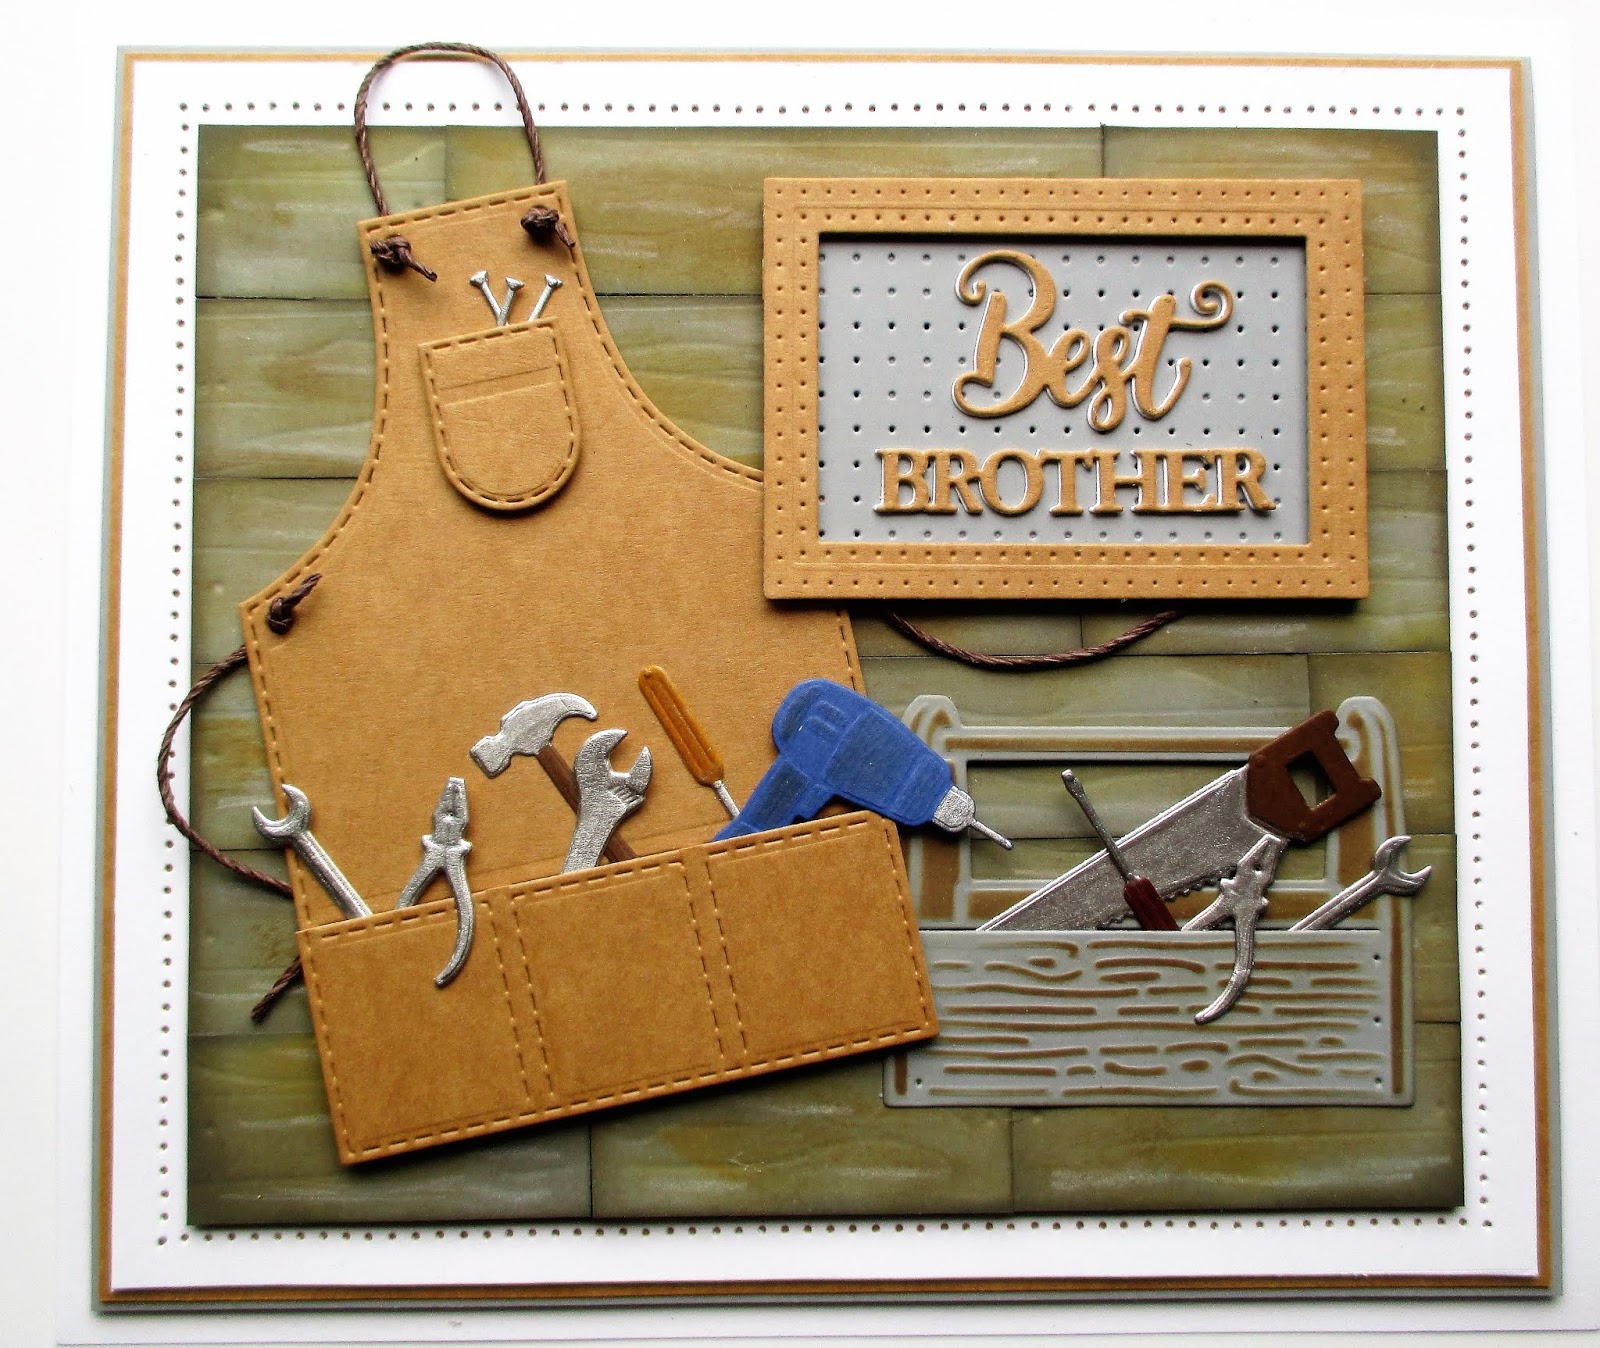
Good Sunday morning all! I found this fab guy card in an older folder and thought I would share it. I started with a piece of pale grey card. i used several distress Oxides on it. I swiped some Vintage Photo (straight from the pad to the card) across it, then Iced Spruce to give it the look of old wood. I then cut it up into one inch wide strips and random cut them into smaller pieces anywhere from one inch to four inches long. I went around the edges of each of the strips with Walnut Stain then glued them back in to place on another piece of card, slightly over lapping the ends so they looked like planks of wood and used this for my background. Next I cut the Apron die out of tan card and added on the extra pockets with mounting foam. I used some twine as the ties. I cut the tools from the In The Tool Box die set and added them to the pockets. I cut the tool box out of grey card and inked through the die with Walnut Stain ink to bring out the texture. I glued it in the corner of the card and added more tools to it. I used the Stitched Pegboard die to create a sign for my sentiment, cutting the centre die in grey to look like pegboard, then adding a small frame around it in tan card. I used the Best Brother sentiment from the Tool Box die set. I completed the card with white, grey and tan mats and layers. The finished dimensions are 7 1/2" x 8 3/4" in size. All for now. Sue x
Follow my blog with Bloglovin
Saturday, 8 December 2018
Steampunk Poinsettia
Hi bloggers! Today' video showcases the Steampunk styled poinsettia and shows you a beautiful look for one of Lisa Horton designed steampunk masks too.
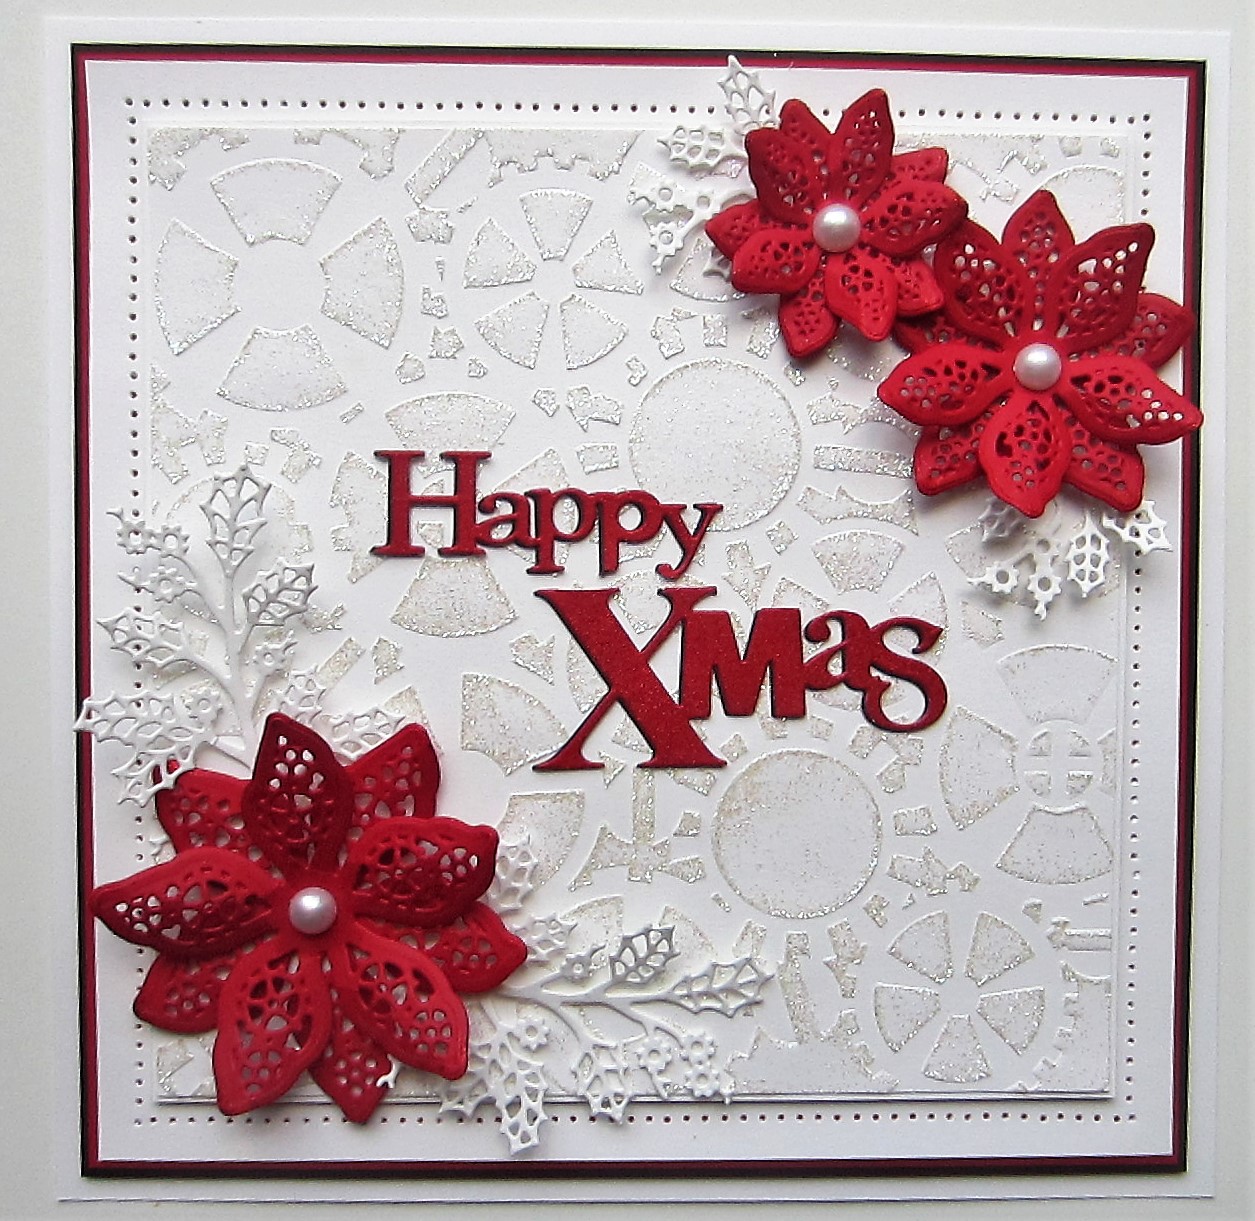
The finished dimensions are 7 3/4" x 7 3/4" in size. All for now, Sue x
Subscribe to:
Posts (Atom)