Monday, 5 September 2016

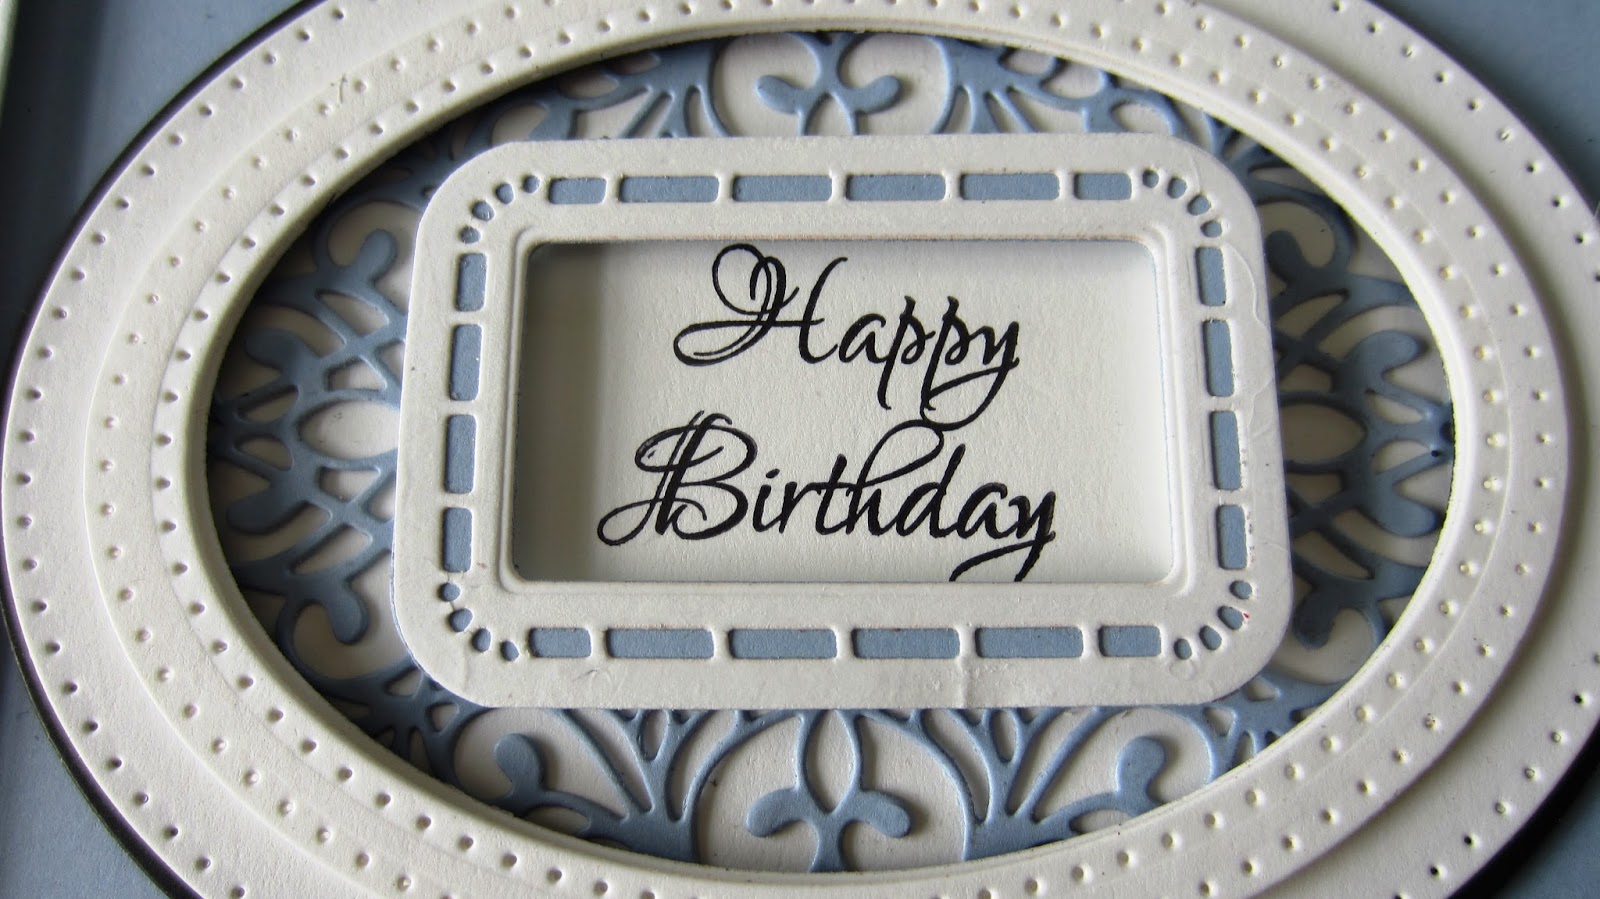
Happy Birthday

Hello crafters!  I pulled out the Nobles (again) for today's card offering.  I did, however, use the Lattice Stitched Frames to create the outside rectangle frame for the card.  I added mounting foam to the back of the frame and attached it to a piece of  blue dusk card.  I used the Double Pierced Noble Ovals to make a multi layer white frame for the inside of the card.  I added a thin black under frame to the outside edge using the outer cutting edge from the Geneva die.  I used the decorative die from the Geneva and cut it in blue dusk card and attached the oval frame over it and placed it in the centre of the card.  I stamped my sentiment and made a small frame for it using the inner dies in the Bern die. I added it to the centre of the oval frame.  I cut the Happy Birthday Triple line die out of both blue and black card.  I used two of the sentiment strips to add an additional accent to the top and bottom of the rectangle frame after I shadowed them with the black die cut.  The final backing layers were added out of white, blue and black to match.  The finished dimensions are 6 1/2" x  7 3/4" in size.  All for now, Sue x


                                                        Follow my blog with Bloglovin

Sunday, 4 September 2016

Double Love Perspectives

Good Sunday morning all!  I really do think that the Perspective dies are perfect for double days.  Generally speaking they are very clean and simple cards so they don't need much in the way of directions.  More often than not, you can just look at them and work out how they have been made, so I sort of feel like it is a bit lacking when there is only one card on the blog.  The first card uses a bit of card from my scrap box.  I selected several different shades of card that sort of formed a nice rainbow effect from light to dark.  I taped them to a piece of copy paper and cut the Love die out of them.  I also used the centre portion from the Exquisite Poppy die and cut a few of them as well.  On another piece of white card, I cut the Love die and used the "and kisses" plaque below it and cut the same centres from the poppy randomly in a few places.  I used that aperture and backed it with another piece of white card, creating an area that allowed me to re-insert the colourful cut outs for the white ones that were removed.  I added a white on white matting and layering element to complete the card.  The finished dimensions are 6 1/2" x  8" in size.  Scroll down for card number two.


The second card was done with a more masculine feel to it.  I selected black white and red for bold colours and used them against a kraft card background to give it a more rustic feel.  I stacked up the Love Perspective die which I cut three times.  First it was cut in red and reinserted into a white background,  Second it was cut in black and reinserted into a red background.  Third time it was cut out of white and reinserted into a black background.  The last time, I cut the small plaque "you madly"into the "E".  All three were then assembled together onto one piece of card and raised for dimension.  I completed the card with a white pierced mat, a thin red and thin black mat and another white mat to finish.  The finished dimensions are 7 1/2" x  8 3/4" in size.


The winners of this week's Comment Game are:

Cr@fty!!!
Hollyberry!!!
Rosemarie Fishlock!!!

Congratulations all!  Please email me at americansue1@gmail.com to confirm your address and claim your prize.  All for now, Sue x


                                                      Follow my blog with Bloglovin


Saturday, 3 September 2016

Stocking Tag Holder Card


Hello bloggers!  You saw this die set used on yesterday's blog post with candy canes instead of a gift card.  Today's video shows you how to use it and add a decorative sentiment tag so there are many adaptations that can be made, you do not simply have to use it for a gift card holder!

The winner of this week's Wednesday Card Giveaway is@

Bridget CG!!!

Congratulations!  Please email me at americansue1@gmail.com to confirm your address and claim your card.


The finished dimensions are 7" x  9" in size.  All for now, Sue x

                                                       Follow my blog with Bloglovin

Friday, 2 September 2016

Christmas Double Days

Hi bloggers!  Two completely different sort of cards for my double offering.  It may not even be fair to ask to pick a favourite as the are so different, but I was just feeling like it was just time for a night and day sort of pair. LOL  The first one up uses the aperture of my 2016 Christmas Angel as the starting point for this card.  I cut her out of gold pearl card and then embossed the aperture with the Frosty Swirls embossing folder.  I added mounting foam to the back of the piece.   Out of milk card, I cut the Poinsettia Background, then added a piece of sticky adhesive behind it followed by another piece of milk card.  I dusted the exposed adhesive on the front with Angel Gold Mica powder for a soft subtle look.  I added the angel aperture over the top.  I embossed a larger piece of milk card with the Frosty Swirls folder and added the entire piece to this.  I stamped my sentiment and another still larger piece of milk card and gold heat embossed it.  All the background was then added to this card above the sentiment.  I made two Poinsettias to use as accents by dusting the leaves with the same gold mica after I added the outline to the tops.  I seated them on some gold cording and gold metallic lynx.  I completed the card with a milk card mat with ivory PVA glue dots around the edge.  A thin gold mat was then added and a final milk mat.  The finished dimensions are 7 1/2" x  9" in size.  Scroll down to see card number two.


 Card number two utilises the Stocking Gift Card holder die, but I have added a couple of candy canes instead of a gift card, which makes it a perfect card for a younger person on your Christmas Card list!  It is much more of a fun card rather than the elegant angel card above, but still so much fun to make.  I cut the Stocking Gift Card Holder die out of Brunswick Green card.  I backed it with coconut white card, and cut through the original slit using a craft knife.  I then cut another one Stocking out of Ruby Red card and used the fall away pieces to fill in those areas on the original green one.  I cut one more Stocking card holder out of white card, then nipped away the top part of the stocking and coated it with glue and covered it with some white faux snow (from my stash), allowed it to dry then added it atop the original.  Using the extra frames around the die, I cut a multi layered frame of white and red to add on to the original as an accent.  I cut a larger piece of coconut white card and embossed it with the Nordic Trees embossing folder and seated it in the centre.  I completed the card with a couple of candy canes then a red mat, a pierced white mat, a green mat and a final white mat.  The finished dimensions are 6 1/2" x  7 3/4" in size.  There's your Christmas double day until next Friday!  All for now, Sue x


                                                        Follow my blog with Bloglovin

Thursday, 1 September 2016

Ornamental Accent Border Card


Hi bloggers!  The Ornamental Accents die set is a very versatile and useful set of dies.  Today's video shows you how to use the as a pretty border for your card projects.


 The finished dimensions are 7 1/4" x  8 1/4" in size.  All for now, Sue x


                                                        Follow my blog with Bloglovin