Hi crafters! I thought it was time to share a penguin card with you! Isn't he a cutie! I started with the
Falling Snow mask taped to a piece of coconut white card. I used
Stellar Ice Luna Paste through the
Falling Snow mask for the appearance of snow in the background. I peeled the mask off and set it aside to dry well. Next I made a multi-layered square frame using the
Double Stitched Squares and coconut white card. I cut a sloped hill using the
Stitched Hills and Cloud die set and glued it to the dry background. Next I cut the igloo out of white card. I used a pale blue pencil and a gray pencil to add highlight and detail to the igloo. I coated it with glue and added
Iced Snow for a frosty look. I cut a second igloo and nipped away just the front area, repeated the same process on it then glued it over the same area on the first one to give a more dimensional look to it. I added the igloo with foam to the higher side of the sloped hill. I cut the penguin from the
Penguin Palace set out of both white and black and glued them together. I added a hat and scarf out of red and ice skates out of white. I used a silver paint pen on the skates. I added an orange beak and some pink cheeks, the added a snowball out of
Iced Snow on his hat. I added him with foam and made a small lake using Luna Paste for him to stand on. The North Pole was added behind the igloo and I used a thin marker to highlight the words. I stamped the first part of the sentiment in black and cut it out and added it to the top of the card. I cut the
Jolly die (die/stamp combo) in both Ruby Red and black and glued them below the stamped setiment. Once the background was fully dry, I attached the frames over it and trimmed away any excess card. I used the fall away snowflakes form the
Snowflake and Swirl Background cut out of a piece of card I covered with some
Luna Paste and glued them in opposite corners. The card was completed with white, black and red mats and layers. The finished dimensions are 8 1/4" x 8 1/4" in size. All for now. Sue x
Just a quick note, I will be joining Gwen Fletcher today on her 4:30pm show and doing a demo (again from my kitchen!) Don't forget to tune in today for all of Gwen's shows on Create and Craft at 9am, 4:30 pm and 8:15pm UK time. Hope to see you then! All for now, Sue x


Follow my blog with Bloglovin
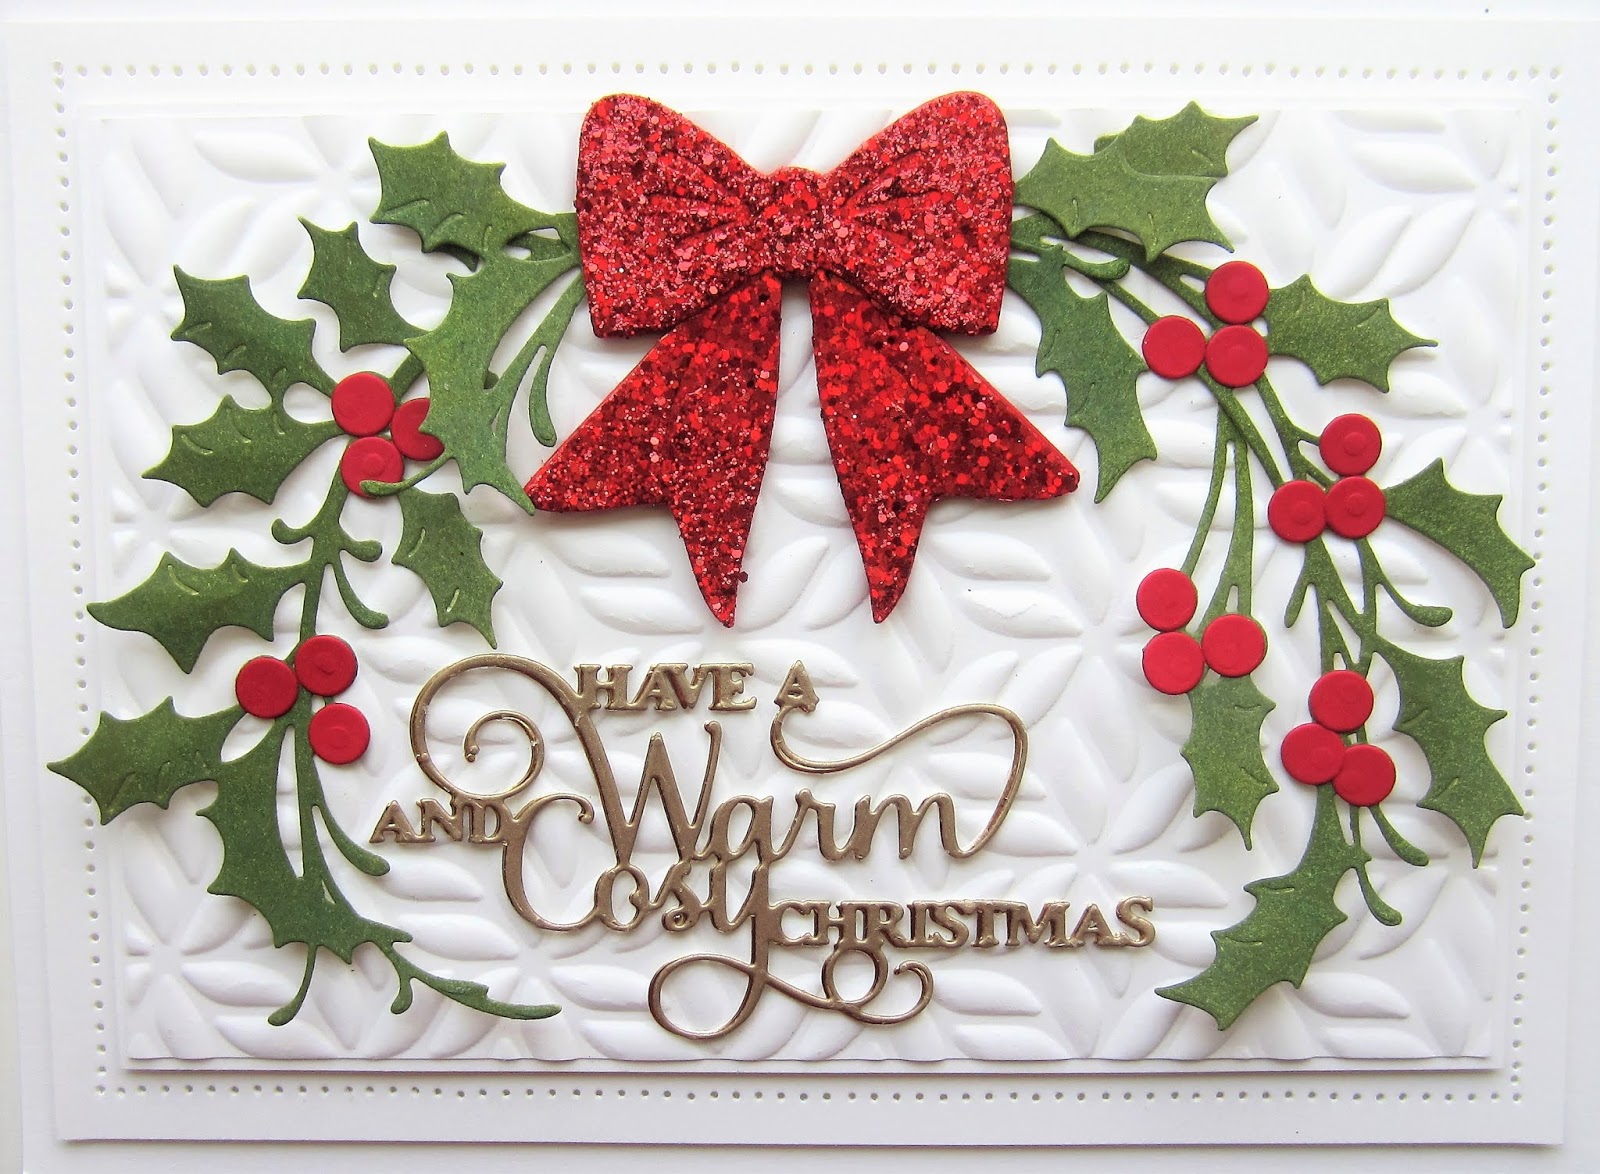 Hello bloggers! I have a simple but elegant Christmas card to share with you today. I started by embossing a piece of coconut white card with the Stylized Poinsettia embossing folder. Next I used the Decorative Holly Acent set and cut several of the holly fronds out of Khaki card. I attached them to each side of the card from the top centre point. I nipped apart pieces off of a second set to add in towards the top. I added red berries to all of the holly sprays using the extra die in the set. Next I covered a piece of red card with a sticky adhesive sheet and peeled the backing off and coated it with Ruby Slipper Holographic Glitterbitz. I cut the bow and the tails from the set out of them for a nice clean line and attached them at the top of the holly sprigs. I cut the Warm and Cosy Christmas sentiment out of antique gold card twice and stacked them then added one cut out of gold mirror card as a shadow. I glued it into the open area between the holly sprays. The card was completed with white mats and layers. The finished dimensions are 6 1/2" x 8 3/4" in size. All for now Sue x