Saturday, 24 March 2018

Distressed Background Card


Hi crafters!  It's a grungy one today, but I will show you how easy it is to create this distressed background.  It is great for guy cards too!

The winner of this week's Wednesday Card Giveaway is:

Netty The Runner!!!

Congratulations!  Please email me at americansue1@gmail.com to confirm your address and claim your card


The finished dimensions are 7" x  7 1/4" in size.  All for now, Sue x
                                                     Follow my blog with Bloglovin

Friday, 23 March 2018

Congratulations

Hi crafters!  This one was one of my demos  from the hour show I did on this die set. i Feb.   In case you weren't able to view the show, I thought I would share it with you!  I started with a piece of black card and taped the Sunrise mask to the top of the card.  I used Midnight Blue, Purple Violet and Aqua Lagoon Pixie Powders through the mask.  You do need to be fairly generous to get the powders into all the areas of the mask.  Then spritz lightly with water and watch the colours bloom (even on black card!)  I removed the mask and lightly spritz it a bit more so the colours ran a tiny bit, giving the background a very hazy look.  Once dry (either naturally or with a heat tool, attach the Congratulations mini expression at the bottom of the card cut out of white card.  Next I cut the largest section of the skyline out of black gloss card.  I attached it to a piece of gloss white card and cut the circle out so the skyline stops at the edge of the circle.  I cut the two smaller sections of the city out of black gloss card and laid them on top of each other so they were both visible, then used the circle to cut them to shape.  I added mounting foam and layered them up on to the original to create the entire city skyline then cut the small circle in the set to add the moon.  The entire scene was added with foam to the middle of the card.  White and black mats and layers were used to complete the card.  The finished dimensions are 7" x  8 1/4" in size.  All for now, Sue x


                                                      Follow my blog with Bloglovin

Thursday, 22 March 2018

Love Blooms Here


Hi bloggers!  This is probably my favourite shadow box card ever!  It is a bit time consuming with all the little flowers, but totally worth the time!  The video will show you how simple it is to put together!


The finished dimensions are 7 3/4" x  7 3/4" in size.  All for now, Sue x
                                                          Follow my blog with Bloglovin

Wednesday, 21 March 2018

Wednesday Card Giveaway

Hi bloggers!  I have been back at it with the pixie powders again!  I started by creating a pixied background using the Lava Red and the Candy Pink Pixie Powders for an intense colour.  I used the Cascading Hearts die set and cut it on the diagonal for the aperture.  I raised the background with foam.  I used a piece of coconut white card with a strip of sticky adhesive sheet added to it on the diagonal, then covered the sticky sheet with Frosted Sparkle Glitterbitz.  I added the background over it so the glittered area showed through the heart aperture.  Next I cut an outline in white for the aperture using both dies from the Cascading heart set.  I glued it to ht edge of the aperture.  In the upper section, I used the "just wanted to say" mini expression and added in the "Hello" mini expression, all cut in white.  IN the lower corner, I made three Passion Flowers and added glittery backings to them.  I pearled the centres and added a satin ribbon bow and leaves as accents.  White on white mats were used to complete the card.  The finished dimensions are 7" x  8 1/4" in size.  If you would like a chance to win this one, just leave a comment to be entered into the drawing.  The winner will be announced on Saturday's blog post.  All for now, Sue x


                                                     Follow my blog with Bloglovin

Tuesday, 20 March 2018

Happy Hour Shaker Card


Hi bloggers!  The Happy Hour Background makes a great shaker card and you can even use the fallaway pieces inside of the shaker part too!


 The finished dimensions are 6 1/2" x  7 3/4" in size.  All for now, Sue x
                                                         Follow my blog with Bloglovin

Monday, 19 March 2018

Miss You

Hello all!  I have been really wanting to share a few more of the new 3D embossing folders with you!  For this card, I started by embossing a piece of Slate Grey card with the new Bountiful Blossoms 3D folder.  I used Silver Dream gilding polish over the top of the embossed piece (you can see it nicely in some of the close up pics below).  For the focal element, I cut the Diamond Squares Background out of silver card, then used the Double Pierced Squares to cut it into a frame.  I added a small raised frame cut from the same die set but out of white card.  Next I cut the Sophia die in white which fit over the frame area perfectly.  I added the inner section of that die as a layer in white, then cut a thin frame out of the Double Stitched Octagons and added it with foam over a backing piece that I cut with a sticky adhesive sheet on it.  Before adding the frame, I peeled the backing paper off, added the frame and the Miss You mini expression.  I used Frosted Sparkle Glitterbitz to fill in where the remaining adhesive was still exposed.  White, Slate Grey and silver mats and layers were used to complete the card.  The finished dimensions are 7 1/4" x  8 3/4" in size.  All for now, Sue x


                                                        Follow my blog with Bloglovin

Sunday, 18 March 2018

For You

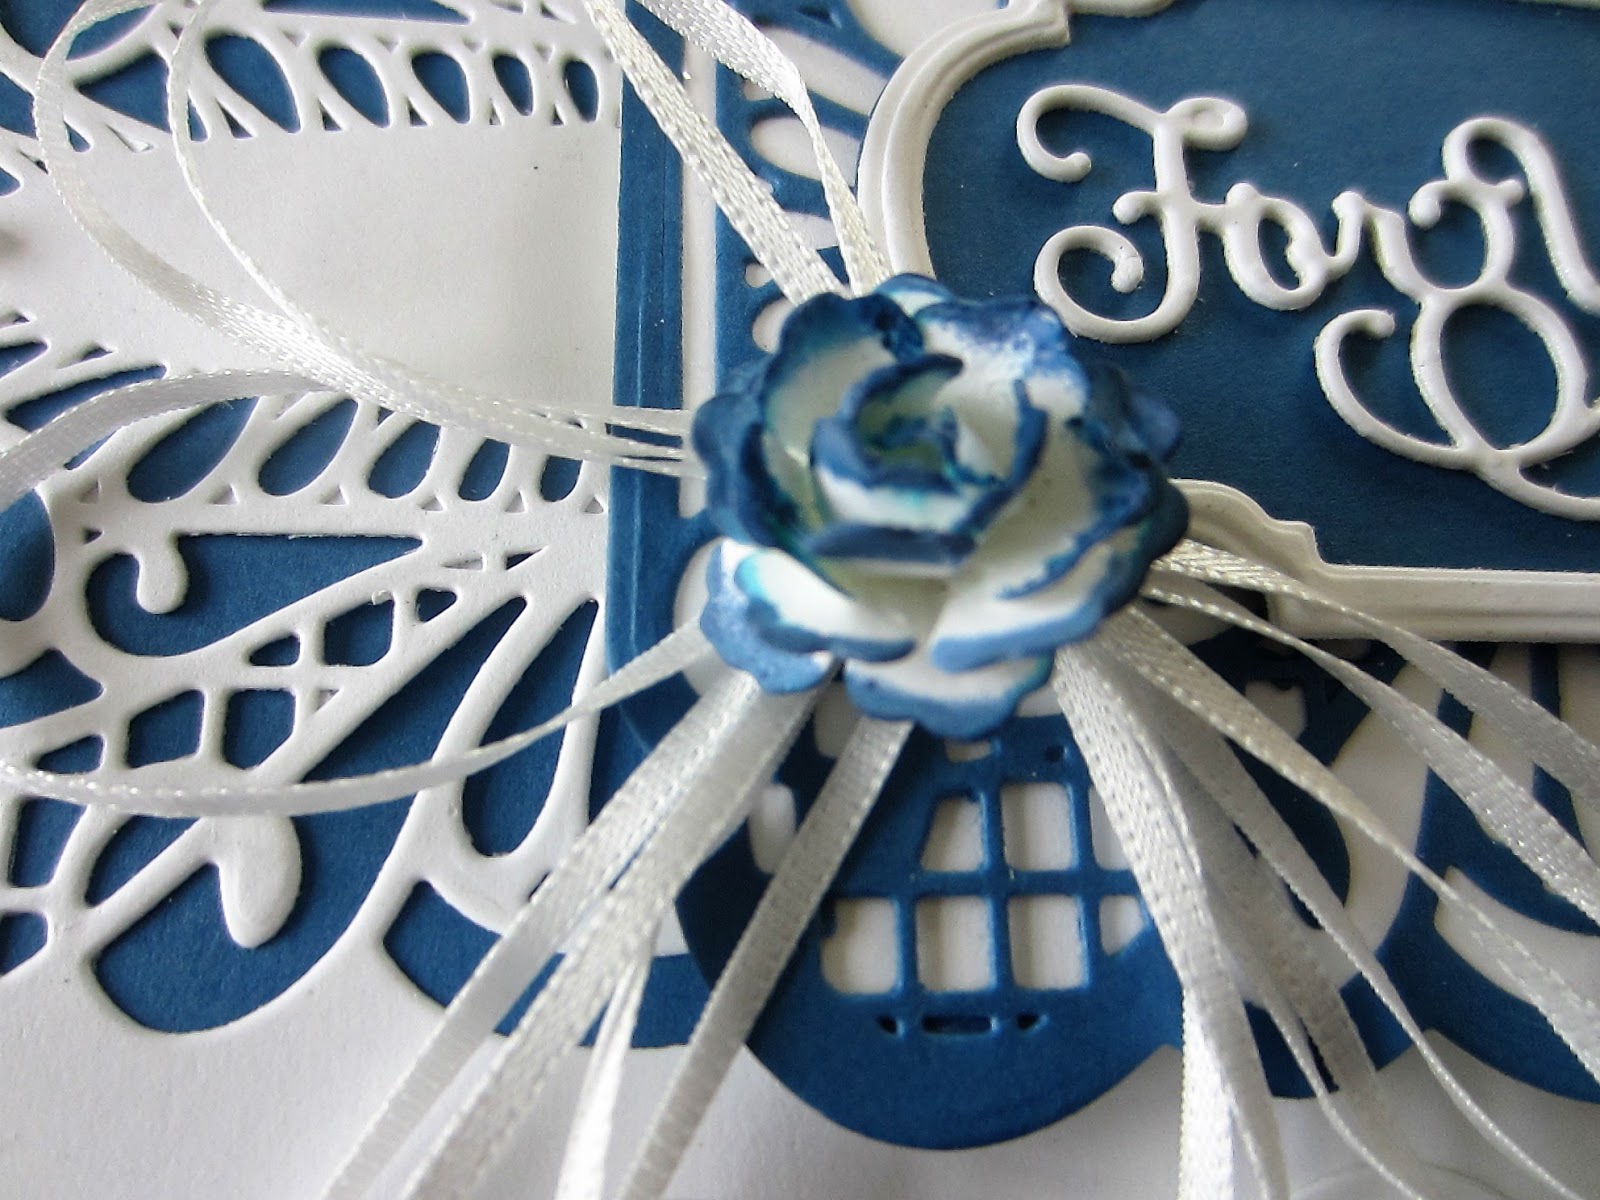
Good Sunday morning all!  Today's card features the Heather die, all over!  I started with a piece of coconut white card and cut the decorative die from the Heather set into the centre twice.  I backed it with Cobalt Blue card.  Next I cut two more full Heather dies out of white and cut them in half down the centre lengthwise.  I glued the halves to the top and bottom of the card edges.  I ran a strip of double pearls cut in half down each of the edges to hide the cut line in the die.  Next I cut the Heather die in Cobalt Blue and backed it in white and added it to the centre of the card with foam.  I made a frame using the centre of the Summer Rose die set and stacked several of them to raise it.  I backed it in cobalt blue and added it with foam to the centre of the card.  I cut the sentiment from the Summer Rose frame in white and added it to the centre of the frame.  I made a small white flower using the single flower from the Nasturtium Cluster and inked the edges with Faded Jeans. I seated the flower on a small white satin ribbon bow.  White and Cobalt Blue card mats and layers were added to complete the card.  The finished dimensions are 7" x  9" in size. 

This week's winners in the Comment Game are:

Marie P from Longridge!!!
Veronique!!!
Sharon Fletcher!!!

Congratulations all!  Please email me at americansue1@gmail.com to confirm your address and claim your prize.  All for now, Sue x


                                                      Follow my blog with Bloglovin