Monday, 20 January 2025

Hello Dear Friend

Hello crafters!   I cut the Floral Melody  Cover Plate with a piece of black card on top of a piece of white card.  I used the white embossed copy to colour the design with alcohol ink markers in shades of red, yellow and orange.  I covered it with a piece of sticky adhesive sheet, then added the black die cut on top.  I used Frosted Sparkle Glitterbitz on the remaining sticky areas.  I cut a larger piece of white card and glued the die to it.  I cut the Hello Dear Friend in black and glued it to the white card.  The card was completed with white mats and layers.  The finished dimensions are 7"  x  7"  in size.  

https://www.creative-expressions.uk.com/product/creative-expressions-sue-wilson-frames-tags-floral-melody-cover-plate-craft-die/

All for now, Sue x


                                                        Follow my blog with Bloglovin 

Sunday, 19 January 2025

Cherish Every Moment

Good Sunday morning all!  I started by cutting the Stitched Starburst Background in white.  I backed it with a piece of Pixied card made using Midnight Blue Pixie powders.  I cut two Double Stitched Ovals in white.  I added the matted ovals to the middle of the card.  I cut the Bluebell  Cottage in lime green and I added a cobalt blue roof, door and windows.  I added it to the ovals with several trees and a white fence.  I used the Cherish Every Moment sentiment cut from the Wordie Sheets.  I added it below the cottage.  The card was completed with white mats and layers.  The finished dimensions are 6 1/2"  x  7 3/4" in size.  


All for now, Sue x


                                                        Follow my blog with Bloglovin

Saturday, 18 January 2025

Sending you Lots Of Love

Hi Bloggers!  I selected a piece of aqua card to use for the background.  I used an old stamp (the Orange Blossom flower) and stamped it all over the card using a Clear Perfect Medium pad.  I coated it with white embossing powder and heated it to melt.  Next, I cut two Double Pierced Circles in white and matted them and added it to the middle of the card.  I cut the Flower Shop in Blush card and added grey roof, door, window and awning.  I cut some flowers and added them to the window box.  I added a lamppost, a sandwich board, a couple of trees and some clouds around the building.  I cut the Sending You Lots Of Love from a Wordie Sheet and added it across the bottom of the matted circles.  The card was completed with white mats and layers.  The finished dimensions are 6 3/4"  x  7 3/4" in size.  


All for now, Sue x


                                                         Follow my blog with Bloglovin

Friday, 17 January 2025

Dear Friend

Hello bloggers!  I started today's card by creating the background.  I used the Shaving foam technique using pixie powders.  You can see the demo if you click on the link at the top of the blog.  I used Midnight Blue, Candy Pink and Purple Violet Pixie Powders mixed into the shaving cream.  I cut the Butterfly Breeze Cover Plate in both white and black card.  I used the black die cut as an offset shadow behind the white die cut.  I glued it to the shaving foam background.  I cut the Dear Friend sentiment out of leftover card from the shaving cream background.  I cut the sentiment in black and used it as an offset shadow behind the other die cut.  I glued it on to the white part of the die cut.  The card was completed with white and black mats and layers.  The finished dimensions are 5 3/4"  x  7"  in size.  


All for now, Sue x


                                                         Follow my blog with Bloglovin

Thursday, 16 January 2025

Have A Magical Day

Hello crafters!  I started with a piece of white card and I cut a piece of slate grey card to go across the bottom of the card.  Next I cut a piece of sky blue card with a rounded side to it and glued it on top of the grey card. I inked the top of the card very lightly with Tumbled Glass distress ink.  I cut the Fish Shop out of aqua card and added the accents with ocean card. I added the building to the card and placed the delivery van and a lamppost next to it.  I added waves and a blue and white sailboat to the water.  I added several trees to the side of the pond.  I added several white clouds to the sky above the fish shop.  The Have A Magical Day sentiment was cut in black and glued to the top of the card.  The card was completed with white mats and layers.  The finished dimensions are 6 1/2"  x  7"  in size.   


All for now, Sue x


                                                         Follow my blog with Bloglovin

Wednesday, 15 January 2025

To You & Yours

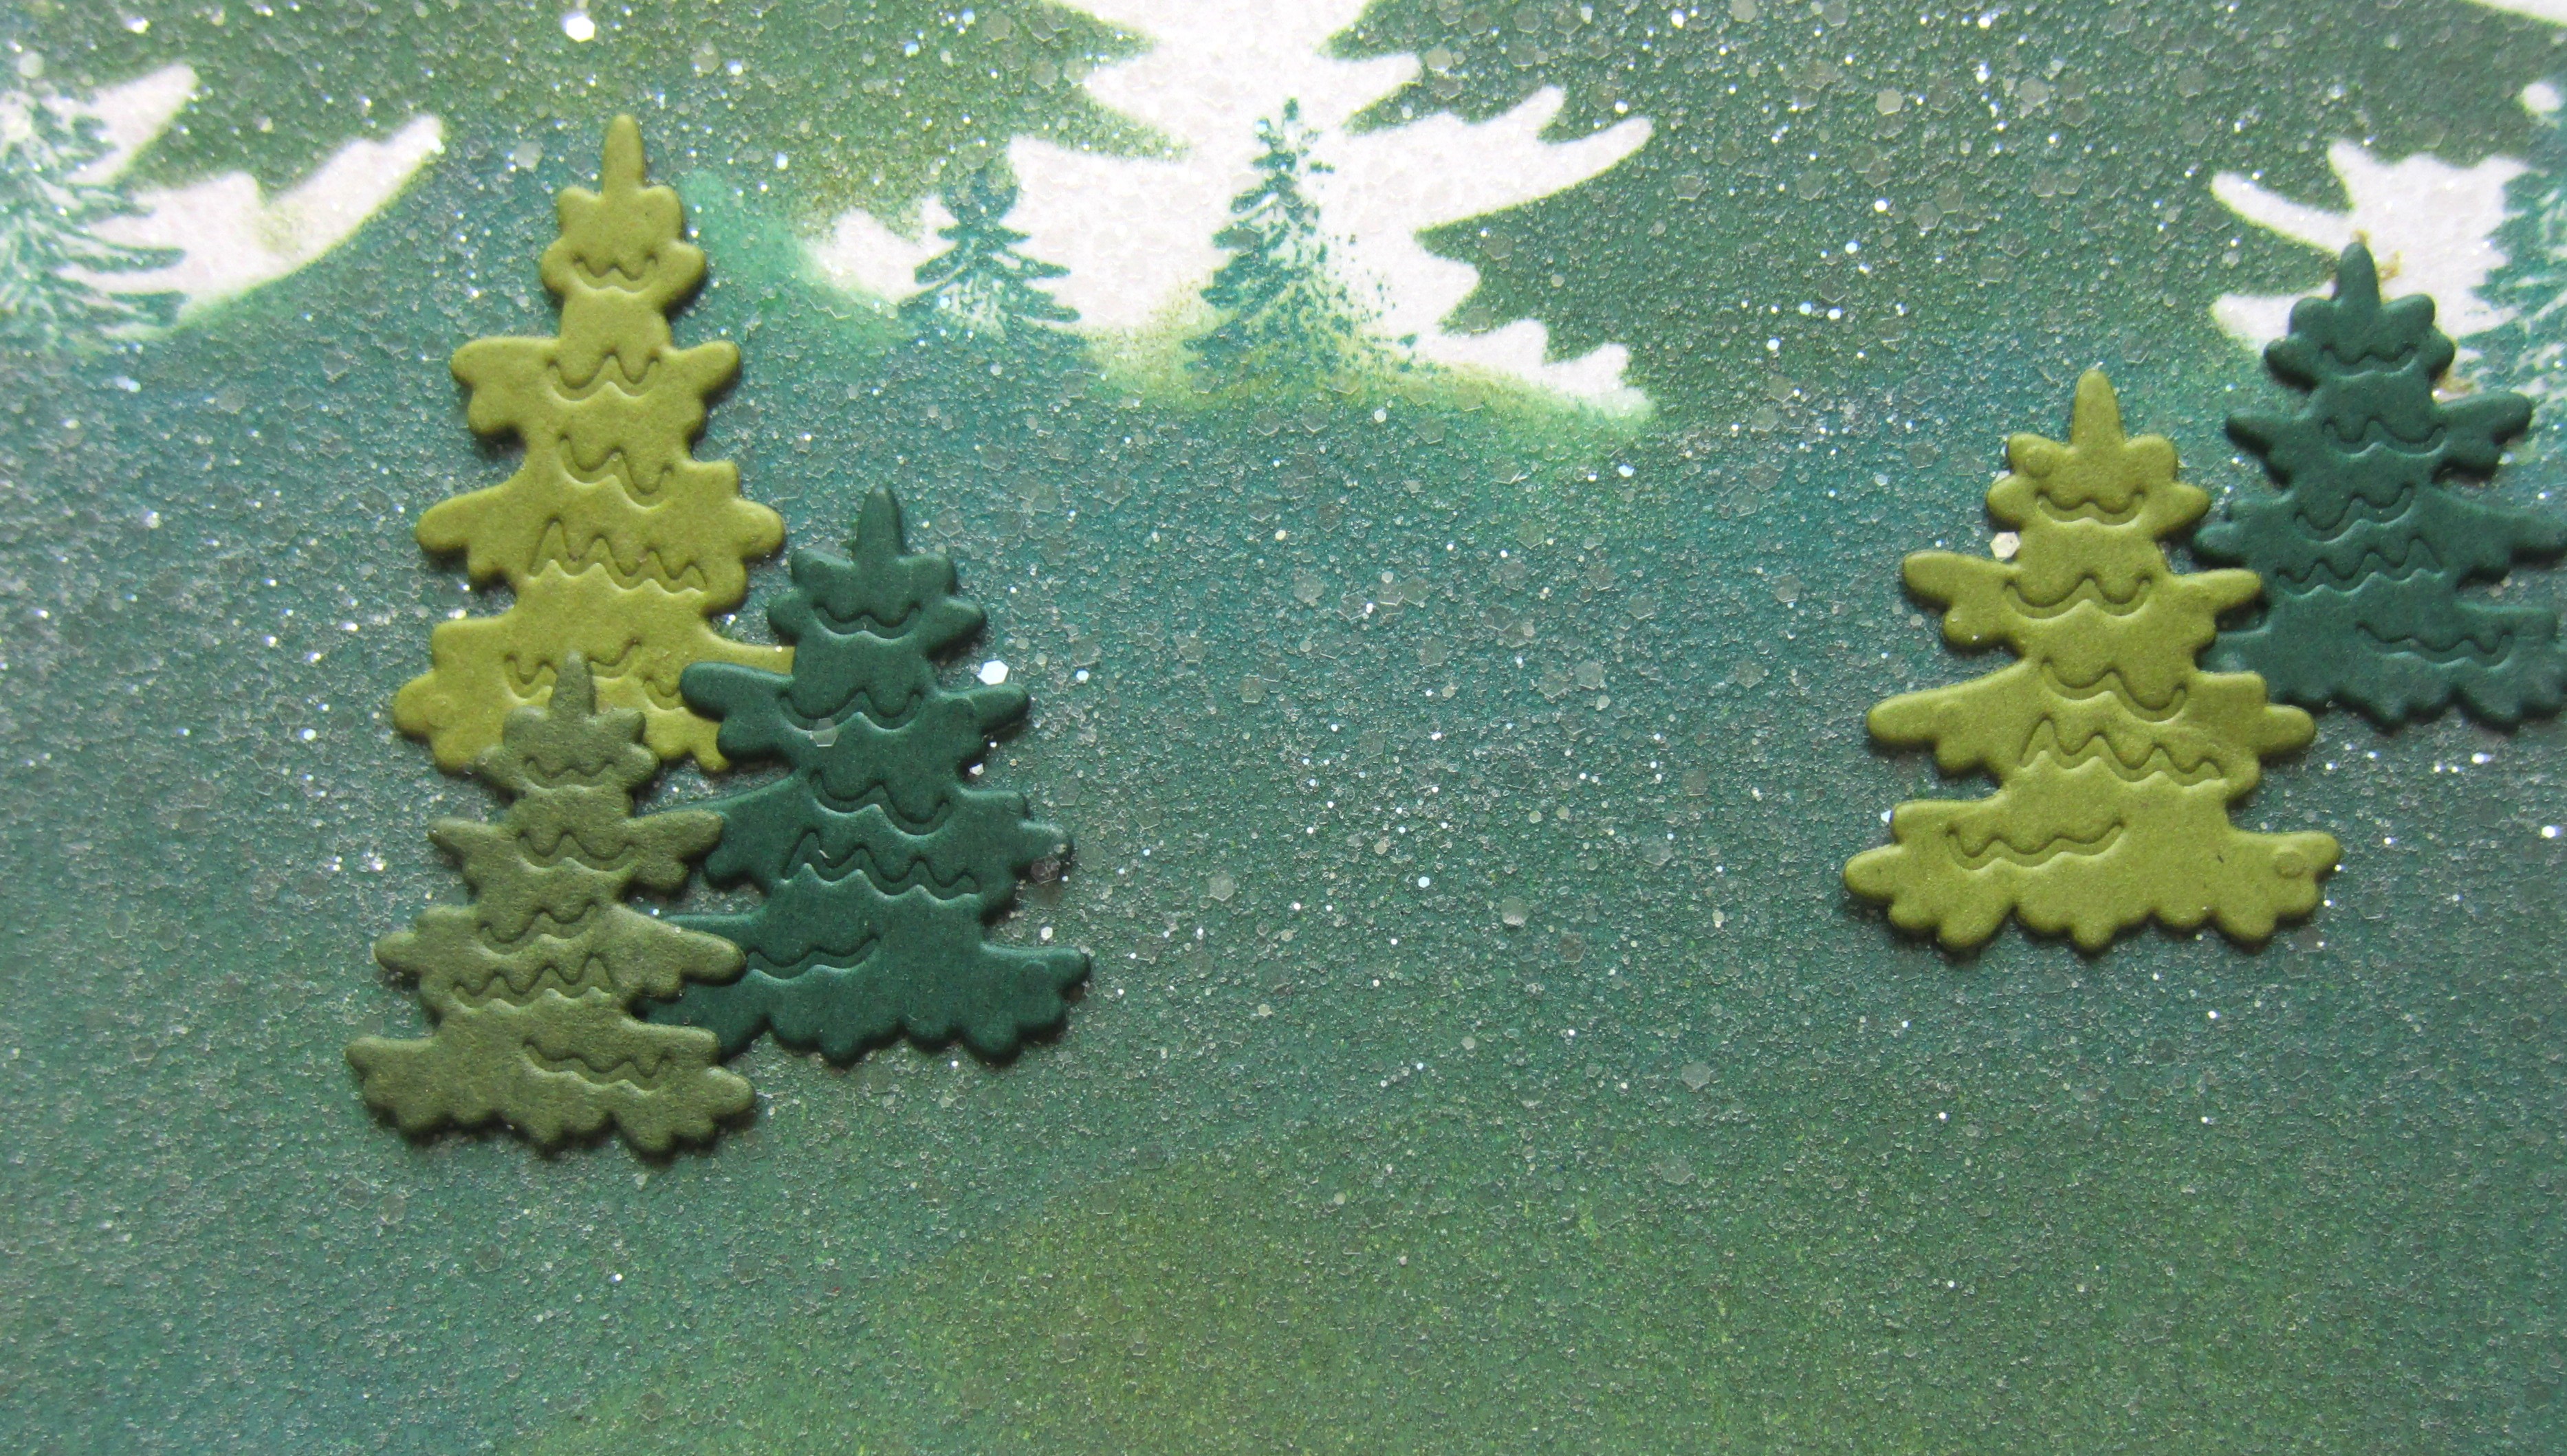
Hi there my crafty friends!  For today's card, I used the card that I had cut some large trees from and I attached it to a piece of white card.  I used it as a mask and inked through with Forest Moss and Crushed Olive distress inks.  I inked the area below the trees to create a hill.  I covered the piece with some sticky adhesive sheet.  I peeled the backing paper off and coated it with Frosted Sparkle Glitterbitz.  I cut the Corner Cottage out of arctic blue card.  I added a grey roof, door, windows and awnings to it and added it to the scene with mounting foam.  I cut some small trees and added them around the cottage.  I cut the To You & Yours sentiment in black and glued it to the top corner of the card.  The card was completed with white mats and layers.  The finished dimensions are 7"  x  9"  in size.  


All for now, Sue x


                                                                Follow my blog with Bloglovin

Tuesday, 14 January 2025

Welcome Friend

Hello crafters!  I cut a piece of black card and covered it with a sticky adhesive sheet.  I peeled the backing paper off and coated it with Pink Sunset Gilding Flakes.  Next I cut the Floral Symphony Cover Plate with a piece of black card on top of a piece of white card.  I paper pieced the flowers in shades of pink and orange.  I offset the black die on top of the paper pieced  copy, then added the die to the gilded piece of card.  I cut the Welcome Friend sentiment in white, shadowed it in black and glued it to the bottom of the card.  The card was completed with white and black mats and layers.  The finished dimensions are 7"  x  7" in size.  


All for now, Sue x


                                                      Follow my blog with Bloglovin

Monday, 13 January 2025

Have A Great Day

Hello bloggers!  I have a slimline card to share with you today!  I started by  creating the frame first.  I used the Slimline Stitched Rectangle Frame set.  I cut a white frame with them, then added a black frame on top using the Slimline Essential Frames.  I added mounting foam to the back of the frame then cut a piece of white card to attach it to.  Before attaching the frame, I sponged some blue at the top of the piece, then cut three hills using the Stitched Hills and Clouds and added them to the bottom of the card.  I cut the Fish Shop in grey and added blue awning, door and sign.  I added it to the bottom of the card with mounting foam.  I added a lamppost next to it.  I cut both the Bookshop and the Flower shop in grey.  I used iris card for the windows, door and awning on the Book shop.  I used pink card for the accents on the flower shop.  I added the buildings with mounting foam, then added some trees and clouds around them as accents.  I added the Have A Great Day sentiment which was cut from the Wordie Sheets.  The card was completed with white mats and layers.  The finished dimensions are 43/4"  x 9"  in size.  


All for now, Sue x


                                                         Follow my blog with Bloglovin